Travel Photography with Your Camera | Part 2: Travel Photography Tips for Perspective, Light & Storytelling
- Antony Berbert
- Education , Travel
- May 11, 2026
Table of Contents
In this series, Antony Berbert shows you how to execute successful travel photography – from preparation through practical application on location to post-processing. In Part 2, you’ll discover the essential travel photography techniques: how to create stronger travel photos using perspective shifts, light, and image series. Whether you’re a beginner or experienced photographer – this guide offers you practical travel photography tips and proven strategies to take your vacation photos to the next level on your next adventure.
What matters now is what you make of the situation: light changes by the minute, scenes happen only once, and good ideas must be executed quickly. In this part, it’s about how you stay flexible on location and turn moments into travel photos that stick with viewers through travel photography.
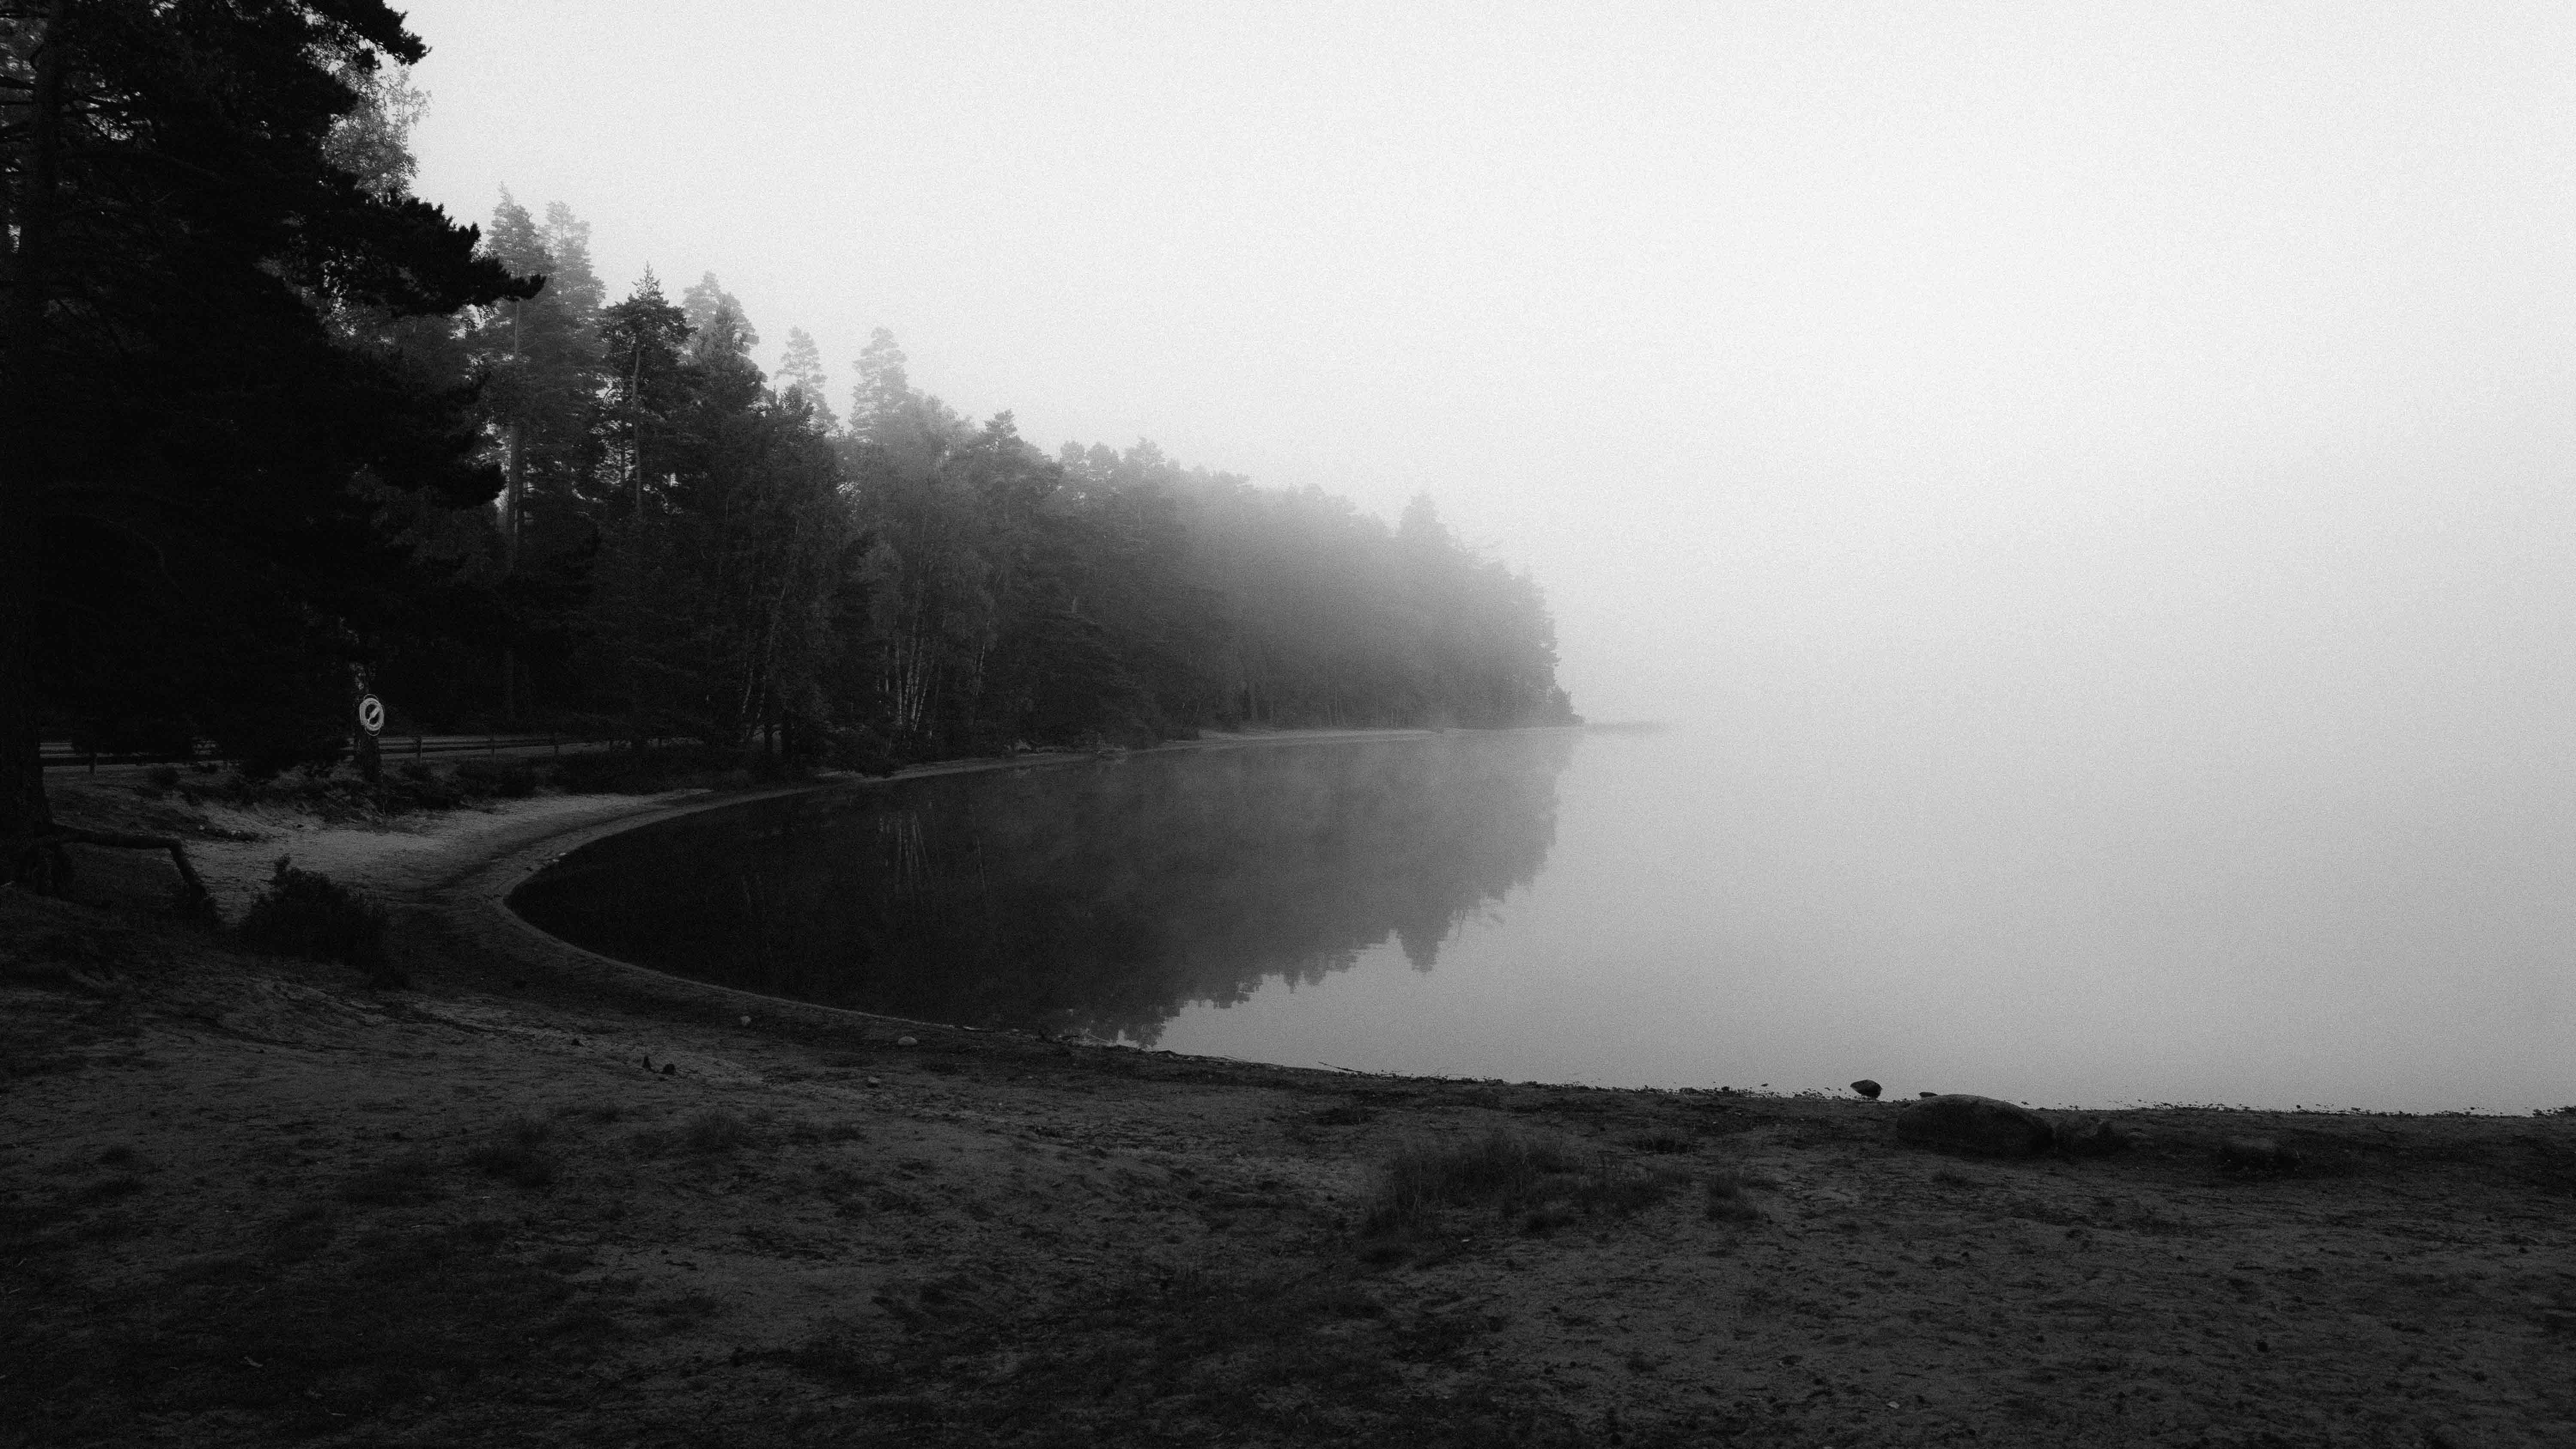
Staying Flexible on Location
When I arrive at my travel destination, I already have some images in my head or on my phone from my preparation. During the day, when the focus isn’t always on photography, I usually bring my camera along anyway. I’d rather regret carrying it around for a few extra hours, than missing a shot.
In the first part, I keep my setup simple so I’m always ready to capture a scene. A clear workflow is key: camera at hand, basic settings prepared, and then I observe first rather than rushing a shot.
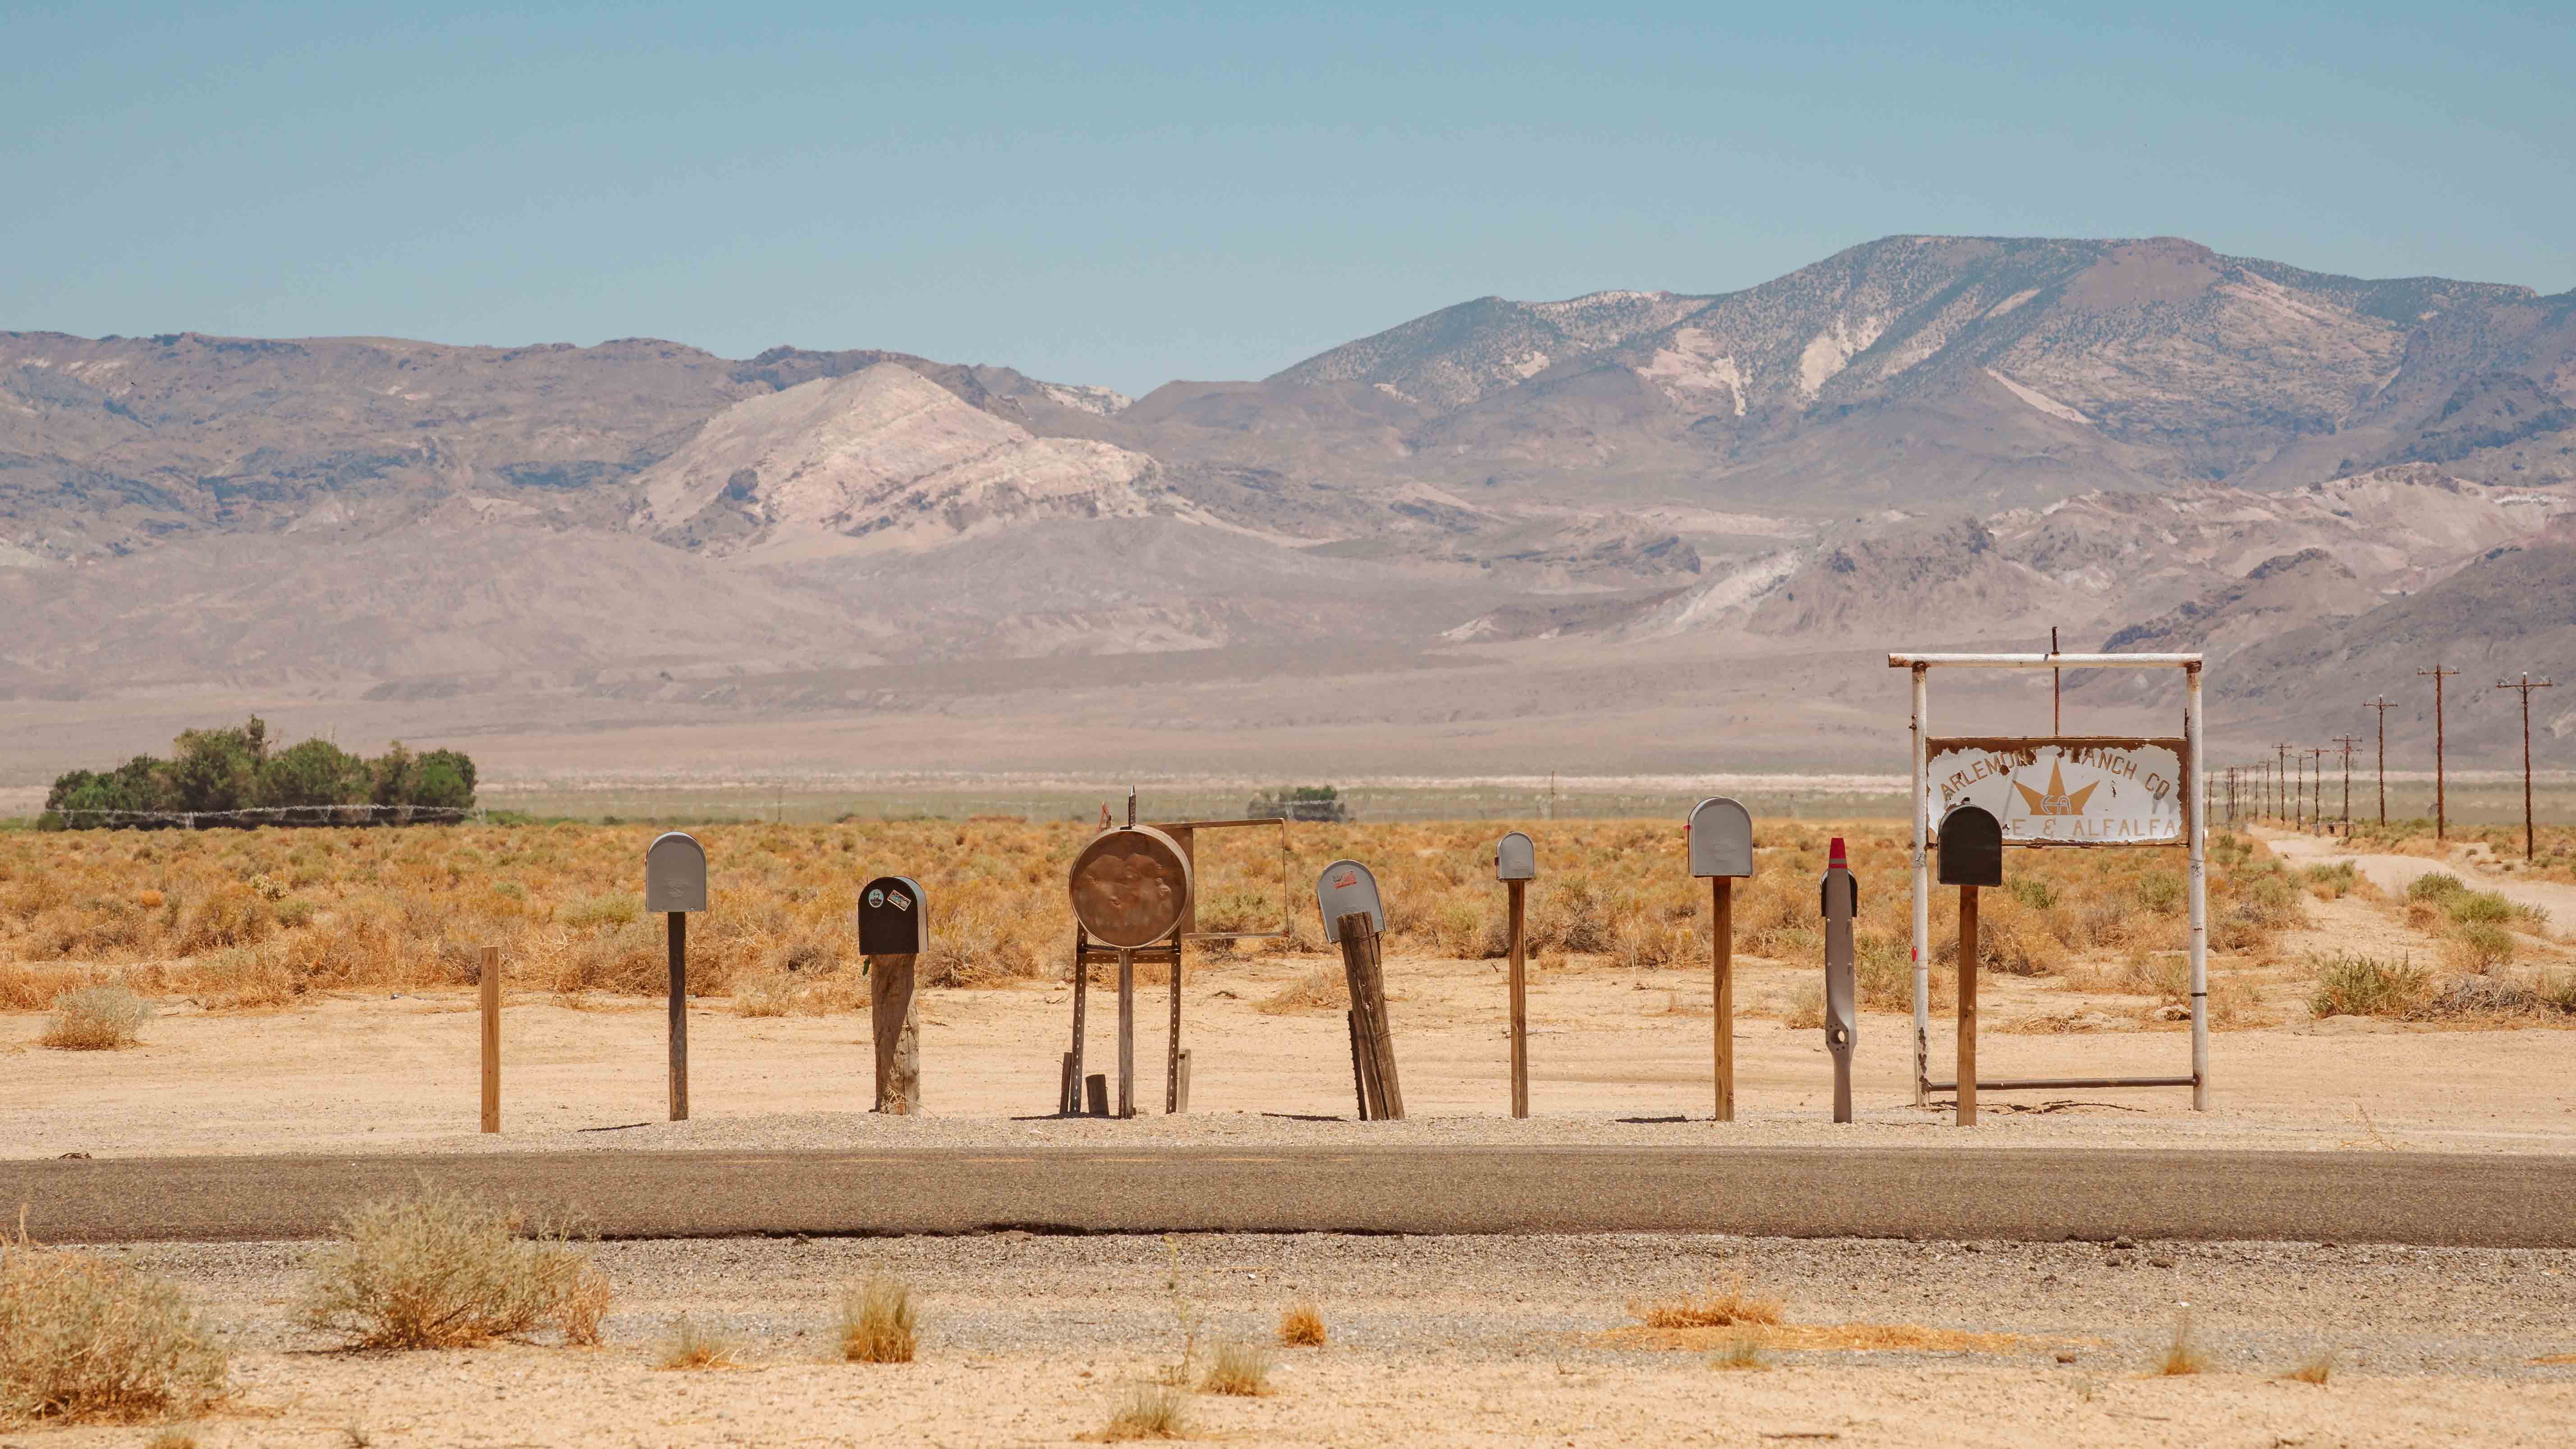
As mentioned in the first part, I’ve usually already prepared a shot list before going to a photo location. Nevertheless, I always walk around to look for different, new angles and perspectives. That’s where I often find new perspectives, lines, frames, or interesting foregrounds I hadn’t considered before.
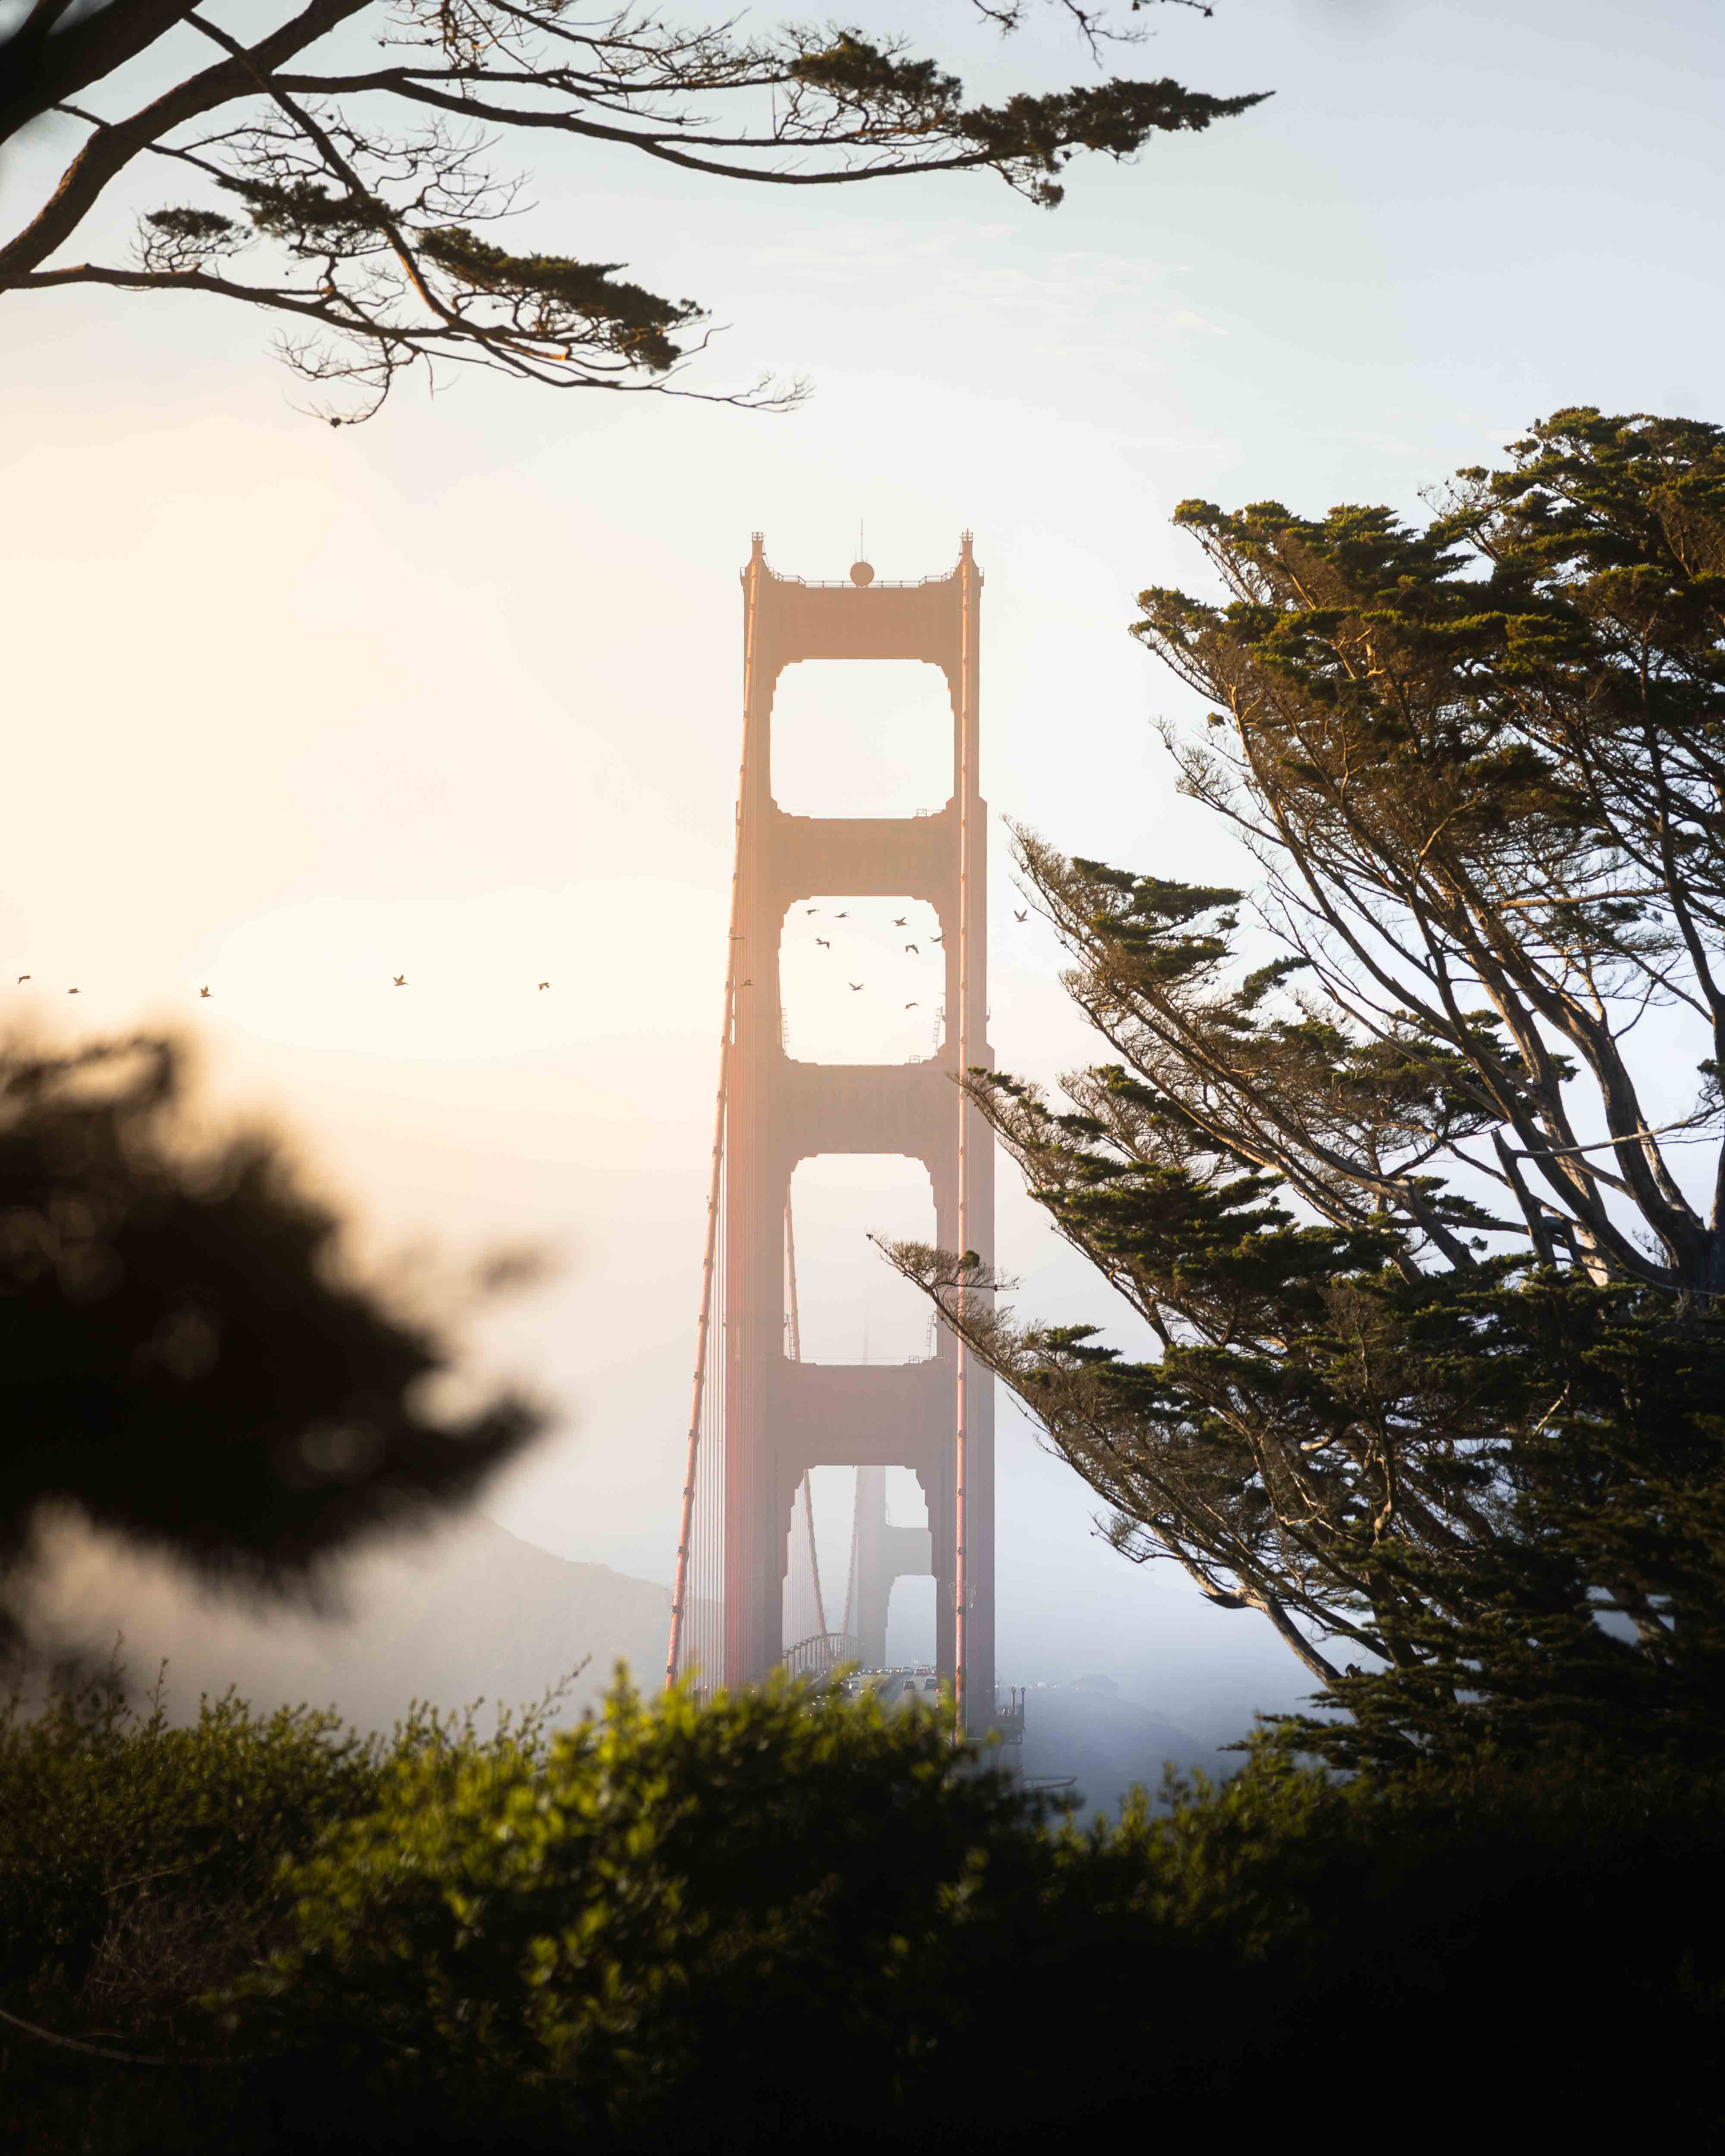
It helps to play with classic composition ideas: shift perspective and don’t always shoot from eye level – kneeling, lying down, climbing a ladder, or looking from the other side gives the same subject an entirely new meaning. Using foreground, frames, lines, and patterns deliberately creates depth and visual tension. A tree can frame a person, a line can guide the viewer’s eye, a pattern can provide structure.
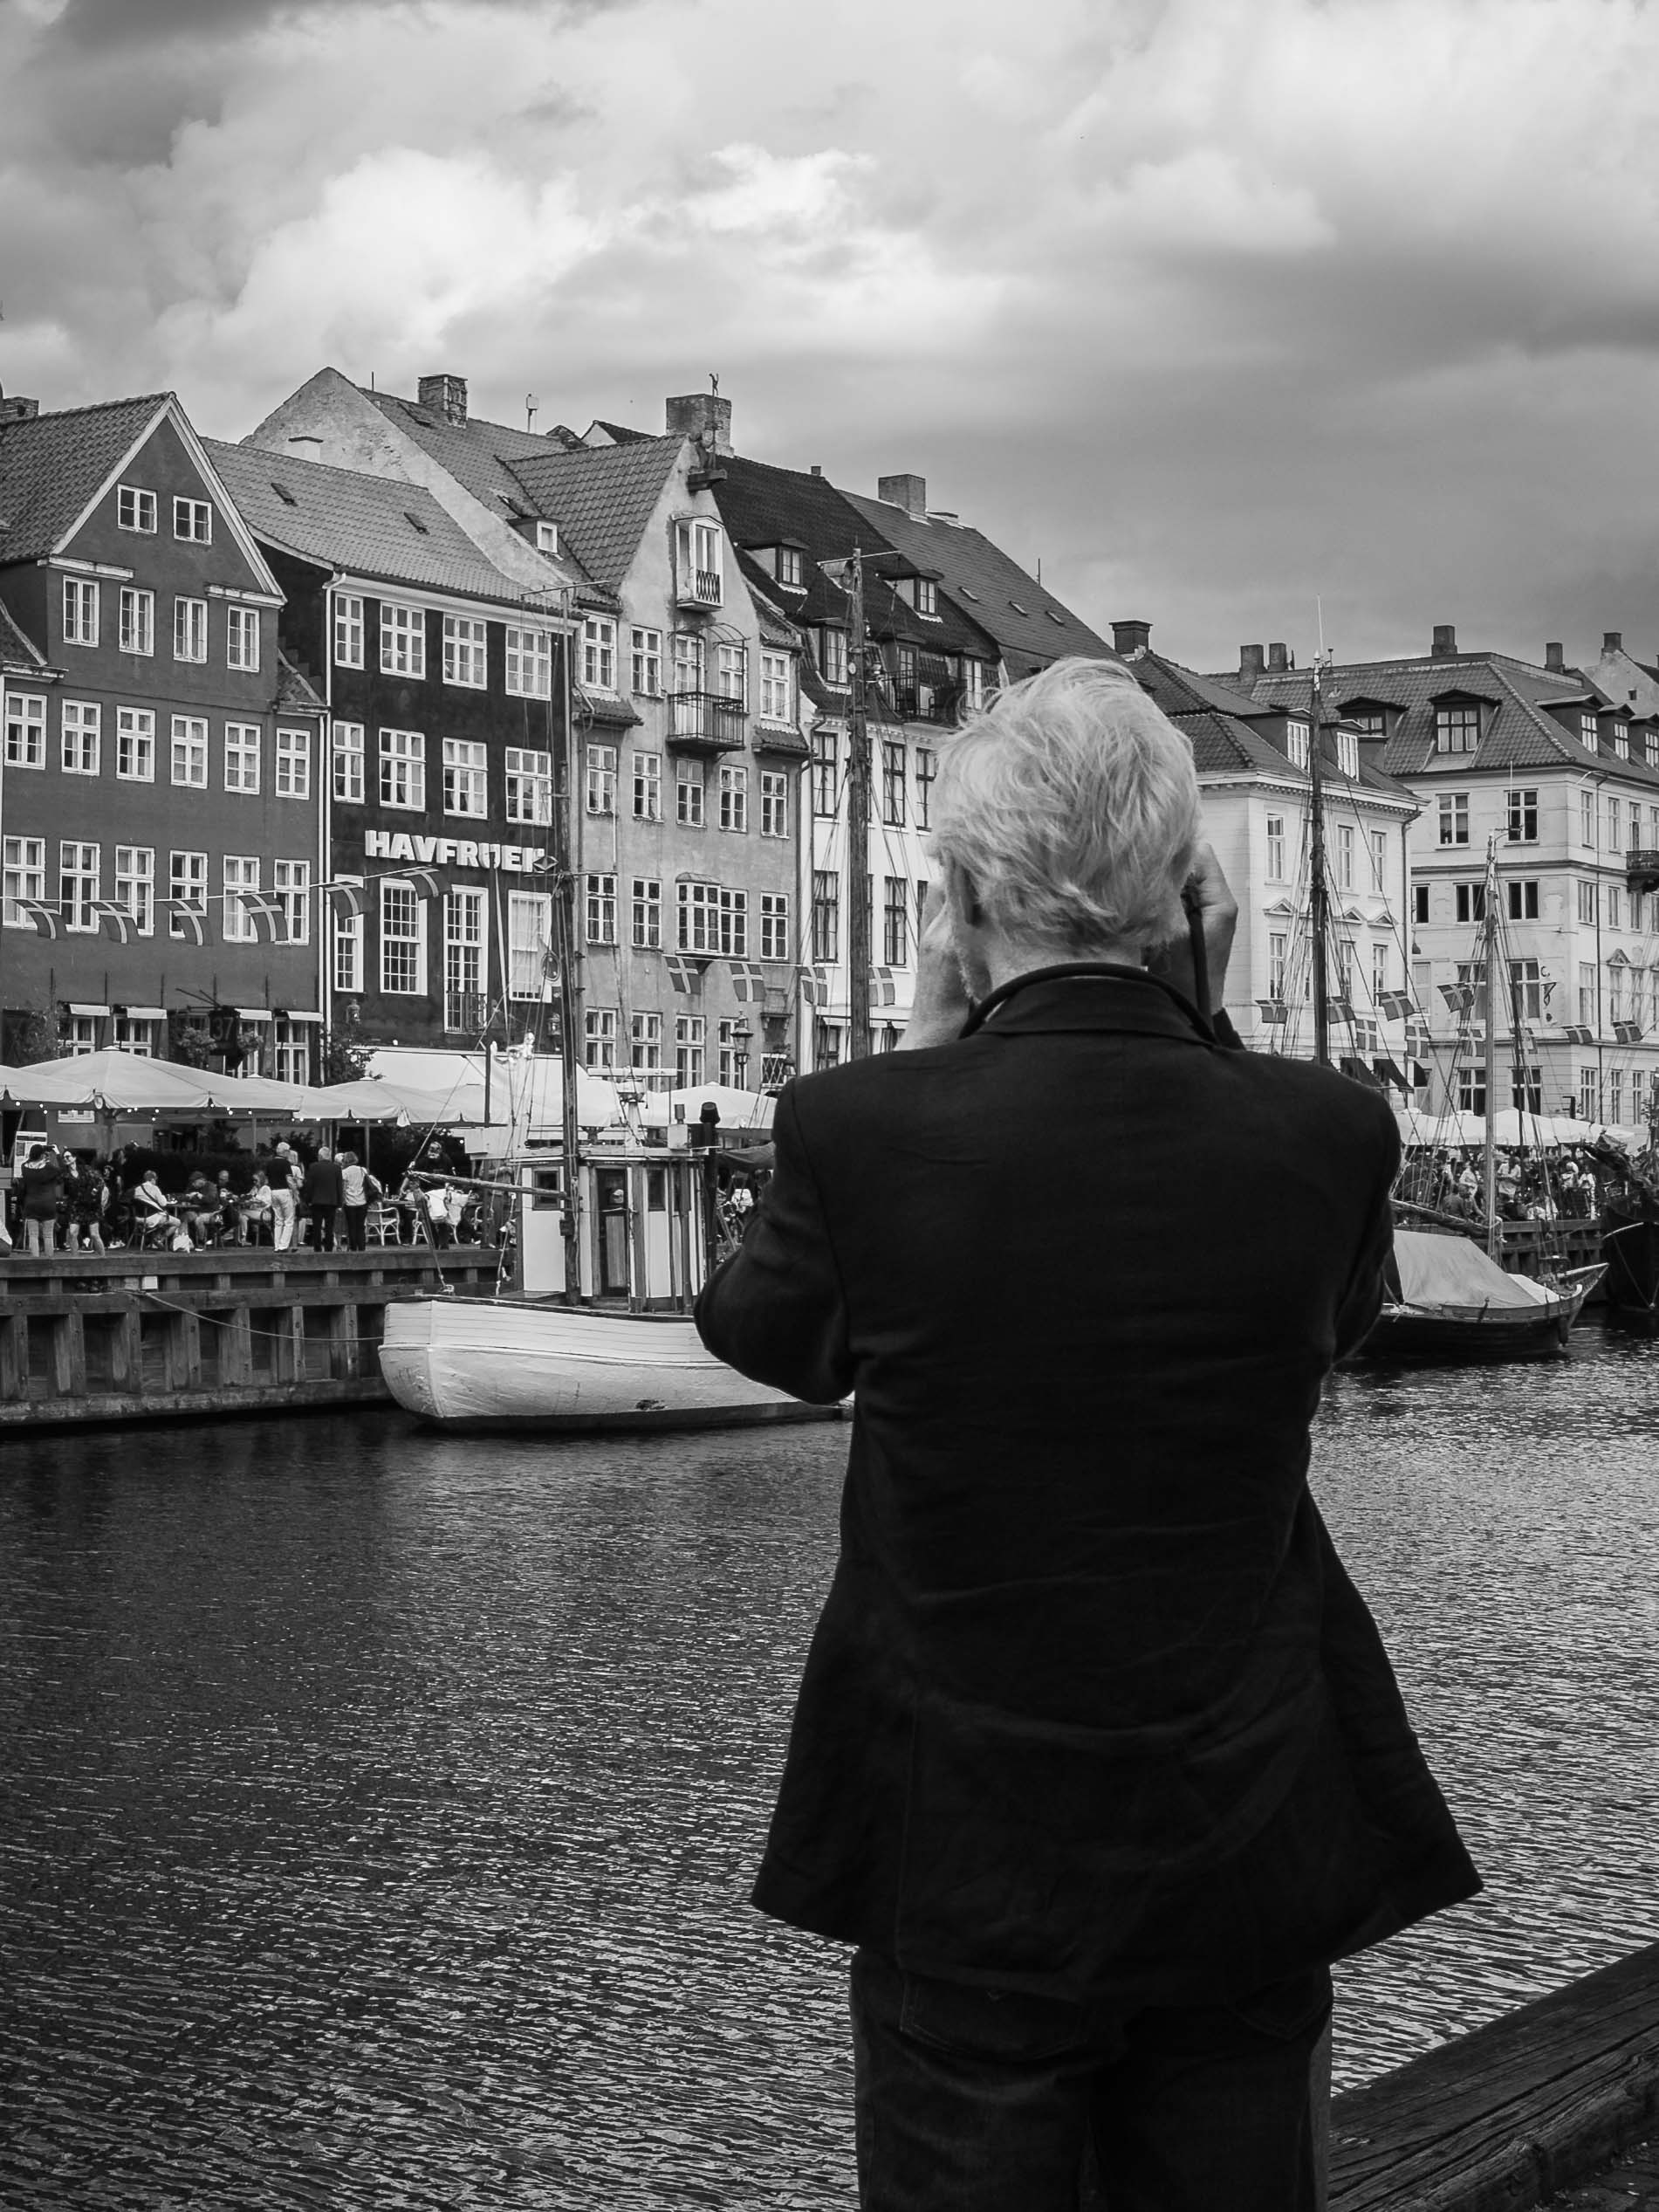
Regular Vacation Photos: Authentic Moments with Travel Companions
When it’s a regular vacation and not everything is geared toward travel photography, I deliberately keep my vacation photos more spontaneous. Instead of carefully staging a subject, I focus on genuine situations: laughter over meals, a quick glance at the landscape, movement on the way to the next location, or small moments in the everyday rhythm of travel.
I photograph travel companions in such situations as unstaged as possible. It feels more natural and tells the travel story much better than pure posing. Such authentic travel photos add scale and emotion to the image – they connect the viewer with the place. An important composition tip: make sure the horizon line doesn’t run through the head or neck. Either hold the camera slightly higher or lower so the background looks calmer and the person stands out more clearly from the surroundings.
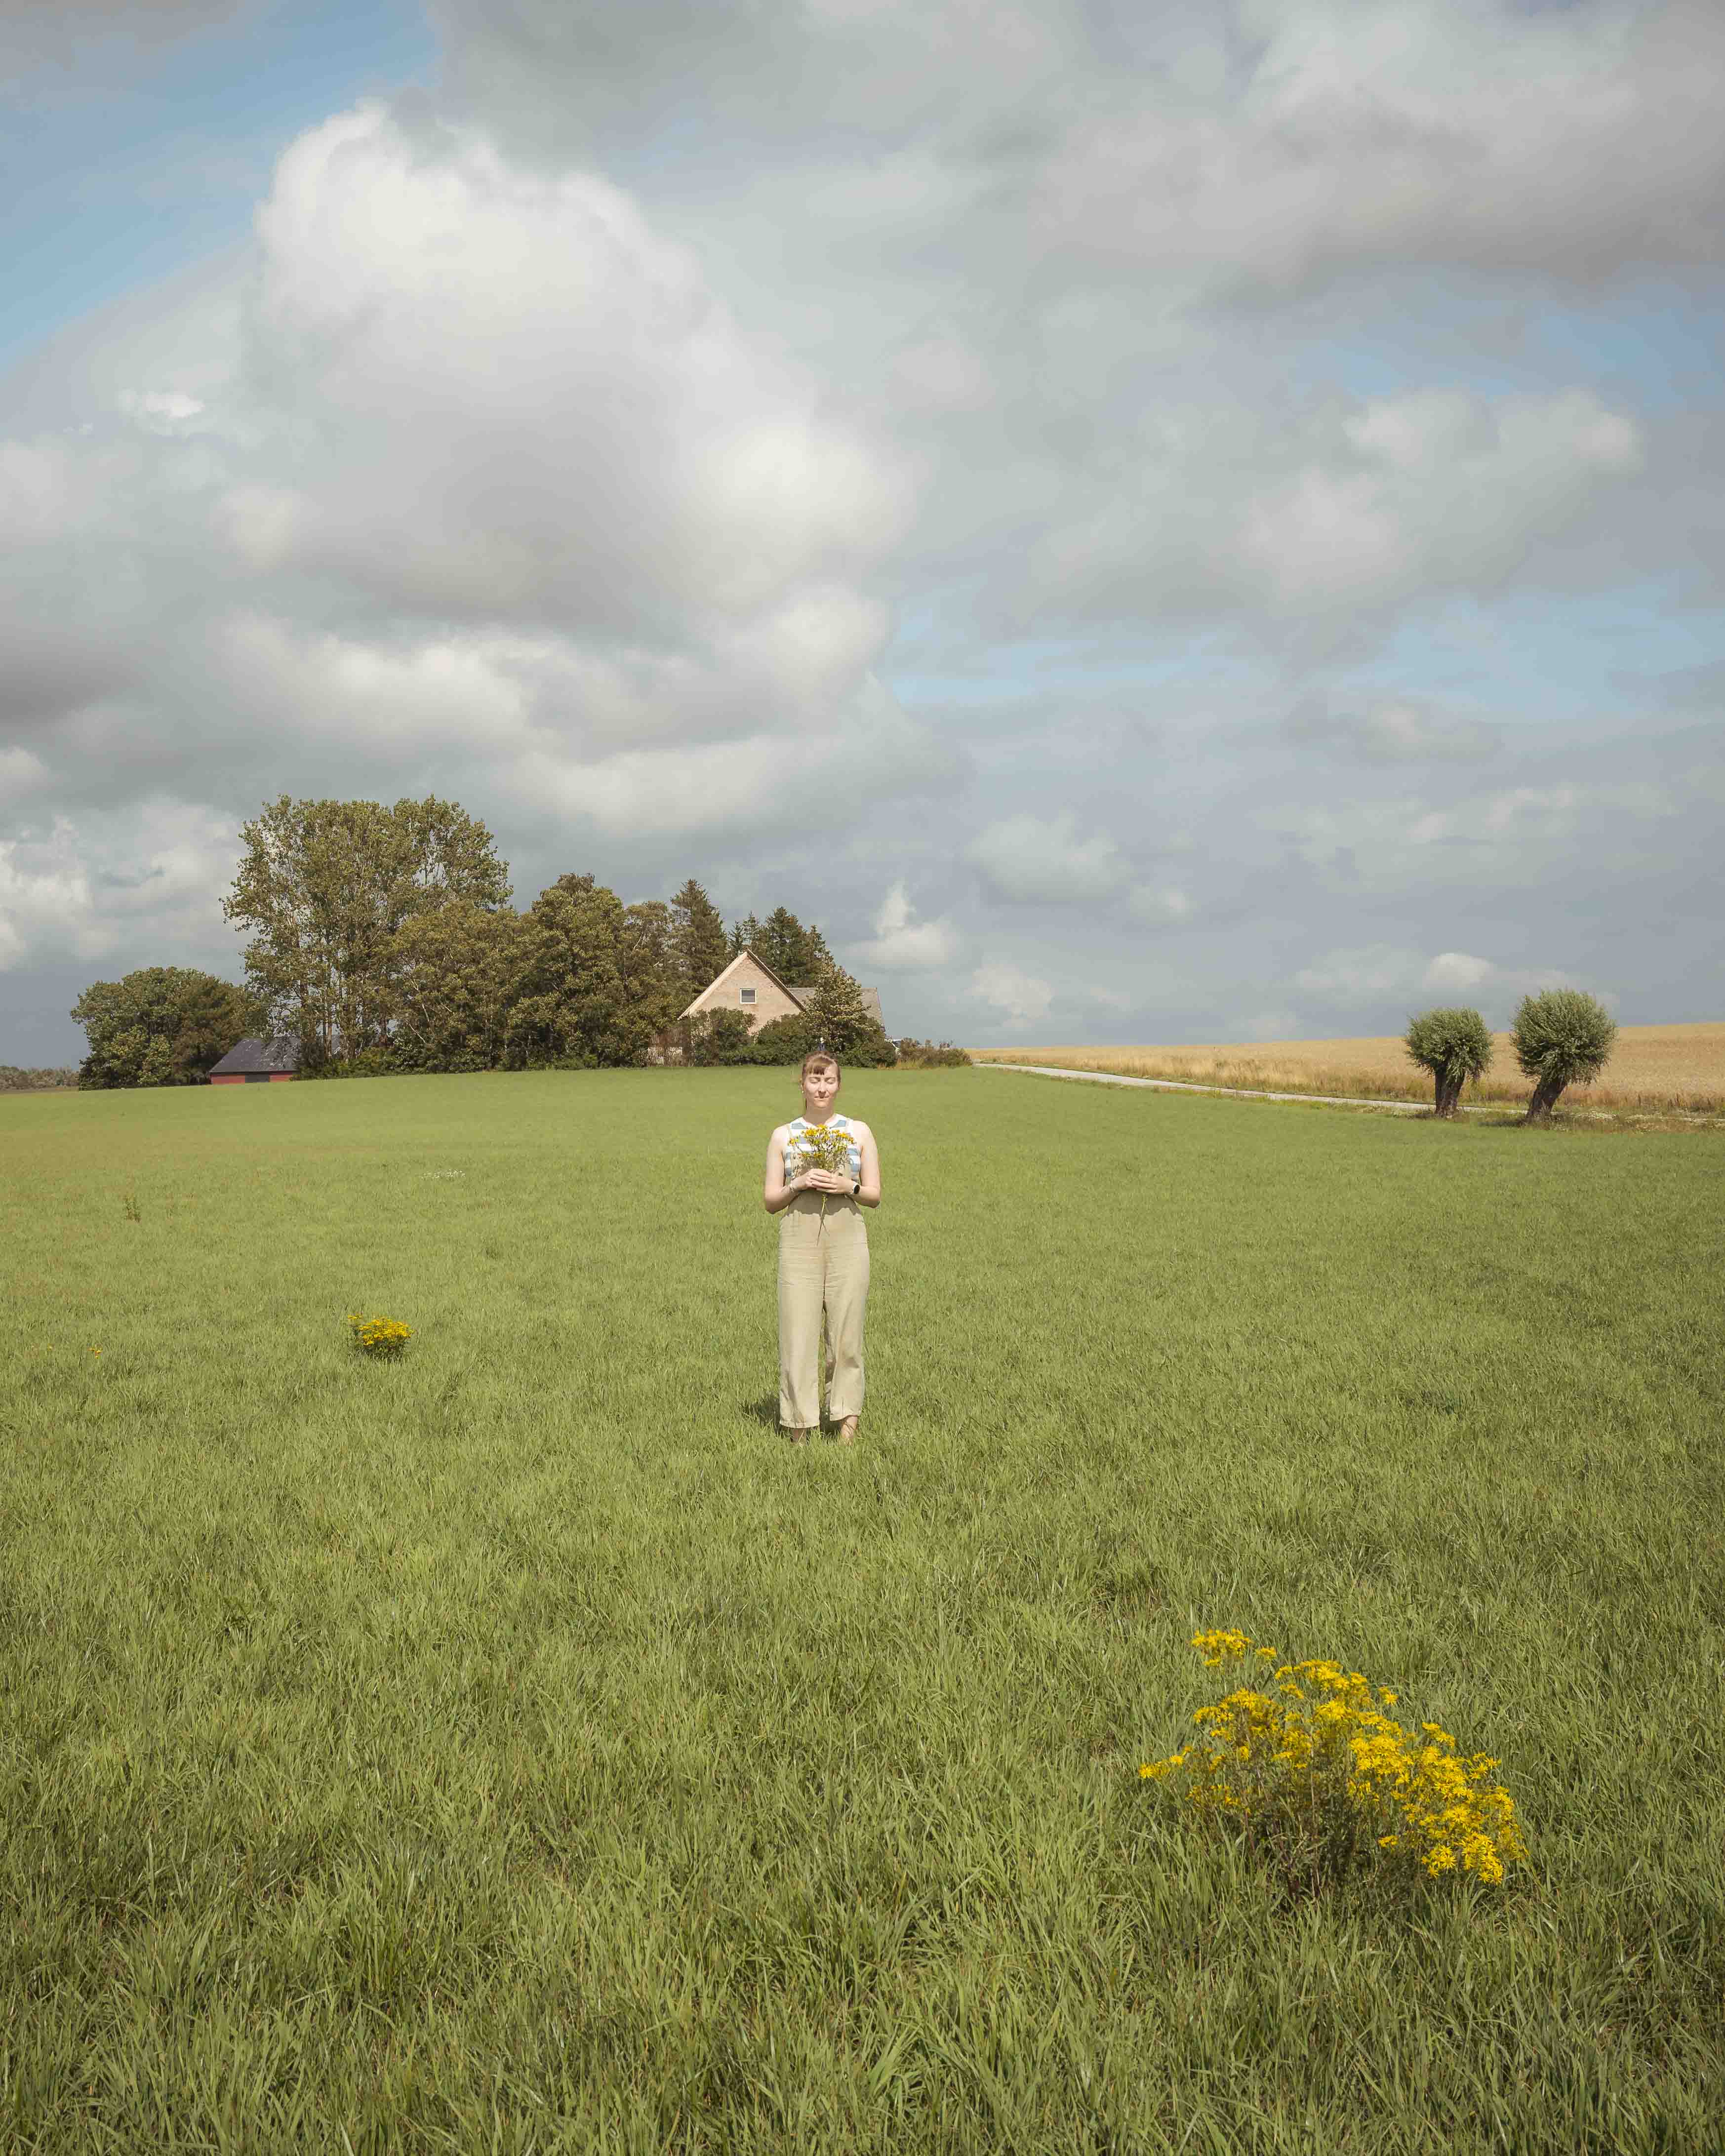
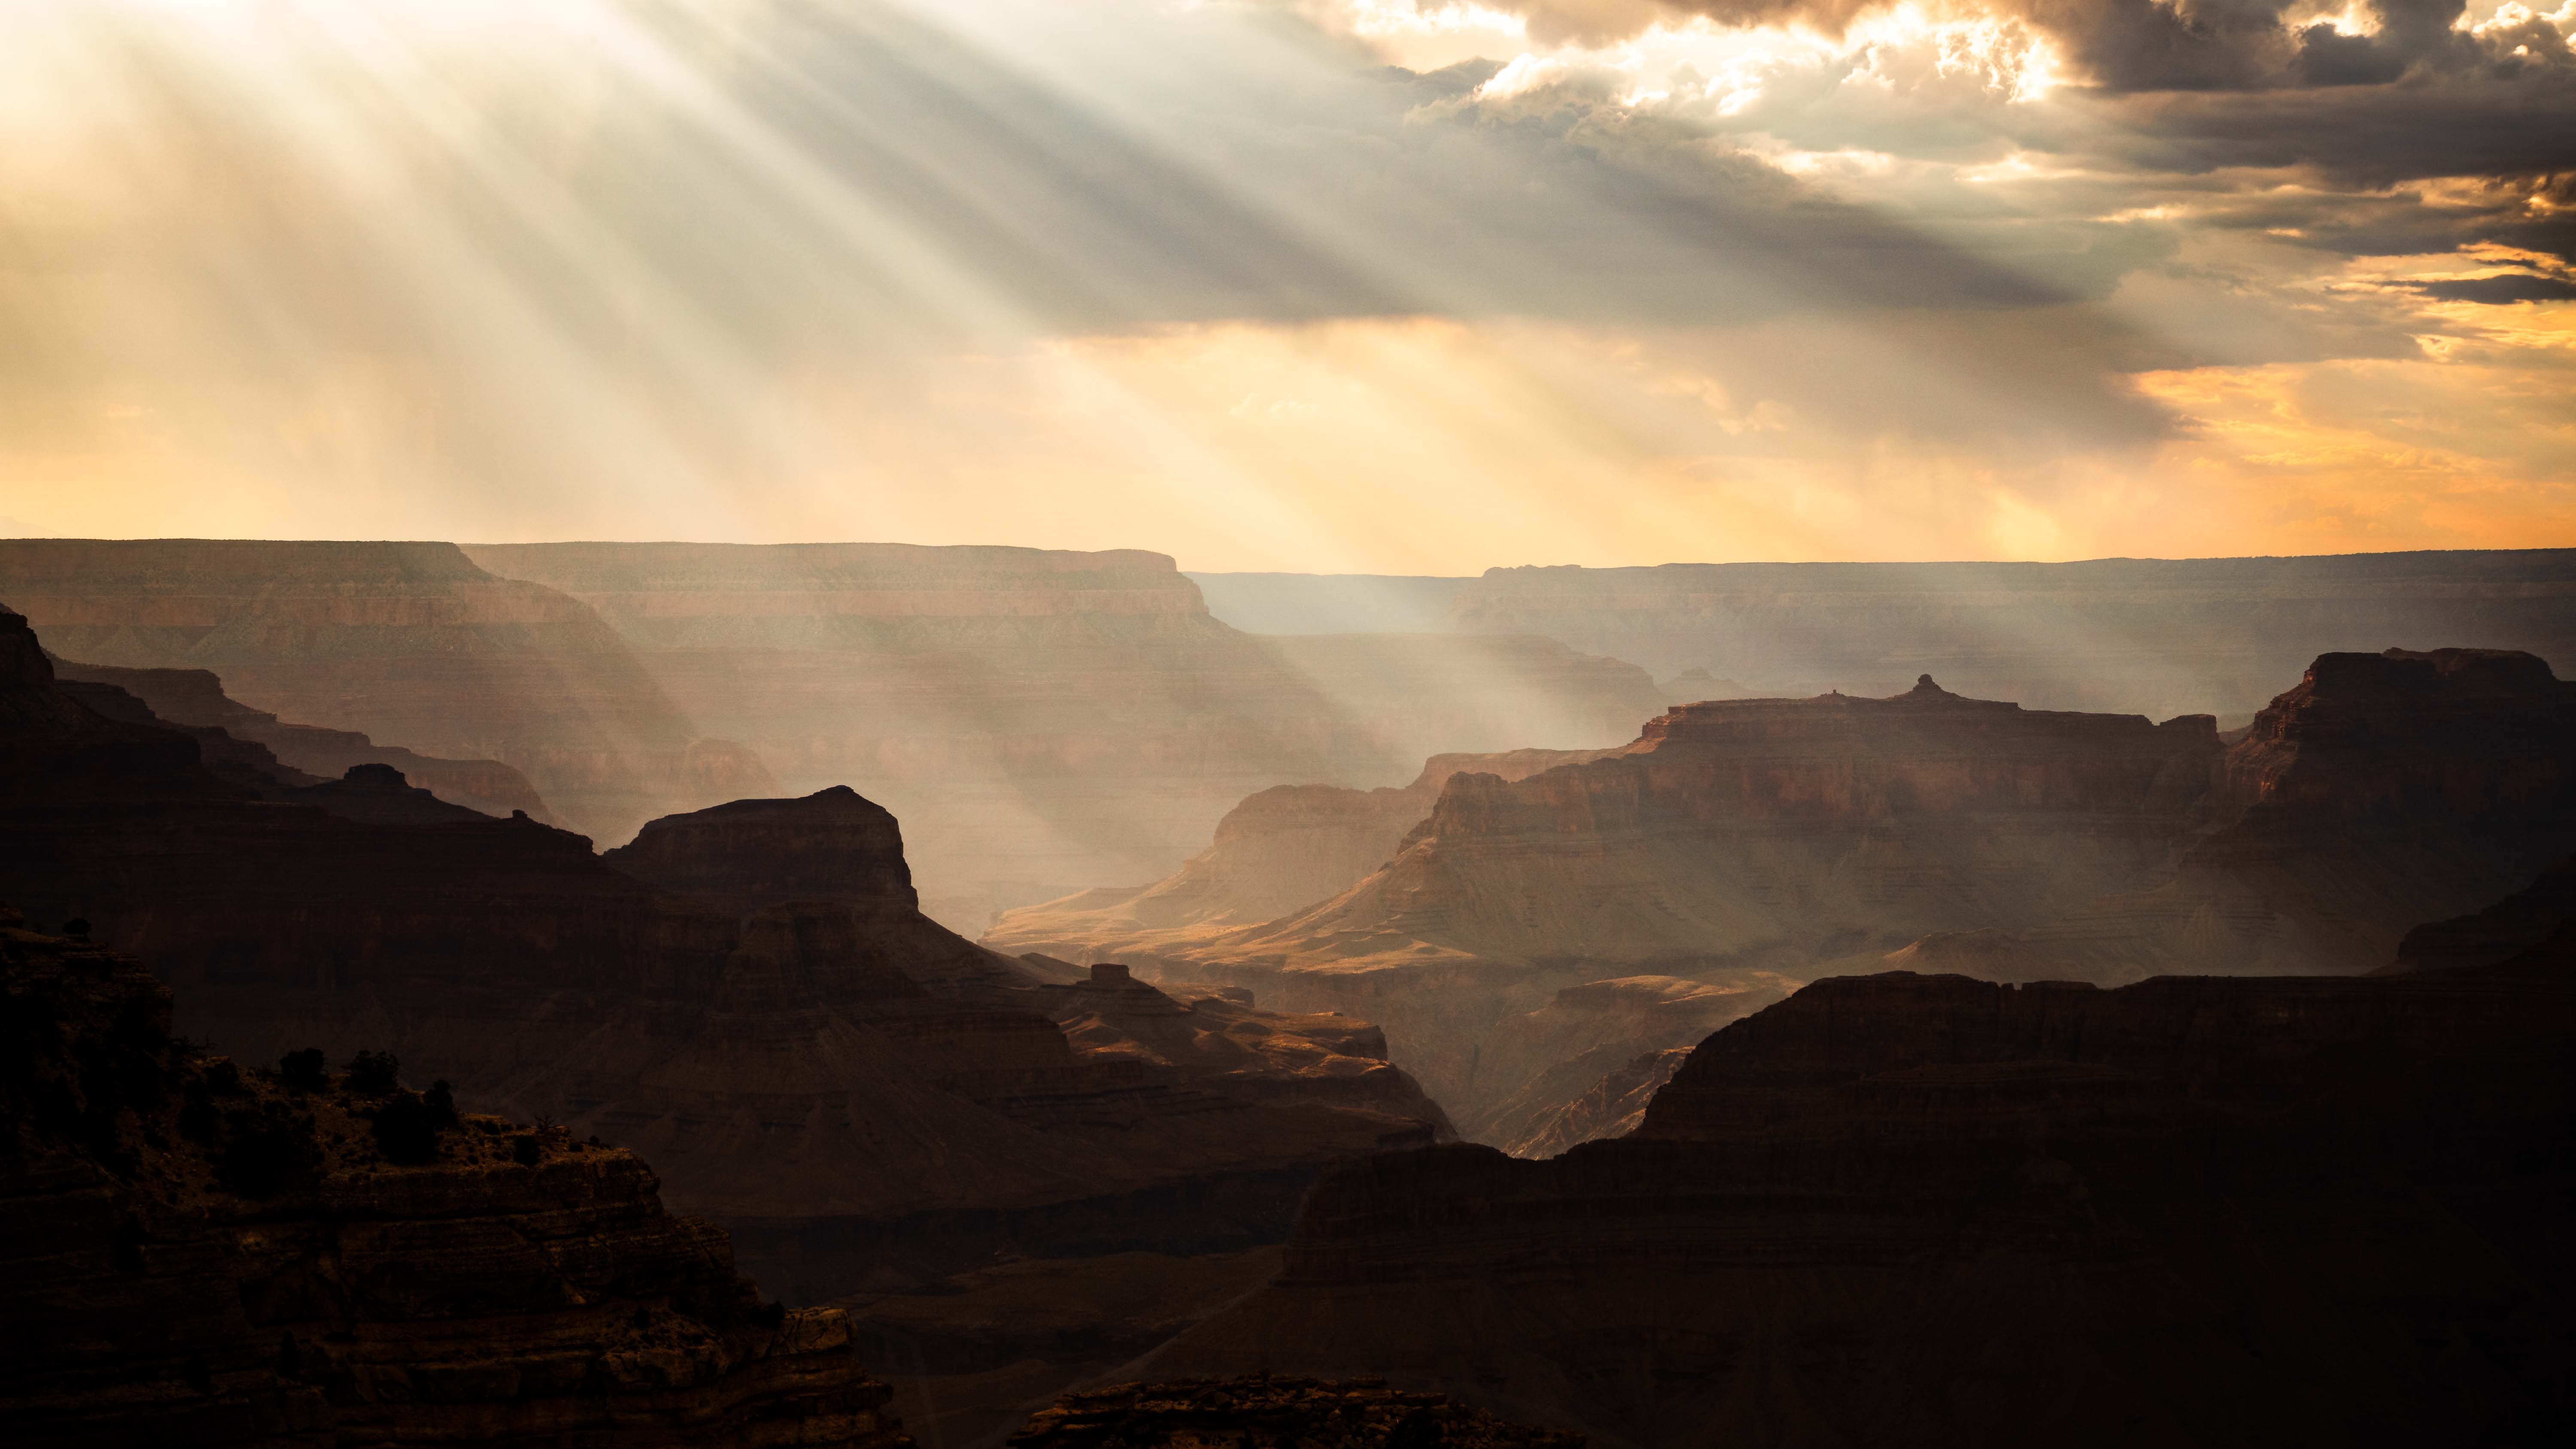
When it comes to light, simple decisions often help: if the sun is harsh, it’s better to step into open shade – for example at building corners, under arcades, or next to trees. These lighting techniques are essential for better travel photos. Particularly interesting are shadow edges – the transition between light and shadow. There you get depth in the image and still have controlled light on the face. For clean skin tones, expose more for the face and quickly check that no harsh spots run across the eyes or nose. Use light and shadow deliberately as design elements – shadows can dramatize, backlighting can create halos, soft side light can reveal structure. The more consciously you work with light, the stronger your travel photos and travel photography becomes overall.
Think Travel Photos in Image Series Rather Than Individual Shots
For stronger series in travel photography, a simple workflow helps me: first an overview (wide), then middle distance (medium), then details (tight). This way, I tell the story of the place not just with a single image, but as a small narrative of travel photos. Additionally, I vary the perspective, work with light and shadow, and include movement or people when it fits.
Here’s what each perspective should accomplish:
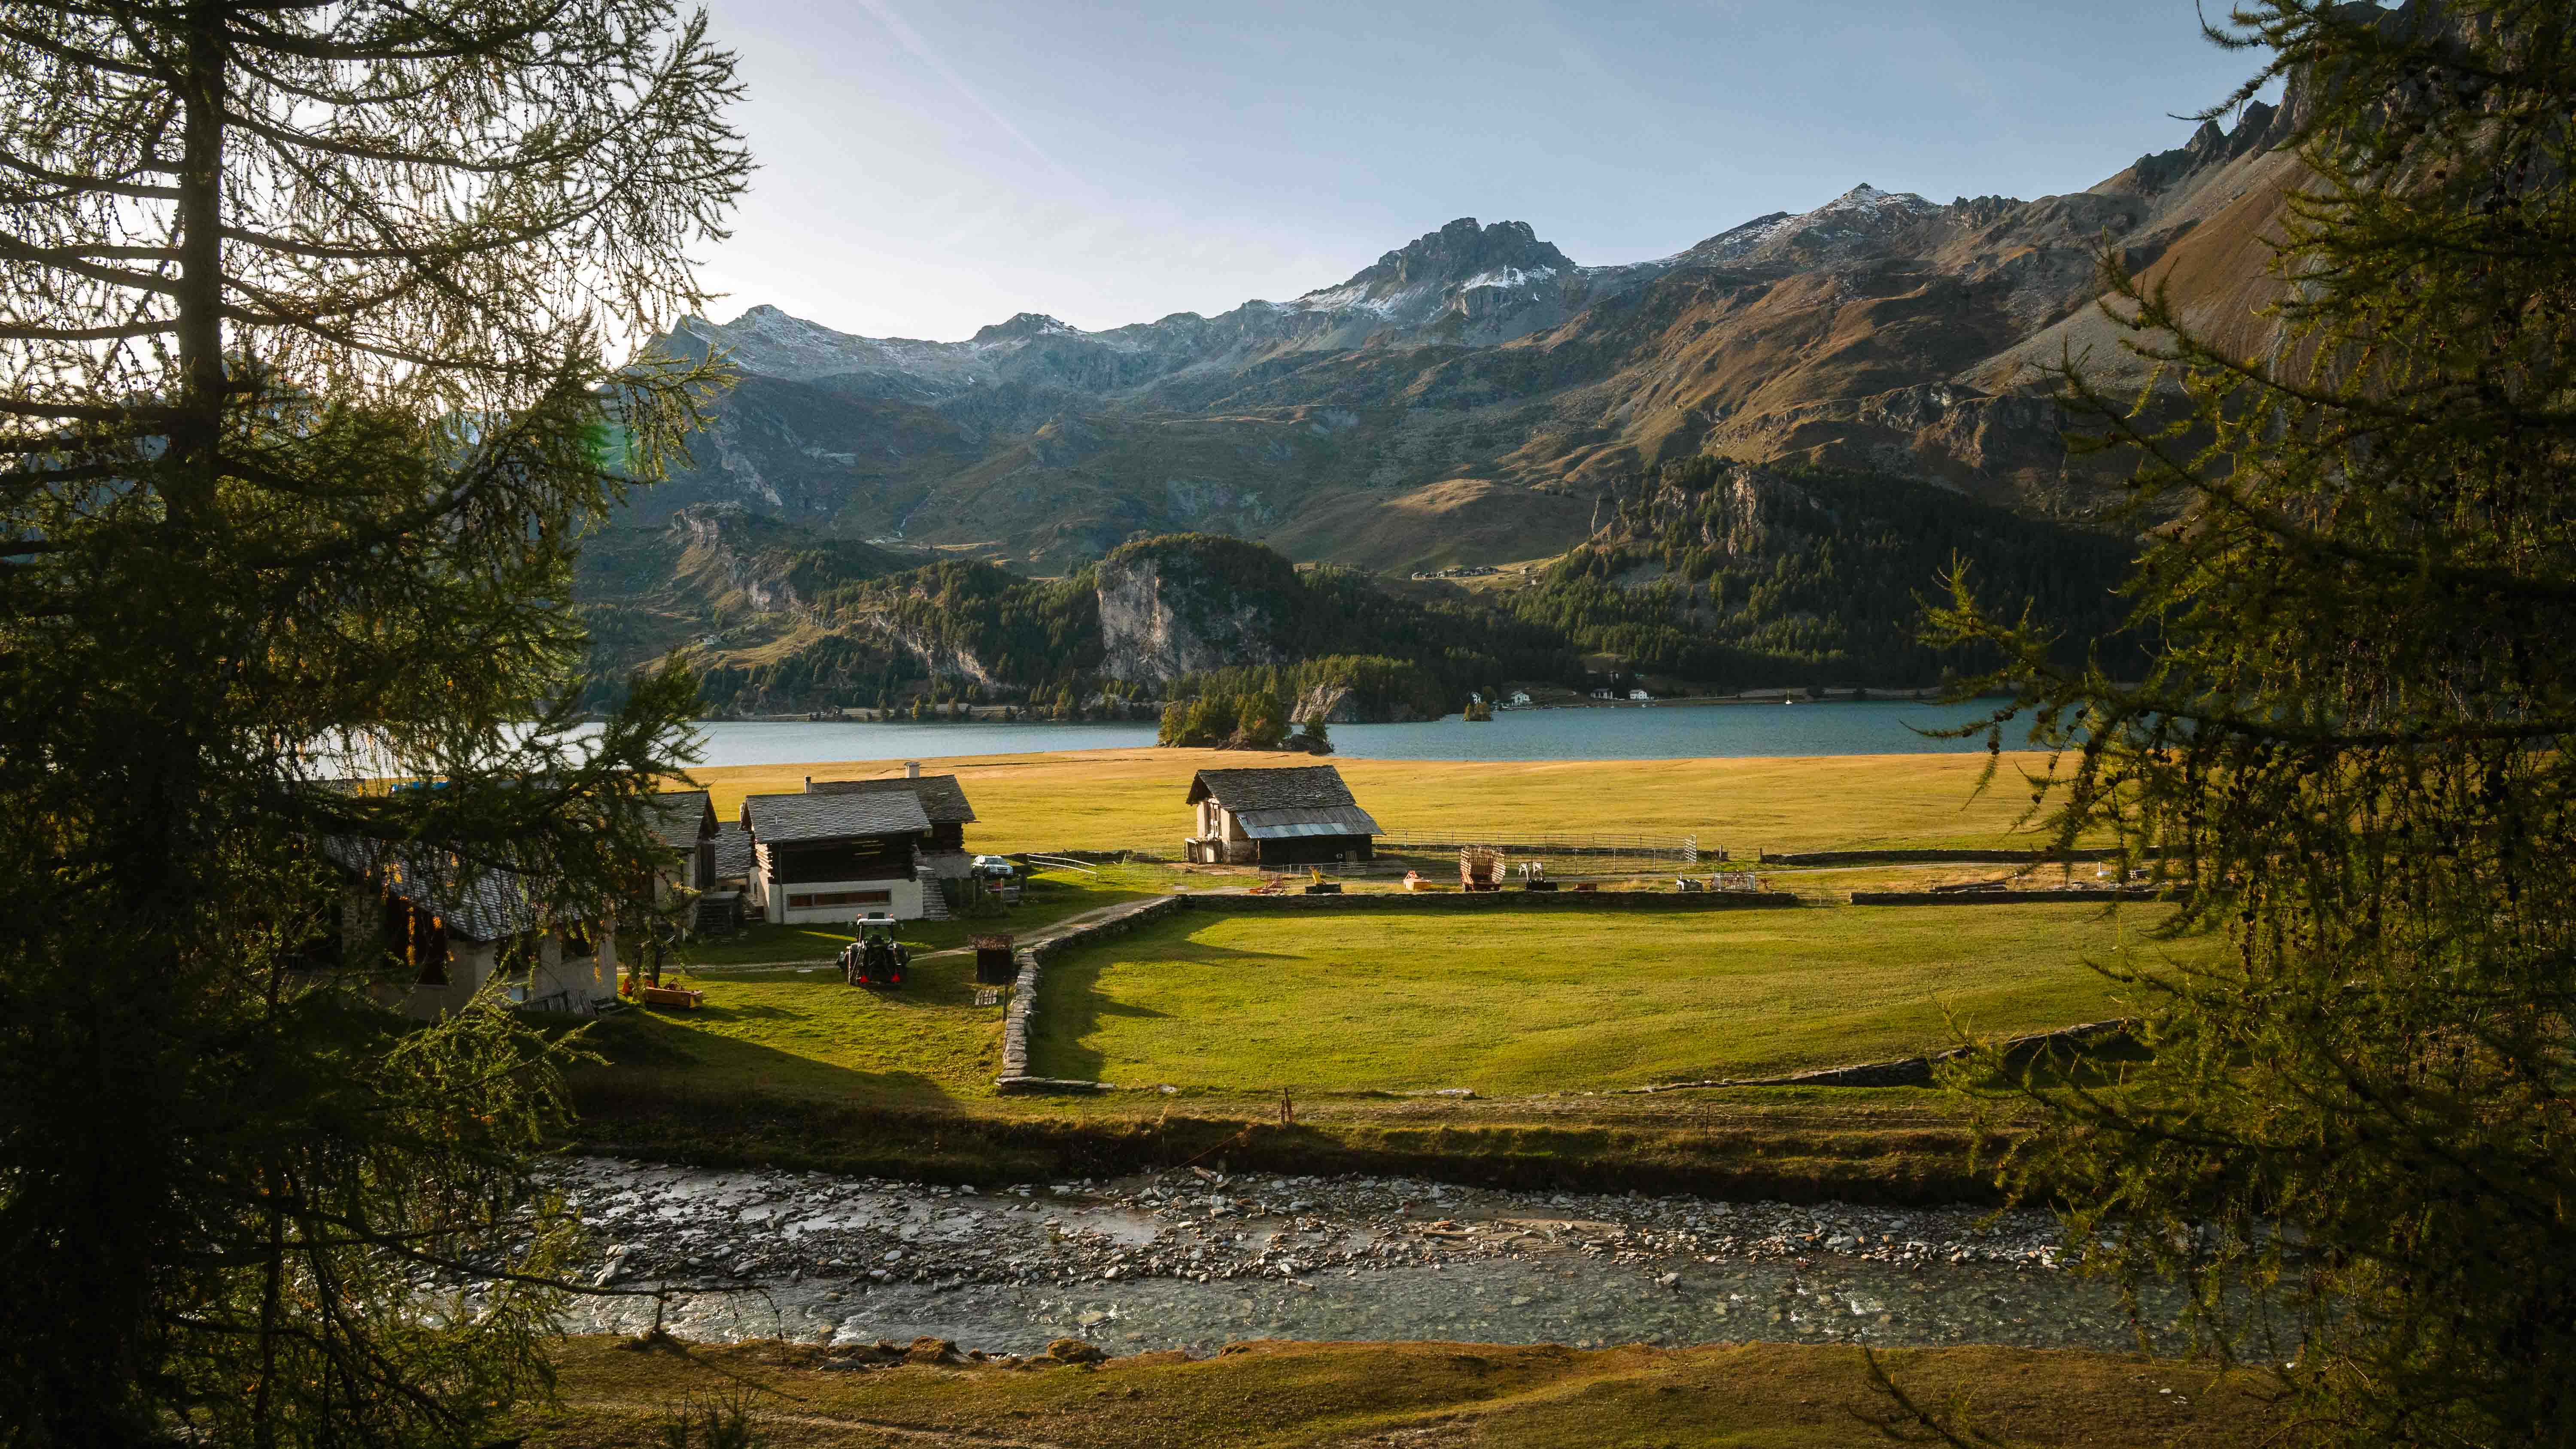
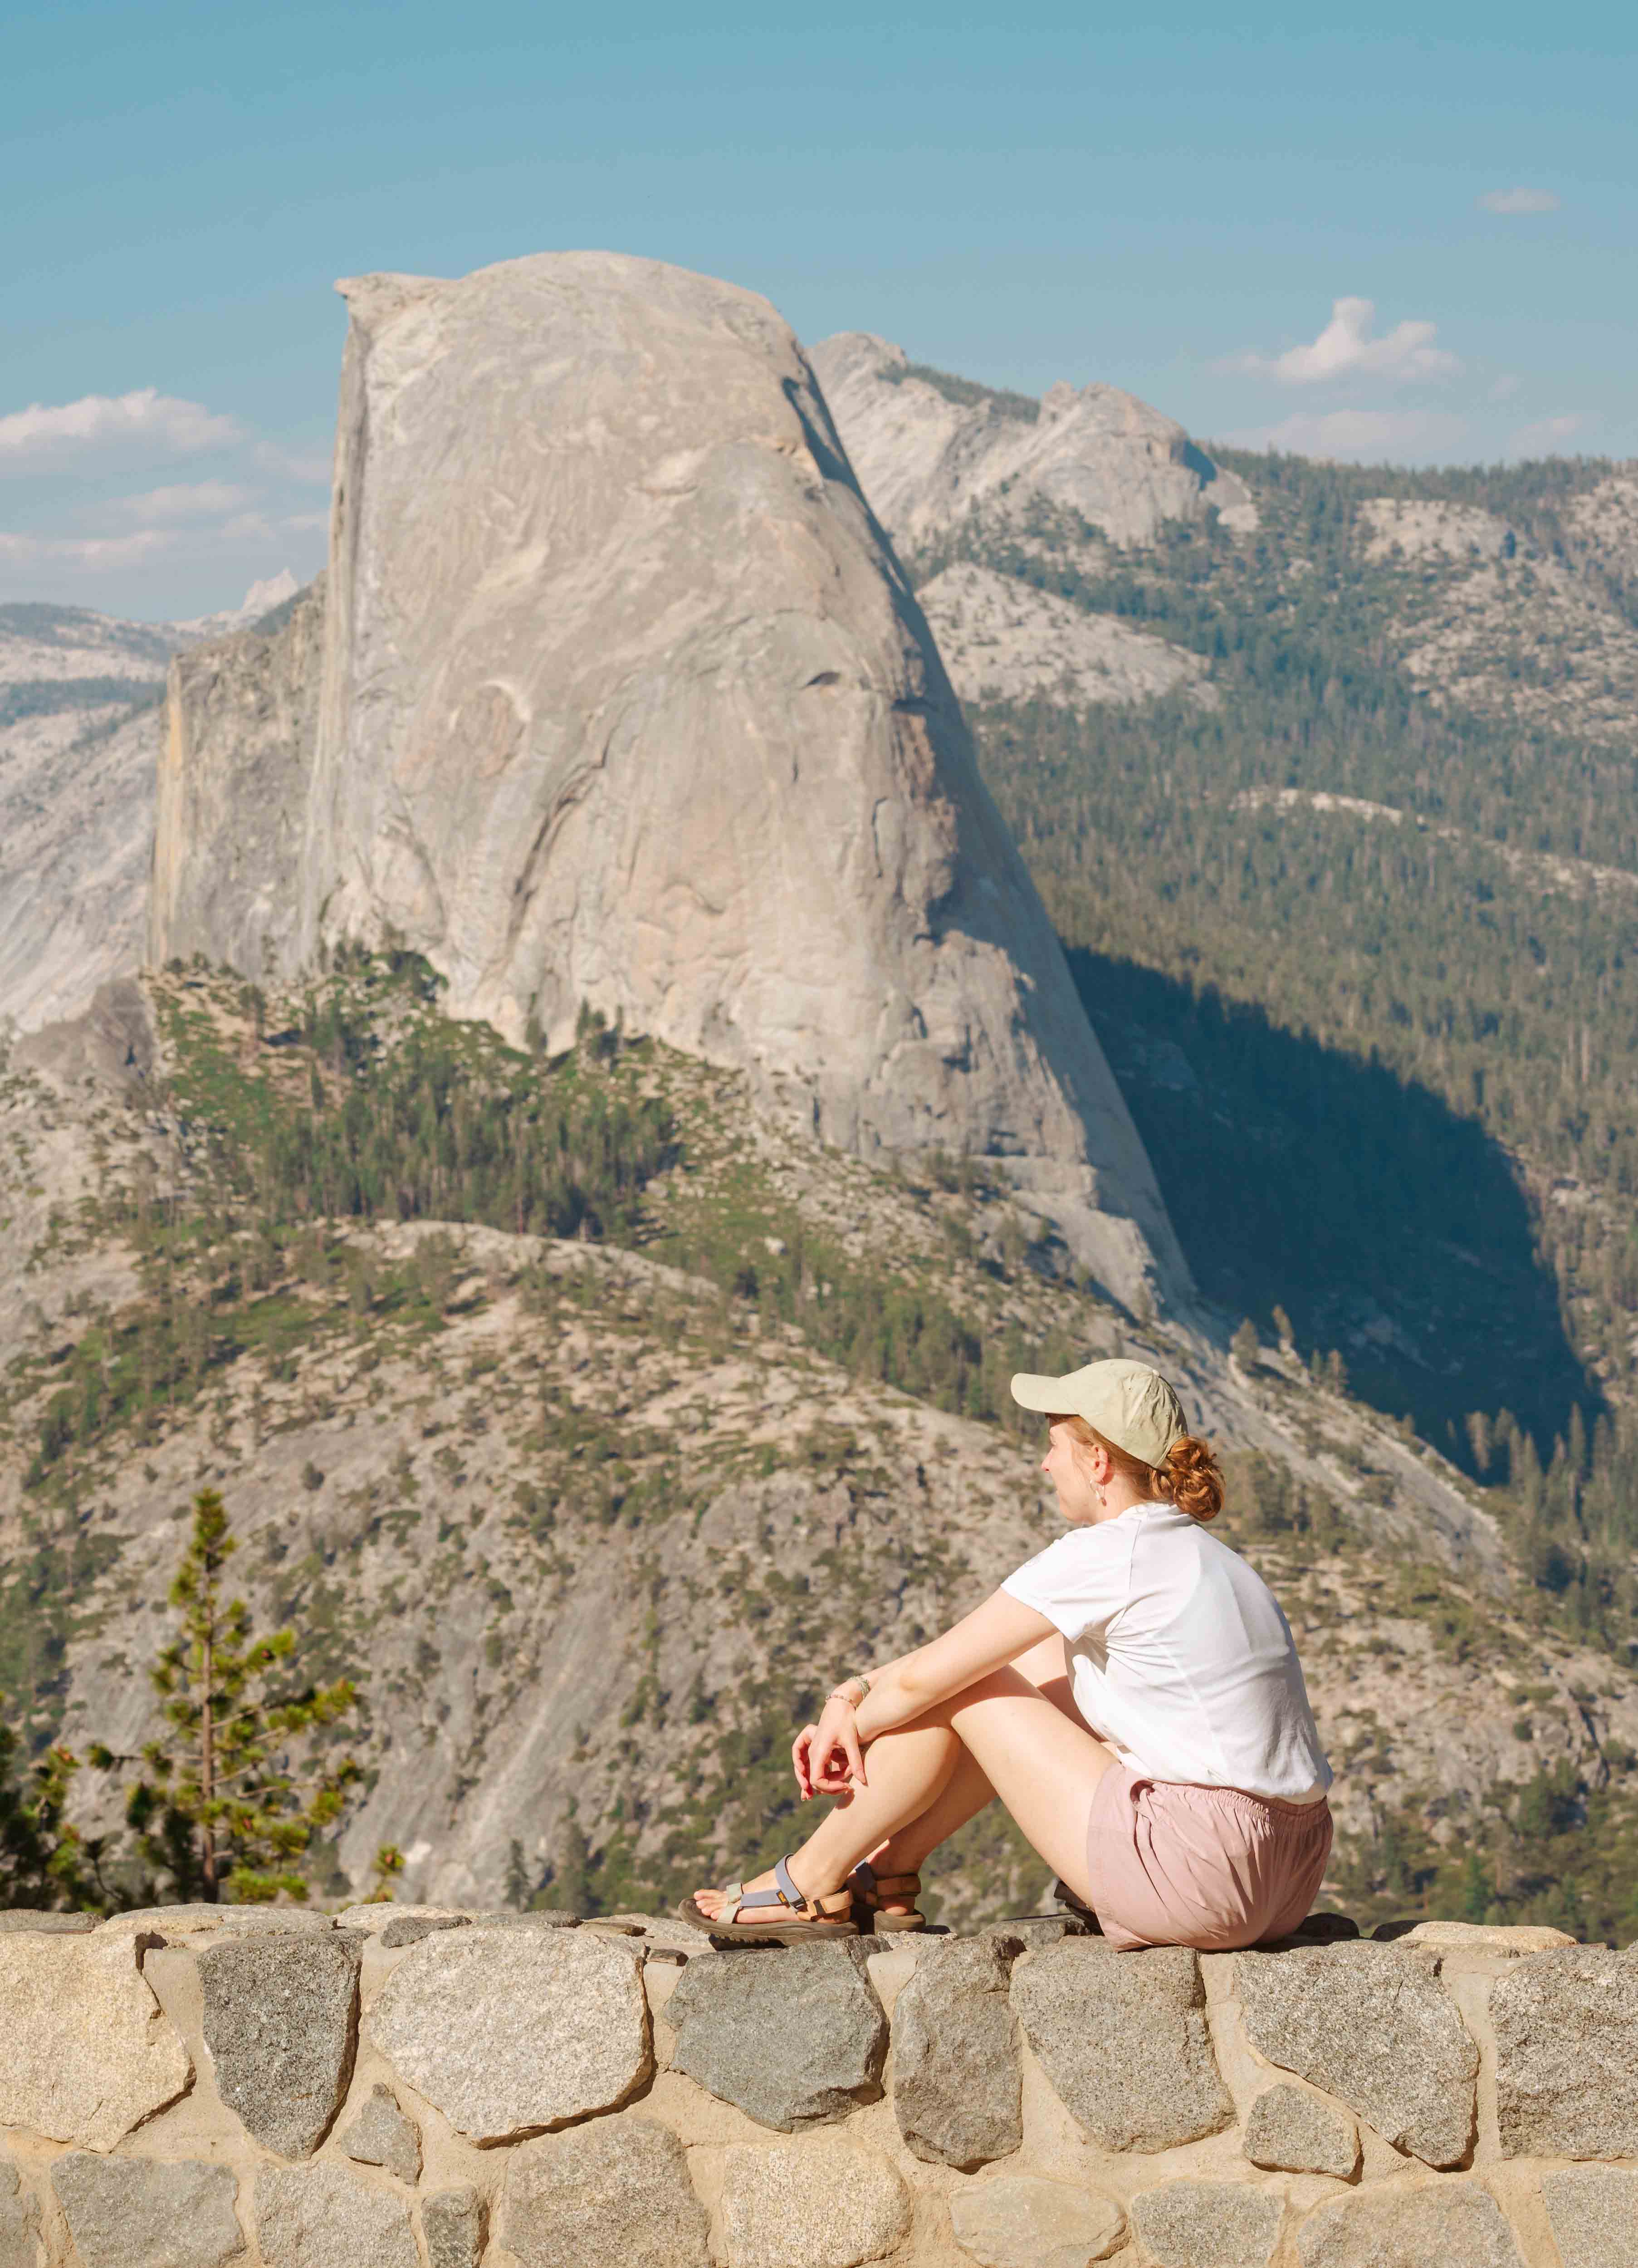
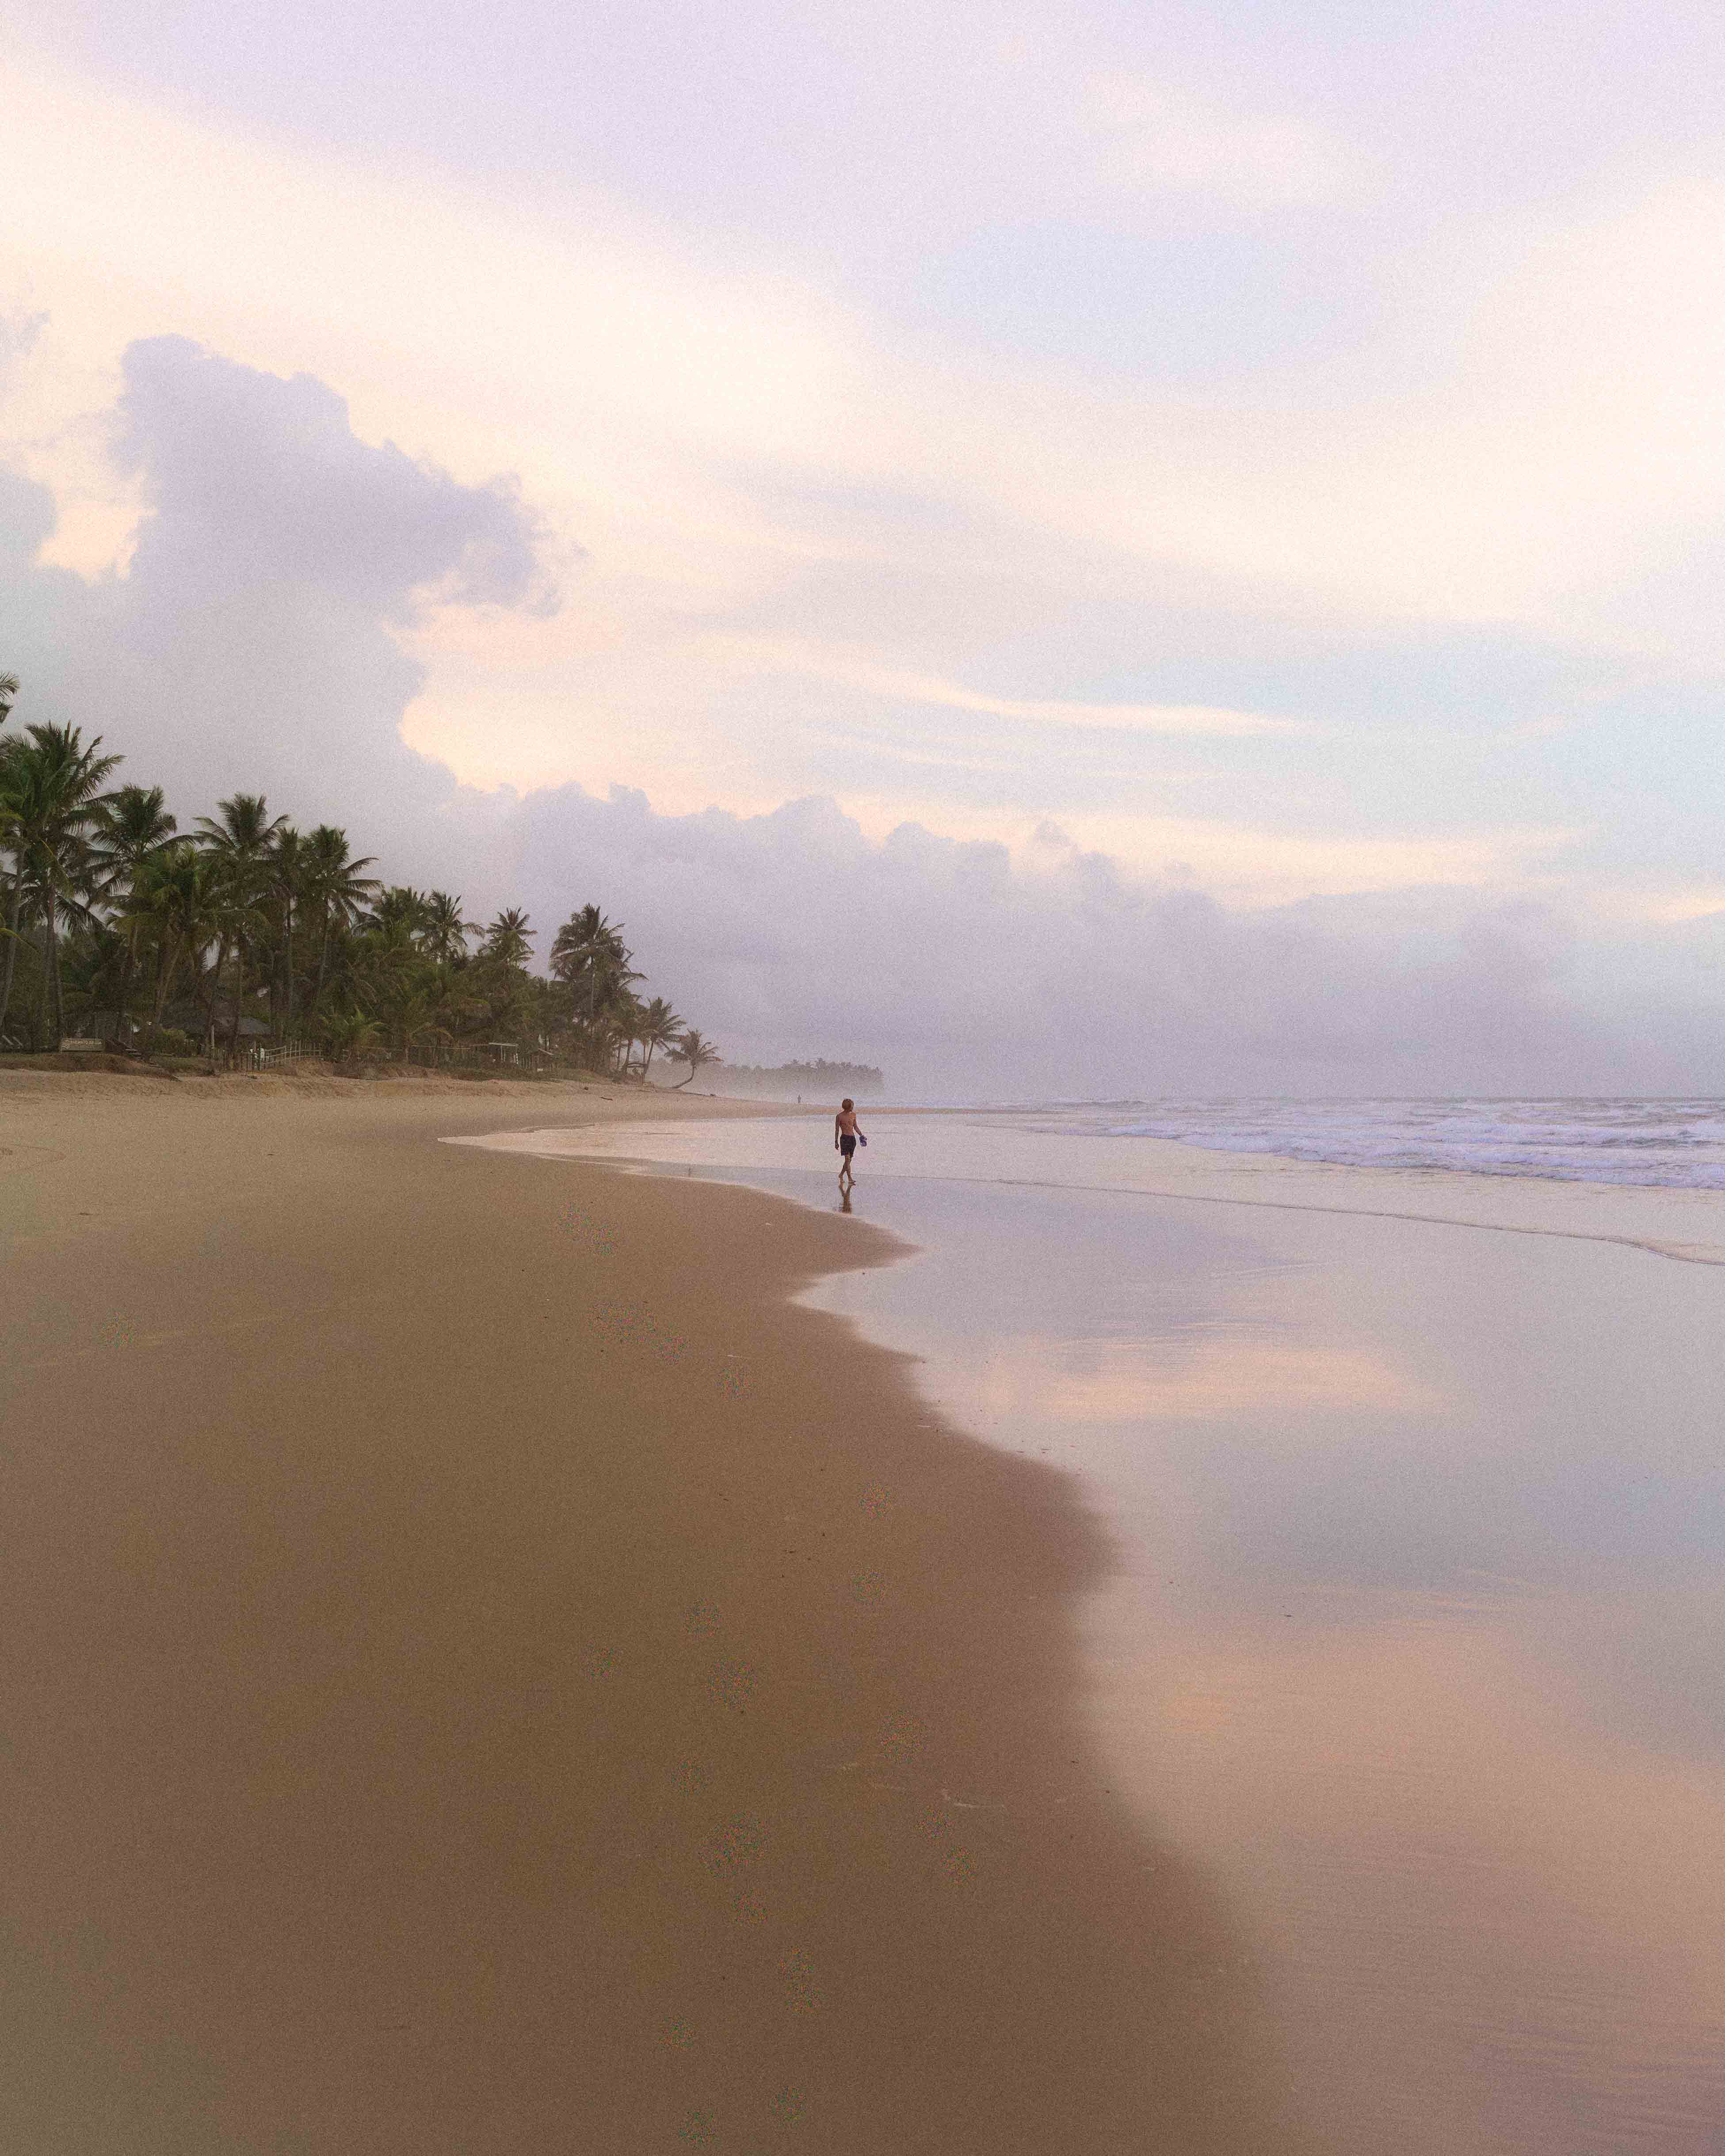
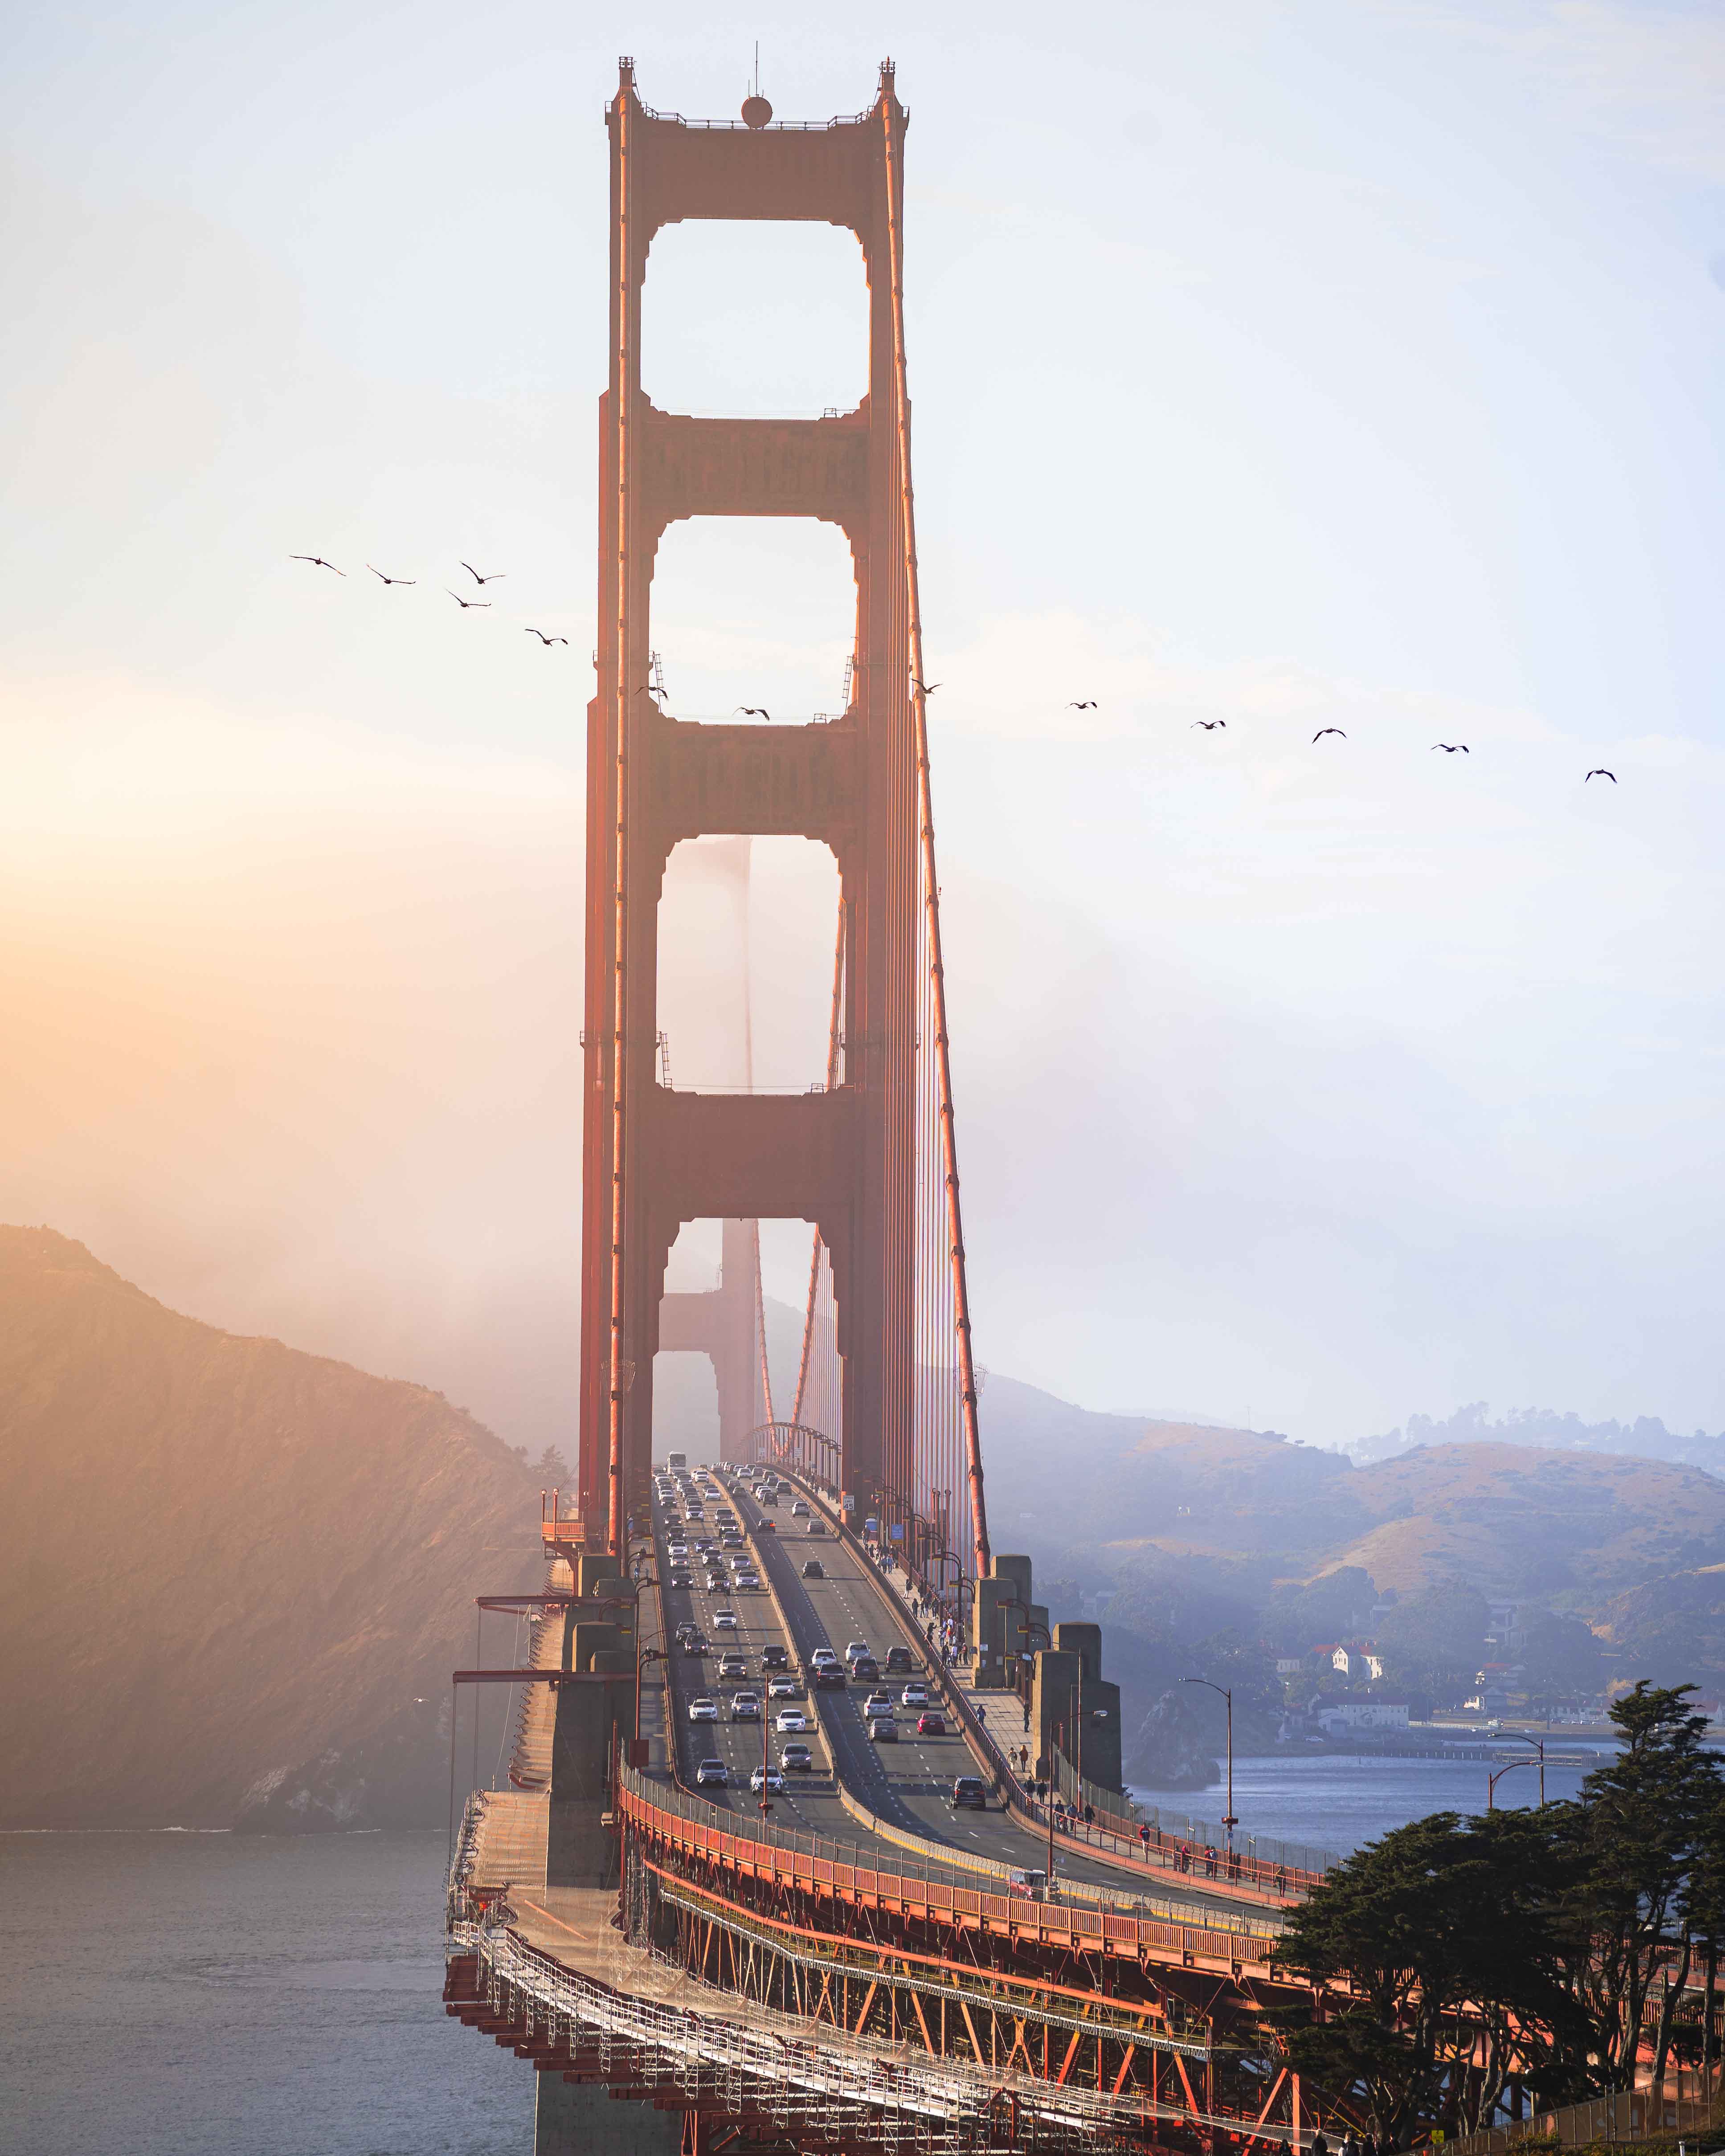
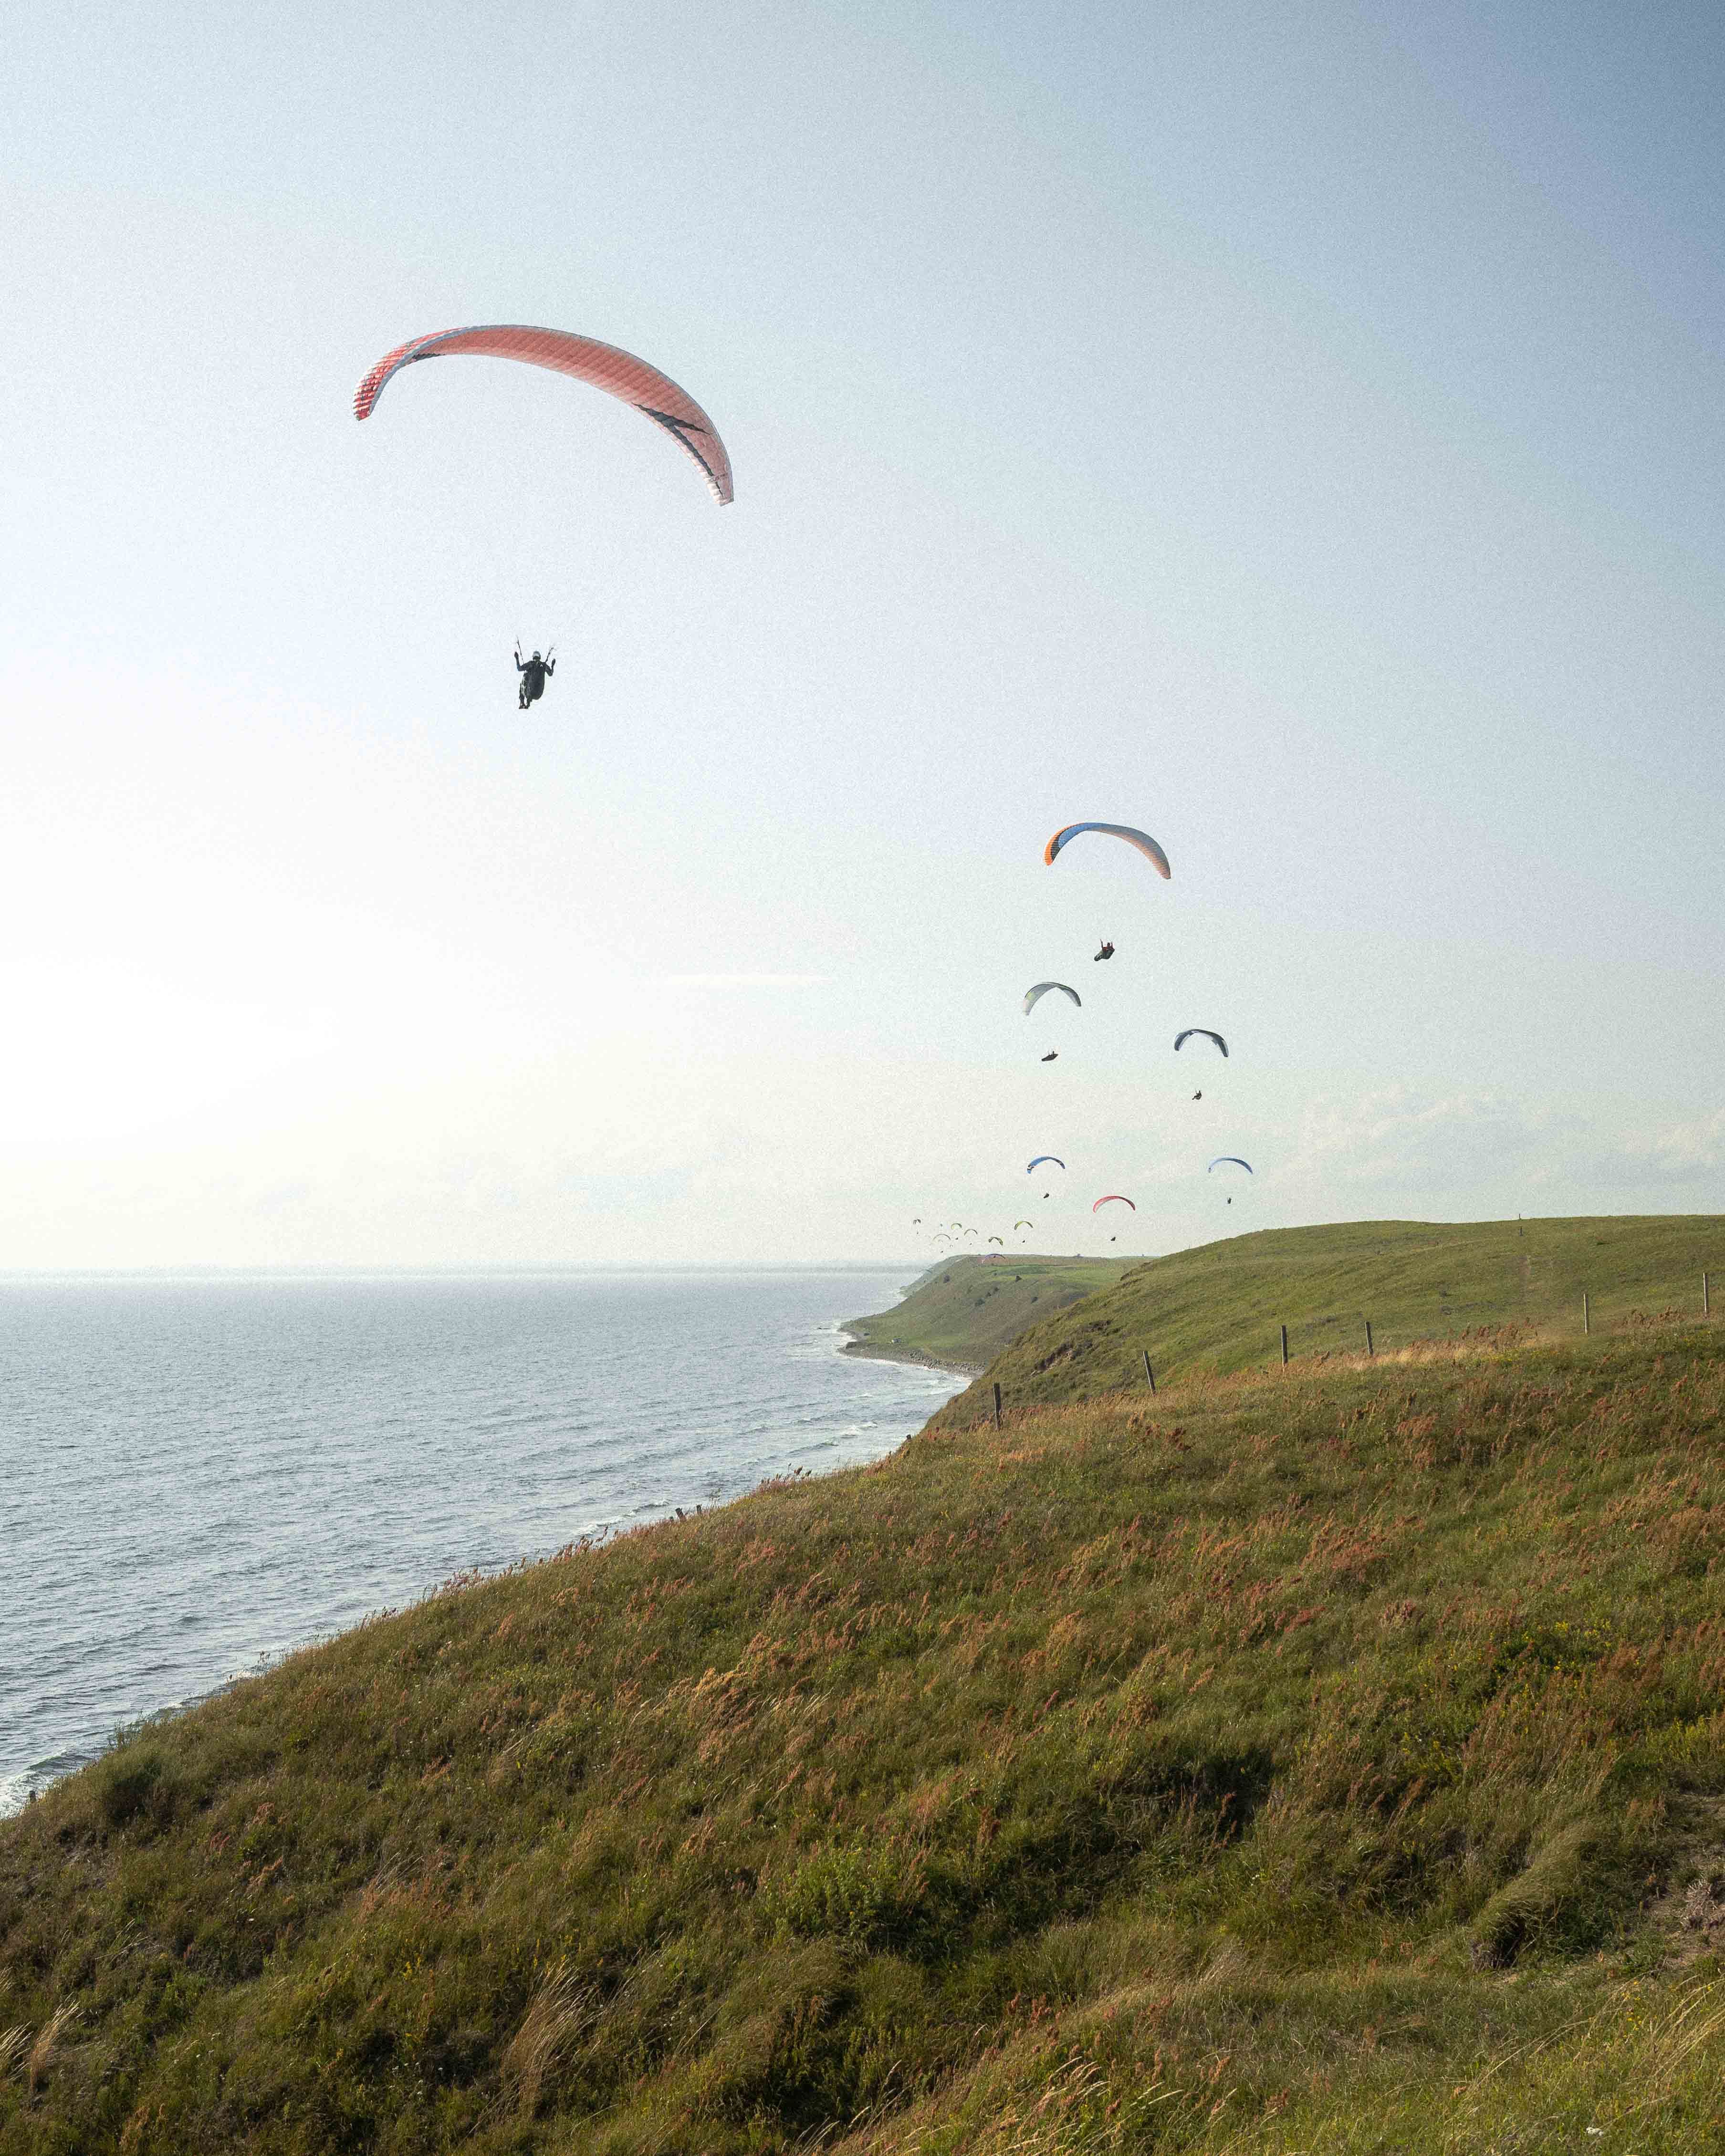
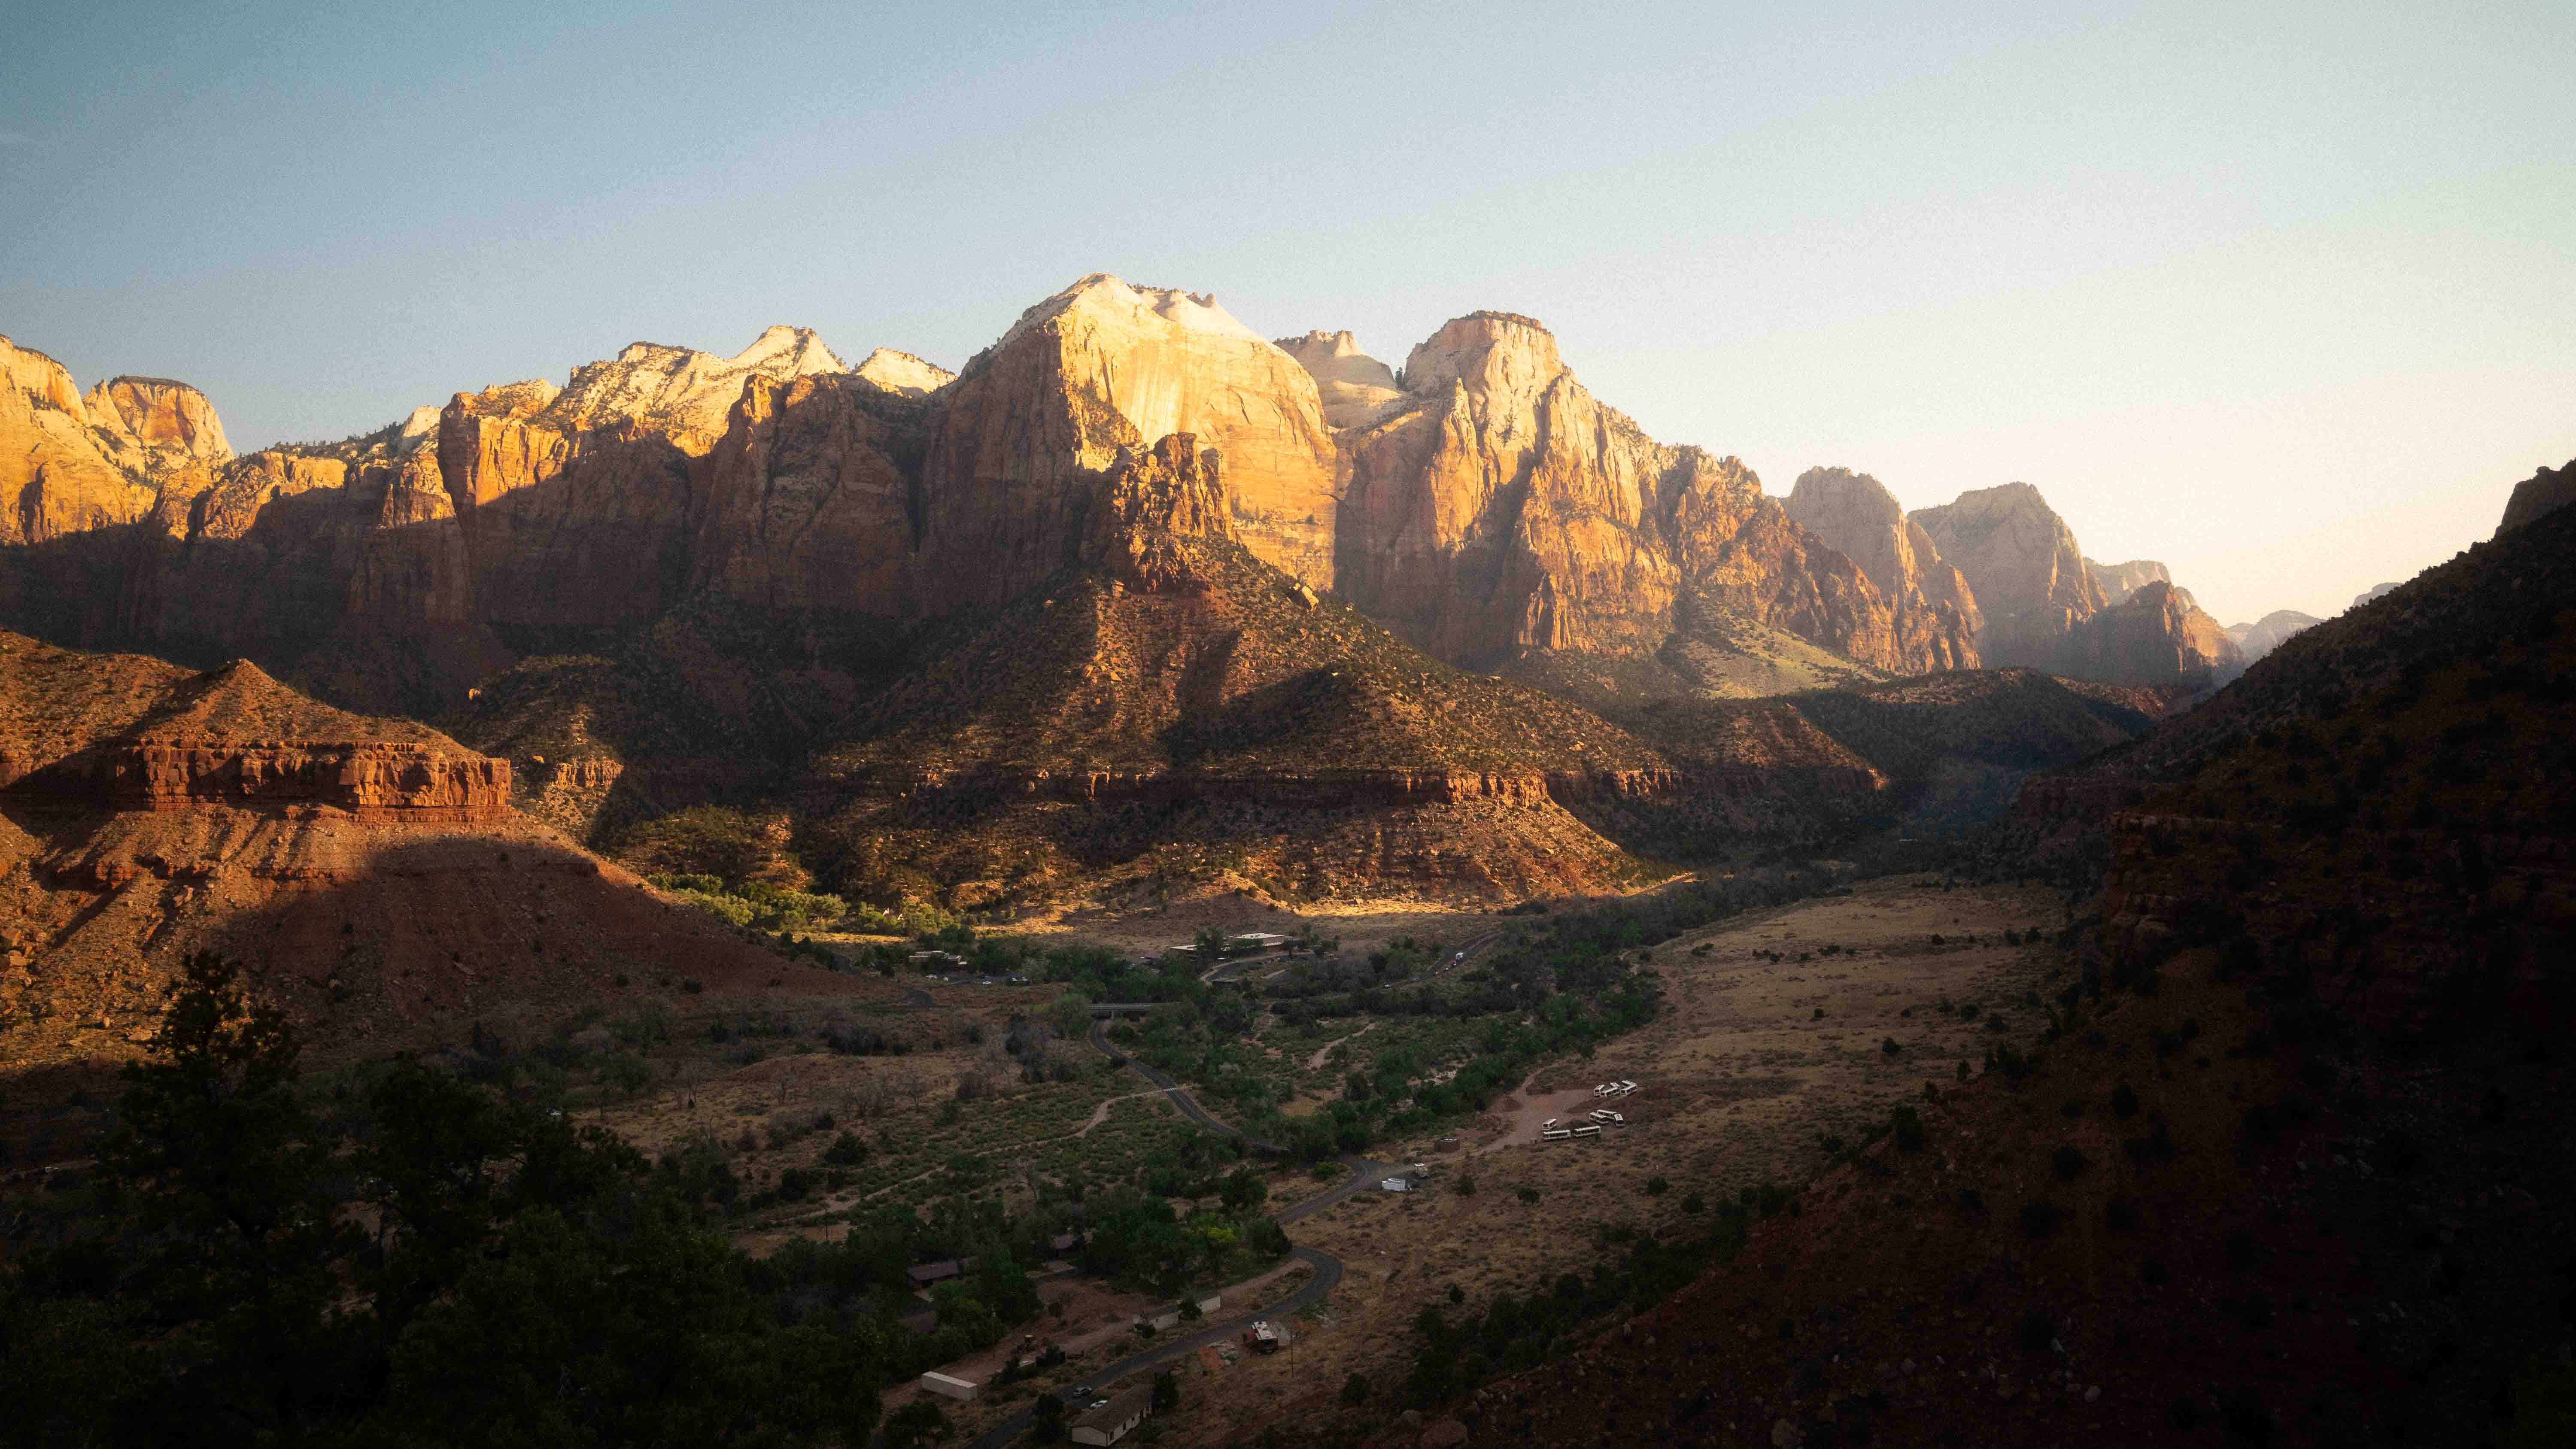
Wide (Overview): This perspective shows the place, the mood, and the context. A typical example for travel photos is an entire marketplace in evening light, a coastline with a hiking trail, or a street scene with architecture on both sides.
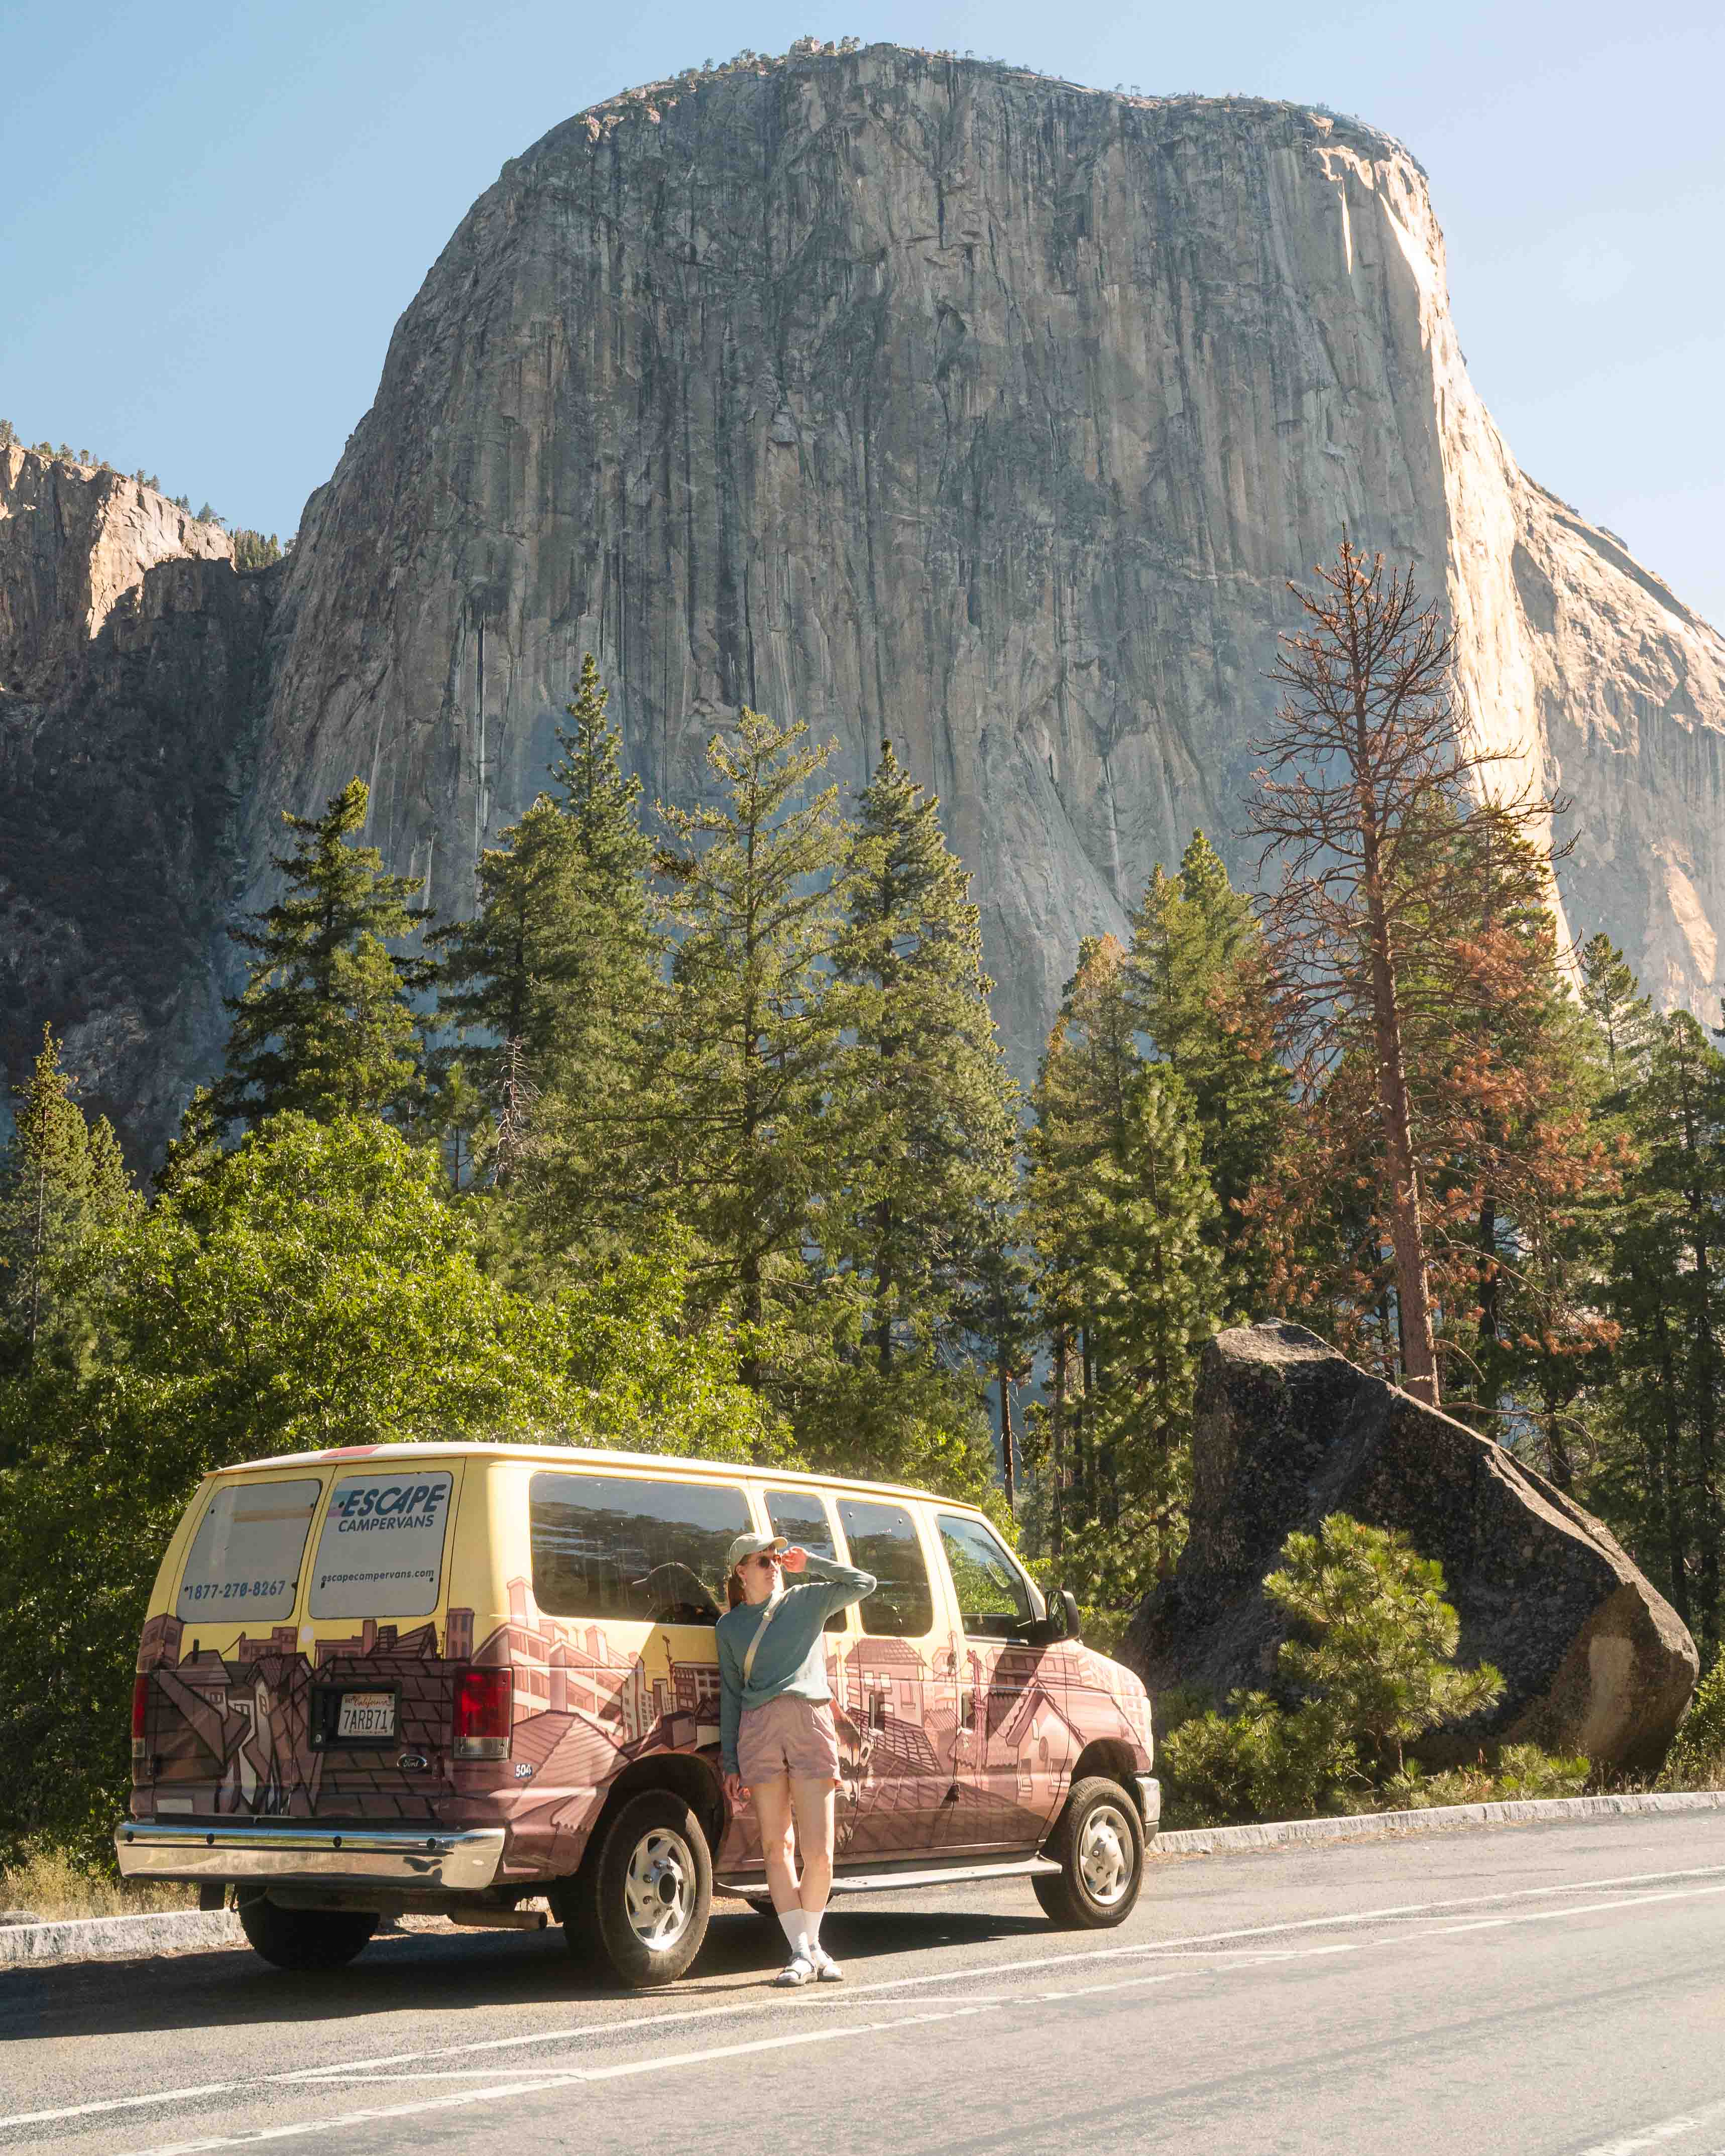
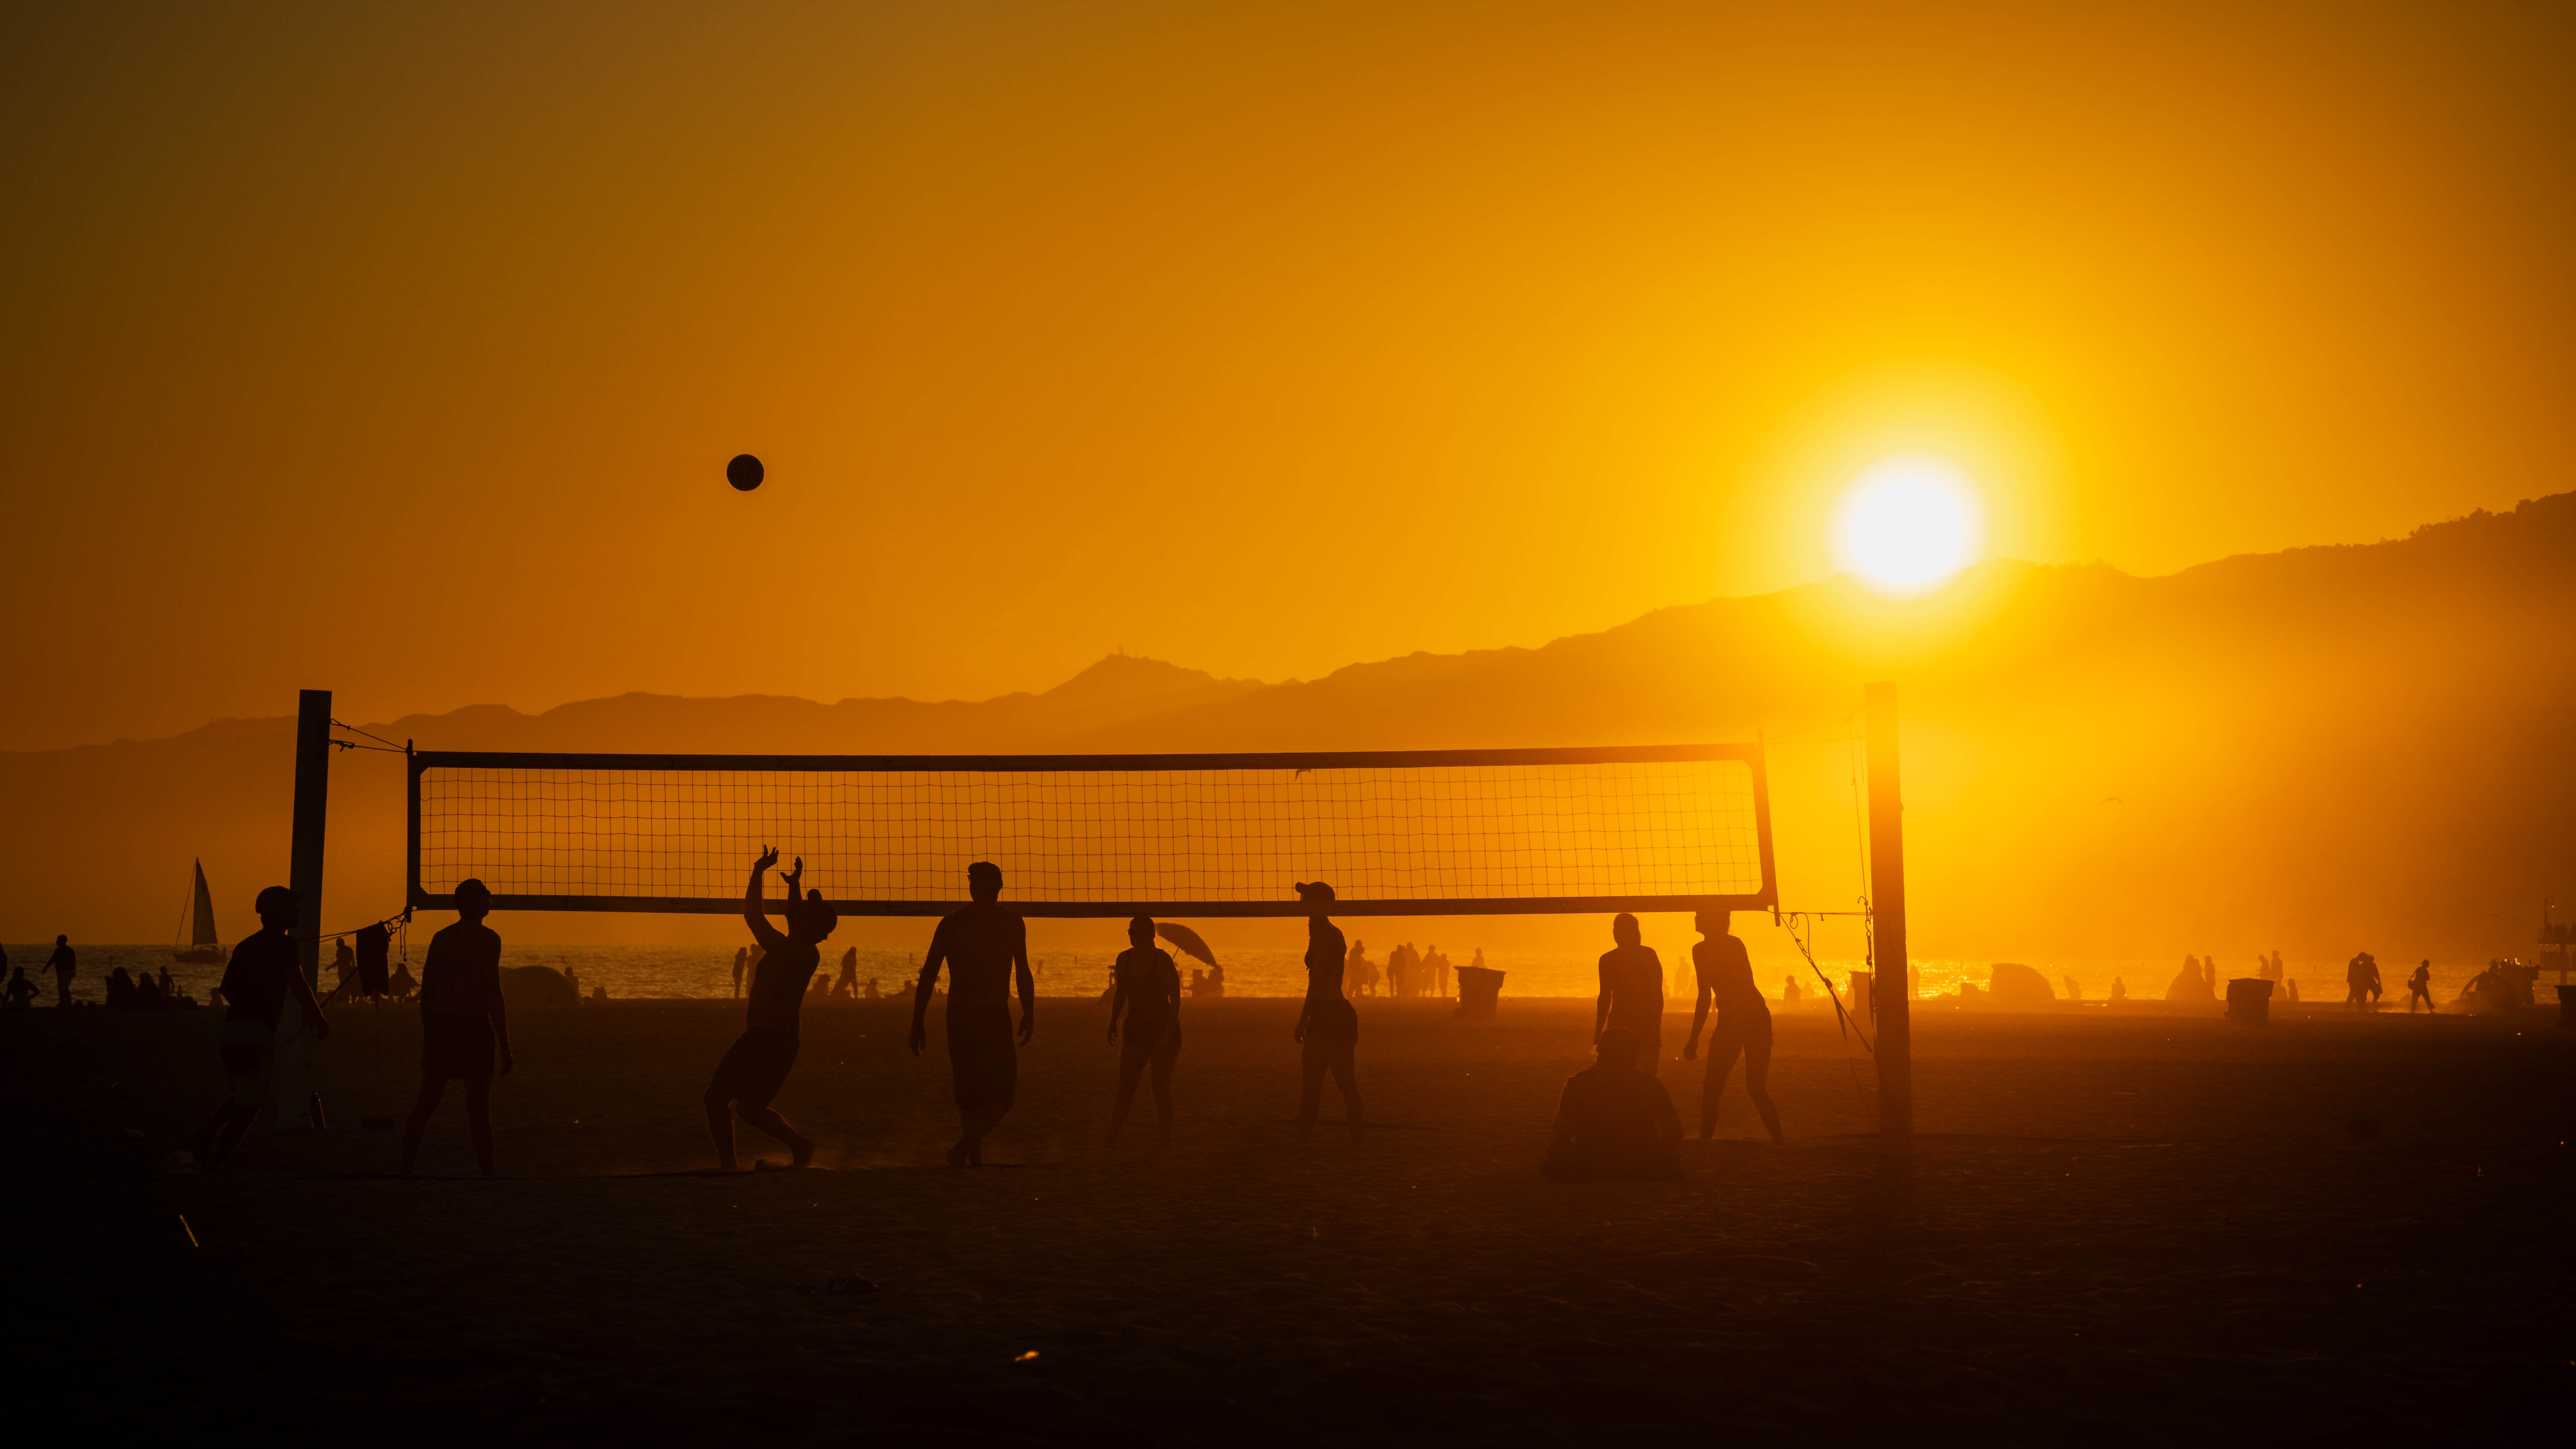
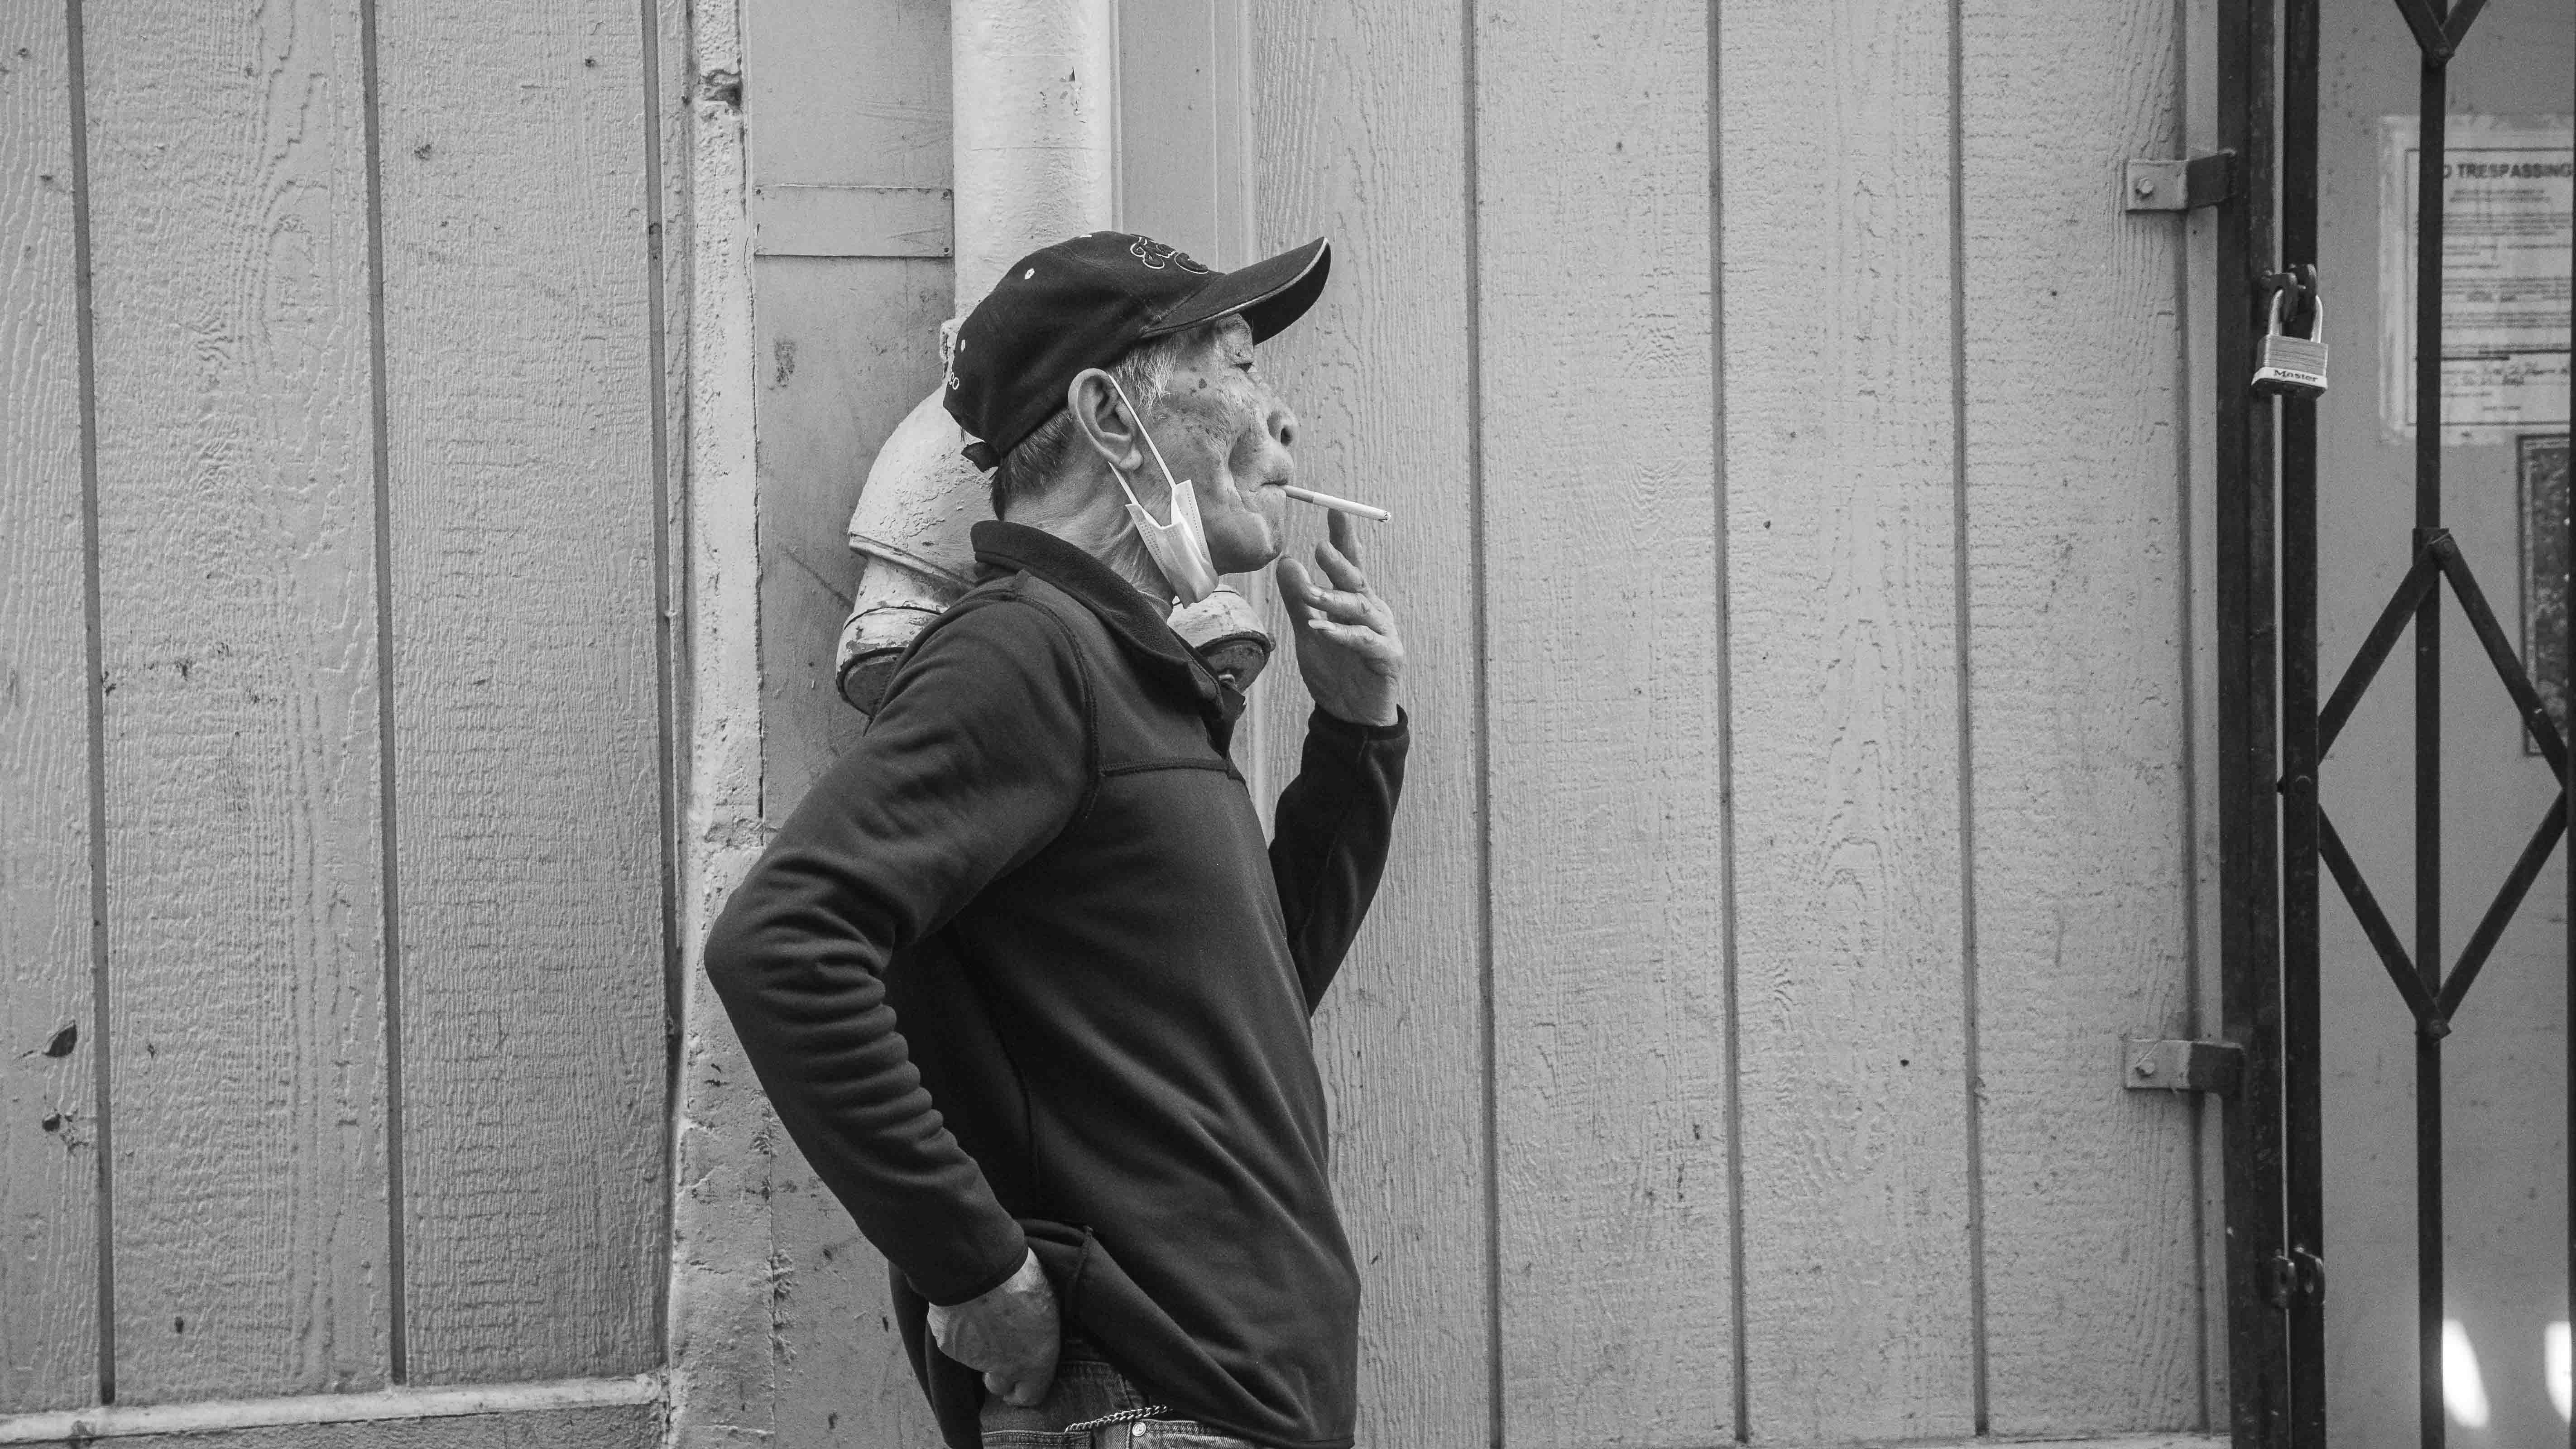
Medium (Middle Distance): Here the main subject comes into focus without losing the place entirely. This could be your travel companion in front of a café, a person at a viewpoint, or a vendor at their stand – such shots are central to good travel photography.
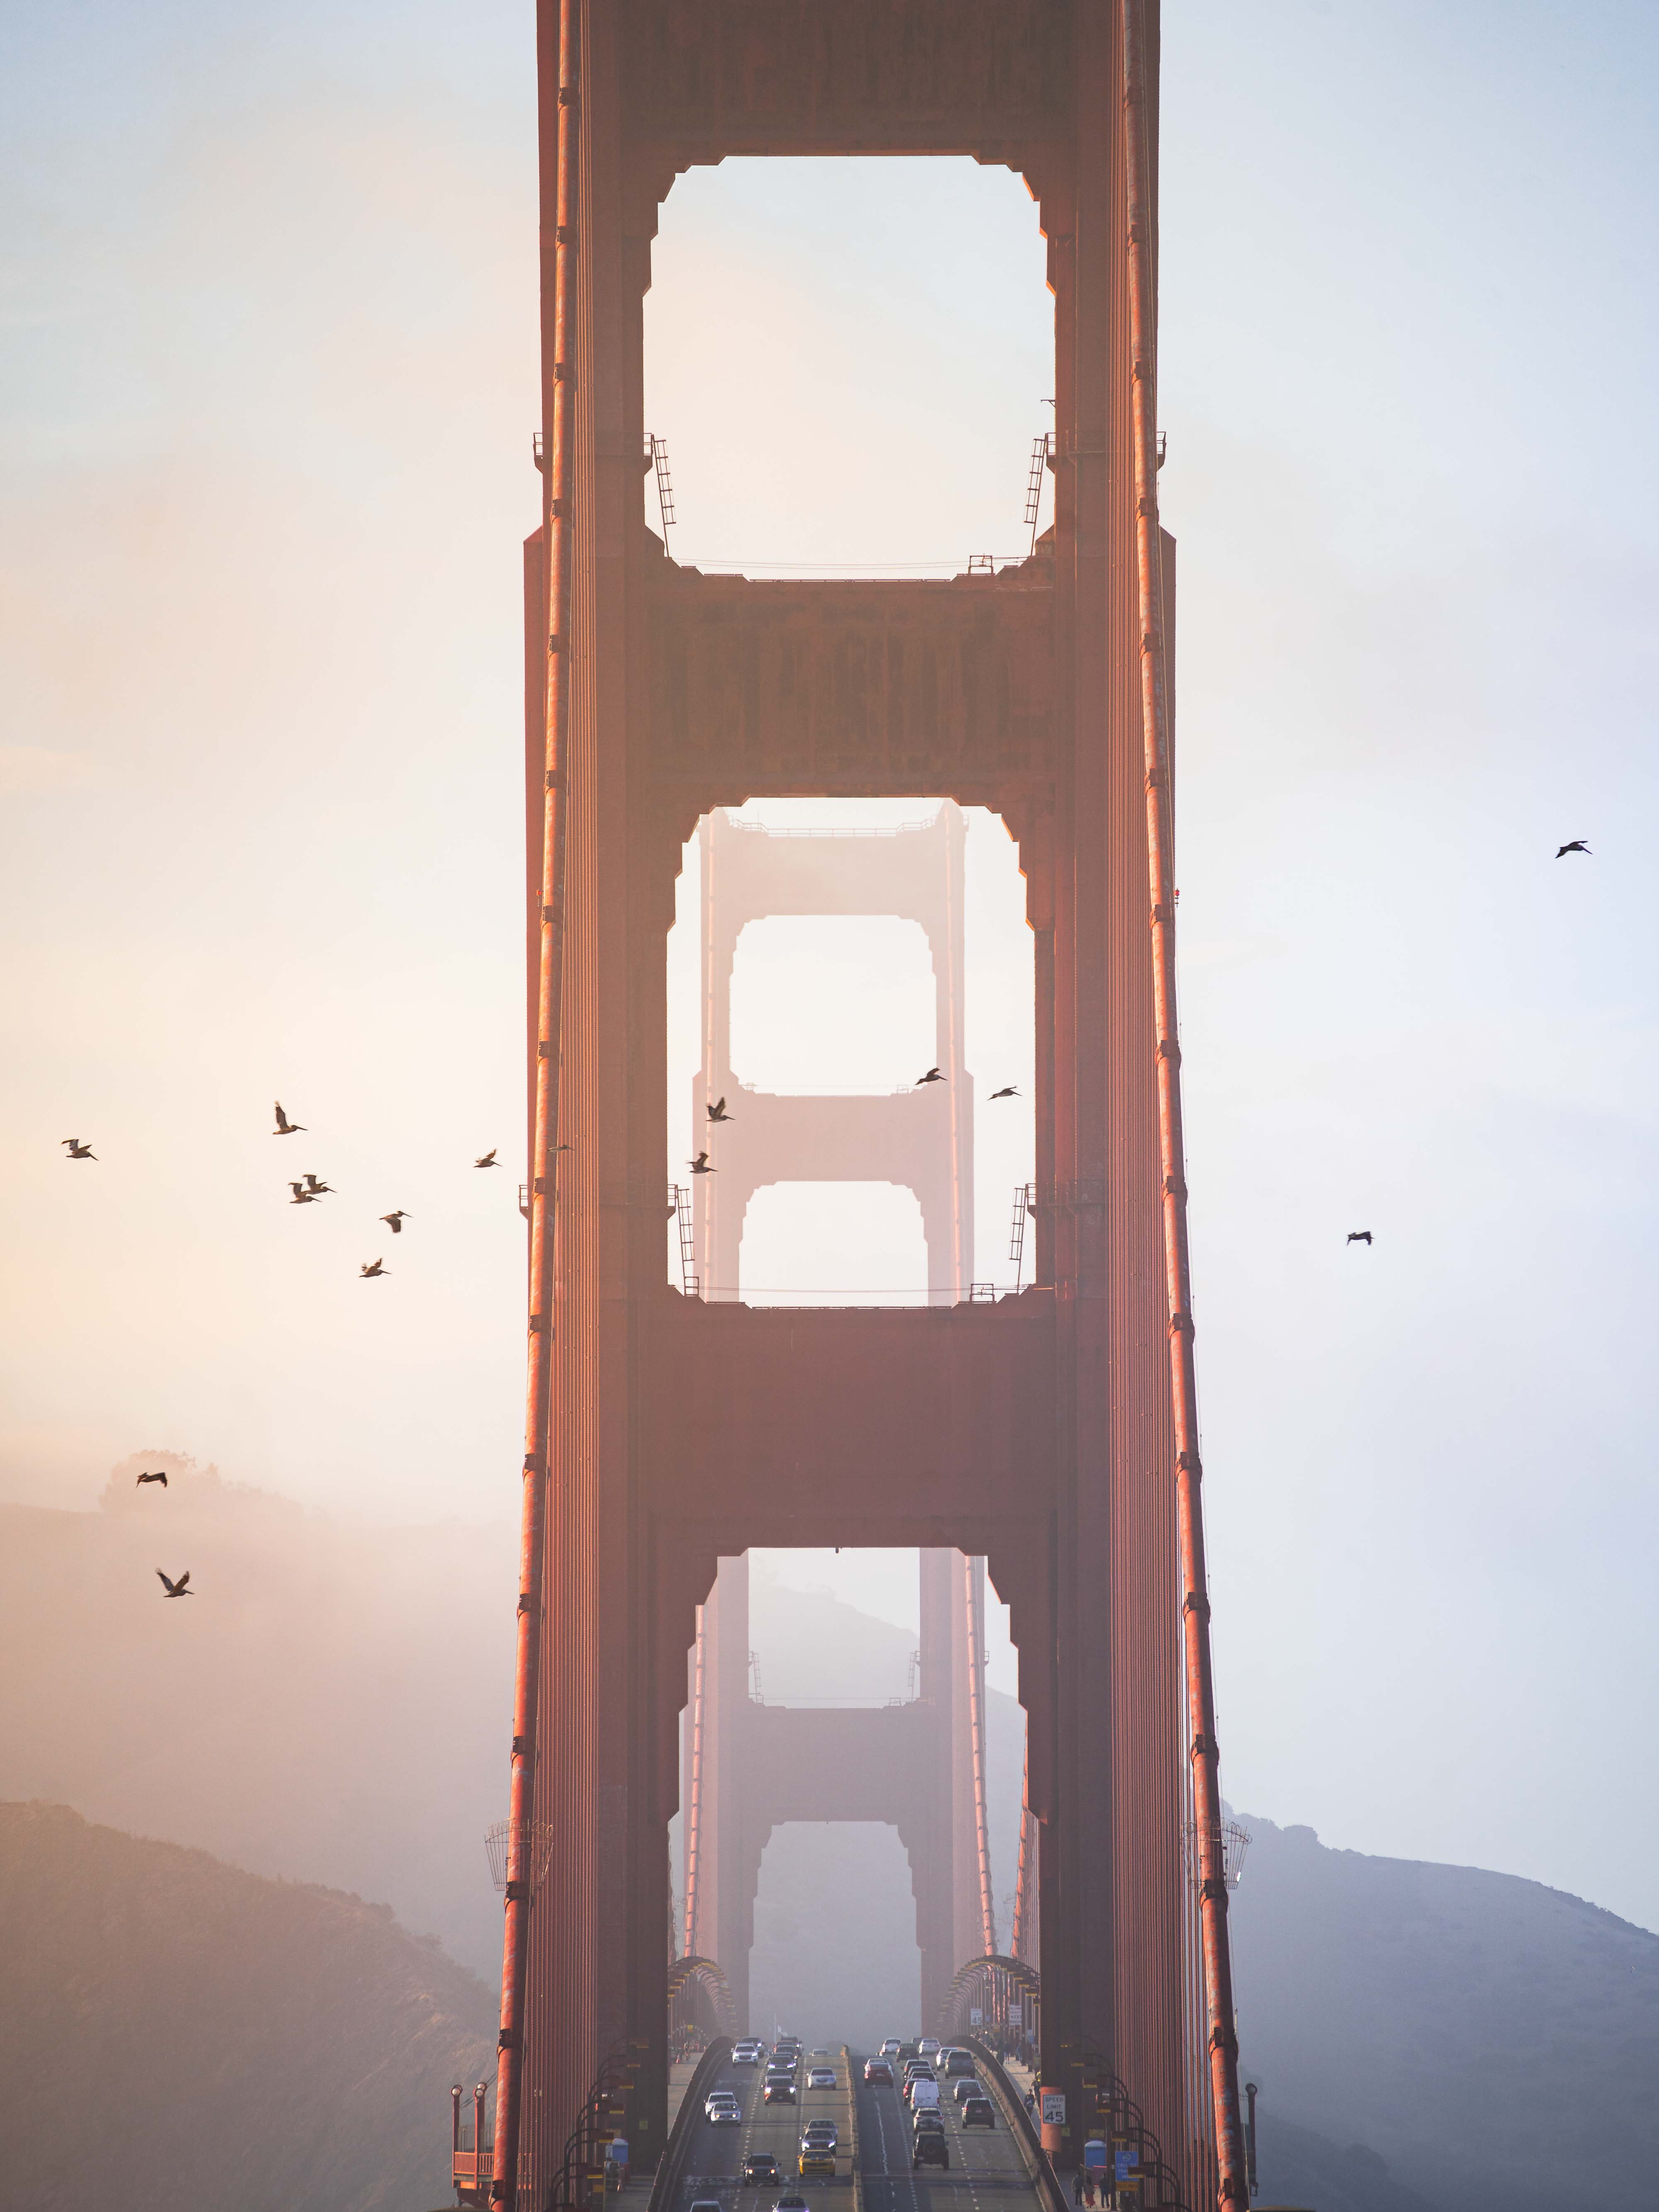
Tight (Detail): This perspective isolates small elements that create atmosphere and make the story of your vacation photos credible – for example hands holding a coffee cup, a ticket in hand, wet cobblestones after rain, patterns on doors, signs, or small objects on a table.
Why this works: The wide shot locates the scene, the medium builds intimacy, and the tight brings in those small, often inconspicuous elements that create atmosphere. These three layers complement each other in your travel photography, give the viewer orientation, and turn travel photos into a complete, narrative series of vacation photos.

Beyond wide, medium, and tight, there are other shots that make a series compelling:
Dynamic shots that bring movement into the frame – a person running, a wave on the beach, or people moving. Dynamics make a travel photo series feel alive and prevent everything from looking too static. And then there are the twist moments – the surprising angle or a striking observation that makes viewers smile or surprises them. These moments break up the routine and make your travel photos and vacation photos memorable.
Deliberately Use Composition in Travel Photography
Beyond these image series, it’s worth deliberately working with classic composition ideas in your travel photography. Shooting from above, below, or from the side instantly gives everyday scenes a new character – a drone perspective, a frog’s-eye view from below, or an extreme side angle can turn ordinary subjects into striking travel photos. Experimentation always pays off.
Going the Extra Mile: When Good Isn’t Enough
Often the best image isn’t where everyone else is standing. The extra mile happens in different ways. Sometimes it means going further, climbing higher, or simply carrying more – hiking up a hill while everyone else stays on the street. Sometimes it’s about time: waiting it out, coming back, or waiting for the right moment when the best light arrives or the crowds disperse. Sometimes it’s planning – whoever researches and prepares a location has time for details on location instead of hectic searching. And sometimes it’s emotional openness: overcoming hesitation, talking to people, and really entering situations rather than just photographing from the outside. This authenticity leads to images that truly resonate.
The extra mile often makes all the difference. Going further, waiting longer, coming back, or having the courage to actively shape a situation – that’s exactly where the images come from that stand out in the end.

End of Day: Secure Rather Than Risk
In the evening, I back up my photos to the hard drive and empty the memory cards if needed. During vacation itself, I rarely get around to editing much because the trip is often tightly scheduled.
Important is a simple routine: import, quickly review, back up, then delete. The clearer the workflow, the lower the risk of data loss.
What makes your travel photos and vacation photos strong in the end? It’s a combination: flexible planning, clear visual ideas, and the courage to go the extra mile. Whoever combines these travel photography fundamentals will notice that travel photos keep improving – not because the locations get better, but because your eye becomes sharper. In the 3rd and final part, I’ll explain how to best edit your travel photos after your trip.
My Setup

Samyang AF 24-70mm F2.8 Sony E-Mount - 3 Jahre Suisse Garantie

Tamron AF 70-300mm 4.5-6.3 Di III RXD Sony FE