Traveling with Your Camera | Part 1: Planning Your Photo Trip, Choosing Gear, Understanding Light
- Antony Berbert
- Education , Travel
- May 5, 2026
Table of Contents
In this series, Antony Berbert gives you a comprehensive insight into his preparation to do travel photography. In this part, he shares tips on selecting the right equipment, safe planning, spot research and light planning – learn everything you need to know to plan your next travel photography adventure successfully and take better travel photos. Whether you’re a beginner or experienced photographer, this series offers valuable insights and practical advice for your next adventure.
The strongest travel photos aren’t created at the location, but in your head and in your planning. When you make the right decisions before departure for your travel photography, you photograph on location more calmly, more clearly, and with significantly better results in your vacation photos.
What You Need for Your Travel Photography
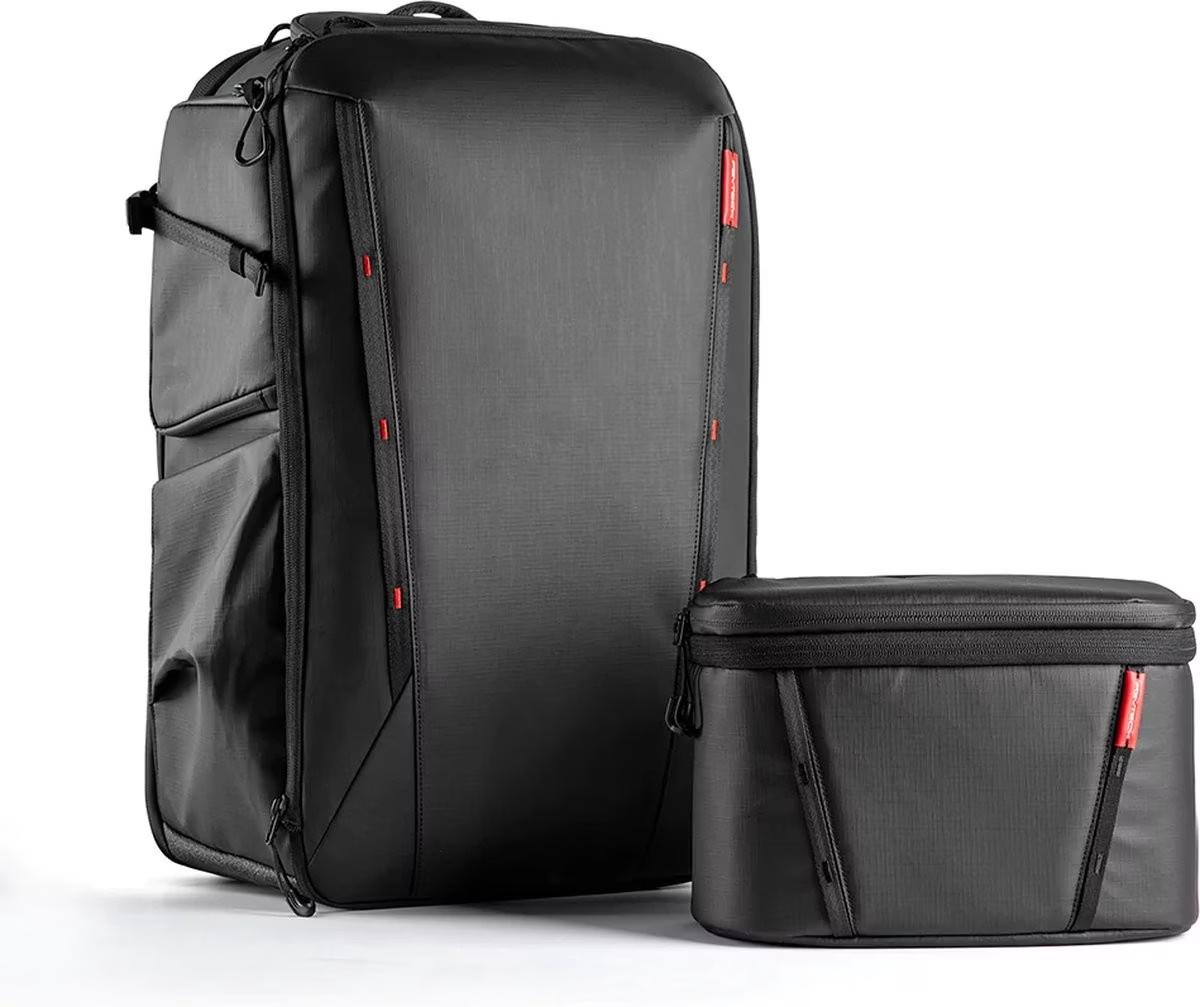
It’s important to know your destination: What kind of trip is it? Then I think about what I want to photograph for my travel photography – for example, safari, street, nature, family, or architecture. Your gear depends on this. For me, the most important question is always: What’s the minimum equipment I need to make the images I really want, and that I’ll actually use in practice?
This point is often underestimated: too much equipment slows you down while traveling. If you’re constantly switching, sorting, and carrying, you quickly miss the actual moment and take worse travel photos. A reduced, deliberately chosen setup for travel photography, on the other hand, gives you speed and calm because you know every component and react faster.
Example: For safari or wildlife, I need a telephoto lens. If it’s more of a trip with friends and the focus isn’t on travel photography but rather on vacation photos, I take a compact setup that’s quick and light – maybe a compact camera, a body with a 24-70mm, or just my phone if needed.
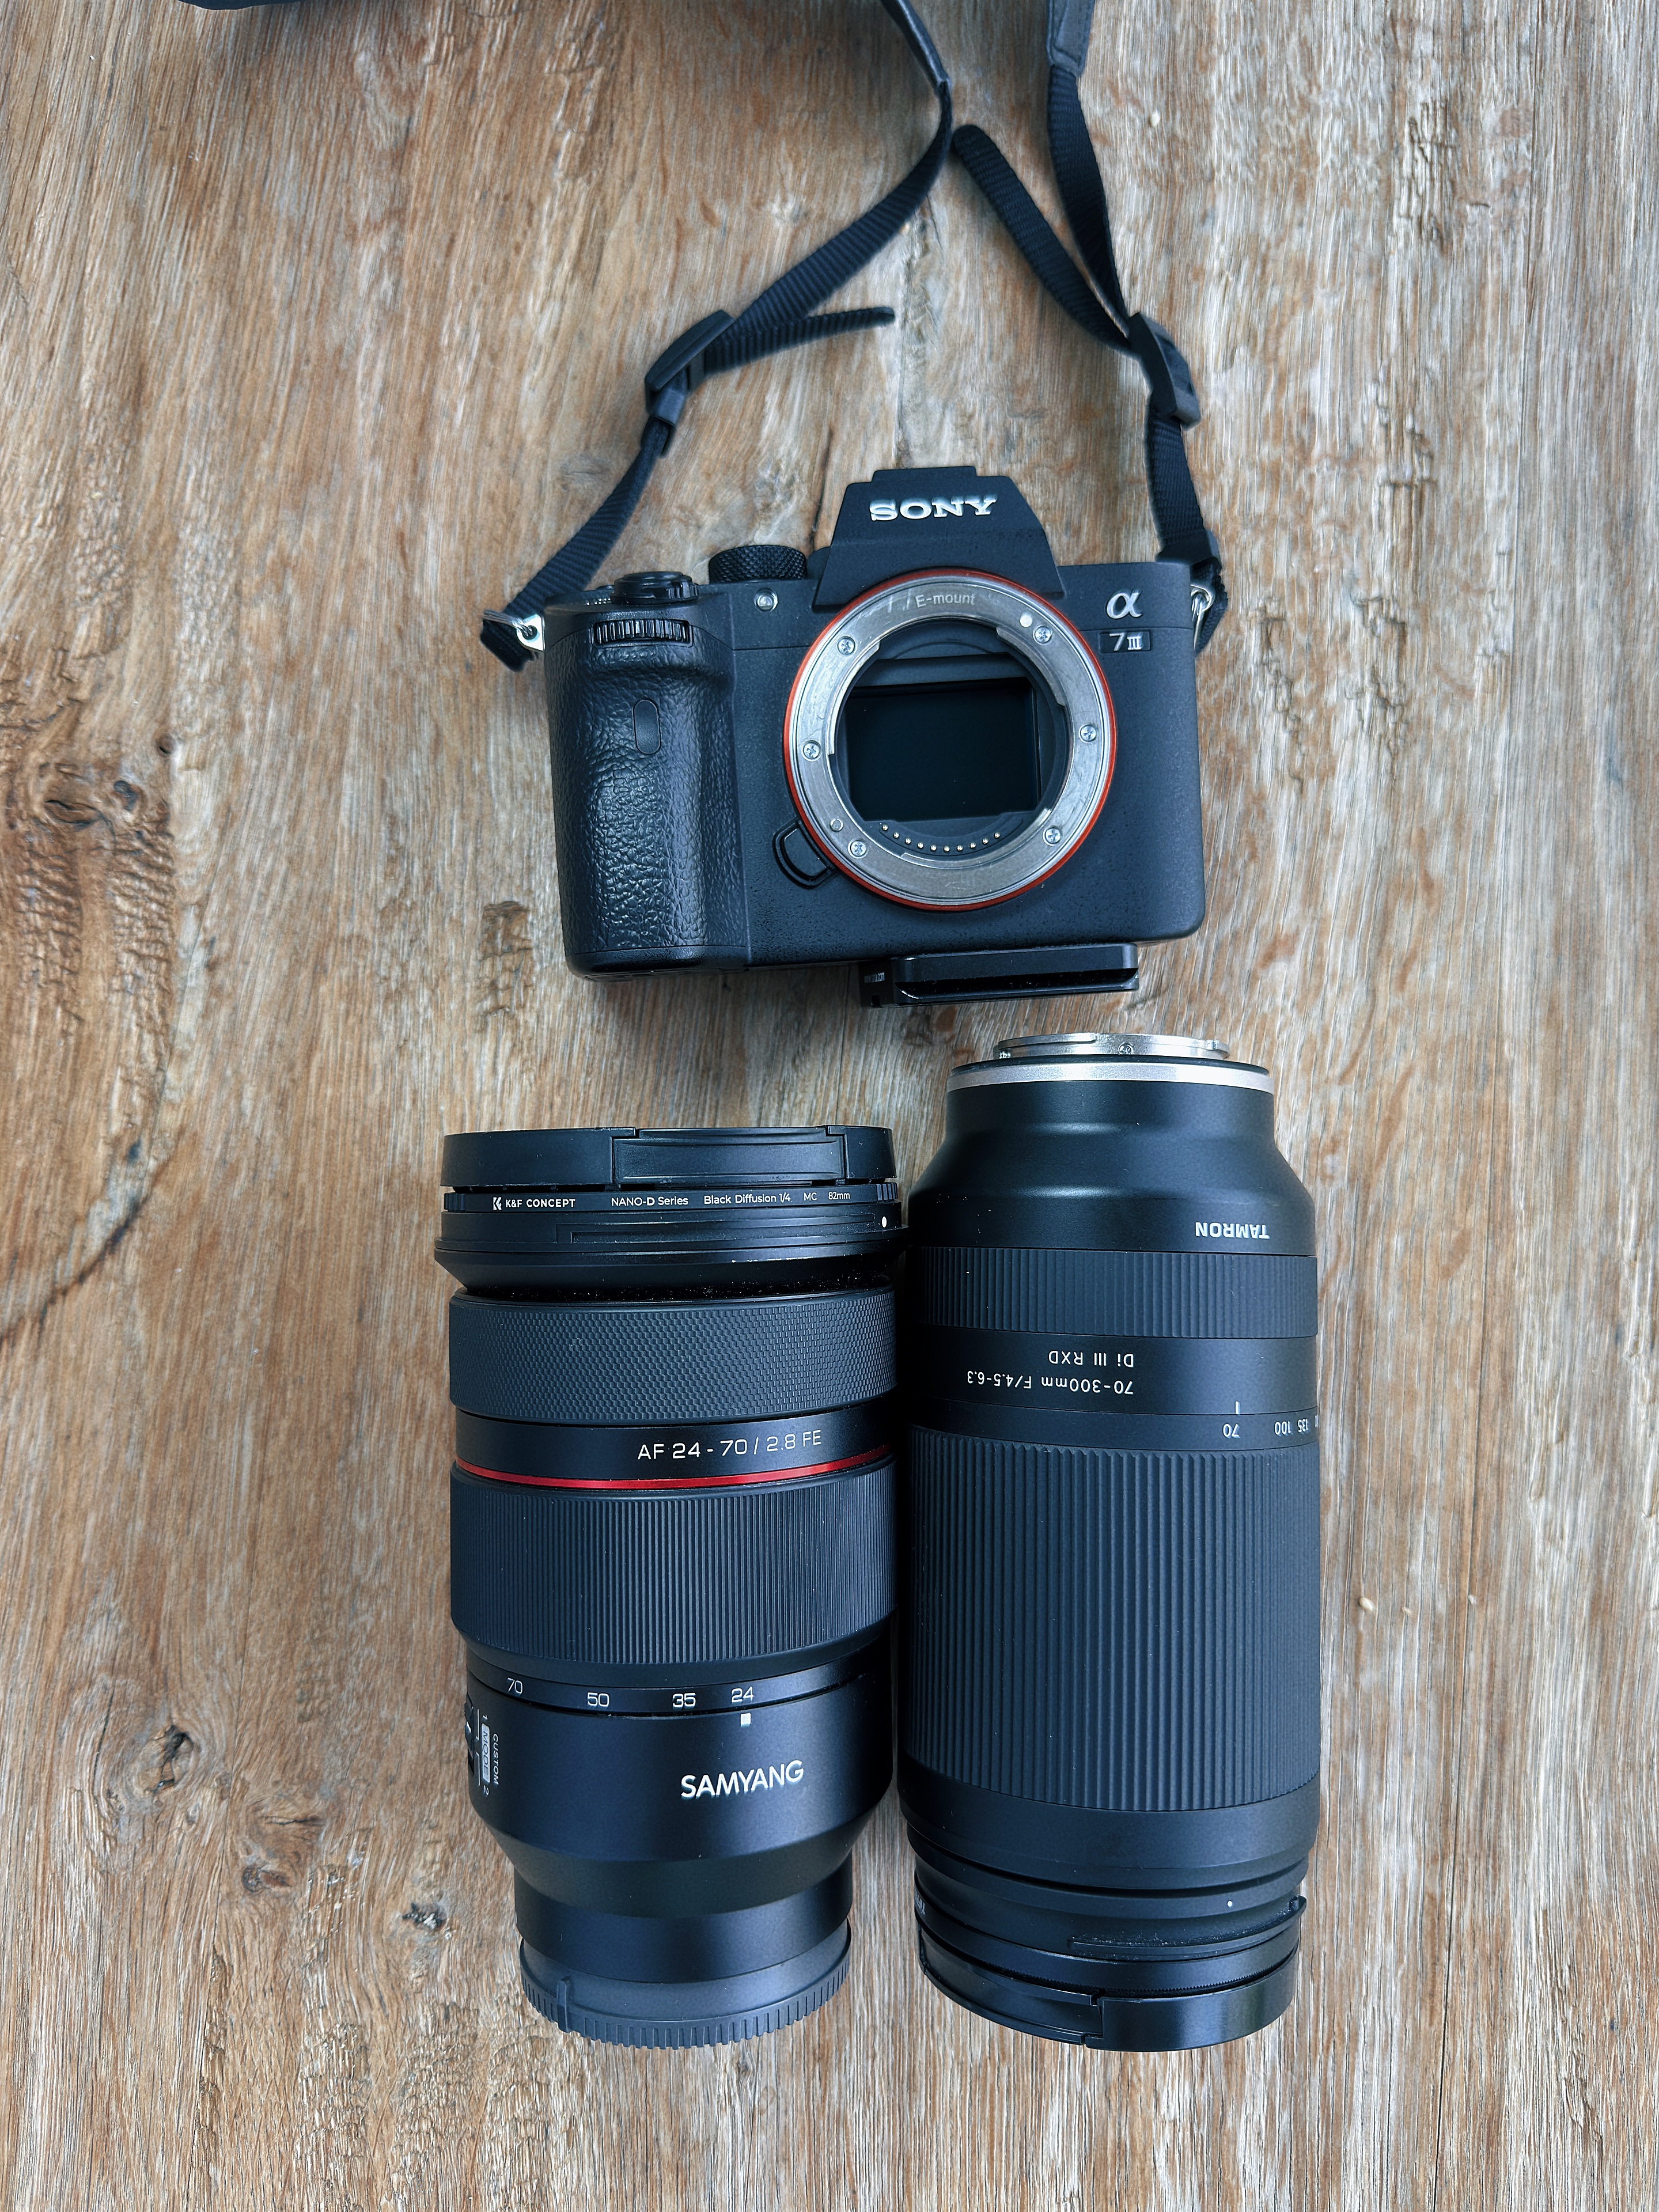
Personally, I want to be as flexible as possible while traveling, so I often take my full-frame Sony A7III with two lenses: 24-70mm and 70-300mm. This covers many situations very well for travel photography. Generally, a simple lens logic helps for better travel photos:
- Wide angle for landscape and architecture
- Standard zoom for everyday, documentary, and vacation photos with travel companions
- Telephoto for wildlife or distant subjects
Depending on the trip, I also have an on-camera speedlight and tripod. But I only carry both if I know I’ll really need them for a specific shot. I always have certain cleaning utilities with me too – a blower, microfiber cloths, and cleaning fluid. Especially on trips where dust, sand, or moisture can affect the gear, this is important.
For a trip with intensive travel photography, storage is also a crucial factor. I prefer to take several medium-sized memory cards rather than one very large one. If one card fails, the whole trip and your travel photos aren’t affected. I usually have 3 to 4 cards and rotate them every few days. For backup, I also have a portable hard drive where I transfer images from the cards every evening. This gives me a second backup for my travel photos in case a card has problems. To know how much storage I need for my travel photography, I consider how many photos I take per day – for me, that’s about 500-1000 photos per day. Since my raw files are ~50 MB each, I plan for about 25-50 GB of storage per day. Depending on how long the trip is, I plan accordingly more storage for my travel photos.
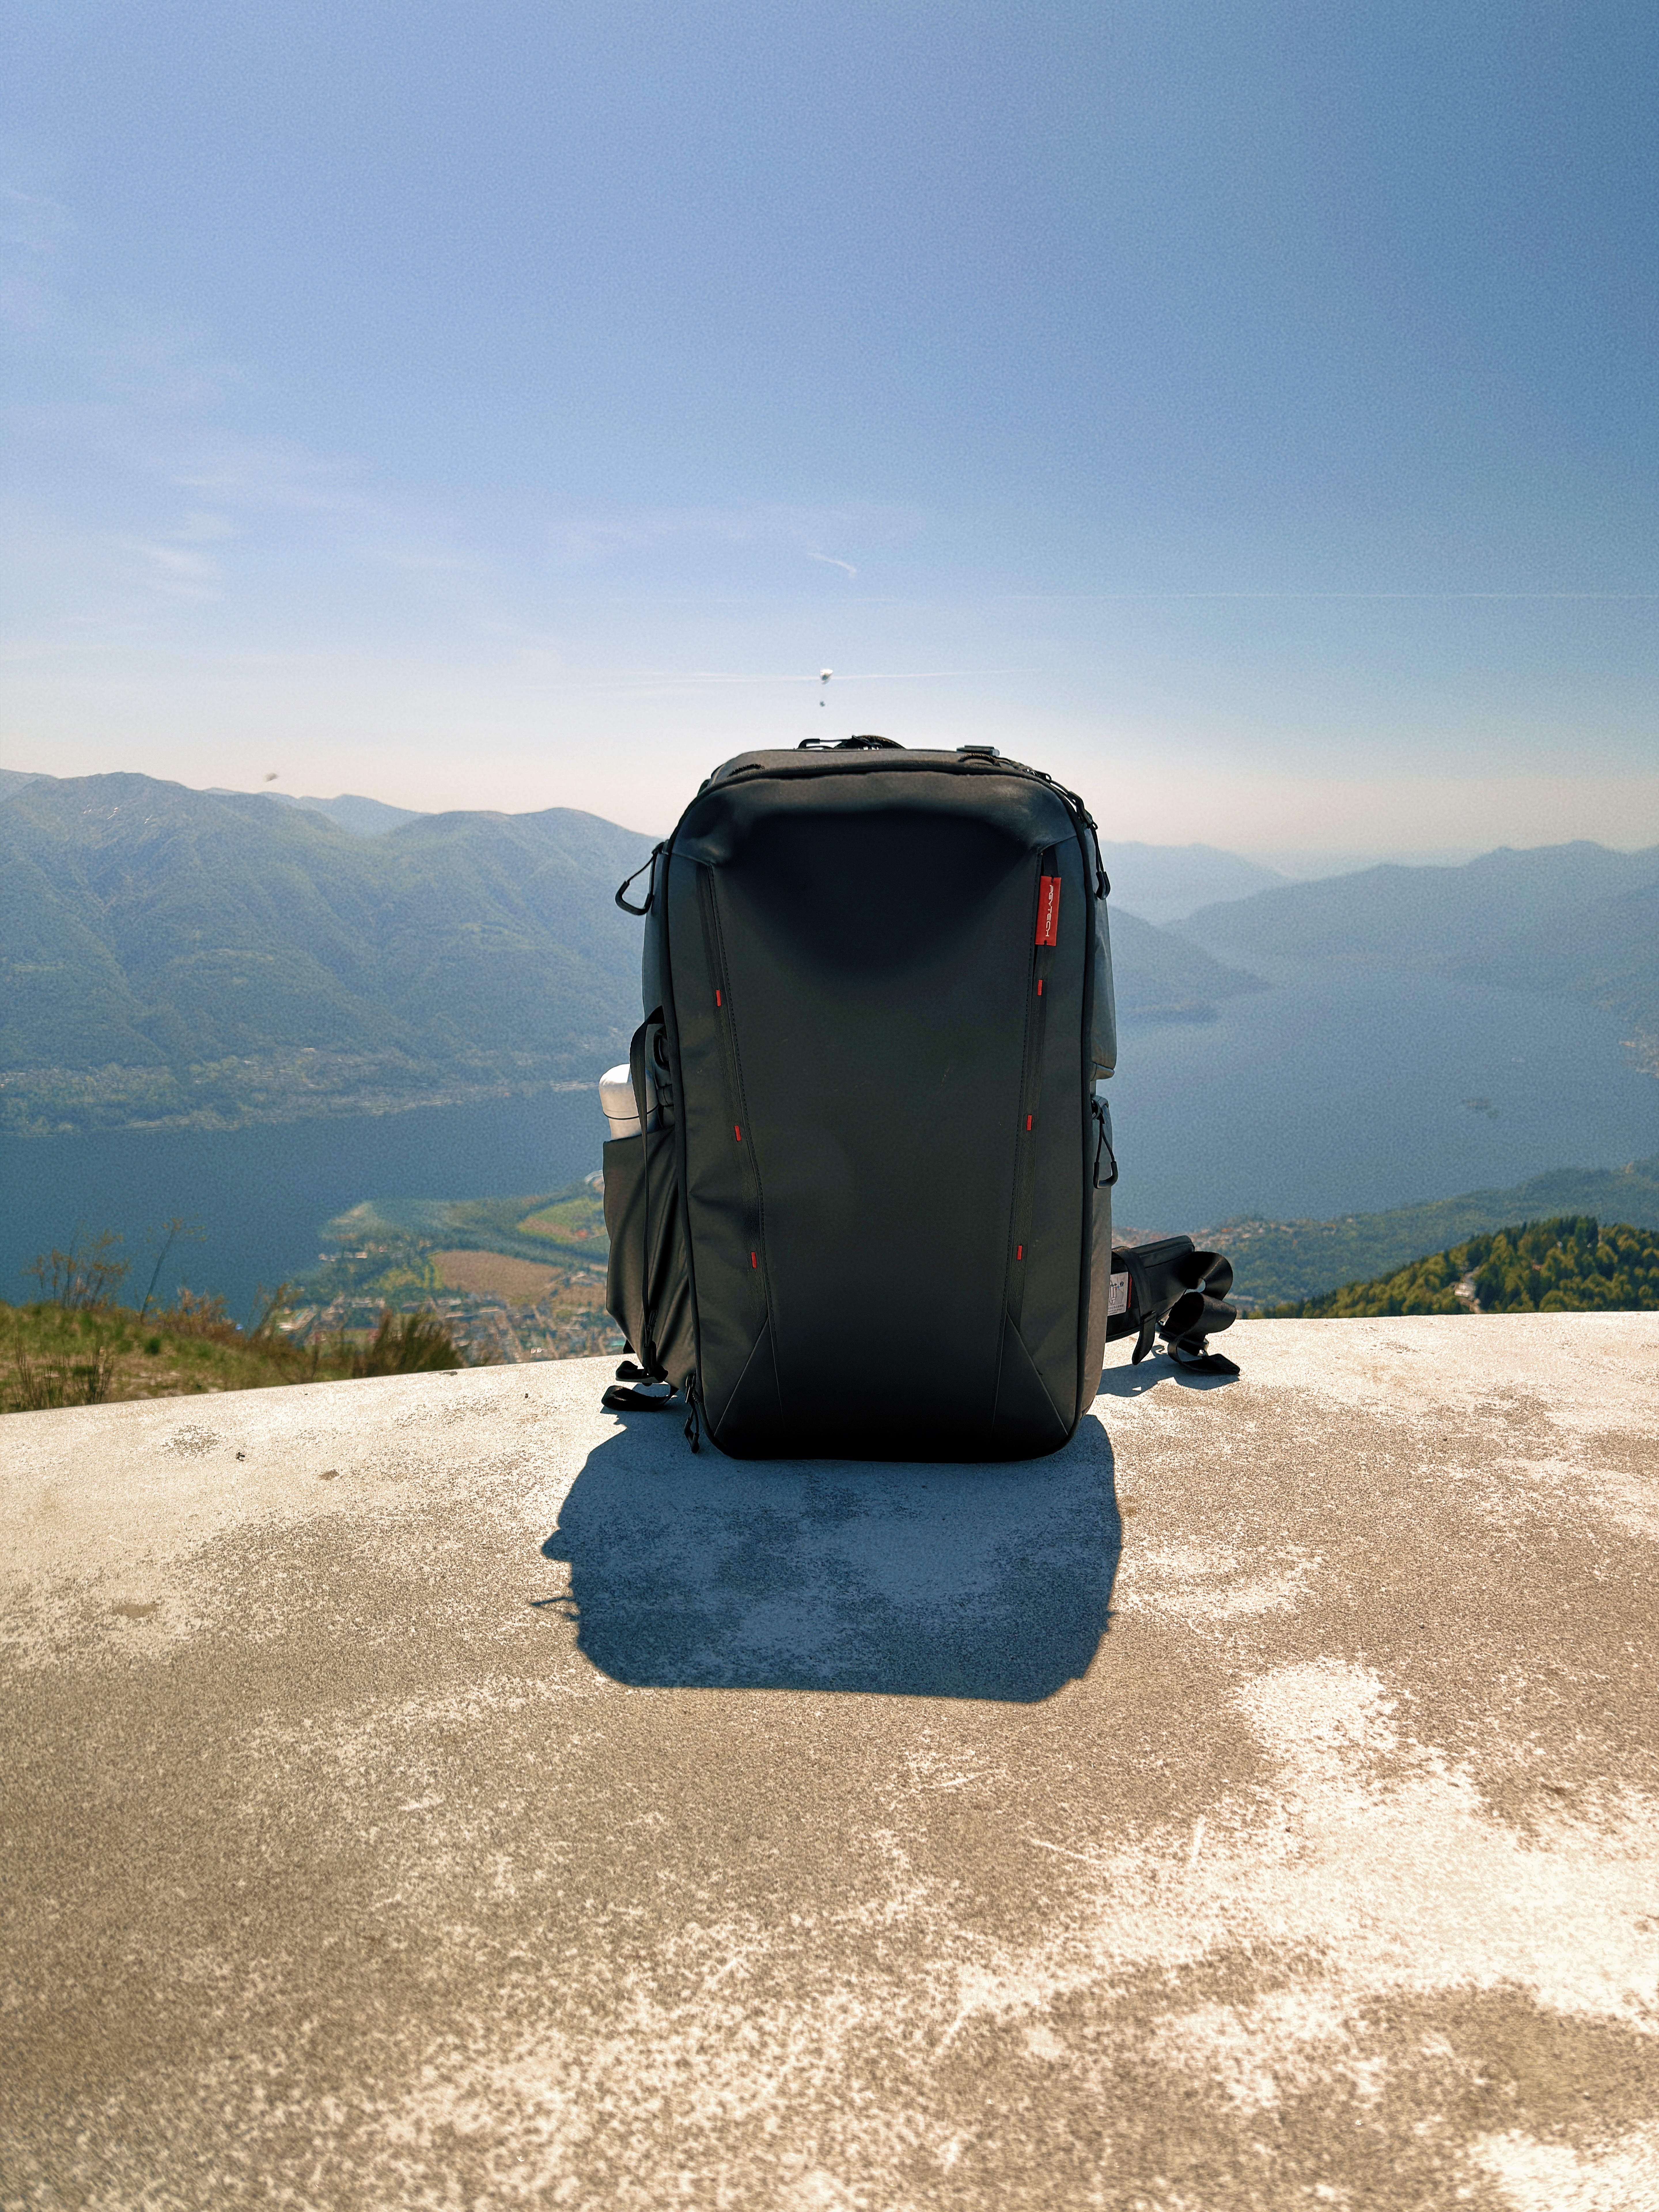
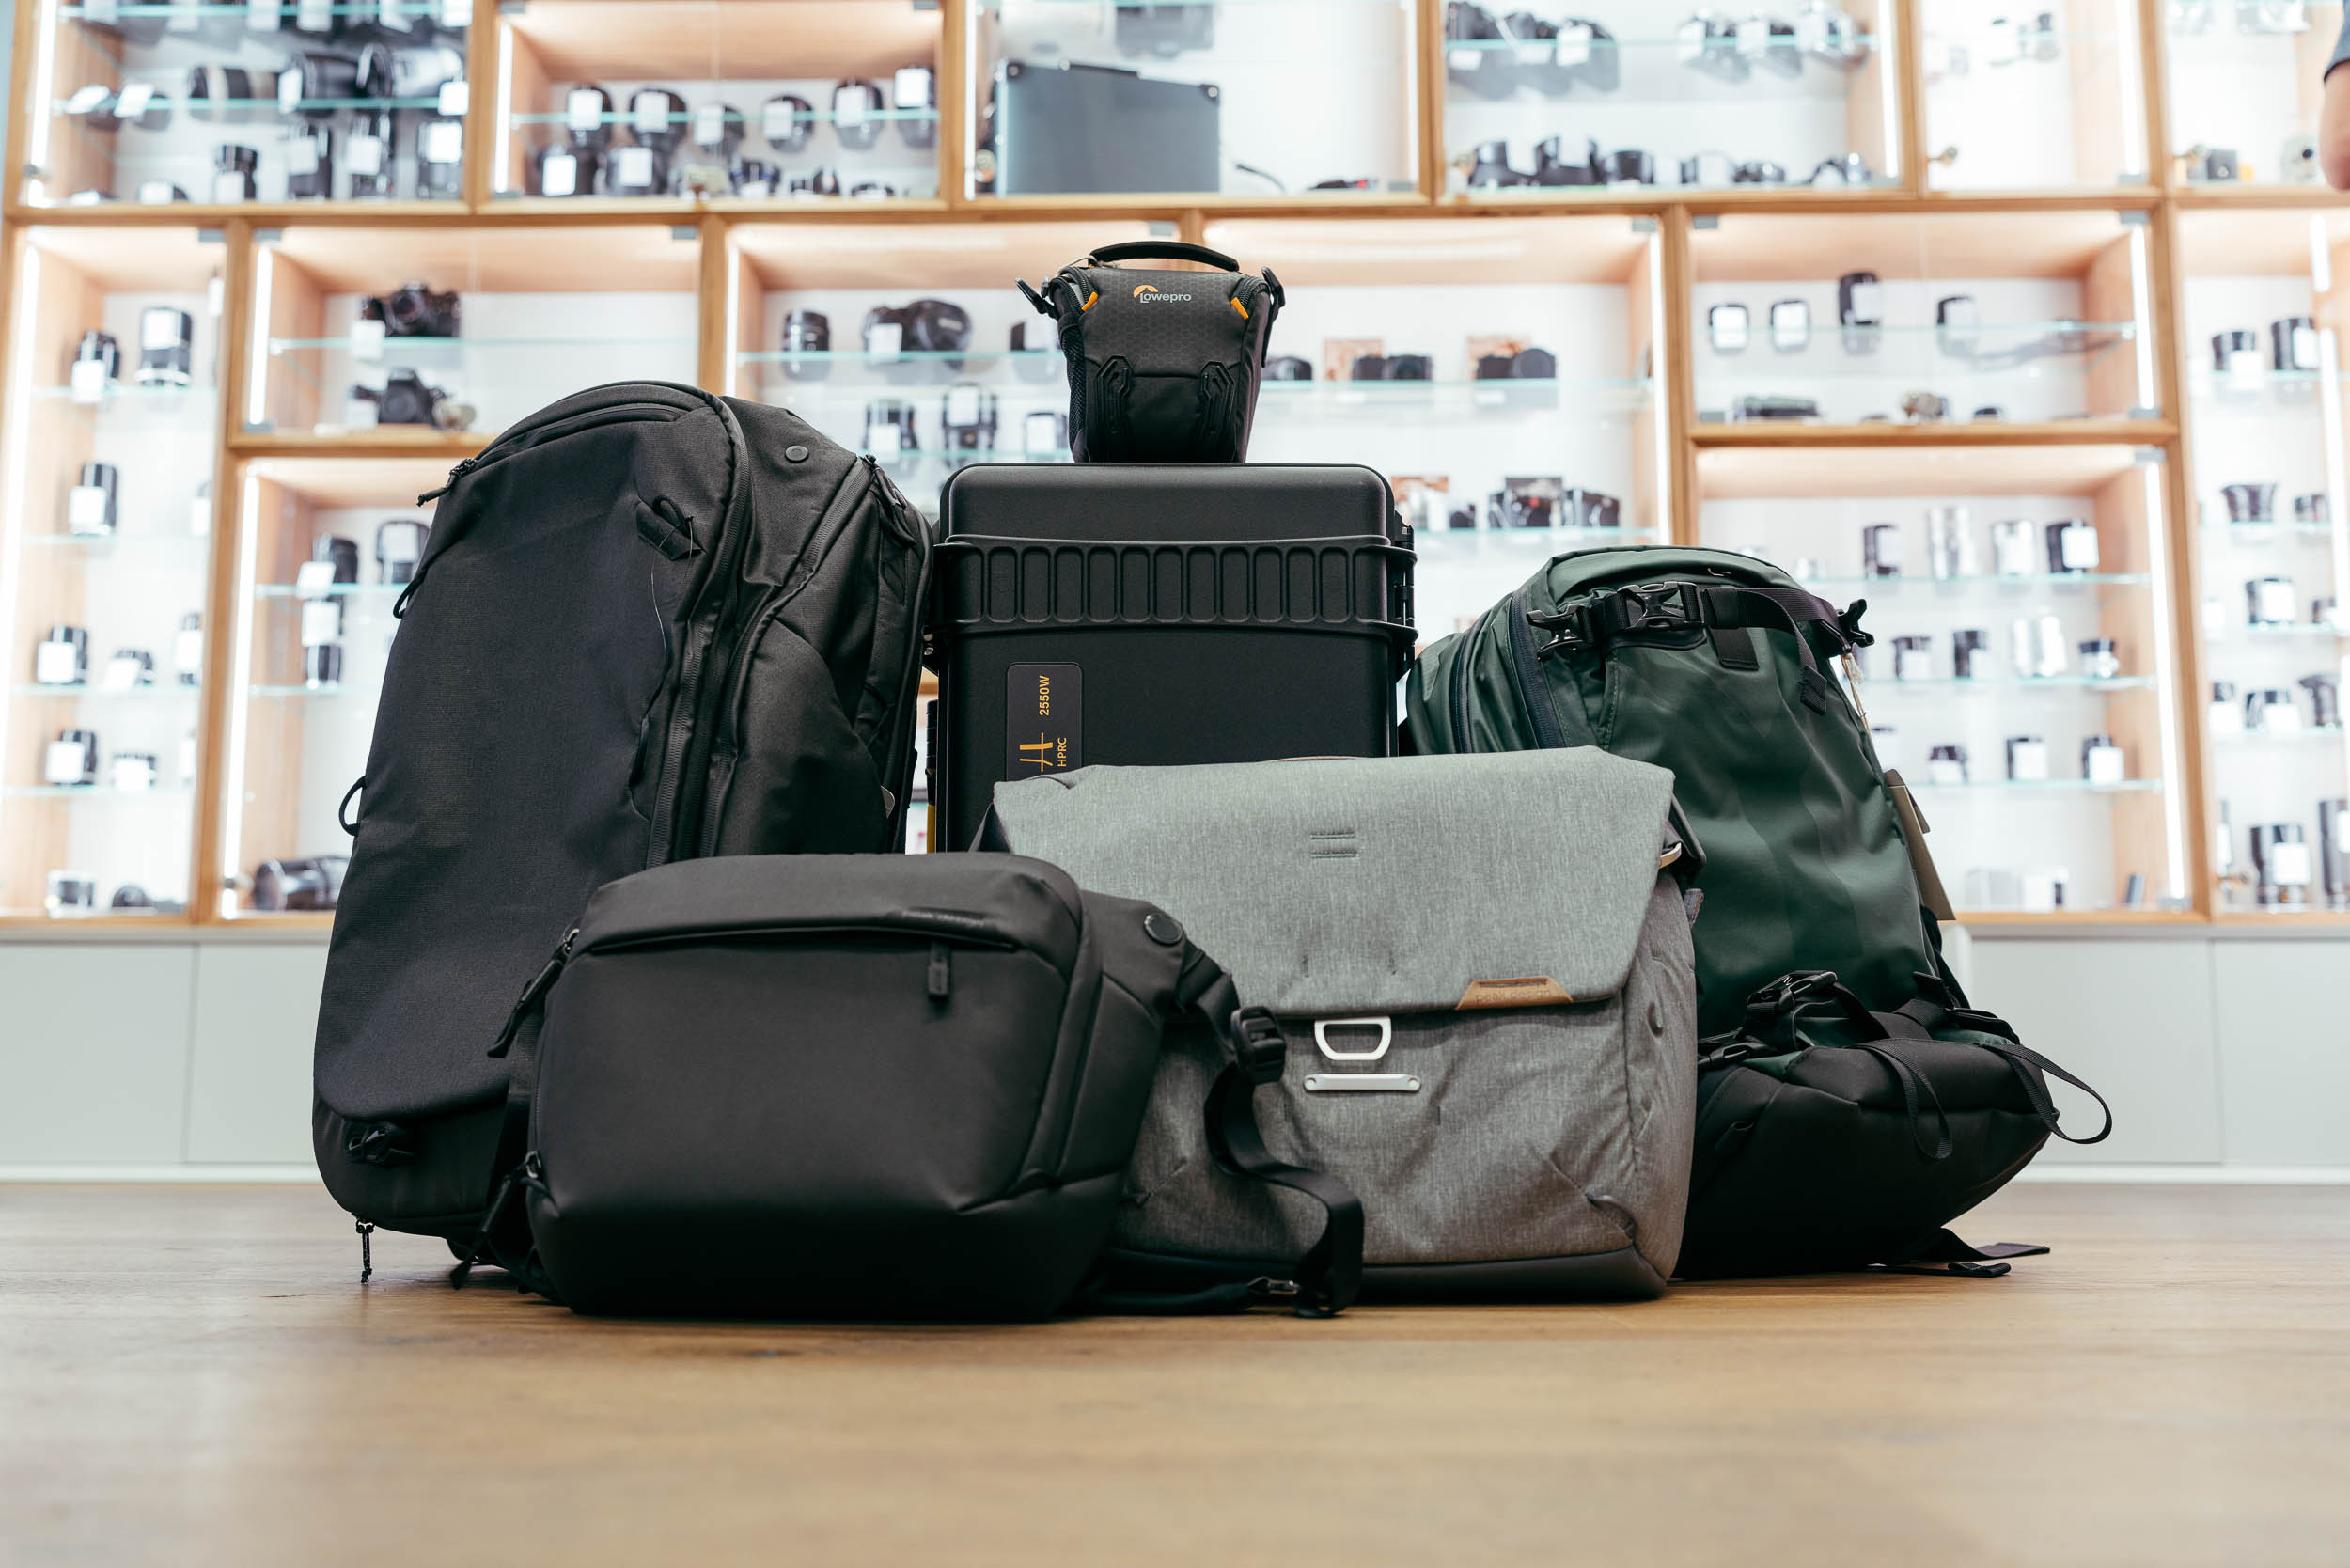
For transport, I pay close attention to the location: a backpack for longer hikes, a sling bag or shoulder bag for quick access. In cities with higher risk, the setup stays compact and close to my body. A sturdy camera strap, discreet carrying, and some awareness often work better than any gadget. AirTags or similar trackers can help additionally, but in my opinion don’t replace proper caution.
A practical principle for your travel photography is: as invisible as possible, as quick to access as necessary. This reduces not only risk but also stress in daily life and helps you take better travel photos and vacation photos. People who feel secure photograph more consciously.
How to Find the Right Spots, Sun Position, and Timing for Travel Photography
There are photographers who plan a lot for their travel photography, and photographers who are completely spontaneous. I like the mix. I inform myself beforehand about beautiful locations at my destination, and I still scout the spot on location because there’s almost always a better angle for my travel photos.
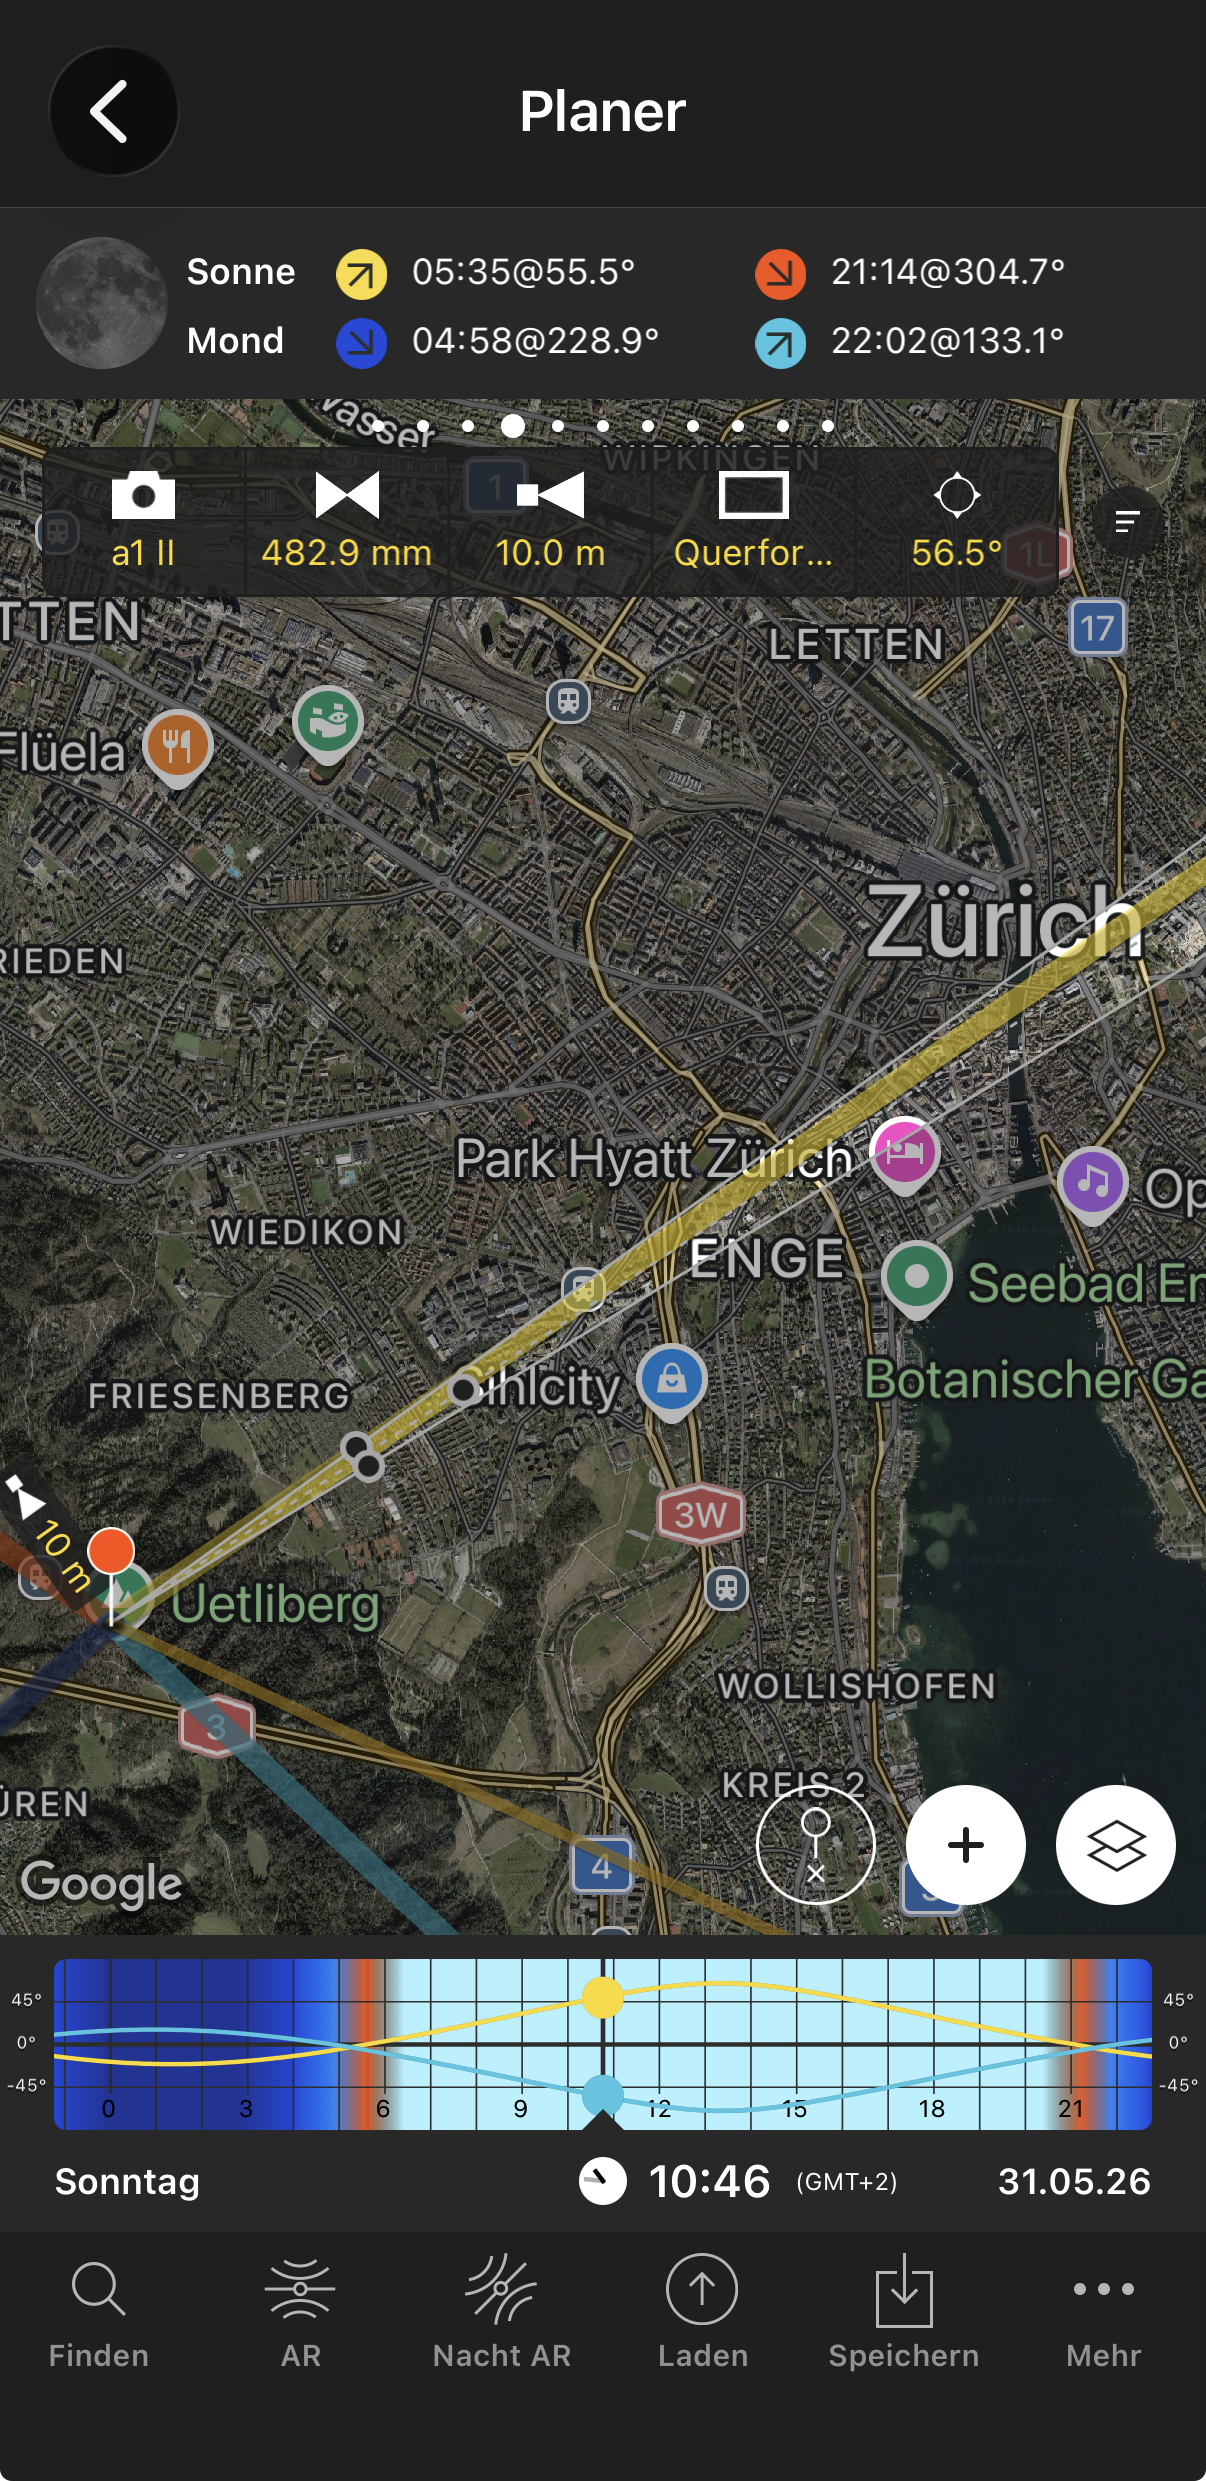
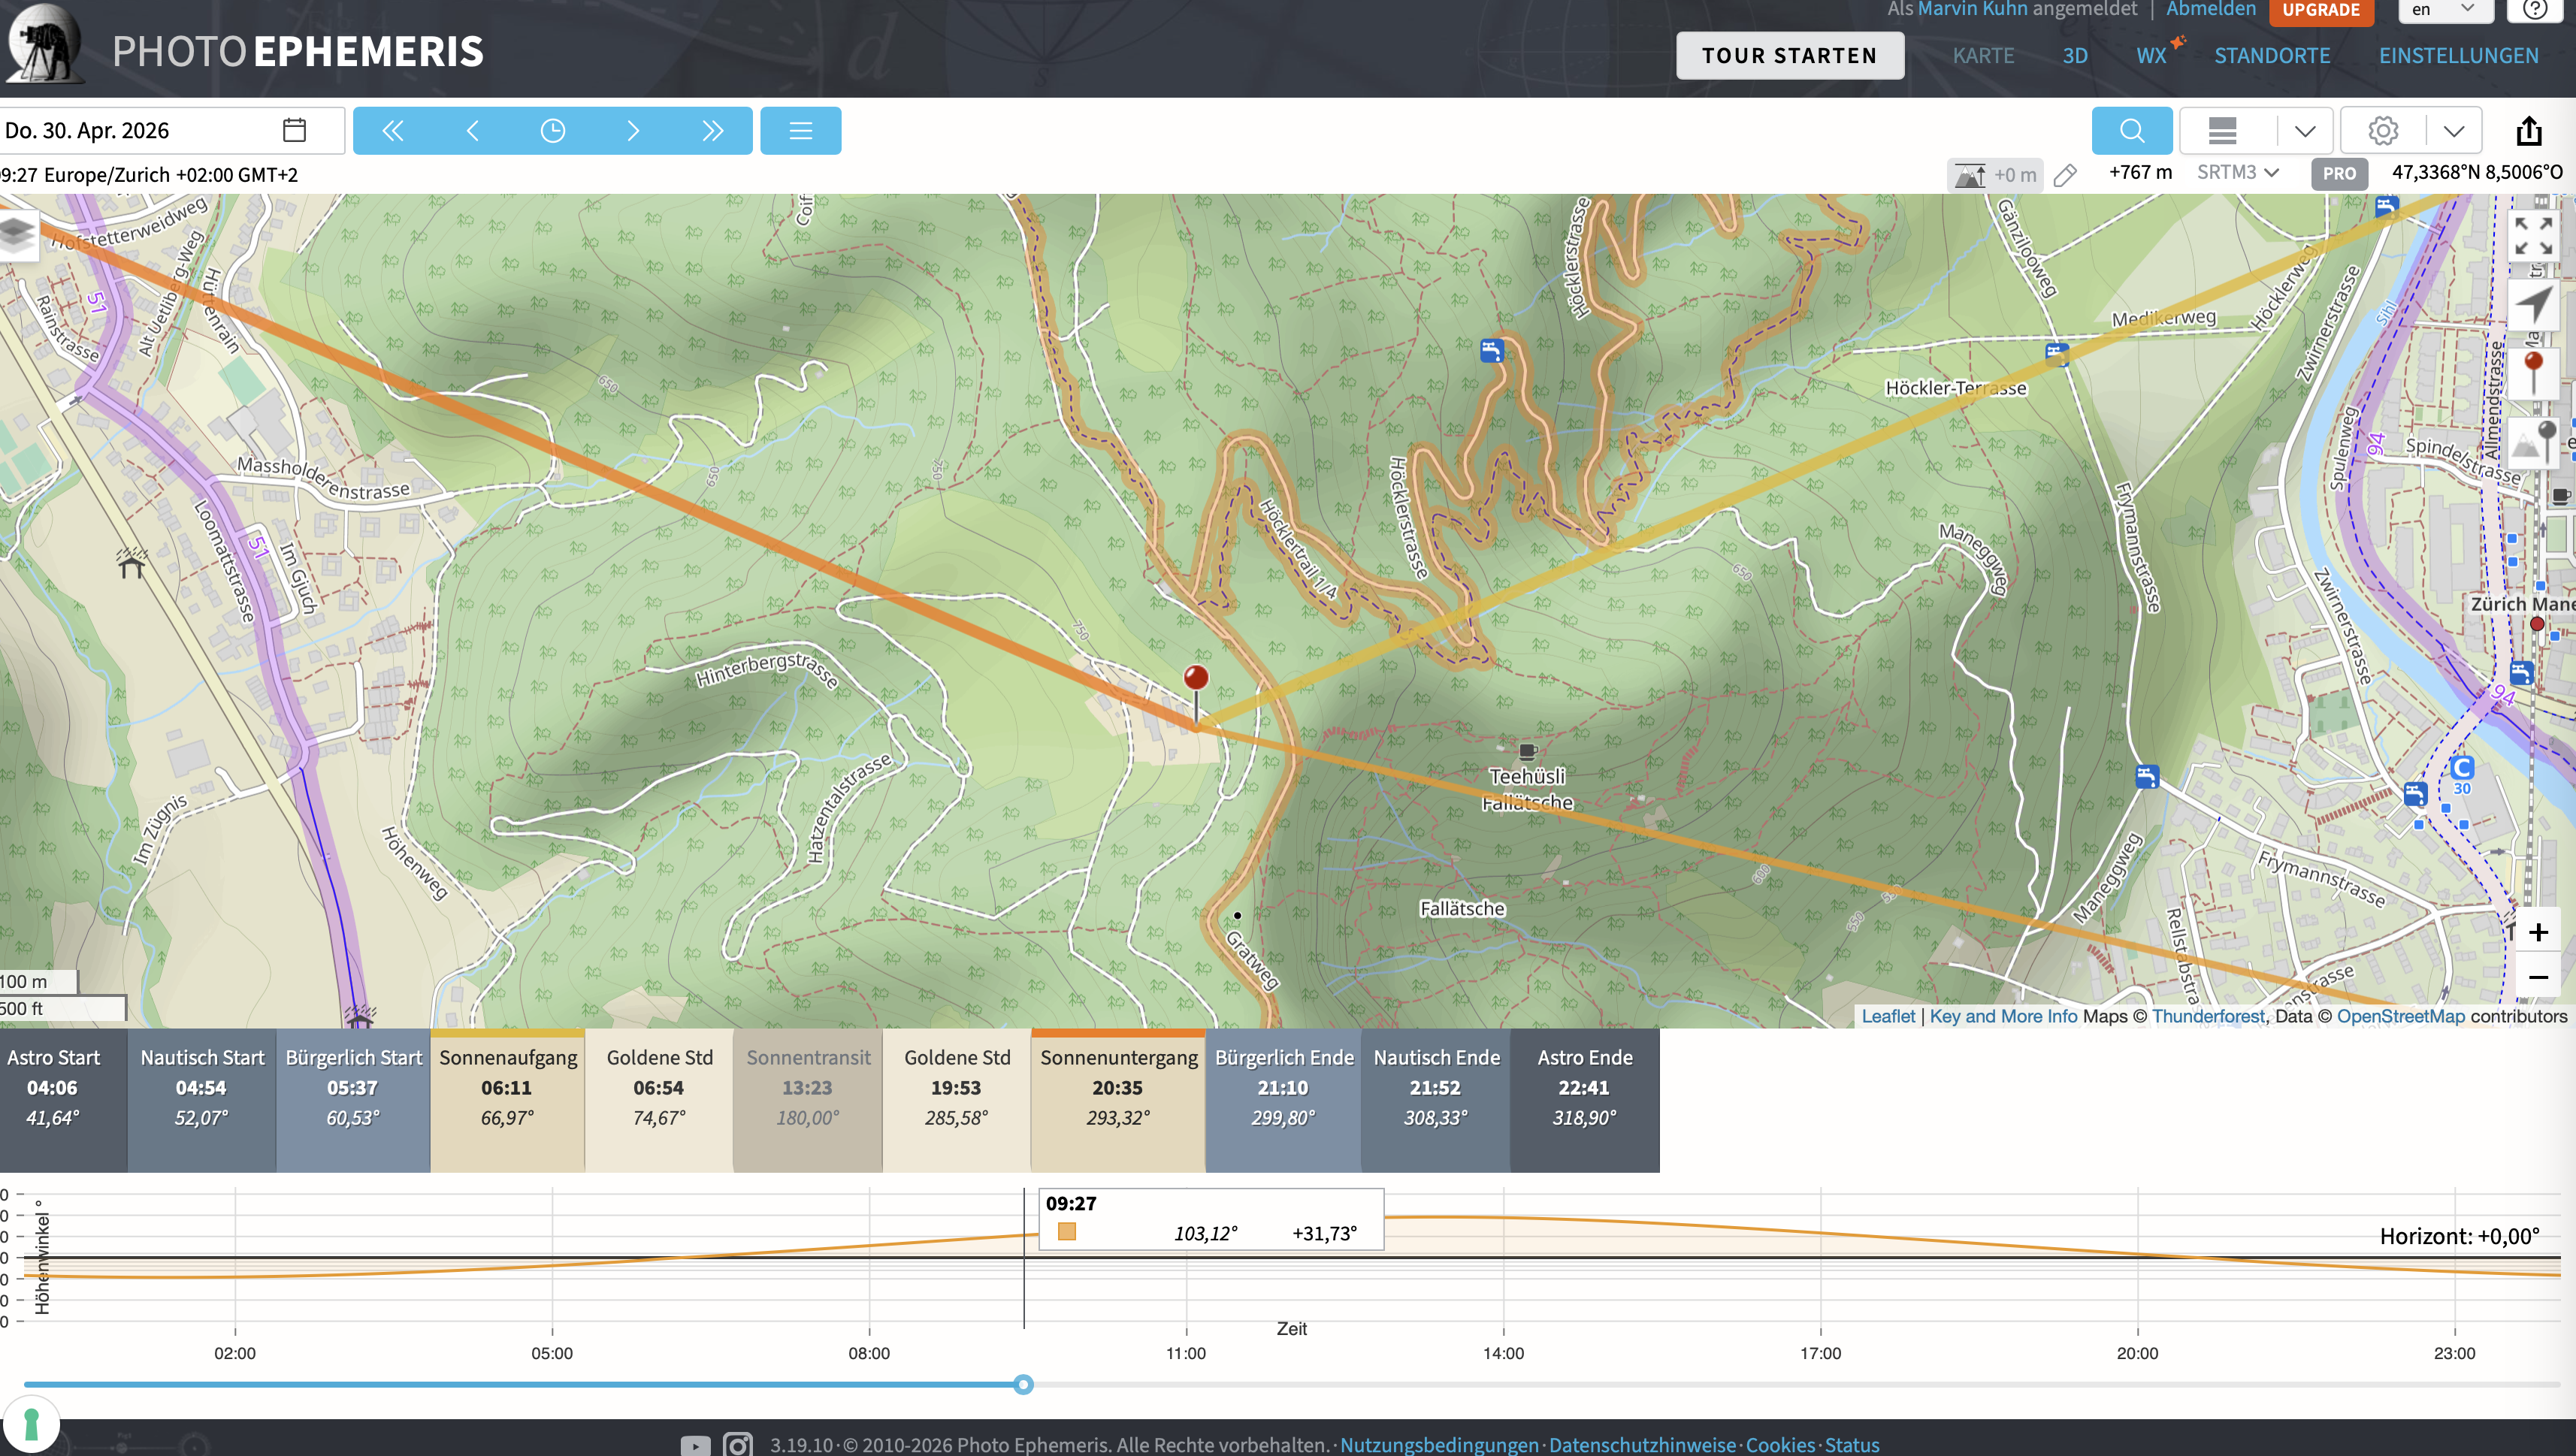
To find good photo spots for my travel photography, I search on Instagram, TikTok, and Locationscout. Once I roughly know where a spot is and what the subject is, I check Google Maps Street View for possible angles nearby. Then I check with PhotoPills or PhotoEphemeris *free how the sun will light the subject during my travel dates: How will it be illuminated at sunrise or sunset? This light planning is crucial for strong travel photos. This way, I plan whether to photograph a spot in the morning or evening for my best travel photos.
This light planning especially for your travel photography saves a lot of time on location. Instead of testing aimlessly, you already have a clear idea: where I’ll stand, when the light is best, and which focal length fits. This makes the session more efficient and increases the chance of strong travel photos and vacation photos.
Of course, not every trip is a pure photo trip. If I can’t freely plan sunrises and sunsets, I adapt. Still, it’s extremely helpful to know the light progression beforehand.
If you spend time before your trip thinking about equipment, planning, and light for travel photography, you’ll have much more calm and focus for the actual travel photography on location. With this preparation, you’ll automatically take better travel photos and vacation photos. Part 2 is then about how to shoot the best images on the ground.
Mein Setup

Samyang AF 24-70mm F2.8 Sony E-Mount - 3 Jahre Suisse Garantie

Tamron AF 70-300mm 4.5-6.3 Di III RXD Sony FE