Starterkit Part 2 | Camera Accessories for Beginners: What You Really Need & First Steps
- Marvin Kuhn
- Starterkit , Accessories
- 3 November 2026
Table of Contents
An empty battery, right when the light gets most beautiful. A memory card that can’t be read after an entire shoot. Both have happened to me, and neither had anything to do with my camera. In the first part of the Starterkit, we covered the big decisions: system, camera, lens. Now it’s about everything that comes after: which accessories actually end up in my bag, what I look for when buying, why I advise beginners against a tripod for now, and what helped me take better photos faster.
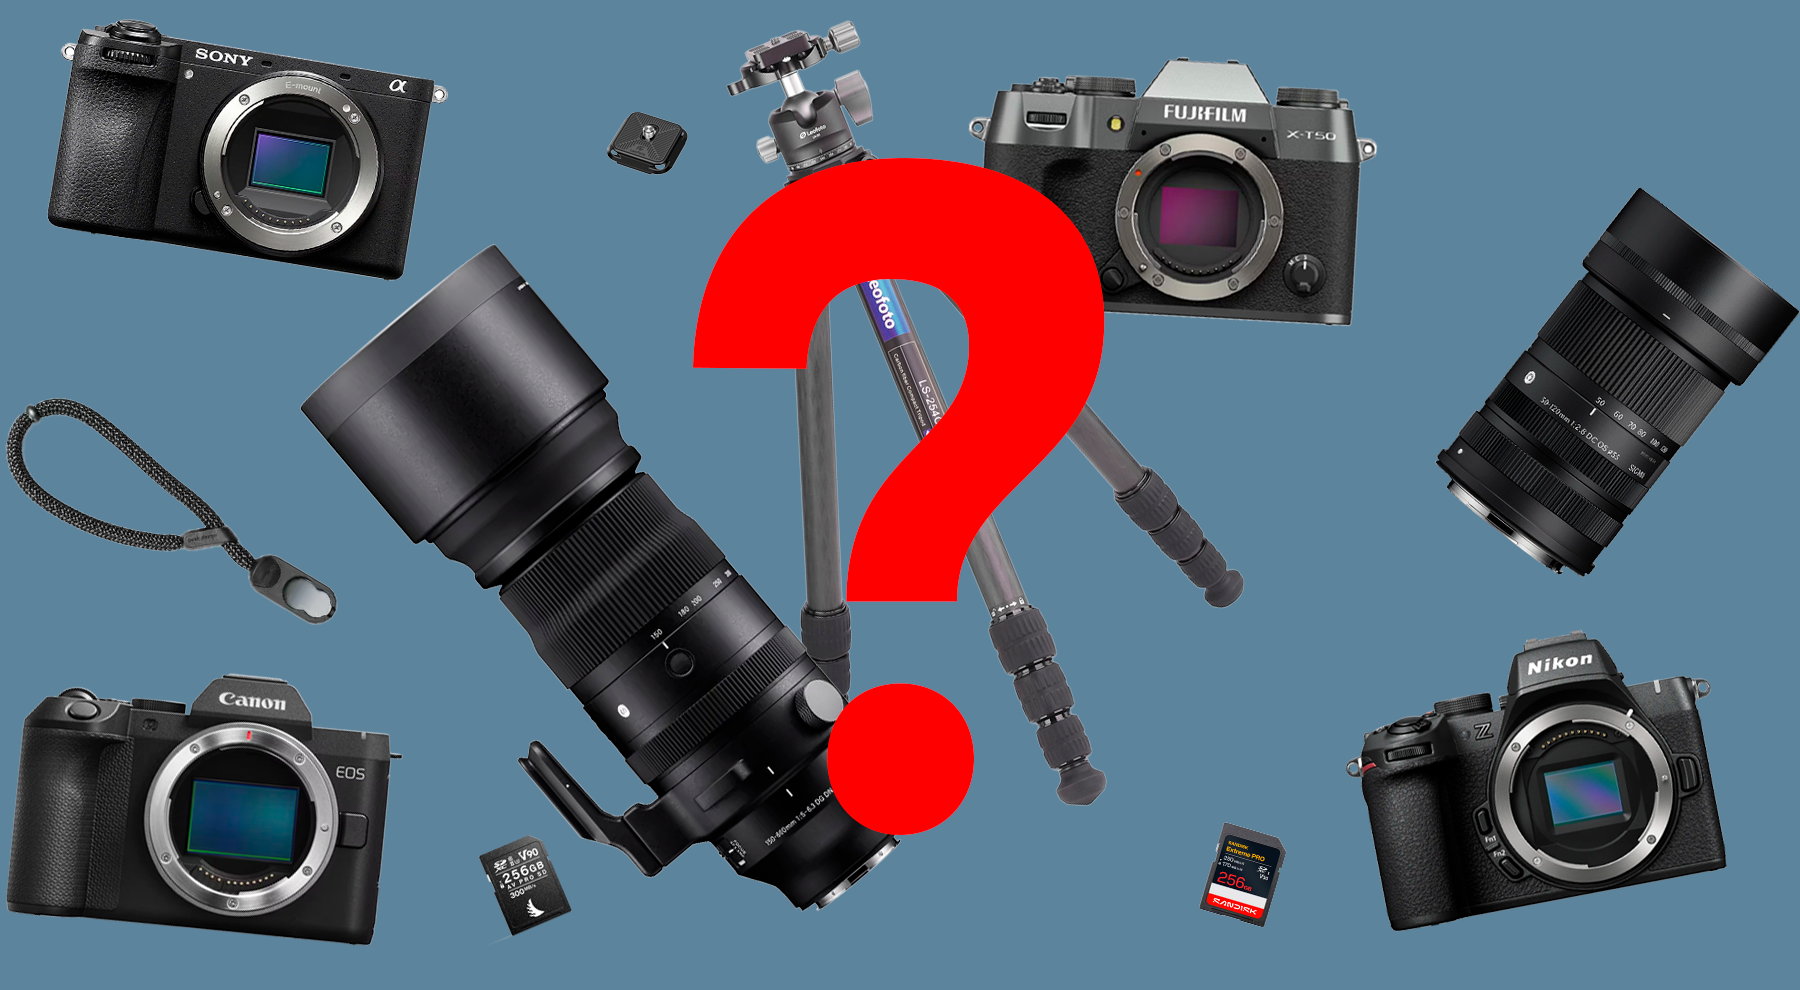
In short: Two to three reliable batteries, several smaller SD cards instead of one big one, a comfortable strap, a blower and a well-padded bag. That prepares you for almost anything. A polarising filter is worth it as soon as you shoot landscapes. The tripod can wait.
Accessories you really need
A camera and a lens are only half the battle. Honestly, empty batteries and a faulty card have cost me more pictures than any technical limit of my gear. The good news: you can avoid exactly these failures almost entirely with very little money. Here is the list I recommend to every beginner, and why.
Batteries
Mirrorless cameras are real power hogs. The viewfinder, display and autofocus constantly draw energy, and depending on the model, a battery is empty faster than you’d like. At a Creator Lab event, I got through two batteries in a single afternoon. For getting started, I therefore recommend two to three batteries. If you’re out for a long time, shoot in the cold or film a lot, plan for one more.
When buying, the rule is: quality over price. A battery that suddenly collapses under load ends your shoot at exactly the wrong moment. I learned that the hard way once, just as the light was getting most beautiful. Since then, I don’t save money here. It doesn’t have to be the original battery, but it should come from a reputable manufacturer. How big the differences are surprised even me in my battery comparison: Tilta, SmallRig and Photoolex kept their capacity claims, while the cheapest battery in the test delivered only about 84% of the promised capacity and shut down in my Sony A1 II more than half an hour earlier than the original.
If you rotate several batteries, a dual or USB-C charger is worth it: you charge two batteries at once and have everything ready in the morning. Many newer batteries can even be charged directly via USB-C, which is extremely handy when travelling. And if a battery sits in a drawer for a long time, it’s best to leave it half charged, cool and with clean contacts. Batteries don’t like being permanently full or completely empty.
Practical tip: Charge your batteries fully the evening before every shoot and take a quick look at the battery indicator before heading out. It sounds banal, but it saves you a lot of stress on location.
Why batteries suddenly seem “empty” in the cold and how to protect your gear in winter is explained by Silvan in his winter guide:
SD cards
With memory cards, reliability matters more than speed to me. As a beginner, you barely notice the last bit of write speed, but you notice a faulty card after an entire shoot immediately. That’s one of the worst feelings I know. Luckily it has only happened to me once, but once is plenty. That’s why I rely on cards from manufacturers like Angelbird, with whom I’ve had good experiences myself.
You don’t have to overdo it on speed: for photos, a UHS-I card with a U3 or V30 rating is completely sufficient for most entry-level cameras. Faster cards (UHS-II, V60 or V90) only pay off once you film high-bitrate 4K or shoot long bursts, for example in sports or wildlife.
64 GB is a good start, and 128 GB gives you more reserve for day trips and travel. And my most important advice: several smaller cards rather than one huge one. If one breaks or gets lost, not everything is gone, and after a shoot you can back up one card while you keep shooting with the next.
Practical tip: Format your cards in the camera regularly, after the backup of course, instead of only deleting the pictures on the computer. This keeps the file system clean and the card works more reliably.
Product Comparison

Angelbird AV PRO 256 GB SDXC U3 UHS-I Speicherkarte

Angelbird SD Card AV PRO 128GB V30 128 GB SDXC U3 UHS-I Speicherkarte
Camera strap
The strap that comes with your camera does its job, but not much more. A good strap distributes the weight better, makes long days much more comfortable and makes sure the camera doesn’t slip out of your hand when you quickly change position, while travelling or in a crowd.
Which type suits you depends on how you shoot: for everyday use, a neck strap is enough, for events and reportage a sling strap across the shoulder is more comfortable, and for compact setups a hand strap is often sufficient. The look is nice, but what matters more is grip, material and above all a clasp you trust blindly.
I personally almost always shoot with a wrist strap and no strap at all, because what matters most to me is how the camera sits in my hand. That’s a matter of taste, though. For getting started and for everyday use, a neck strap is perfectly fine.
What I recommend regardless of the type are the quick-release straps from Peak Design. For me, they are a real game-changer: you click the strap off in seconds when you don’t need it, or swap it for another one depending on what you have planned. Good options are the Slide, the Slide Lite or the Cuff as a wrist loop.
Product Comparison

Peak Design Slide Kameragurt

Peak Design Slide Lite Kameragurt

Peak Design Cuff Handschlaufe
You can find more models and colours in the Peak Design store on Amazon.
Cleaning kit
Dust ends up on every sensor sooner or later, at the latest the first time you change a lens outdoors. It becomes visible mainly in landscapes with a closed aperture, as dark spots in the sky. You don’t need much for it: a blower is a must and already removes most dust particles. Wet cleaning of the sensor should only be done with the right kit and in peace and quiet. Compressed air from a can doesn’t belong near the sensor either, as the propellant can leave residue.
For the lens, a microfibre cloth, lens pen and a little cleaning fluid are enough in 95 percent of cases. A screen protector for the display isn’t a must, but it reliably protects against scratches in everyday use and during transport.
Practical tip: Blow first, then wipe. If you wipe straight across the lens, you drag the dust particles over the glass and risk fine scratches.
How I clean my sensor step by step and which blowers, swabs and cleaning kits I use for it is shown in my guide:

Bag or backpack
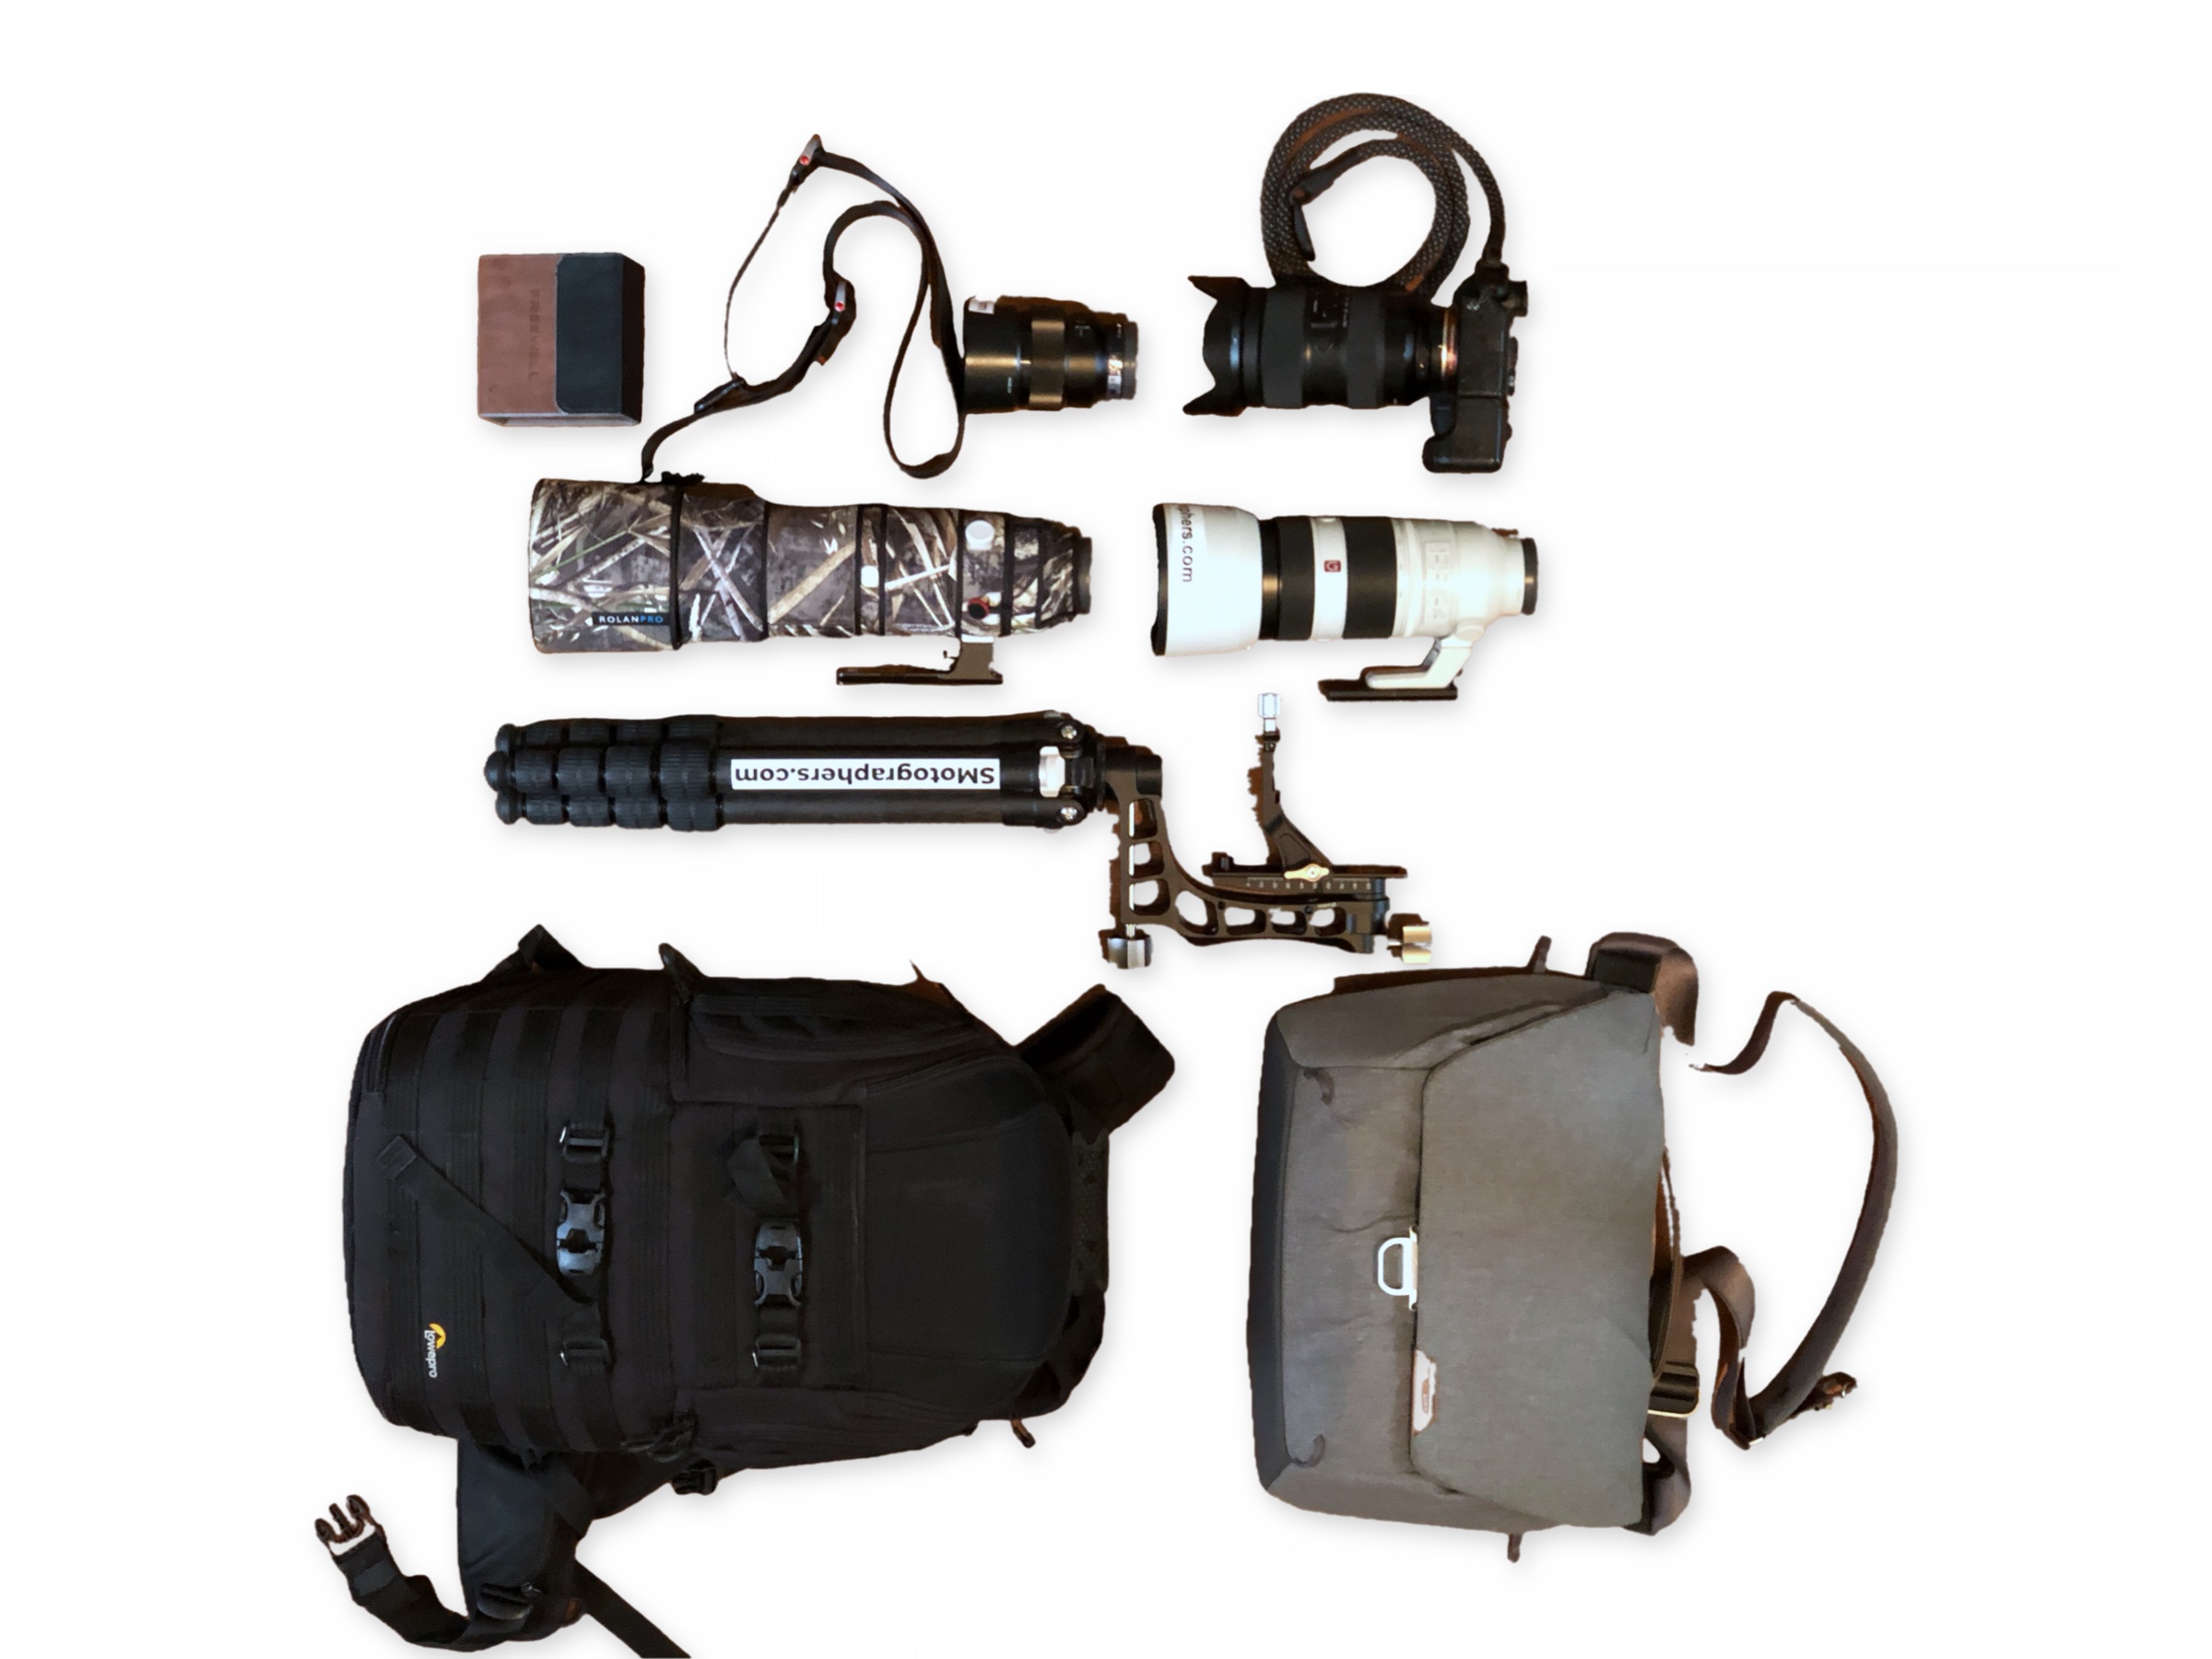
Anyone who knows me knows that I’d rather pack too much than too little. My backpack often looks like a small house move at shoots, and that’s exactly why I know how much a good bag matters. It doesn’t just protect your equipment during transport, in the car or while travelling. It also determines how quickly you can get to a battery, card or lens at the right moment. Firm, padded compartments are worth their weight in gold for that.
If you’re on foot for longer, a comfortable backpack with a good back panel is worth much more than a nice but impractical shoulder bag. After a few hours at the latest, you notice the difference in your shoulders.
I personally find Lowepro backpacks simply indestructible. They’re not necessarily pretty, but they survive everything. When buying, I look at three things:
- Padding: Too thin, and the backpack won’t absorb impacts. Too thick, and it quickly gets heavy, which can become a problem on flights with a weight limit, for example.
- Adjustability: The compartments should be freely configurable. If your equipment doesn’t sit tight, it isn’t safe either.
- Size and weight: Don’t go bigger than you need, because an empty padded backpack already weighs quite a bit.
The best choice is a back loader, where you open the backpack via the back panel. That has several advantages:
- Whoever stands behind you can’t reach your equipment, because the opening is on your back.
- If you put the backpack on the ground to unpack, you can see the whole contents at a glance.
- If the ground is dirty, only the outside gets dirty and not the back padding that you wear against your body afterwards.
- Packing and unpacking is easy.
That’s why I wouldn’t buy a front loader or top loader.
Lowepro ProTactic

Lowepro ProTactic BP 450 AW III
Features
- 28 L Volumen

Lowepro ProTactic BP 350 AW III
Features
- 17 L Volumen
You can find more models in the Lowepro store on Amazon.
Practical tip: Look for a rain cover and a small compartment just for full memory cards. That way, a full card never ends up back in the camera by accident.
What belongs in the backpack when you travel with a camera is shown by Antony in his travel guide:
Filters
Filters aren’t a must for getting started. If you still want to get one, UV and polarising filters are the most sensible candidates, and ND filters come later.
A UV filter has hardly any effect on the image with digital cameras anymore, but it protects the front element from scratches, splashes and fingerprints. Pay attention to quality here: a cheap filter in front of a good lens costs you contrast and sharpness.
More exciting is the polarising filter (CPL). It reduces reflections on water and glass, makes the sky bluer and colours richer. Especially in landscapes, this is an effect you can’t simply recreate in editing.
ND filters darken the image without changing the colours. They make daytime long exposures possible, and when filming you can work with a wide-open aperture even in bright light. For getting started, though, this isn’t a topic yet. My order: UV or CPL first, ND only once you specifically get into long exposures or video.
Which size? You buy filters to match the diameter of the filter thread. You’ll find it on the front of the lens or on the inside of the lens cap, usually with a Ø symbol, for example Ø67. If you have several lenses, buy the filter for the largest thread and use cheap adapter rings (step-up rings) for the smaller ones.
Product Comparison

Hoya Fusion ONE Next UV-Filter 67 mm
Features
- UV-Filter als Schutz für die Frontlinse
- Günstiger Einstieg

B+W 010 UV-Haze-Filter MRC Basic 67 mm
Features
- UV-Filter als Schutz für die Frontlinse
- MRC-Mehrschichtvergütung
- Basic-Linie von B+W

Sigma WR UV-Filter 67 mm
Features
- UV-Filter als Schutz für die Frontlinse
- WR-Beschichtung: wasser- und ölabweisend
Product Comparison

Hoya UX II Zirkular-Polfilter 67 mm
Features
- Zirkularer Polfilter
- Reduziert Spiegelungen auf Wasser und Glas
- Sattere Blautöne am Himmel

B+W S03 Zirkular-Polfilter MRC Basic 67 mm
Features
- Zirkularer Polfilter
- MRC-Mehrschichtvergütung
- Reduziert Spiegelungen auf Wasser und Glas

Hoya Pro ND32 Graufilter 67 mm
Features
- Graufilter mit 5 Blendenstufen (ND32)
- Für Langzeitbelichtung und offene Blende bei viel Licht
Why no tripod for beginners?
You may be asking yourself: “Where is the tripod in my recommendations?” Honestly: as a beginner, you don’t (yet) need one. I didn’t have one in my first year, and looking back, that was exactly right. Today, a small tripod does end up in my backpack at larger shoots, but only today.
A tripod can hold you back at the beginning. You’re only just developing your eye, your feeling for perspective, timing and light. When you work with a tripod, you’re often less flexible, you stay at eye level and you don’t move enough. Especially in the learning phase, that’s counterproductive.
And then there’s the practical side: tripods are heavy, bulky and mostly stay at home in everyday life. Many of my first and still favourite pictures were taken spontaneously on a walk, on a trip, with friends or in the evening light around the corner. Who wants to set up a tripod first?
Of course, there are situations where a tripod is a must: long exposures, architecture, astro, macro, or when you want to be in the picture yourself. But those things come later. Once you’ve got the craft down, you’ll know yourself when it’s time for a tripod.
If you want a tripod anyway
If you’d still like to try long exposures early on or get yourself into the picture, I recommend the Leofoto LS-325C with LH-40 ball head. I’ve been using this carbon tripod myself for years, from wildlife and studio work to travel photography. At 1.95 kg it stays easy to carry, packs down to 54.5 cm for hand luggage and still holds up to 12 kg. That means it’s still enough when heavy telephoto lenses come along later.
Why spend that much right away? Buy cheap and you buy twice. And an unstable tripod gets you no further than shooting handheld.
Leofoto LS-325C Ranger Carbon Dreibeinstativ mit LH-40 Kugelkopf

Leofoto LS-325C Ranger Carbon Dreibeinstativ mit LH-40 Kugelkopf
Frequently asked questions about accessories
What equipment do I really need at the beginning?
Besides a camera and a lens, for a stress-free start you mainly need reliable SD cards, spare batteries, a suitable bag and a simple cleaning kit. These basics prevent the most common frustrations in everyday use.
Should I buy a tripod right away?
For most people: no. A tripod only makes sense once you specifically get into long exposure, astro, architecture or macro. For getting started, mobility matters more than extra weight.
How to take better photos straight away
You have a camera and a lens, but how do you get the best out of your setup? Here are five tips that helped me the most at the beginning, without much technology and without frustration.
- Read the manual, yes, really! You’ll be surprised what your camera can do once you truly understand the basic functions. I put this off far too long myself.
- Enable AF-C: This is continuous autofocus. Ideal for anything that moves: people, animals, action.
- RAW instead of JPEG: It gives you more room in editing, more dynamic range, more reserves. Yes, the files are bigger, but it’s worth it.
- Get out of automatic mode: Use A mode (aperture priority) for creative control over depth of field or S mode (shutter priority) for motion.
- Understand the exposure triangle: ISO, aperture, shutter speed. Small changes have a big effect. Anyone who understands this really has the camera under control, and for me this very click changed everything.
Rules you’re allowed to break
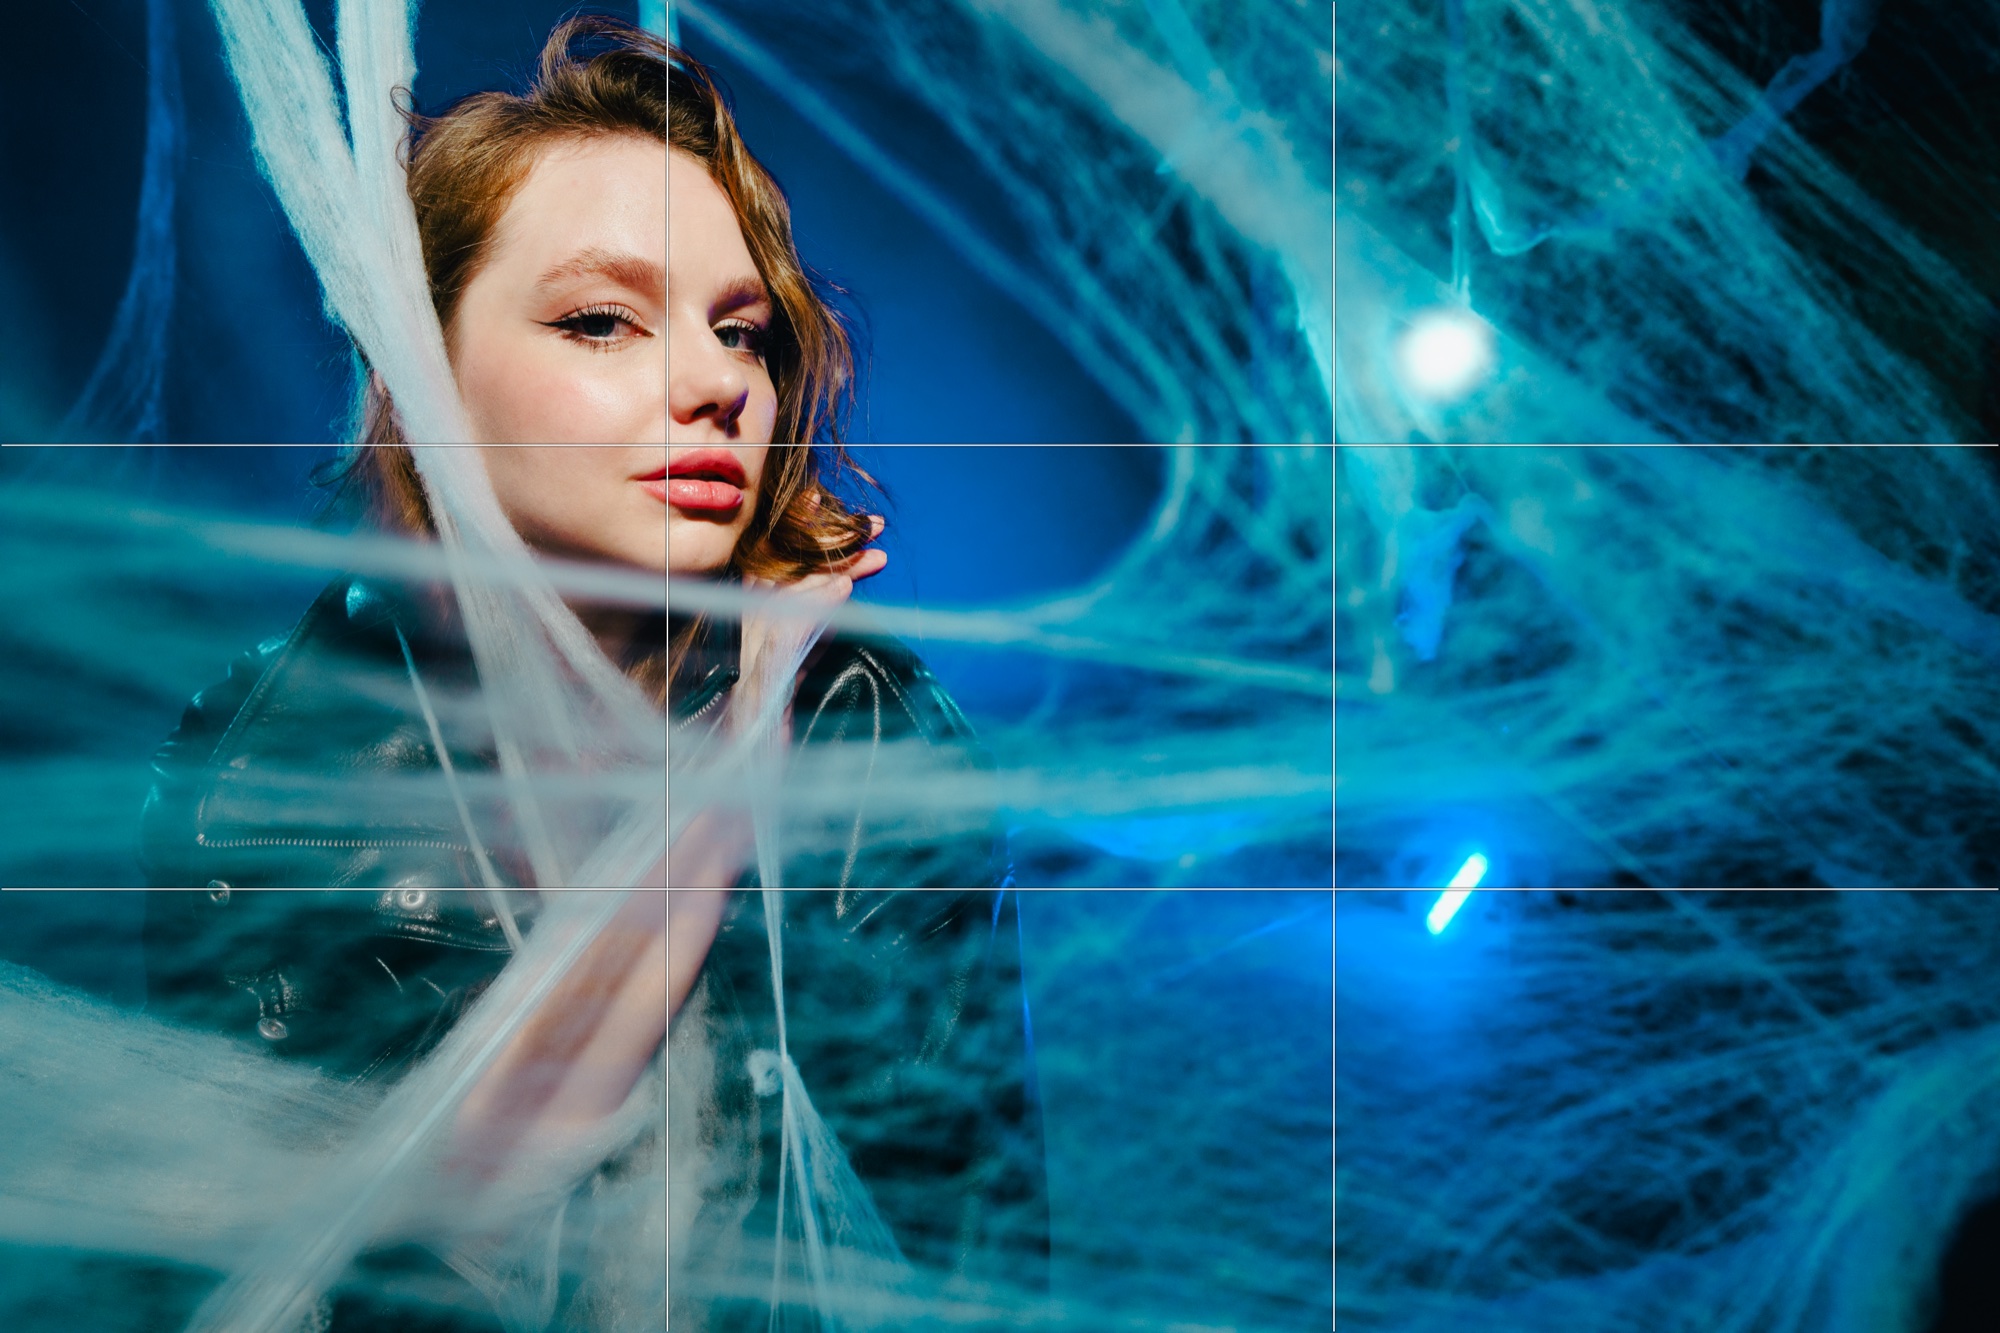
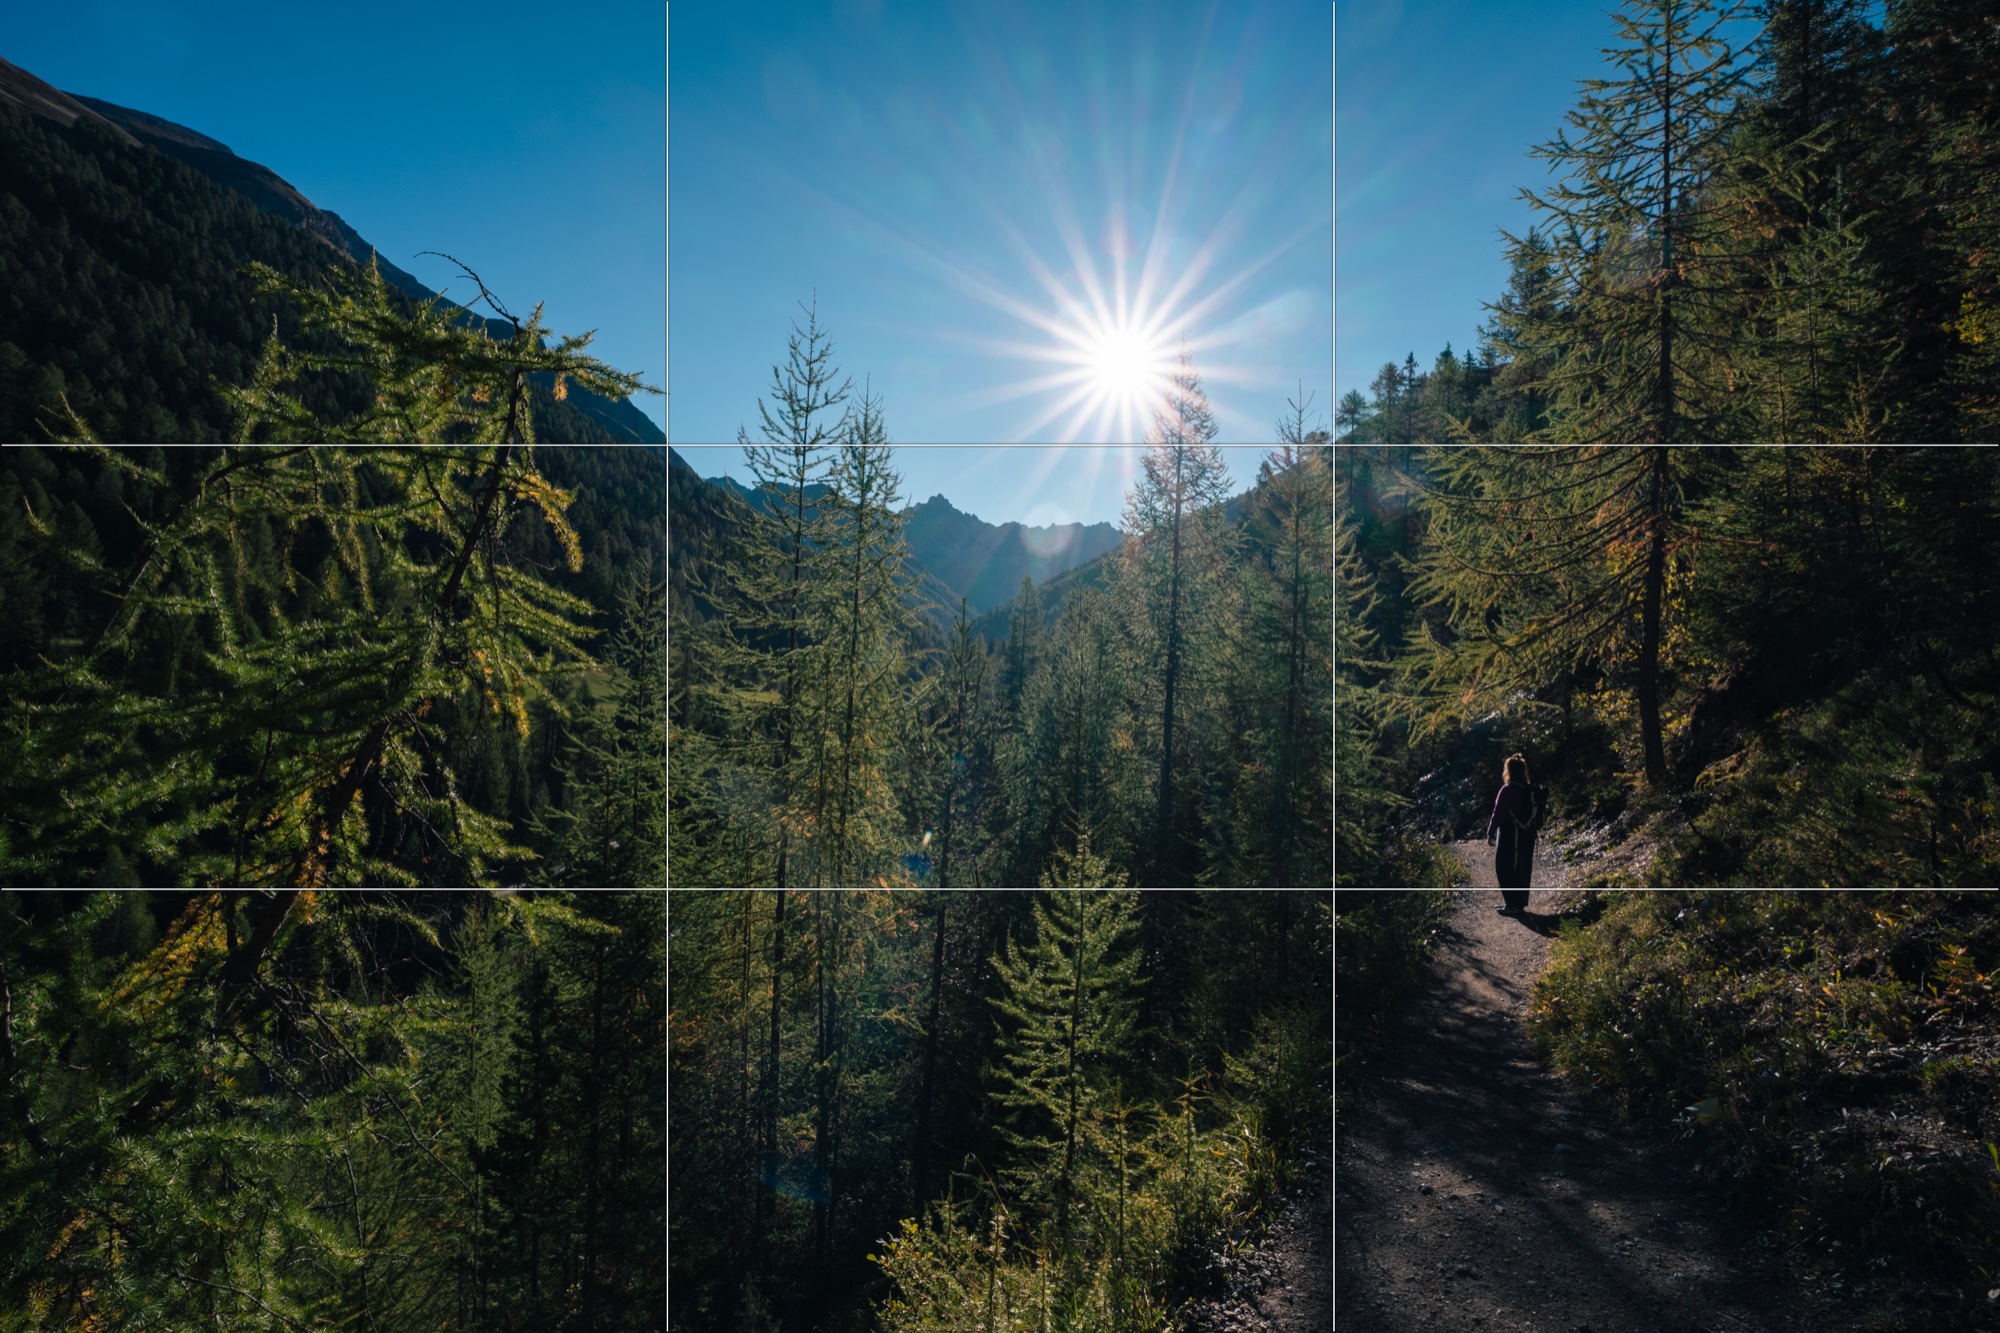
Photography is more than technology, it’s about expression, feeling, moment. Rules help, but sometimes it’s good to ignore them on purpose, as my own favourite pictures keep showing me:
- Rule of thirds: Often works, but not always. Sometimes centred is exactly right.
- Leading lines: Can guide the eye or overload the picture.
- Exposure & contrast: Under- or overexposing can create style and mood.
- Depth of field: Subject separation is cool, but sometimes a picture needs context and more sharpness.
Do your thing. Your pictures. Your style.
Conclusion
Accessories don’t make your pictures better, but they make sure the pictures get taken at all. A spare battery in your bag and a second card in the slot cost little and save your shoot at the decisive moment. For me, it took an empty battery and a faulty card to understand that. The biggest leap, though, doesn’t come from new equipment but from truly getting to know your camera: get out of automatic mode, shoot RAW, understand the exposure triangle and above all, shoot a lot.
Haven’t chosen your camera yet? Then start with Part 1: Find the Right Camera.