
Starterkit Part 1 | Find the Right Camera: Cameras, Lenses & Setups for Beginners
- Marvin Kuhn
- Starterkit , Camera
- 16 October 2026
Table of Contents
Hardly any question reaches me more often than: “Which camera should I buy?” By now I have tested countless cameras and lenses, from solid entry-level bodies up to the Sony A1 II, and the main thing I have learned is this: there is no “best” camera. There is only the best camera for what you want to photograph, within what you can invest.
When I started out myself, I walked straight into the trap I want to spare you here: I got lost in spec sheets, worried about megapixels that barely mattered in everyday use, and only realised months later that a different lens would have made a much bigger difference. This guide is what I wish I had back then: no hyped-up YouTube videos telling you how great and how much better the latest camera is. The reality is that in your first years of learning photography you will never use all those features, because you should be focusing on the fundamentals and finding your style. And yes, that comes from someone who owns an A1 II himself. But I didn’t start with it either. I bought that camera because I had a clear plan for what I wanted to photograph, and that’s something you don’t have at the beginning. I speak from experience: I was convinced I would shoot lots of landscapes and portraits, and only a year or two later I noticed that landscapes weren’t really my thing and that I was far more interested in wildlife and action, which my first camera wasn’t right for.
Quick verdict For most beginners, the right choice is an APS-C body with reliable autofocus and the right lens for your main genre, not the most expensive camera on the market. Split your budget roughly into three parts: body + main lens, a second lens or upgrade, and accessories such as batteries, cards and a bag, keeping in mind that the weighting differs a lot between genres. The budget calculator further down shows you a split for your genre and budget.
This guide comes in two parts. This first part is about cameras and lenses. Which accessories you really need and how your photos get better from day one will follow in Part 2: Accessories & first steps.
What gear do you really need?
The photography market is a jungle. It already was when I started out, and it hasn’t got any smaller since. Numbers, buzzwords and marketing promises everywhere. In five steps I’ll show you what really matters when you start out and what you can safely ignore: your genre, the sensor size, the system, the type of lens and finally the camera body.
1. What do you actually want to photograph?

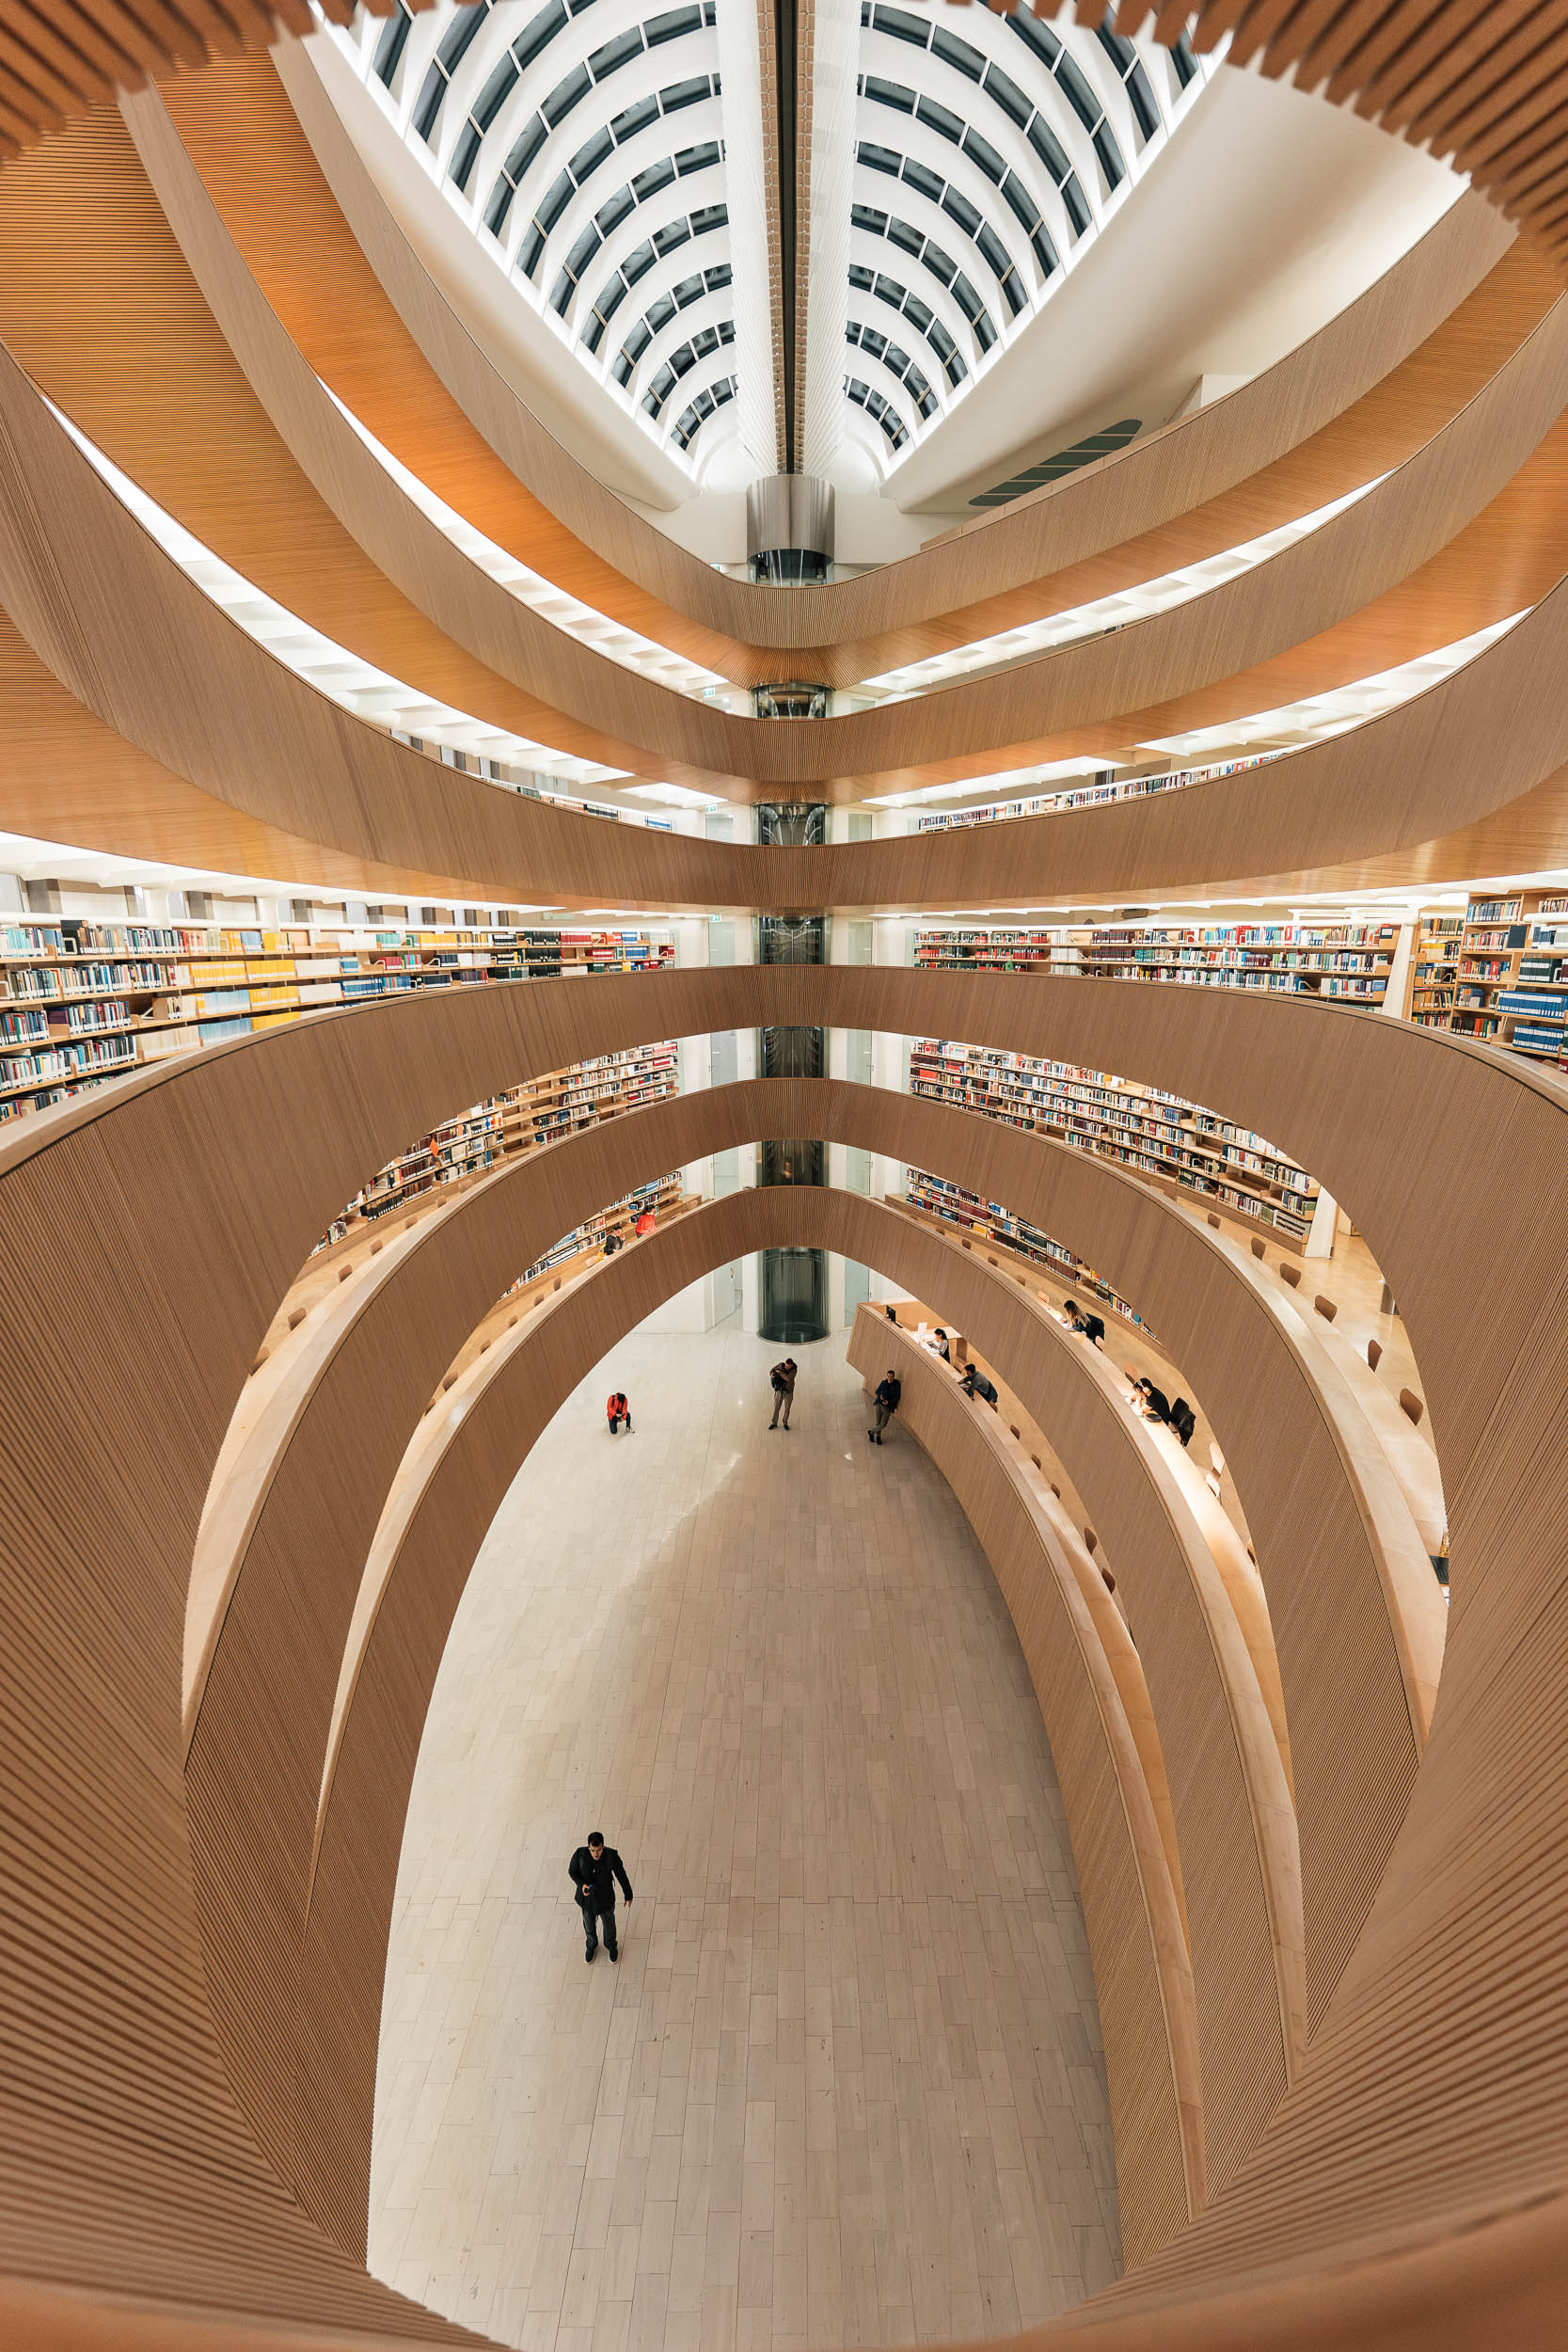
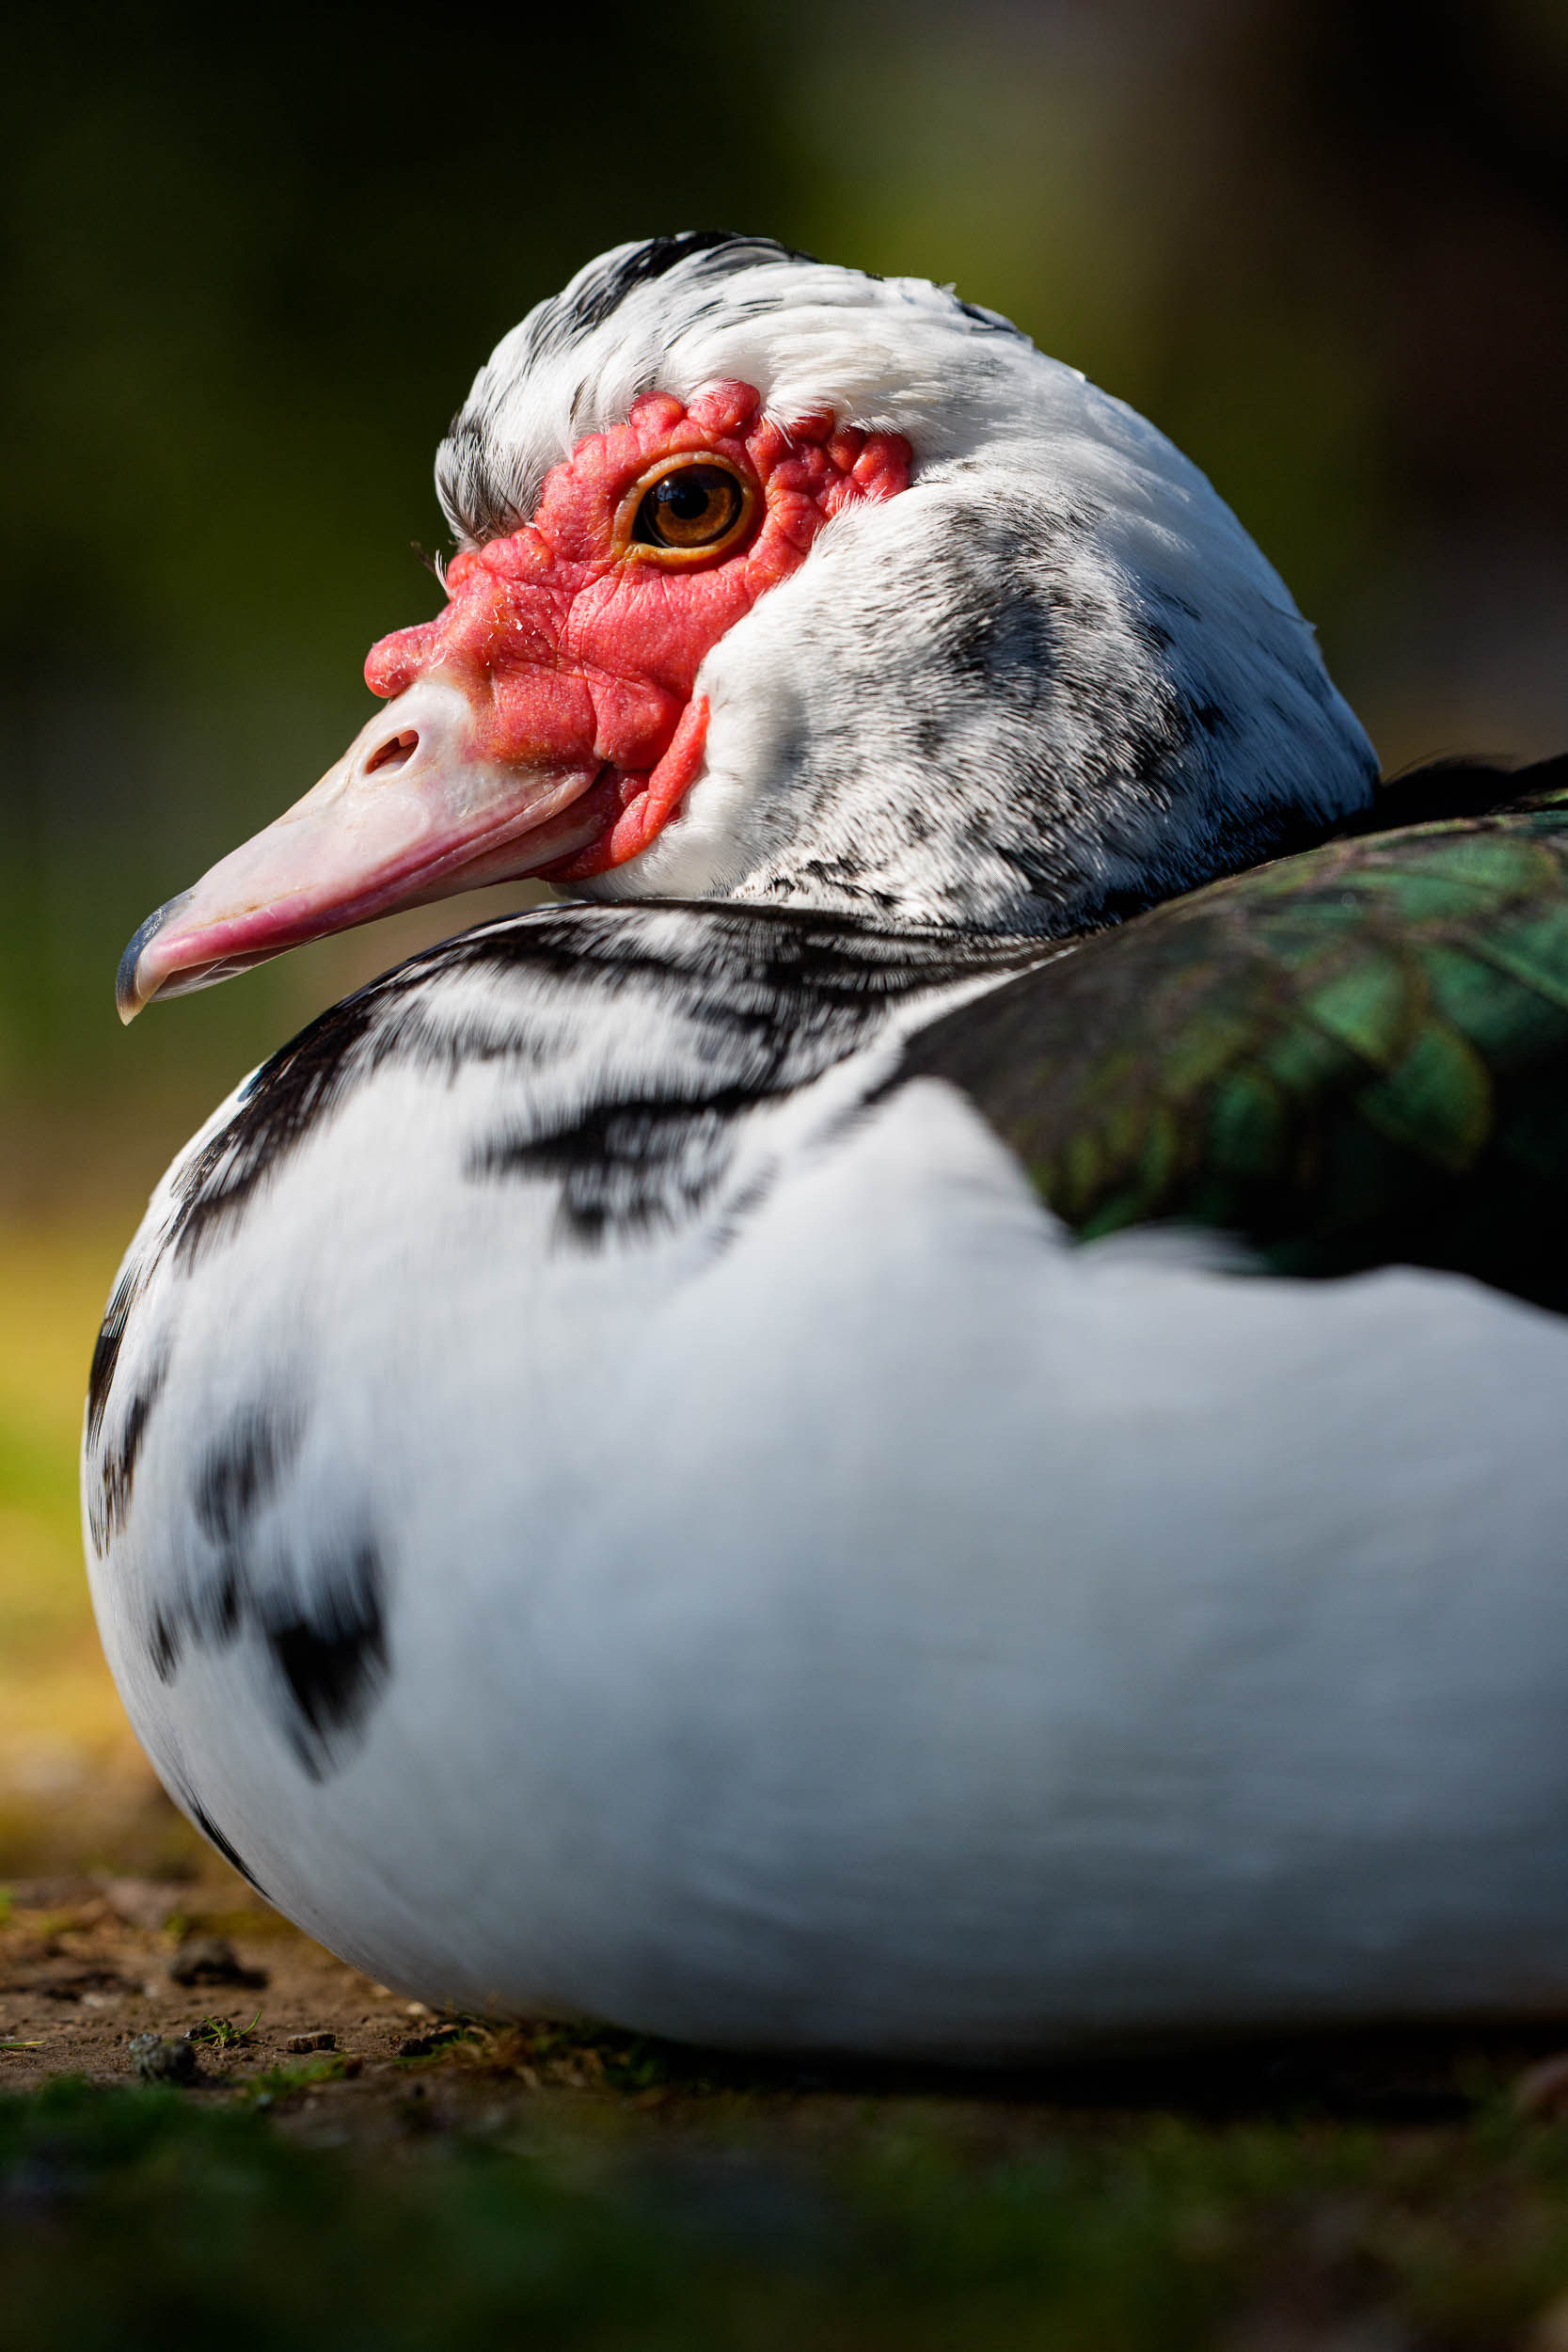
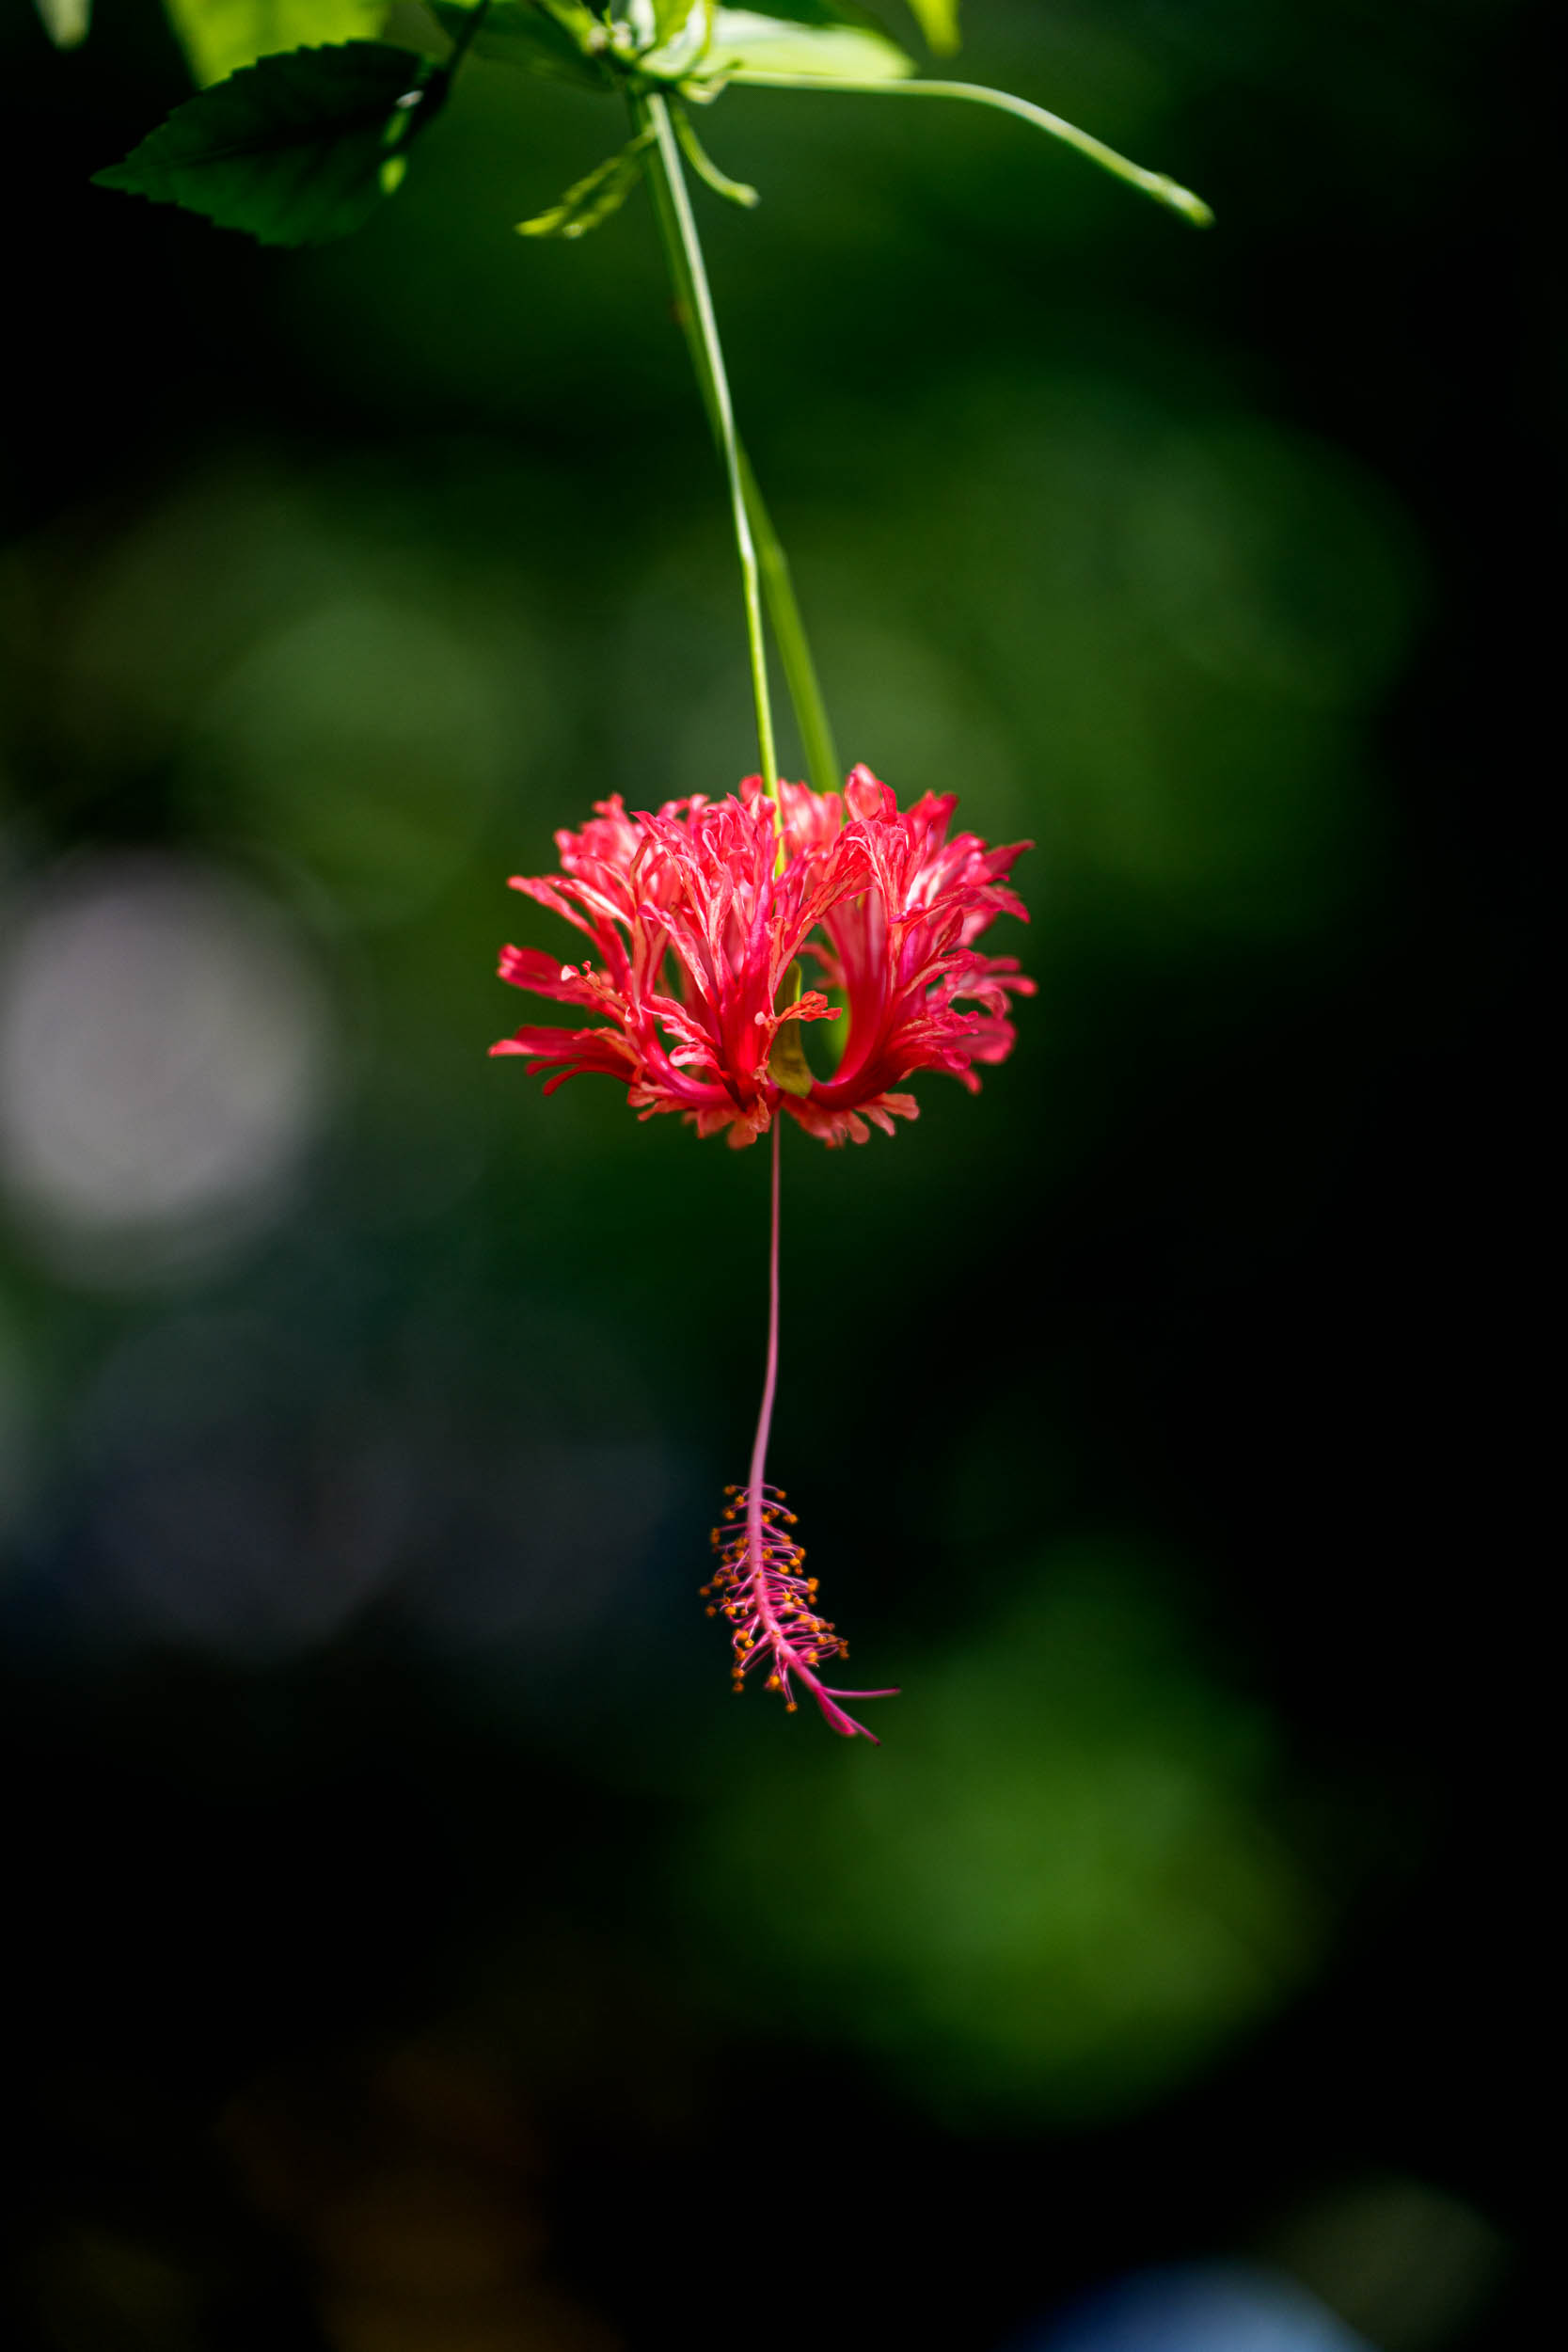
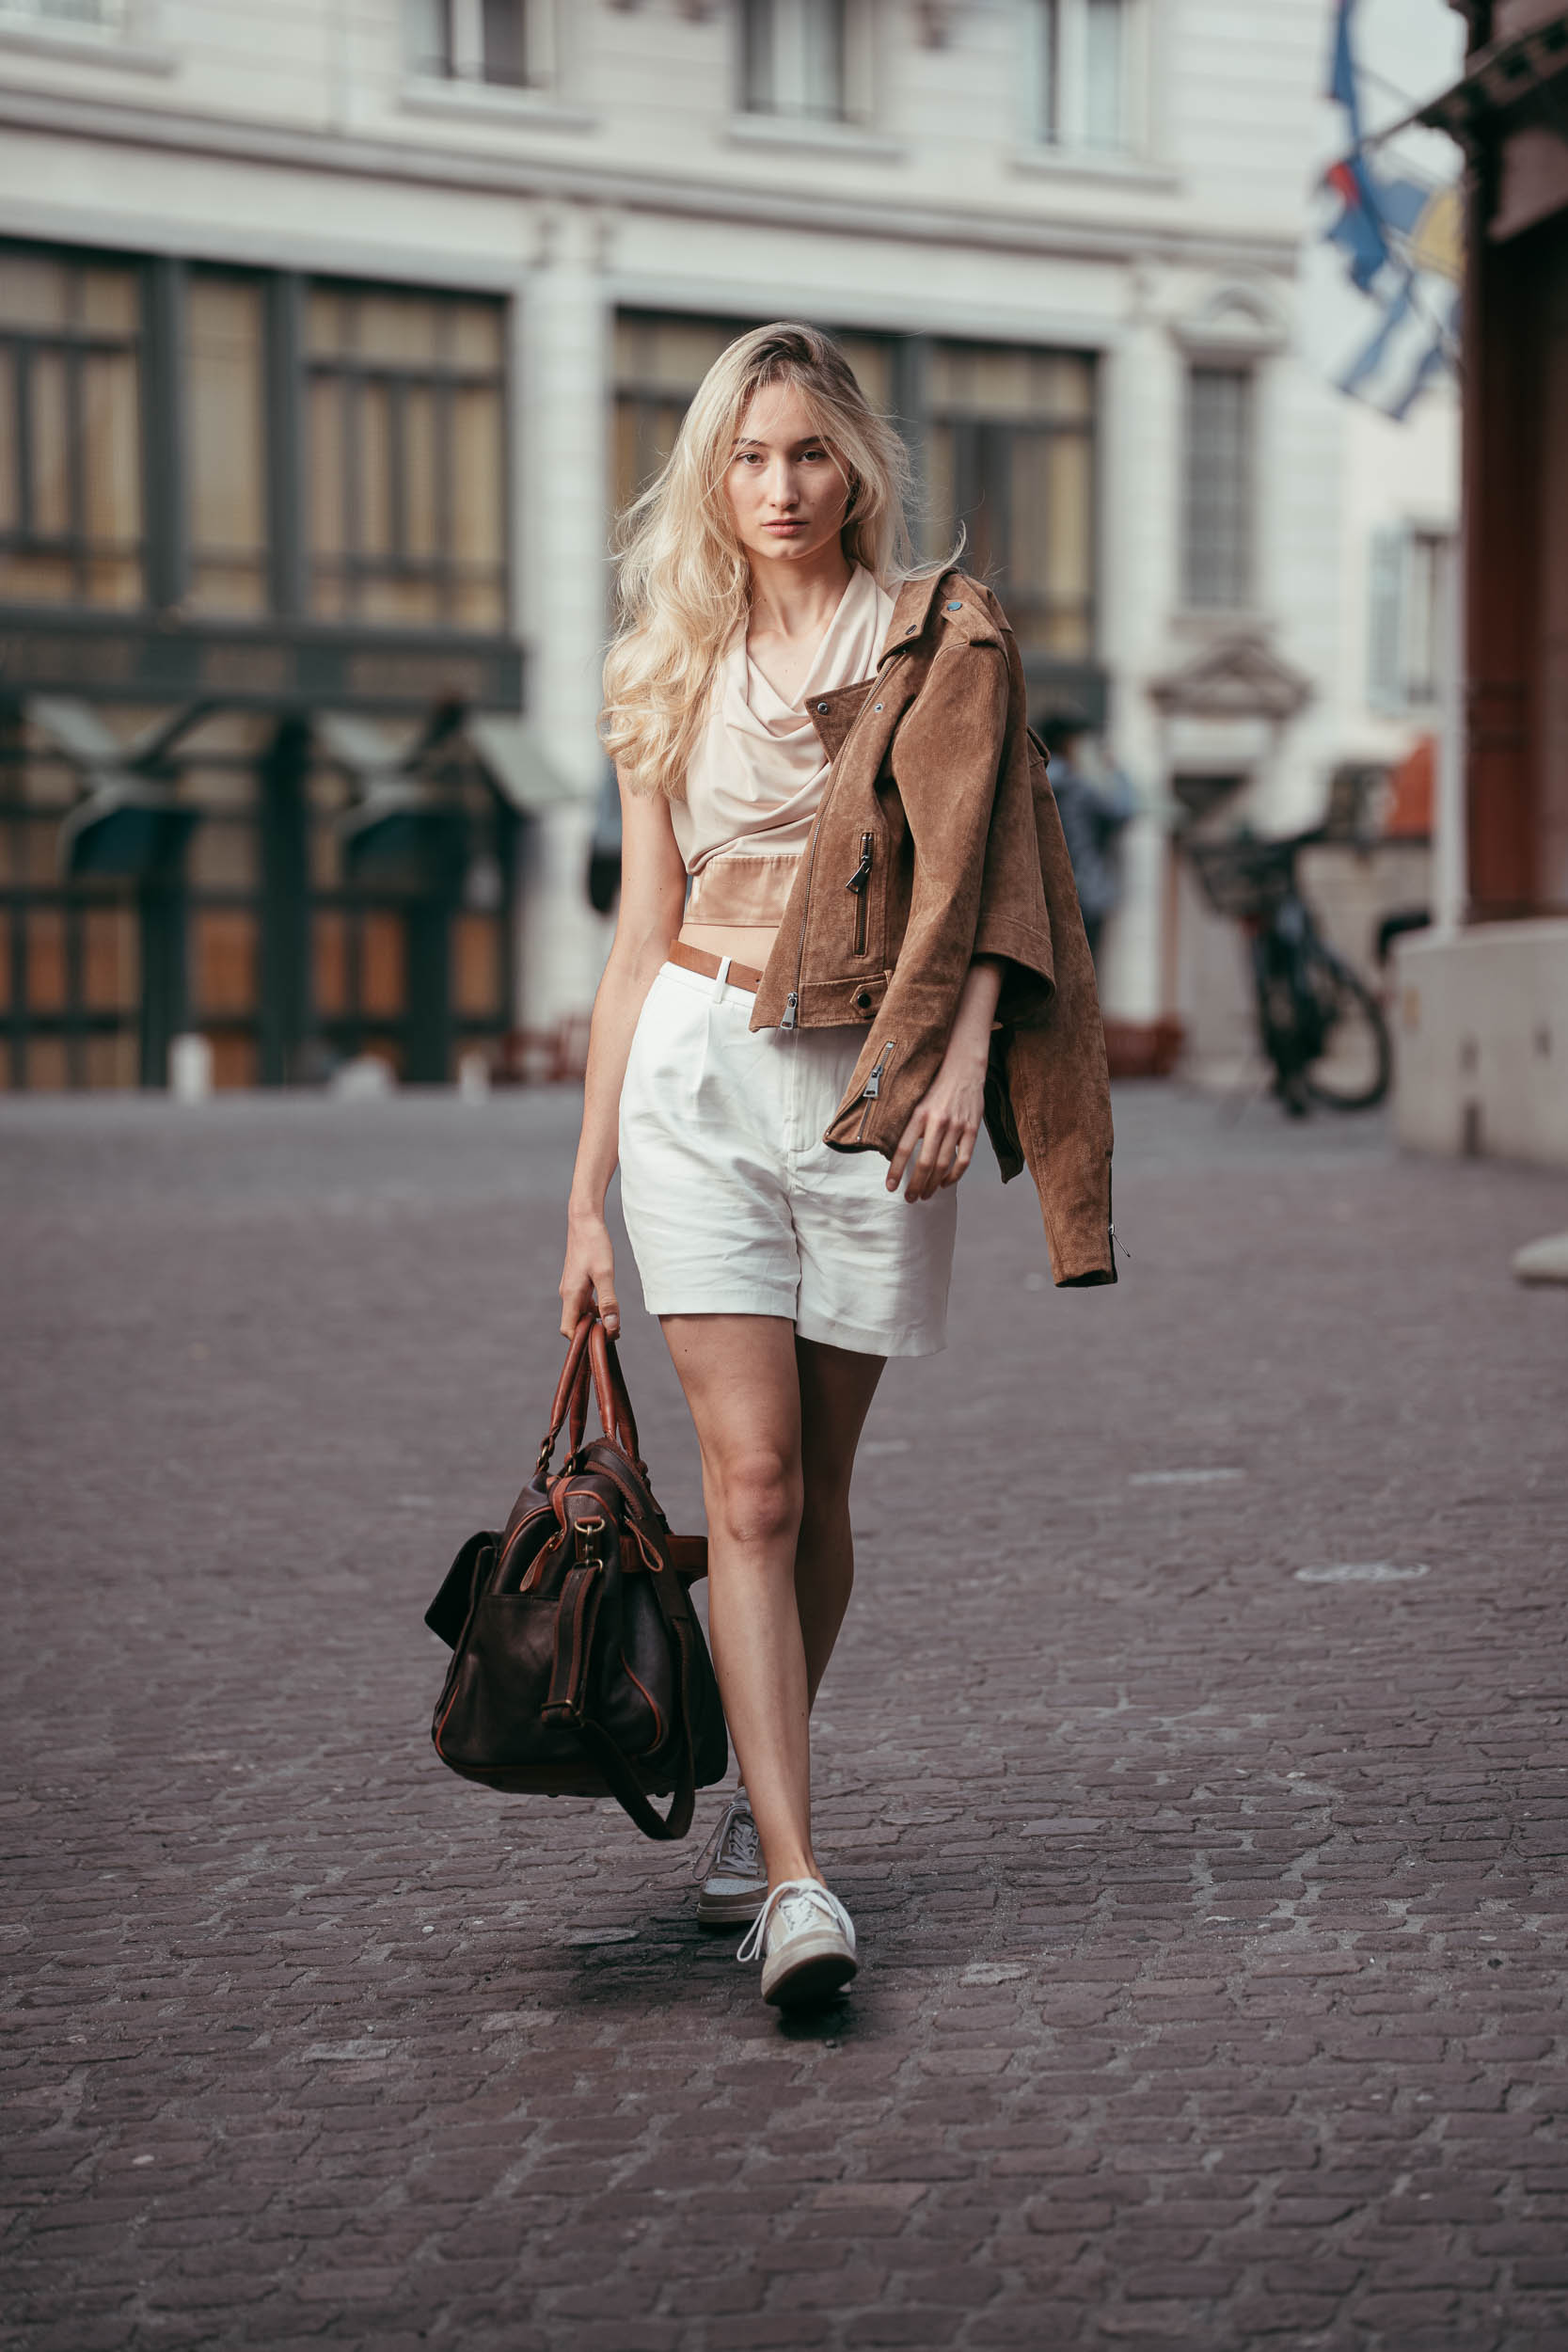
The most important question first: What really interests you? Do you want to photograph people? Animals? Mountains? Urban life? Your genre determines more than you might think:
- which lens you need, not which camera
- how compact or flexible your system should be
- and how much budget you realistically need to plan for
That’s exactly why I’ve built the rest of this guide around genres: that way you don’t just get a price tag, but a decision that works in practice.
2. APS-C or full frame?
Megapixel counts look impressive on paper, but in practice they almost never decide things on their own. Good images come from the interplay of sensor, lens, autofocus, light and technique. It helps to order your priorities the way a photo actually comes about: first an interesting subject, then good light, because without good light even the best subject looks dull. Next you need good lenses that bring that light cleanly onto the sensor, and only then do the sensor and camera come into play, recording and processing the light.
For getting started, these are the comparison points that matter most:
- Budget and entry costs: APS-C often offers the cheaper start, with more room left for lenses, batteries and accessories. Full frame costs more up front, but can be worth it if you want to invest early in high-quality lenses and a long-term system.
- Lenses and system expansion: With APS-C, many good lenses are compact and attractively priced. With full frame, the selection at the premium end is often broader, but weight and price rise faster. A note on compatibility: full-frame lenses generally also work on APS-C (with the crop factor), while APS-C lenses on full frame usually work only with restrictions or with heavy vignetting.
- Weight and handling: APS-C is usually lighter, which makes it pleasant for travel, everyday use and long days of shooting. Full frame often offers better ergonomics, larger controls and a more secure grip, which can also be an advantage on longer shoots.
- Image quality in practice: For social media, normal prints and most hobby uses, both systems deliver very good quality. Differences usually only become visible when you crop heavily, plan very large prints or often shoot in difficult light.
- Low light and dynamic range: Full frame often has the technical edge here, especially at high ISO values. I’ve noticed that again and again during my own wildlife tests at dusk. With a modern APS-C camera, clean exposure and fast lenses, very strong results are possible too.
- Subject separation and look: Full frame makes very shallow depth of field easier to achieve. APS-C can create a very similar look with suitable focal lengths and fast lenses, but sometimes needs a little more distance or a wider aperture.
- Learning curve and development: APS-C often makes getting started easier, because a complete setup becomes affordable sooner. Full frame can be motivating if you’re deliberately working towards an ambitious hobby, semi-pro or professional level.
In short: both systems are strong, but for different priorities. APS-C often suits a flexible, budget-friendly start better. Full frame plays to its strengths above all when you’re specifically looking for maximum headroom in low light, subject separation and a professional workflow.
Besides APS-C and full frame, you’ll also come across Micro Four Thirds (super compact, affordable, huge lens selection, but a smaller sensor and less subject separation) and medium format. The interactive comparison shows all four formats side by side: click on a format to highlight it and see its detailed pros and cons.
What does crop factor mean?
- Medium format (0.79x): 50mm lens = approx. 40mm field of view (wider)
- Full frame (1.0x): 50mm lens = 50mm field of view
- APS-C (1.5x): 50mm lens = 75mm field of view (narrower)
- Micro 4/3 (2.0x): 50mm lens = 100mm field of view (narrower still)
This matters if, for example, you like working wide, because a 24mm on APS-C is no longer a 24mm, but looks more like 36mm. It confused me at first too, until I tried it out on my own camera.
Want to work out which field of view and aperture your lens corresponds to on full frame? That’s what our equivalency calculator is for:

3. Lens beats camera: choose your system
The camera matters, but in the end it’s the glass in front of it that decides the look, sharpness and impact of the image.
Sounds simple? Almost. Because nearly every camera manufacturer has its own mount, or even several. Which means: you can’t put every lens on every camera. Many older lenses only work with an adapter, sometimes brilliantly, sometimes rather frustratingly. I’ve experienced both.
Current lens mounts compared
Side by side and to scale: each mount's throat diameter with the largest sensor it is built for.
Flange distance = the gap between mount and sensor. A wider throat gives lens designers more room, but doesn't automatically mean better lenses.
That matters more than it seems at first: bodies age faster technically, while my best lenses have stayed with me for years and across several camera generations, but only as long as the next camera uses the same mount. Choosing a system is therefore above all a lens decision, so it’s worth looking at which mount offers the right lenses for your main genre, both today and for expanding later.
Third-party lenses and AF selection per mount
Only modern autofocus lenses are considered, no manual lenses. The third-party situation keeps changing, so check the current state before you buy.
| Mount | Manufacturer | Format | Third-party | AF lens selection | Notable |
|---|---|---|---|---|---|
| Sony E | Sony | APS-C/FF | Tamron, Sigma, Samyang, Viltrox, TTArtisan… | Very large | Largest selection, open system |
| Canon RF | Canon | APS-C/FF | Samyang (limited), Tamron | Limited | Canon keeps third parties on a short leash |
| Nikon Z | Nikon | APS-C/FF | Tamron, Sigma, some Viltrox (third-party situation in flux, legal status is changing, check the current state before you buy) | Growing | Old F-mount lenses can be adapted |
| L-Mount | Leica/Panasonic/Sigma | APS-C/FF | Sigma (full range), Samyang | Growing | Alliance of three manufacturers sharing one open system |
| Micro 4/3 | Olympus/Panasonic | M4/3 | Lots! | Very large | Smallest sensor format, huge selection |
| Fujifilm X | Fujifilm | APS-C | Tamron, Sigma, Samyang, Viltrox | Large | APS-C only, very good quality |
Which lens range suits your genre?
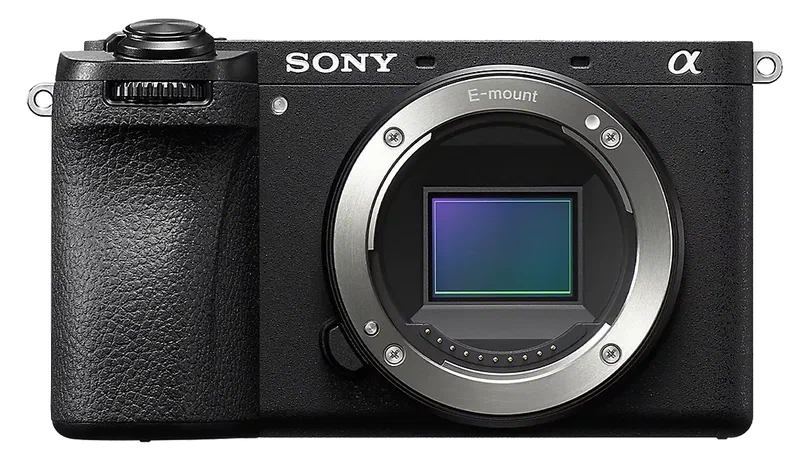
Sony E-Mount
Sony gives you the most choice and flexibility, which is why I use it myself. There are plenty of lenses from Sony and third parties for both APS-C and full frame. Because both formats share the same mount, you can mix APS-C and full-frame lenses and move up to full frame later without replacing your glass.
- Strong in the range: largest selection in every price class, many affordable fast primes from third parties, a wide choice of telephoto zooms up to the super-telephoto range, true macro lenses, compact video zooms
- Gaps: hardly any real gaps; Sony’s own APS-C lenses are limited, but third parties fill in well
- Well equipped for: all-round, portrait, landscape, wildlife, sport & action, video, so practically everything
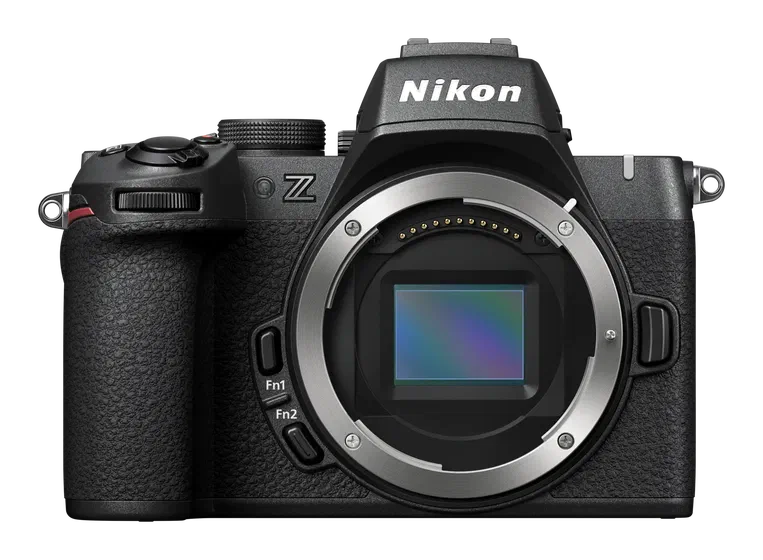
Nikon Z
Nikon offers a varied Z range, but it is clearly designed around full frame. For APS-C (“DX” at Nikon) the selection is much smaller. Third-party lenses exist, but in a noticeably smaller selection than for Sony.
- Strong in the range: strong and comparatively affordable full-frame telephoto lenses, good wide-angle zooms, older F-mount lenses still usable with an adapter
- Gaps: few native APS-C lenses, especially fast primes
- Well equipped for: landscape, wildlife, portrait (mainly on full frame)
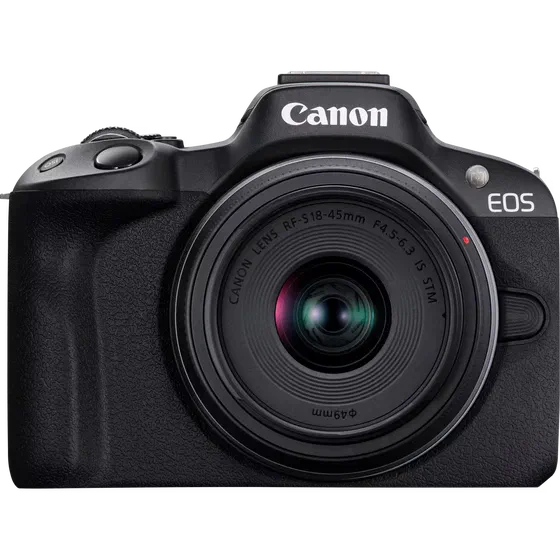
Canon RF
Canon is in a similar position to Nikon: most lenses are built for full frame, and there are only a few for APS-C (RF-S). Third parties are heavily restricted. Sigma and Tamron now offer some lenses for APS-C, but on full frame the choice of third-party autofocus lenses stays small, because it is more or less a closed system.
- Strong in the range: affordable telephoto zooms with plenty of reach, a broad full-frame range at the professional end, a huge second-hand market for older EF lenses that work flawlessly with an adapter
- Gaps: little native APS-C choice, fast full-frame lenses are expensive, hardly any affordable third-party alternatives
- Well equipped for: wildlife, sport & action, portrait (full frame)
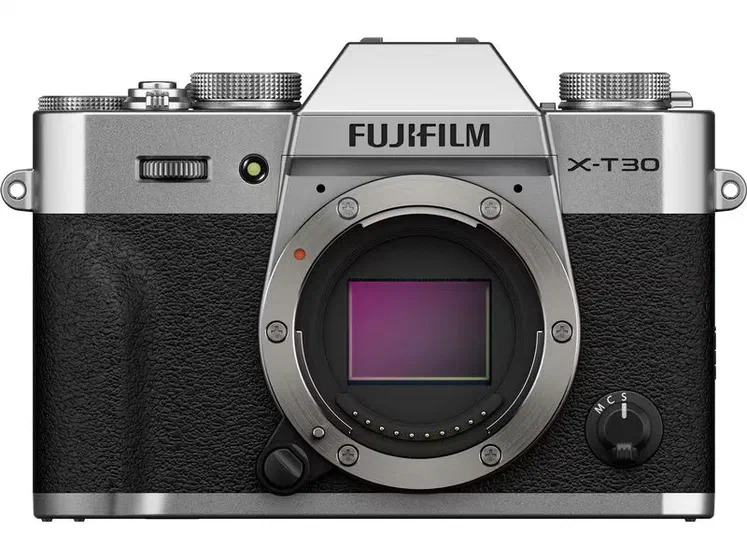
Fujifilm X
Fujifilm has a very good selection of APS-C lenses, but no full-frame option. The next step up is medium format (GFX), with its own mount: you can’t take your X lenses with you.
- Strong in the range: the most mature APS-C range, many compact, high-quality primes, a good third-party selection
- Gaps: telephoto lenses for wildlife are rare and expensive, no full-frame path within the same mount
- Well equipped for: all-round & everyday, travel, street, portrait
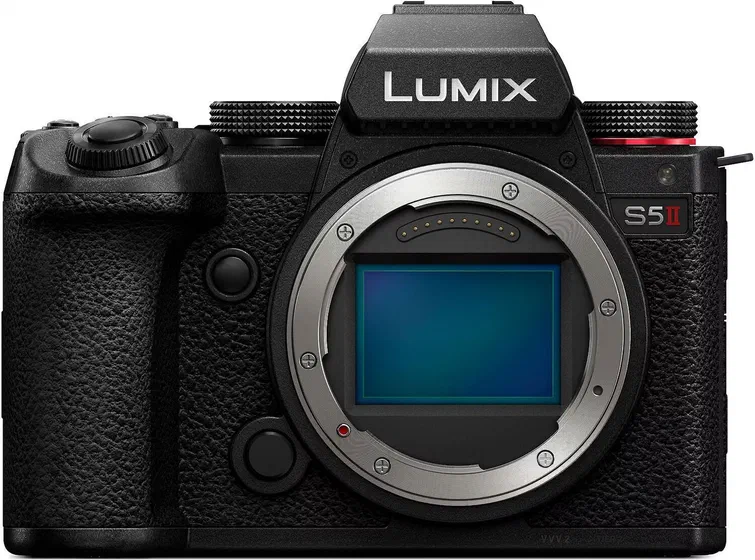
Panasonic Lumix
Lumix is represented in two systems: Micro 4/3 (G series) and full frame with L-Mount (S series). Lenses from the two systems are not compatible with each other. Because the L-Mount is an open standard, on full frame you can also use lenses from Sigma, Leica and other partners in the L-Mount Alliance.
- Strong in the range: Sigma as a full-range maker for L-Mount, a series of fast primes in a uniform size (handy for video and gimbals), and on Micro 4/3 the huge shared range with OM System
- Gaps: the telephoto selection for L-Mount is smaller than for Sony, Canon or Nikon.
- Well equipped for: video & content, landscape (full frame), travel (Micro 4/3)
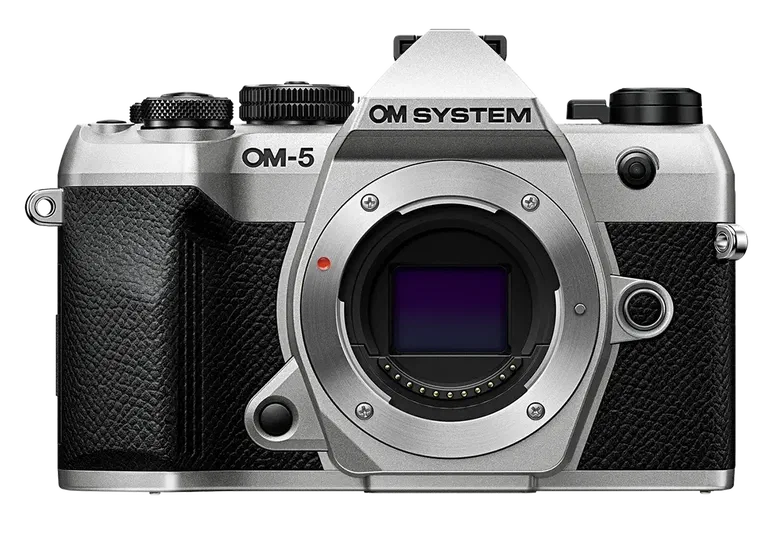
OM System (formerly Olympus)
OM System is the successor brand to Olympus and is fully committed to Micro 4/3. The standard was originally developed jointly by Olympus and Panasonic, so Micro 4/3 lenses from both manufacturers fit each other’s cameras. The selection is correspondingly large.
- Strong in the range: thanks to the 2x crop factor, telephoto lenses are compact and light, many rugged PRO lenses, a strong selection of macro lenses
- Gaps: for strong subject separation you need very fast lenses, and those are hardly smaller than on APS-C.
- Well equipped for: wildlife & birds (when weight matters), macro, hiking & outdoor, travel
At a glance: which lens range for which genre?
| Genre | Best equipped | Also well equipped |
|---|---|---|
| All-round & everyday | Sony, Fujifilm | Canon, Nikon |
| Portrait | Sony, Fujifilm | Canon, Nikon (full frame) |
| Landscape & architecture | Sony, Nikon | Fujifilm, Lumix (L-Mount) |
| Wildlife | Sony, Canon, Nikon | OM System |
| Macro | Sony, OM System | Canon, Nikon, Fujifilm |
| Sport & action | Sony, Canon | Nikon |
| Travel | Fujifilm, OM System | Sony (APS-C), Lumix (Micro 4/3) |
| Video & content | Sony, Lumix | Canon, Nikon |
Important: for getting started, you’ll find suitable lenses in every one of these systems. The differences mainly show when you expand, that is with specialist lenses, affordable third-party alternatives and the path to full frame. If you can’t settle on a genre yet, Sony is the safest choice in my view, because its range leaves you room to grow in any direction.
4. Prime vs. zoom lens: which is better?
A common question: should I buy a prime or a zoom?
| Aspect | Prime (e.g. 50mm f/1.8) | Zoom lens (e.g. 16-50mm) |
|---|---|---|
| Aperture | Very fast (f/1.4–f/2.8) | Slower (f/3.5–f/5.6) |
| Low light | Excellent, ideal indoors | Weaker, needs higher ISO |
| Subject separation | Beautiful background blur possible | Less separation |
| Flexibility | You have to step closer or back | Simply zoom |
| Size/weight | Small & light | Bigger & heavier |
| Price | Cheaper (from CHF 100–300) | More expensive (from CHF 300–800) |
| Learning effect | Forces you to move, so you learn better! | More convenient, but less movement |
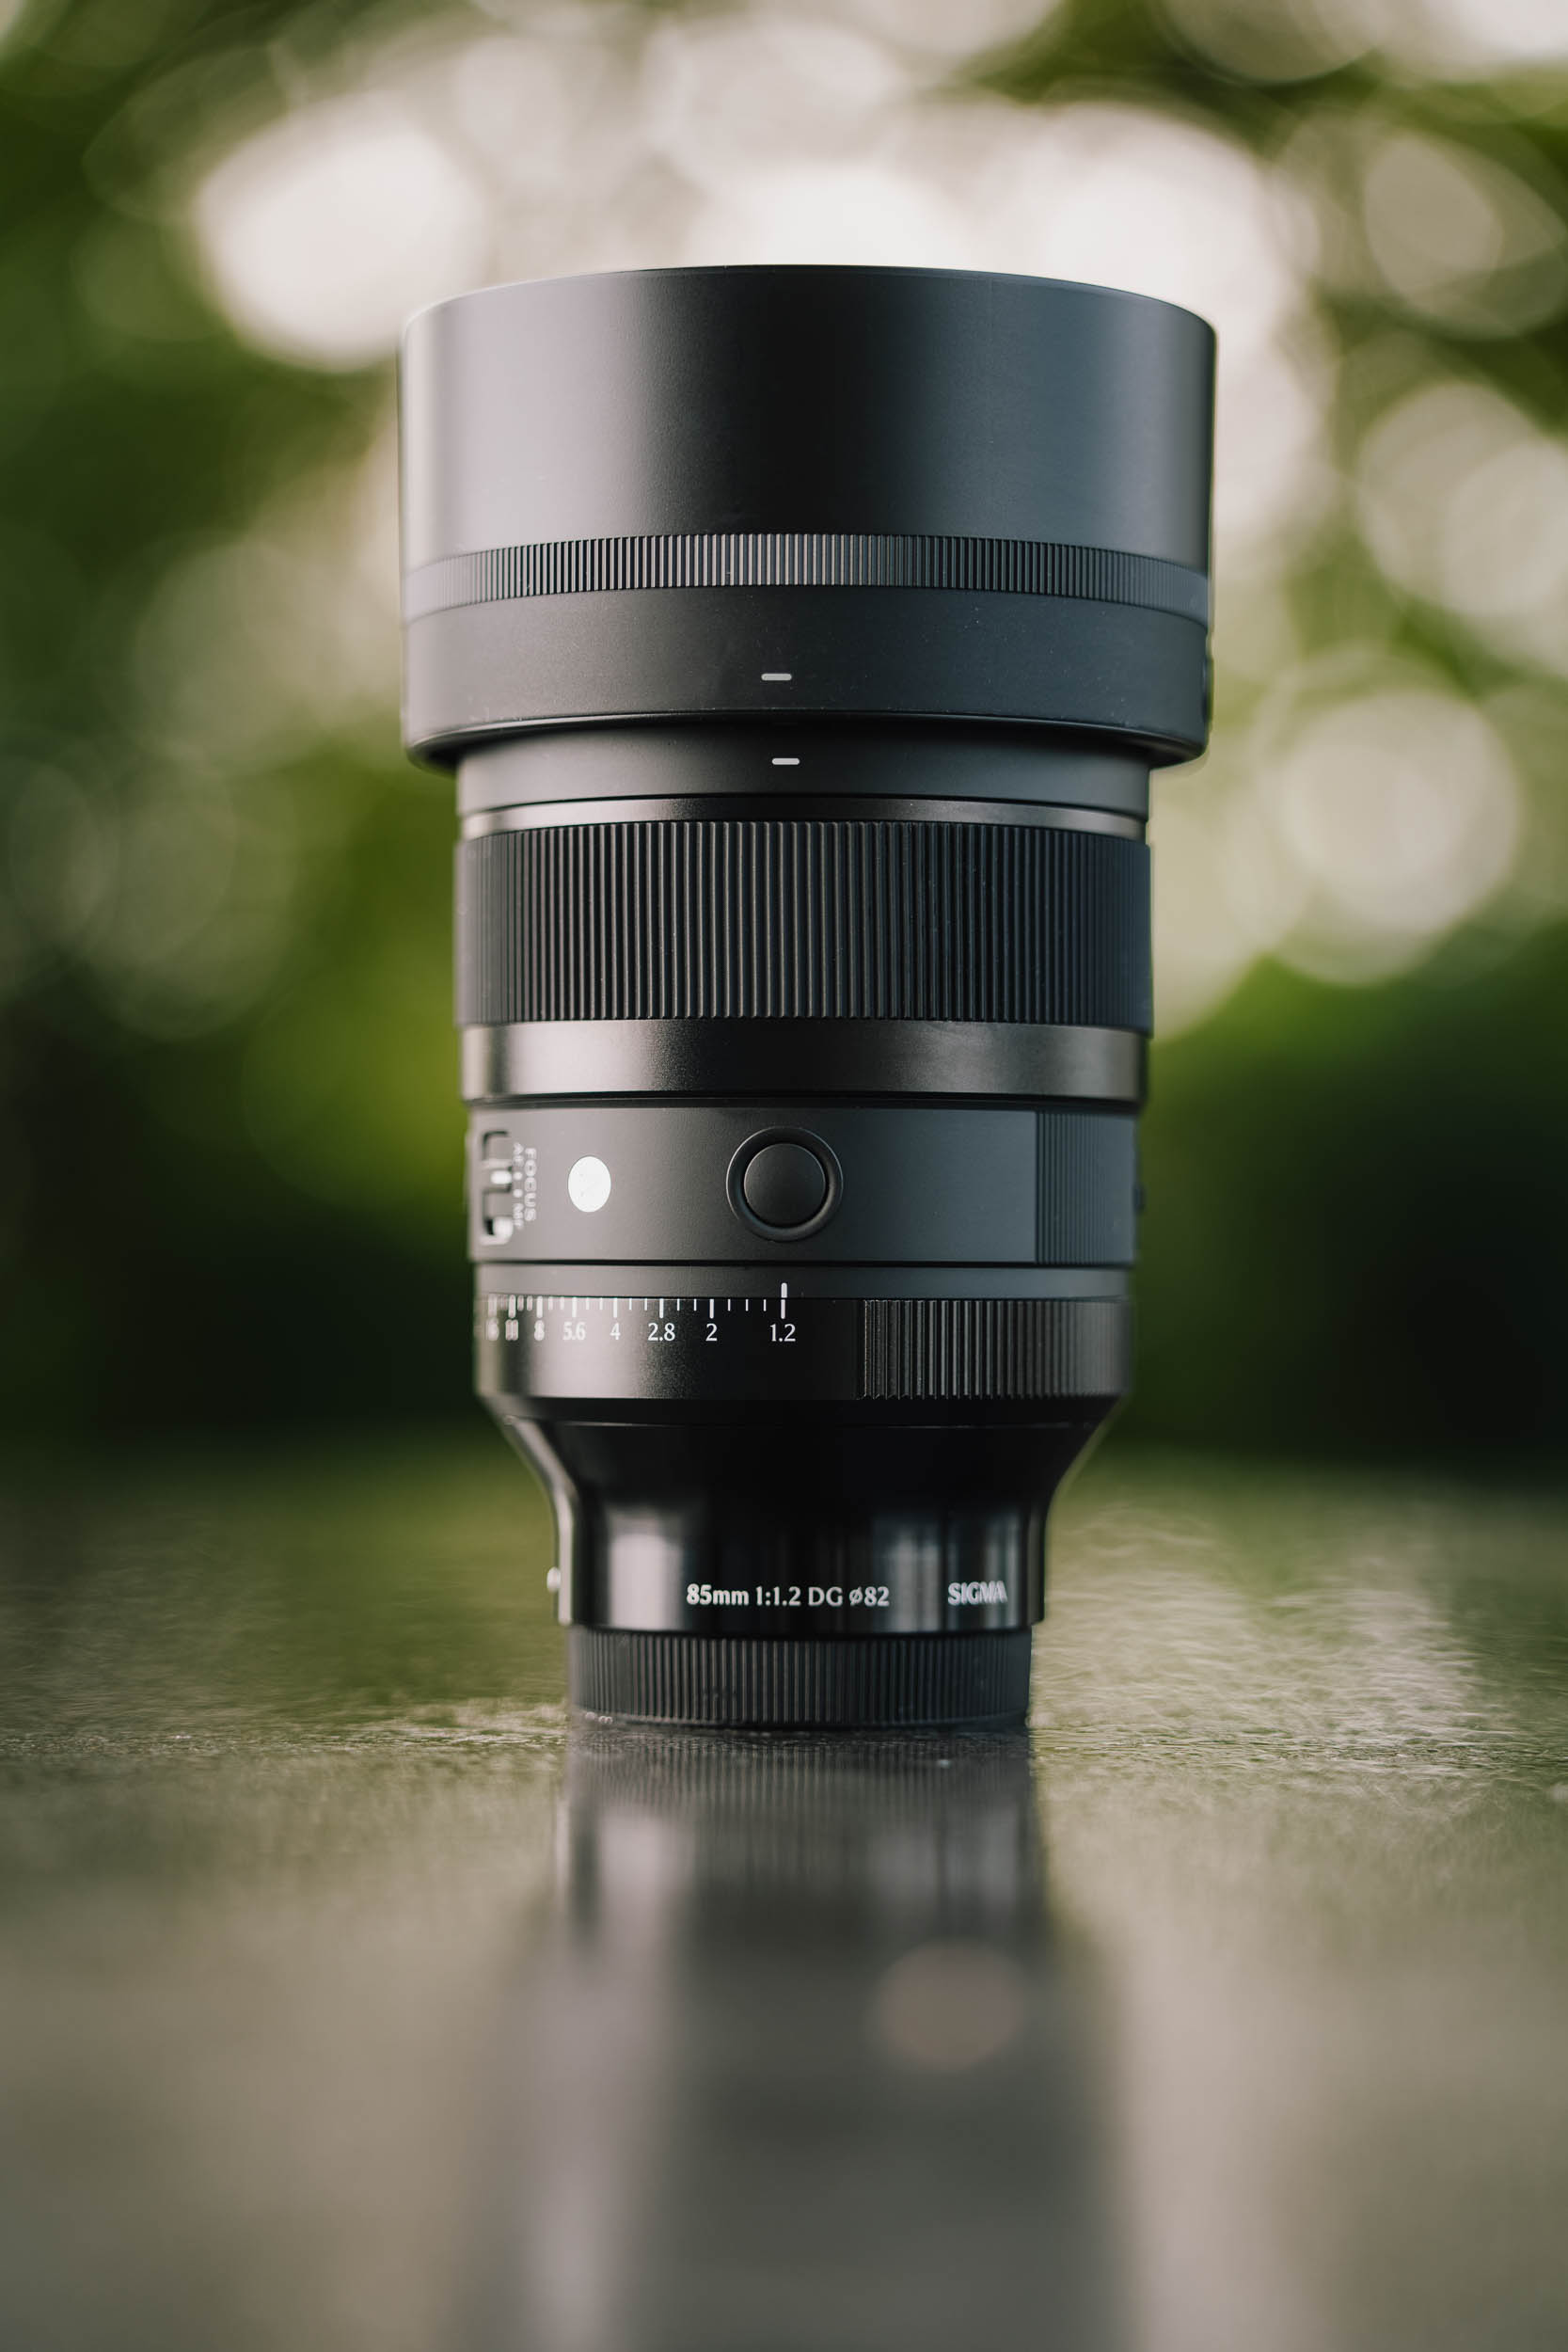
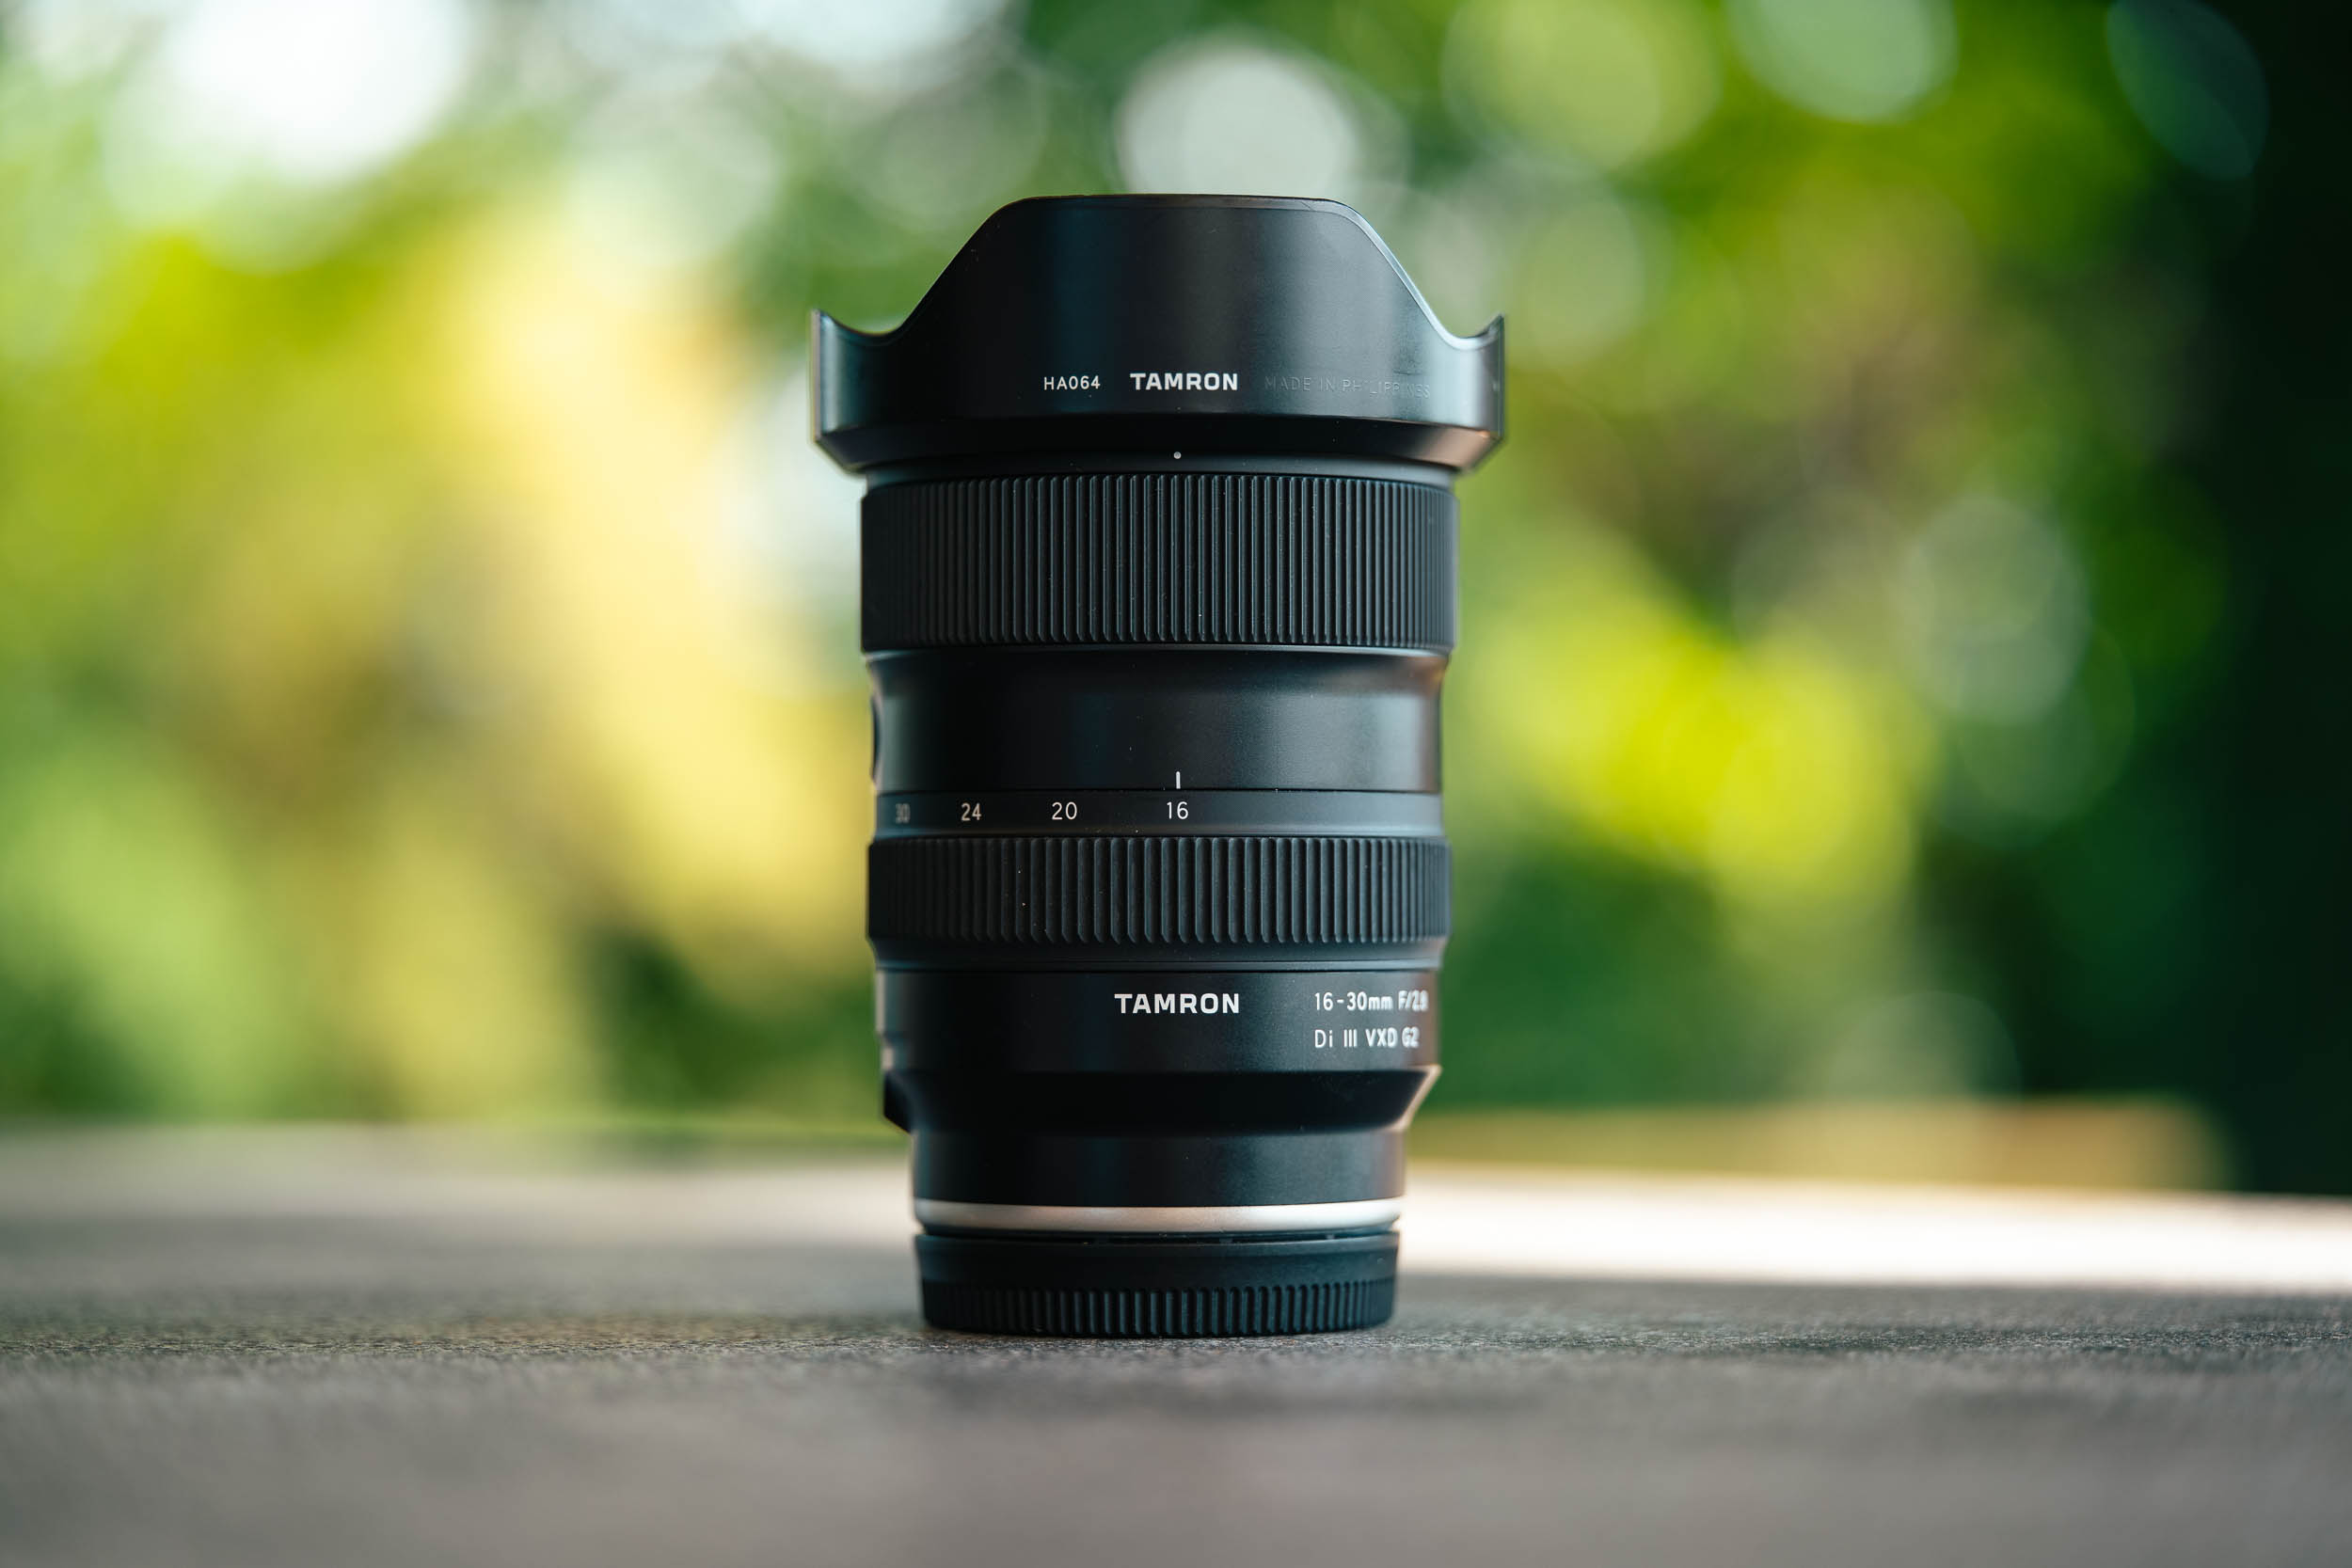
I started with a prime myself, more for financial reasons than out of conviction, and looking back, that was exactly one of the reasons I learned faster to compose with my feet instead of the zoom ring.
5. How do I find the right camera body?
Finding the right camera isn’t that easy. There are countless models and brands that look similar on paper, but only a few really suit you. You don’t need a high-end camera with every bell and whistle. What matters is that it fits your style, your budget and your subjects.
Key features
- Autofocus (AF): Needs to be fast and reliable, especially with people, animals and action. Good AF reduces rejects, saves frustration and makes sure spontaneous moments are really sharp. To this day it’s the criterion I check most closely in every camera test.
- Sensor size: Bigger isn’t automatically better. What counts is which format fits your budget and your subjects, as described in step 2.
- Image stabilisation (IBIS): Helps with handheld shots at slower shutter speeds and makes smoother video easier. It’s especially useful in low light, but doesn’t replace clean technique with fast movement.
- Ergonomics: The camera has to feel good in your hand, otherwise you’ll be reluctant to shoot or change settings by accident. Good handling and logically placed buttons often matter more in everyday use than a few extra features.
- Mount: Decides which lenses you can use today and in the future (see step 3), so it should fit how you plan to expand.
Optional, but helpful
- Weather-sealed body: Worth it if you often shoot outdoors in rain, snow or dust. For the occasional fair-weather shoot it’s nice to have, but not essential.
- 4K video and audio inputs: Relevant if you actively produce videos, record interviews or create content. If you mainly take photos, you can often save budget here.
- Dual card slots: Important for events, weddings or paid jobs, because a backup is written at the same time. For a pure hobby, one slot is often enough.
- HDMI output: Handy for external monitors, live setups or longer video recordings. For classic everyday photography this feature is rarely needed.
Your budget and your genre
How should you split your budget?
Closely related to “Which camera should I buy?” is the question: What is the best camera for CHF X? My answer: for most people, a solid APS-C setup with good autofocus and the right lens is a better decision than a more expensive body with the wrong lens in front of it. I’ve seen that often enough with others (and with myself).
If you want to keep it pragmatic, calculate roughly like this:
- approx. 60-70% for camera + main lens
- approx. 20-30% for a sensible second lens or upgrade
- approx. 10-20% for accessories that prevent failures (batteries, SD cards, bag)
One point that only really sank in for me after a few years: as your experience grows, a bigger share of your budget should go into good lenses, because they stay with you longer than any body (see step 3).
The calculator below shows concrete example setups for your genre and budget, split into exactly these three parts:
📸 Find your starter kit
Concrete example setups with current Swiss prices: what realistically fits your budget and what to get next.
Budget
Genre
Genre recommendations: what to look out for
From my experience across very different genres, from portraits in the studio to wildlife by the lake, priorities vary enormously. I deliberately describe lenses and accessories by focal length range and aperture rather than by model name, so the criteria still hold when individual lenses disappear from the market. Here you get the essentials for each genre at a glance; the detailed setups will follow in their own Starterkit posts.
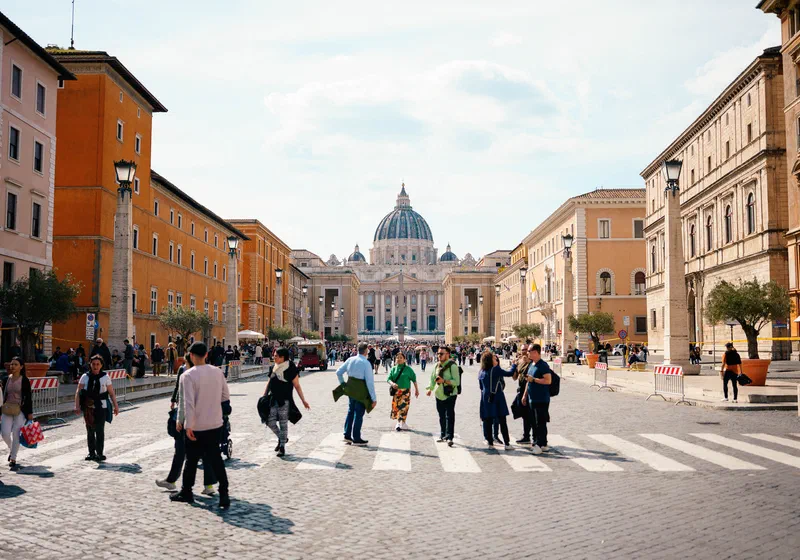
🎯 All-round & everyday
The best everyday camera is the one that actually leaves the house with you. That’s why a light, uncomplicated setup counts for more than any spec. The biggest lever is a compact standard zoom that starts wide (approx. 16-50mm), plus two or three spare batteries and several SD cards instead of one large one.
→ The detailed Starterkit All-round & everyday is coming soon.
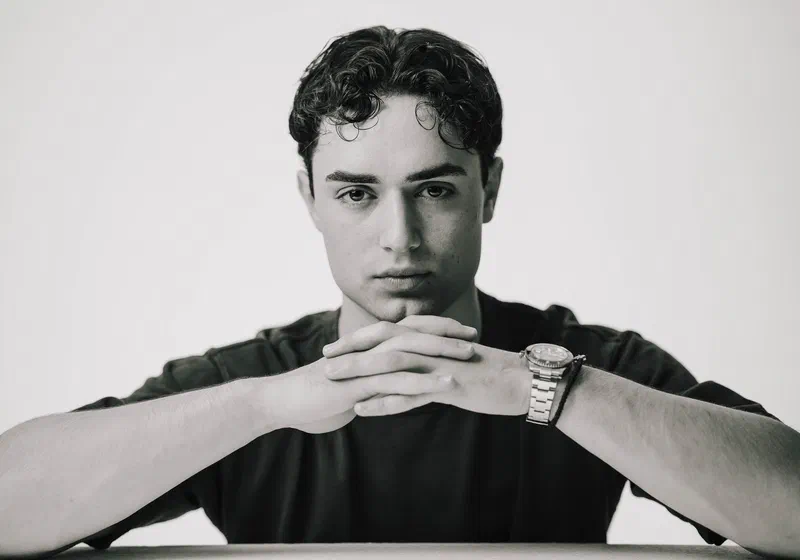
📸 Portrait
A portrait stands or falls with a sharp eye, which I see again and again in the studio and at event portraits. Focal length, light and precise eye AF therefore count for more than the body. The biggest difference comes from a fast prime (full-frame equivalent approx. 75-85mm, f/1.8), plus an inexpensive reflector as your first lighting tool.
→ The detailed Starterkit Portrait is coming soon.
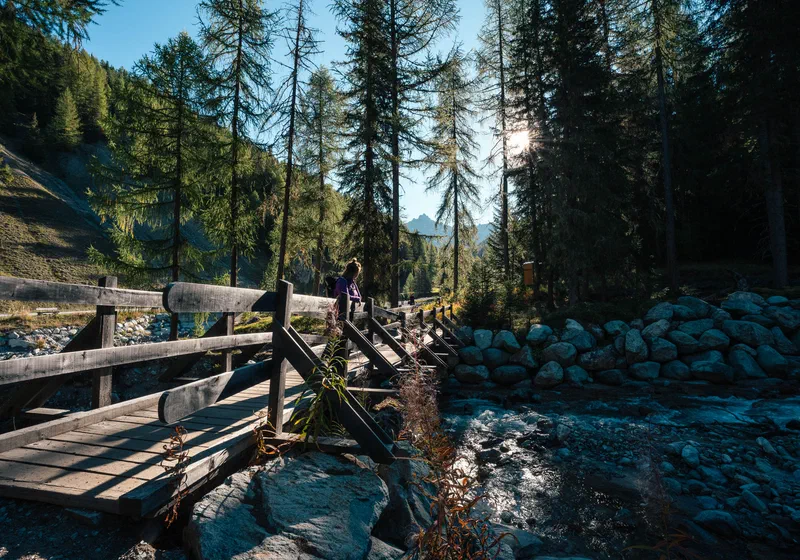
🌄 Landscape & architecture
Here, clean geometry and edge sharpness count for more than pure lens speed. Start with a good wide-angle zoom (approx. 10-18mm) and add a CPL filter as your first accessory: it reduces reflections and makes colours clearer. A tripod only becomes important later, when you often work at dusk or with an ND filter.
→ The detailed Starterkit Landscape & architecture is coming soon.
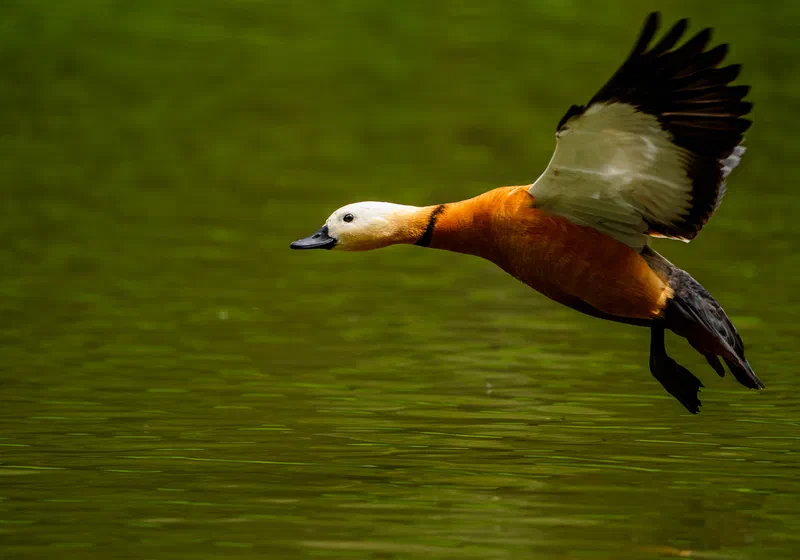
🦅 Wildlife
Wildlife is the genre where I’ve learned the most lessons the hard way. Reach isn’t a luxury here, it’s a requirement, along with reliable subject tracking. Start with a telephoto zoom in the 70-350mm range and a memory card with a stable write speed. A monopod steadies long focal lengths without slowing you down.
→ The detailed Starterkit Wildlife is coming soon.

🔬 Macro
Macro lives on precision, and for that you need a true 1:1 macro lens (approx. 30-35mm to start, 90-105mm for more working distance). After that, invest in light control first rather than a new body: a diffuser or a small LED often achieves more than any sensor upgrade.
→ The detailed Starterkit Macro is coming soon.

⚡ Sport & action
The decisive moment often lasts only a tenth of a second, and then your setup has to be ready. What matters is AF tracking and controls you can change without thinking, as I’ve noticed often enough at events and ringside. A telephoto zoom matched to your sport’s distance, fast UHS-II cards and a spare battery are the basics.
→ The detailed Starterkit Sport & action is coming soon.

🌍 Travel
On the road, the setup that wins is the one that’s light and works quickly. A flexible zoom, from the kit zoom to a superzoom (e.g. 18-300mm), makes more sense than several specialist lenses. Add a compact bag, several smaller SD cards and a fixed backup routine in the evening.
→ The detailed Starterkit Travel is coming soon.
🎥 Video & content
For video, a reliable workflow counts for more than the spec sheet. Invest in sound and stability first: an on-camera microphone, SD cards with a constant write speed (V30/V60) and simple stabilisation will give you more than the next camera class up.
→ The detailed Starterkit Video & content is coming soon.
Frequently asked questions about choosing a camera
Which camera is best for getting started?
The best camera to start with is usually not the most expensive model, but a reliable body with good autofocus and a lens that suits your subjects. For many people, a light APS-C setup is the most sensible way in.
Mirrorless or DSLR: which should I buy?
For beginners, I clearly recommend mirrorless. You see exposure, white balance and the look of the image directly in the viewfinder or on the screen before you press the shutter, which makes the learning curve much flatter, because you spot mistakes immediately instead of discovering them later on the computer. The trade-off: mirrorless cameras are often more expensive, and in the budget entry-level segment some bodies feel less robust than comparable DSLRs. Even so, I wouldn’t bet on a DSLR today: Canon and Nikon are developing practically no new models, and even Pentax, for a long time the last remaining DSLR maker, has since come round to that view. You can still find cheap second-hand DSLRs, but the ecosystem of new lenses and accessories keeps shrinking.
How much should I spend on my first camera?
More important than a fixed amount is how you split it: plan enough for lenses and accessories instead of putting your whole budget into the body. A balanced setup almost always performs better in everyday use than an expensive body with a compromise lens.
Camera or lens: which matters more?
In the long run, lenses are usually the better investment. A good body helps you in the short term, but good lenses shape the look, sharpness and flexibility of your images for many years, often across several camera generations.
Next up, Part 2: Accessories & first steps Got your camera and lens sorted? The second part covers what makes the difference day to day: batteries, SD cards, bags and filters, why as a beginner you don’t need a tripod (yet), and five tips that will make your photos better straight away. Part 2 is coming soon.
Conclusion
Looking back, this guide would have saved me a few detours myself. The most important lesson: it’s not about finding the most expensive or newest camera, but the setup that suits your genre, your budget and your everyday life. So start with your main genre, not your budget: once you clearly define what you want to photograph, your choice of lens, camera features and accessories automatically makes more sense. That way you buy more deliberately, avoid bad purchases and develop your own style faster. And getting the balance between body, lens and accessories right will get you to better images faster than any single spec-sheet detail.
Starterkit is an ongoing project. In the next posts I’ll take a closer look at individual areas of photography, such as portrait, landscape or wildlife, and put together targeted kits that let you get started straight away, with concrete setups, priorities and typical pitfalls, practical tips, step-by-step guides and real examples from my own day-to-day work. My goal remains the same as with this article: to show you simple ways to get better results with little effort, without the tech frustration and with the joy of taking photos.


