
Winter Photography: The Most Common Problems – and How to Solve Them
- Silvan Metzker
- Education , Photography
- January 13, 2026
Table of Contents
Winter offers some of the most beautiful subjects of the entire year: snow-covered landscapes, magical light, and a very special atmosphere. But these very conditions present challenges for you and your camera that barely matter in summer. In this guide, I’ll show you the most common problems in winter photography and explain how to solve them in practice, so your images are sharp, correctly exposed, and technically flawless.
Why Winter Photography Is Special
Before we dive into individual problem areas, we need to understand why winter is so demanding photographically. It’s not just the cold itself, it’s the combination of extreme temperatures, high brightness contrasts, little color, and constant transitions between indoors and outdoors. Your camera is fundamentally built for these conditions, but it needs your support to function reliably.
The good news: With proper preparation and a few adjustments to your workflow, you can master all these challenges. You don’t have to be a pro – you just need to know what matters.
1. Cold & Technology: What Winter Does to Your Camera
The cold is the most obvious difference from summer photography, and it has direct effects on your equipment. Electronics, mechanics, and especially batteries react sensitively to sub-zero temperatures.
What Happens in the Cold?
At low temperatures, the chemical processes in your battery slow down. This means it discharges faster – sometimes you lose 50% or more of normal capacity. Mechanical parts like focus rings or aperture blades can become sluggish, and plastic parts become more brittle. The biggest risk, however, occurs during temperature changes: When you go directly from a warm room into the cold (or vice versa), condensation can form on and inside your camera.
How to Protect Your Equipment
Cold Protection: Use a well-insulated camera bag or cover when you’re outside. This protects the camera from direct cold and reduces temperature shock. Special neoprene covers or insulated camera bags are very helpful here.
Recommended Camera Bags for Winter Photography

Lowepro Pro Tactic BP 450 AW III
Batteries: Bring spare batteries and carry them close to your body in an inner pocket. Body heat keeps them functional longer. If a battery shows “empty,” it’s often just cold – after warming up, it frequently works again.
Temperature Changes: When switching between cold and warm, leave your camera in the closed bag. This allows it to acclimatize slowly without condensation forming. This is especially important when going inside: Pack the camera in the bag outside before entering the house. Well-insulated camera bags like those from Peak Design are particularly practical here, as they slow down temperature changes and protect your equipment.
Lens Changes: Only change lenses at constant temperature, ideally indoors before going out or outdoors after acclimatization. At sub-zero temperatures, you should avoid changes as much as possible, as moisture can enter the housing.
Mechanics: Don’t force anything. If something feels stiff, give the camera time to adjust to the temperature. Plastic becomes brittle in the cold and can break.
2. Battery Problems: Why Your Battery Is Suddenly “Dead”
One of the most frustrating experiences in winter: You look at your camera and the battery shows 40%, seconds later the camera shuts off. What happened?
Why Batteries Fail in the Cold
Lithium-ion batteries lose massive performance in the cold. Chemical reactions run slower, internal resistance increases, and the camera can no longer draw the required energy. This causes the battery indicator to suddenly collapse or the camera to shut off unexpectedly.
Practical Solutions
Only turn on the camera when you’re photographing. However, you shouldn’t leave the camera off too long, as the battery temperature can drop and cause problems again. If you’re not shooting for an extended period, remove the battery from the camera and keep it warm.
In winter, also make sure power banks stay warm – they suffer from the same problems as camera batteries.
Memory Cards: Memory cards can also have problems in extreme cold – write errors or slowed performance are possible. High-quality cards from manufacturers like Angelbird or OWC are specifically designed for extreme temperatures and work reliably even in severe frost. An investment that’s especially worthwhile for important shoots.
Cold-Resistant Memory Cards

Angelbird AVPRO SD MK2 Card 128 GB V90 1er Pack
Features
- Max Read: 300mb/s
- Max Write: 280mb/s
- v90
- min write speed 260mb/s

OWC Atlas S Ultra 128GB SDXC UHS-II V90
Features
- Max Read: 300mb/s
- Max Write: 250mb/s
- v90
- min write speed 90mb/s

Angelbird AV PRO CFexpress Type A 4.0 MK2 512GB
Features
- Max Read: 1800mb/s
- Max Write: 1650mb/s
- v90
- min write speed 800mb/s
3. Sharpness Loss: When Images Are Soft Despite Focus
You focused perfectly, the camera shows you confirmation – and still the images are unsharp on the computer at home. This is one of the most common and frustrating problems in winter photography. The good news: In most cases, it can be avoided.
3.1 Autofocus in Snow
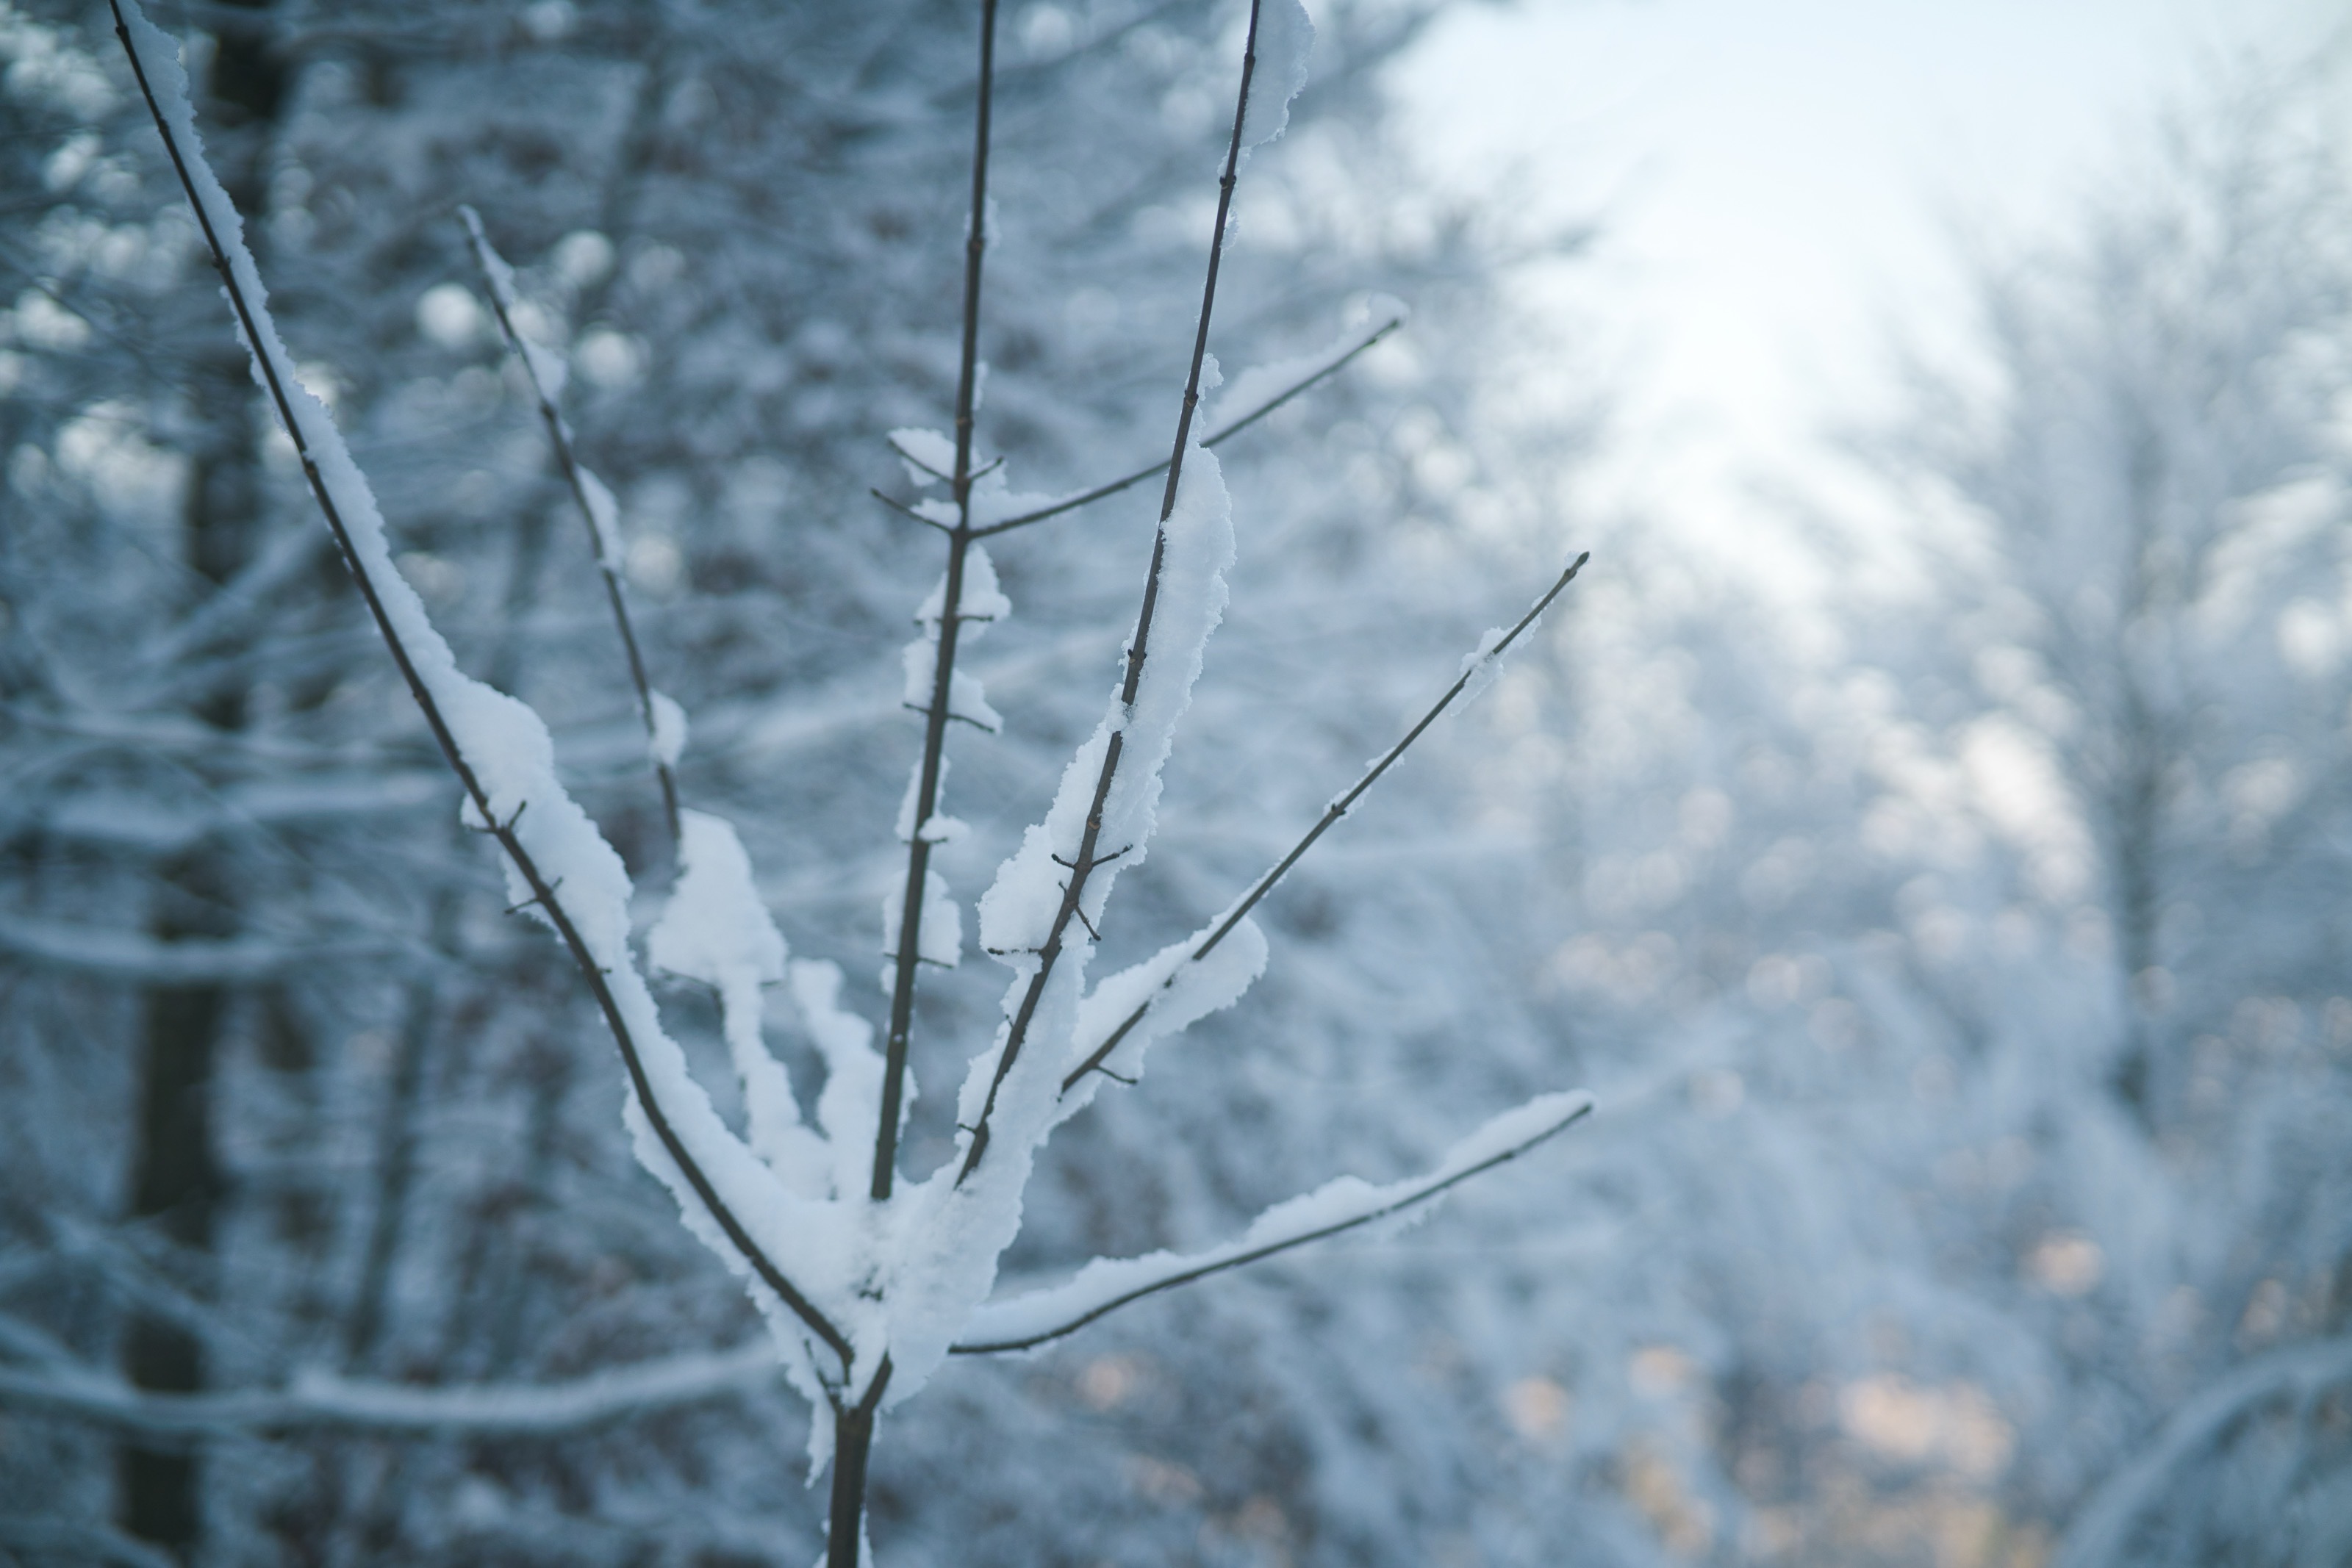
Your camera’s autofocus needs contrast to focus. In winter, this contrast is often missing: white snow surfaces, fog, diffuse light, or falling snowflakes confuse the system. The result: The camera pumps back and forth or focuses on the wrong thing.
The Solution: Manually select a single autofocus point instead of automatic multi-field metering. Position this point on a contrast edge – for example, on a tree trunk, a building, or a person. In heavy snowfall or extremely low-contrast scenes, you can also switch entirely to manual focus. This takes some practice, but is absolutely reliable for static subjects.
3.2 Camera Shake from Cold
Your hands get cold, fingers become stiff, and you start shivering involuntarily. At the same time, your camera’s mechanics can become sluggish. Both together massively increase the risk of camera shake.
The Solution: Use shorter shutter speeds than usual in winter. The old rule of thumb “1/focal length” should be interpreted in winter more as “1/(focal length × 2)”. If you normally shoot at 50mm with 1/50s, go to at least 1/100s in winter.
A good tripod is worth its weight in gold in winter – especially models like those from Peak Design that set up quickly and stand stable. This way you can leave the camera standing, put your hands in your pockets and warm up while waiting for the perfect moment.
Take burst shots instead of single shots – the chance that one of them is perfectly sharp increases significantly. Activate image stabilization if your lens or camera has one. And use everything as a support: backpack, railing, tree stump, stone – any additional stability helps.
Recommended Tripod for Winter Photography

Leofoto LS-325C Ranger Carbon Dreibeinstativ mit LH-40 Kugelkopf

Leofoto LS-223C LH-25 Kit
Features
- Max Höhe: 37cm
3.3 Lens & Front Element
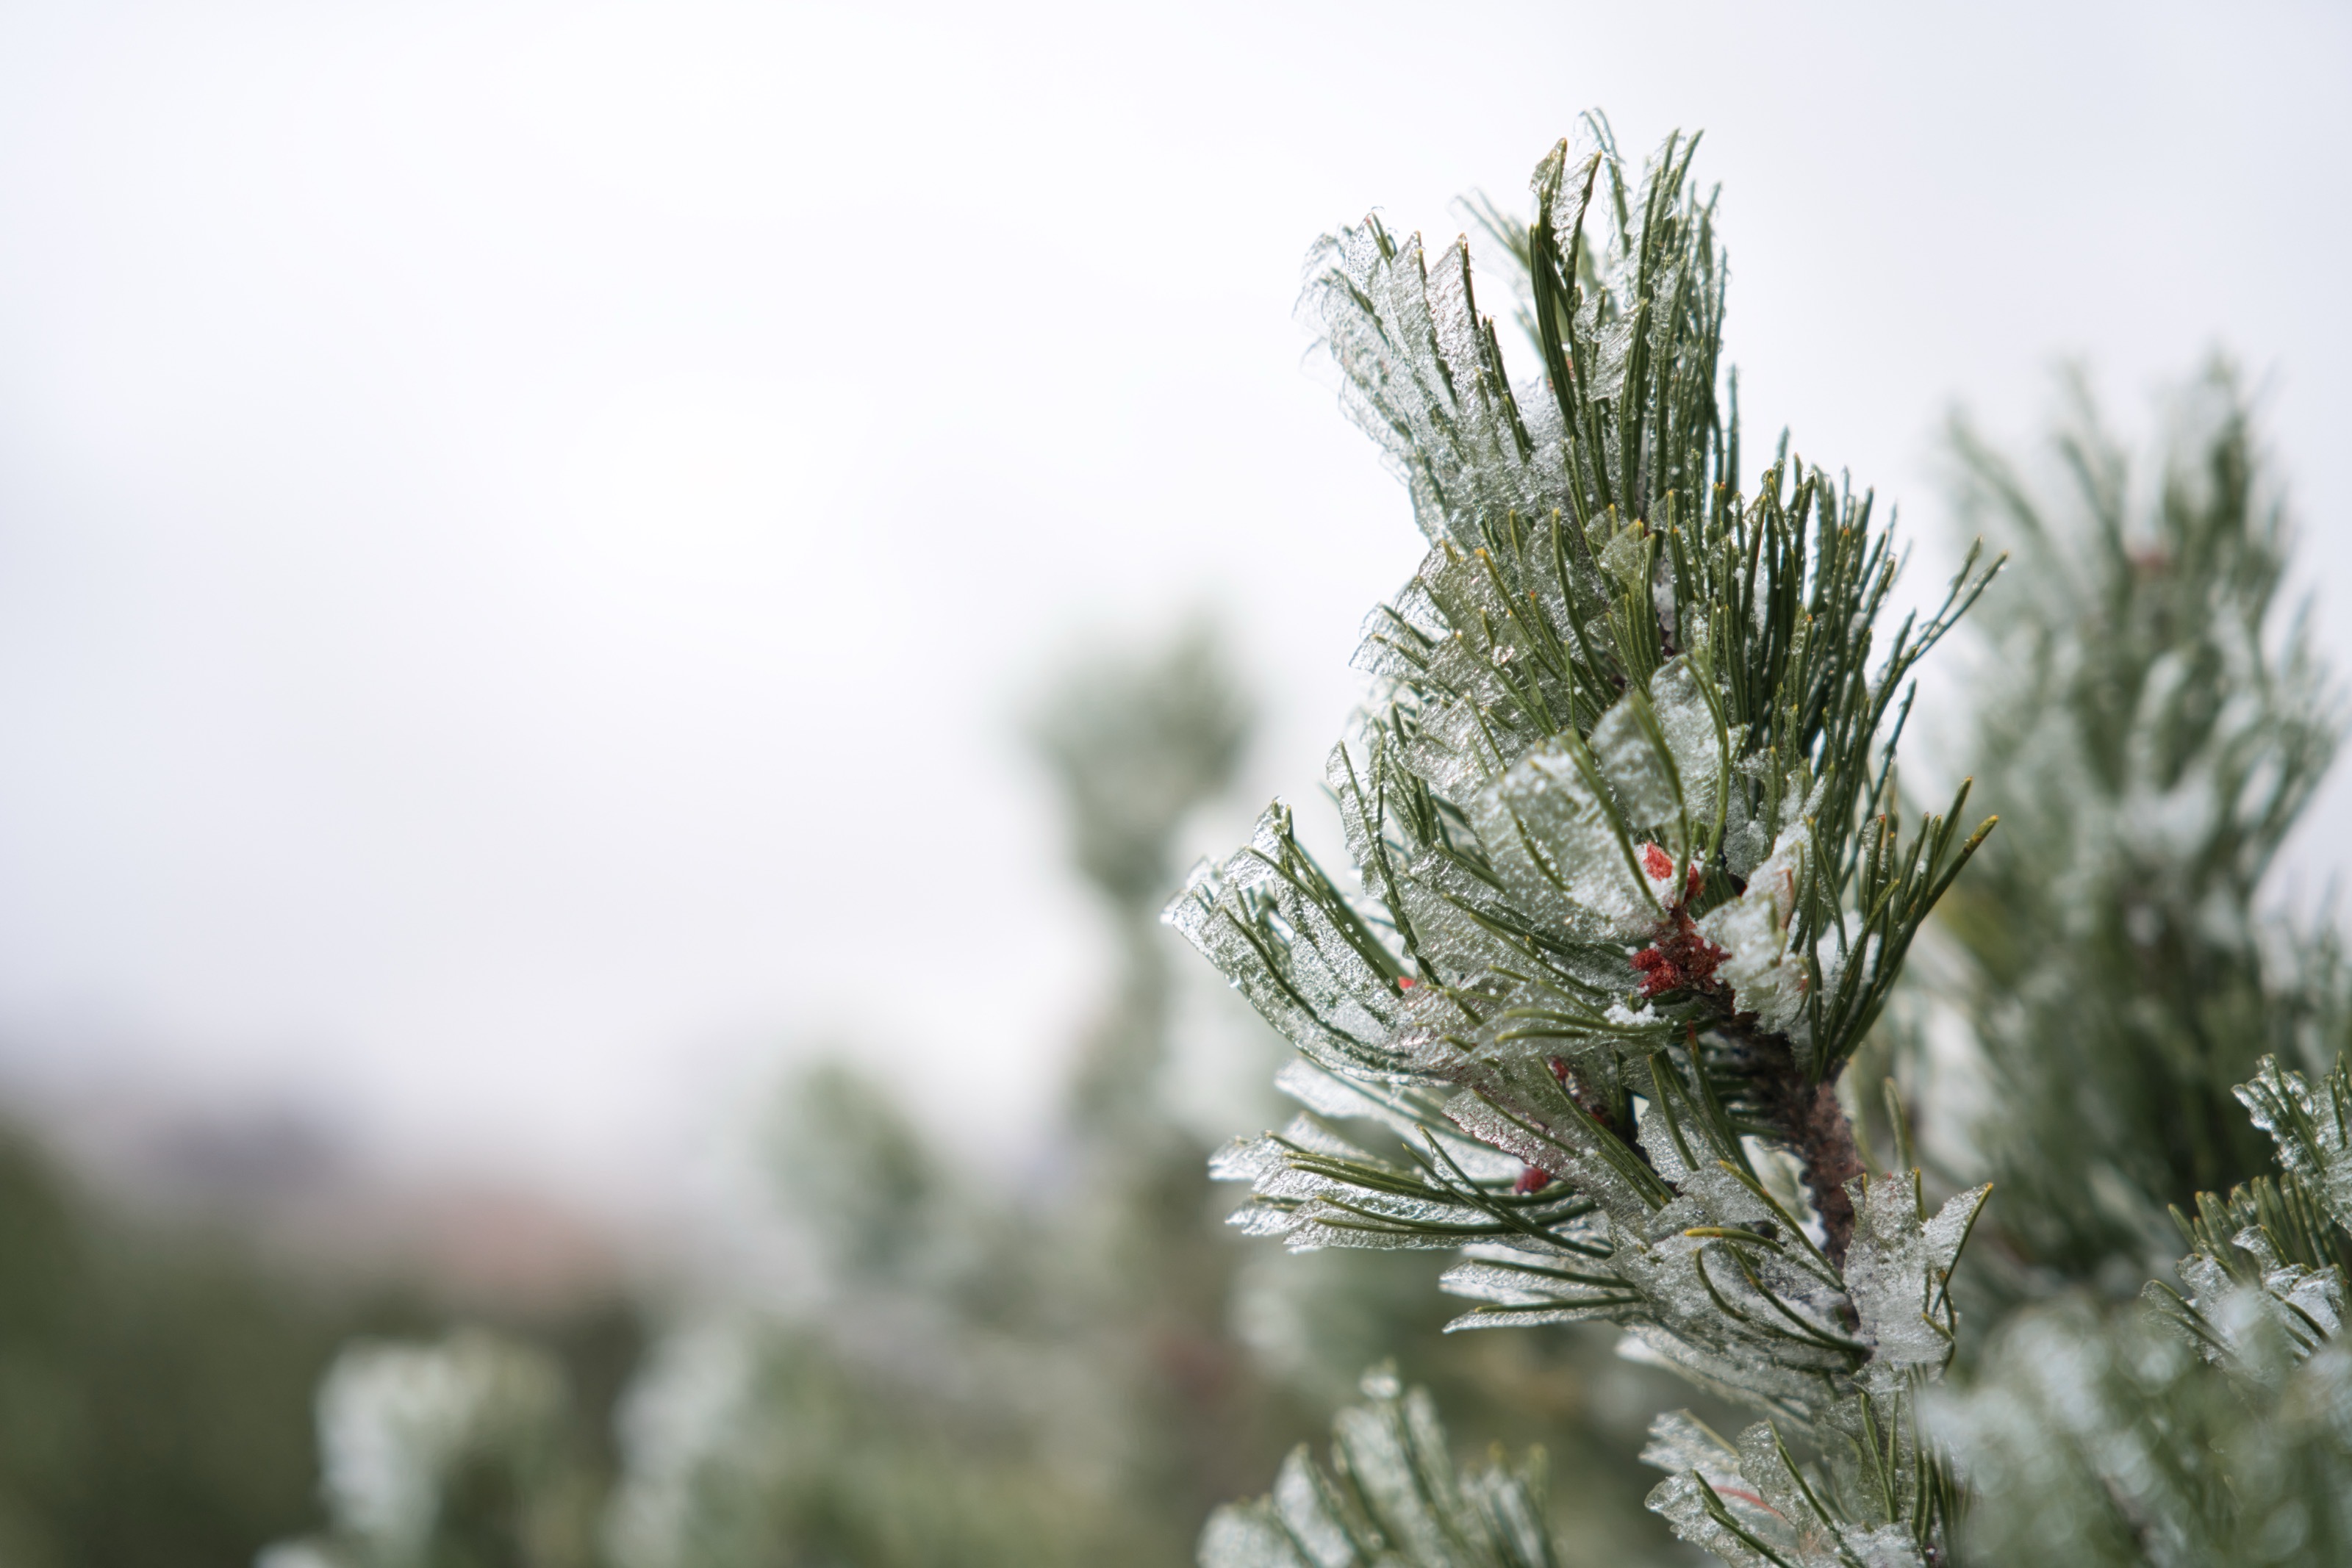
Your breath in the cold air or snow falling on the front element can form a thin film on the glass. Micro-condensation from temperature differences is also possible. The result: soft, milky images, as if you had used a diffusion filter.
The Solution: Regularly check your front element visually. A lens hood protects not only from flare but also from snow and breath. Keep a microfiber cloth dry and warm – a damp cloth only makes everything worse. And very important: Avoid breathing on the camera, especially during long exposures.
4. Warm Lens & Heat Shimmer, Often Confused
A common misunderstanding: Many believe their lens is defective when images become soft outdoors. Often, however, two completely different physical phenomena are behind it.
Warm Lens
When you go into the cold with a warm lens (for example, directly from a heated apartment), there can be brief sharpness losses. The glass elements and air pockets in the lens have different temperatures, which minimally changes the optical properties.
The Solution: Let your lens acclimatize outside for 5-10 minutes before you seriously photograph. The effect is temporary and disappears completely once the lens has reached the outside temperature.
Heat Shimmer (Air Turbulence)
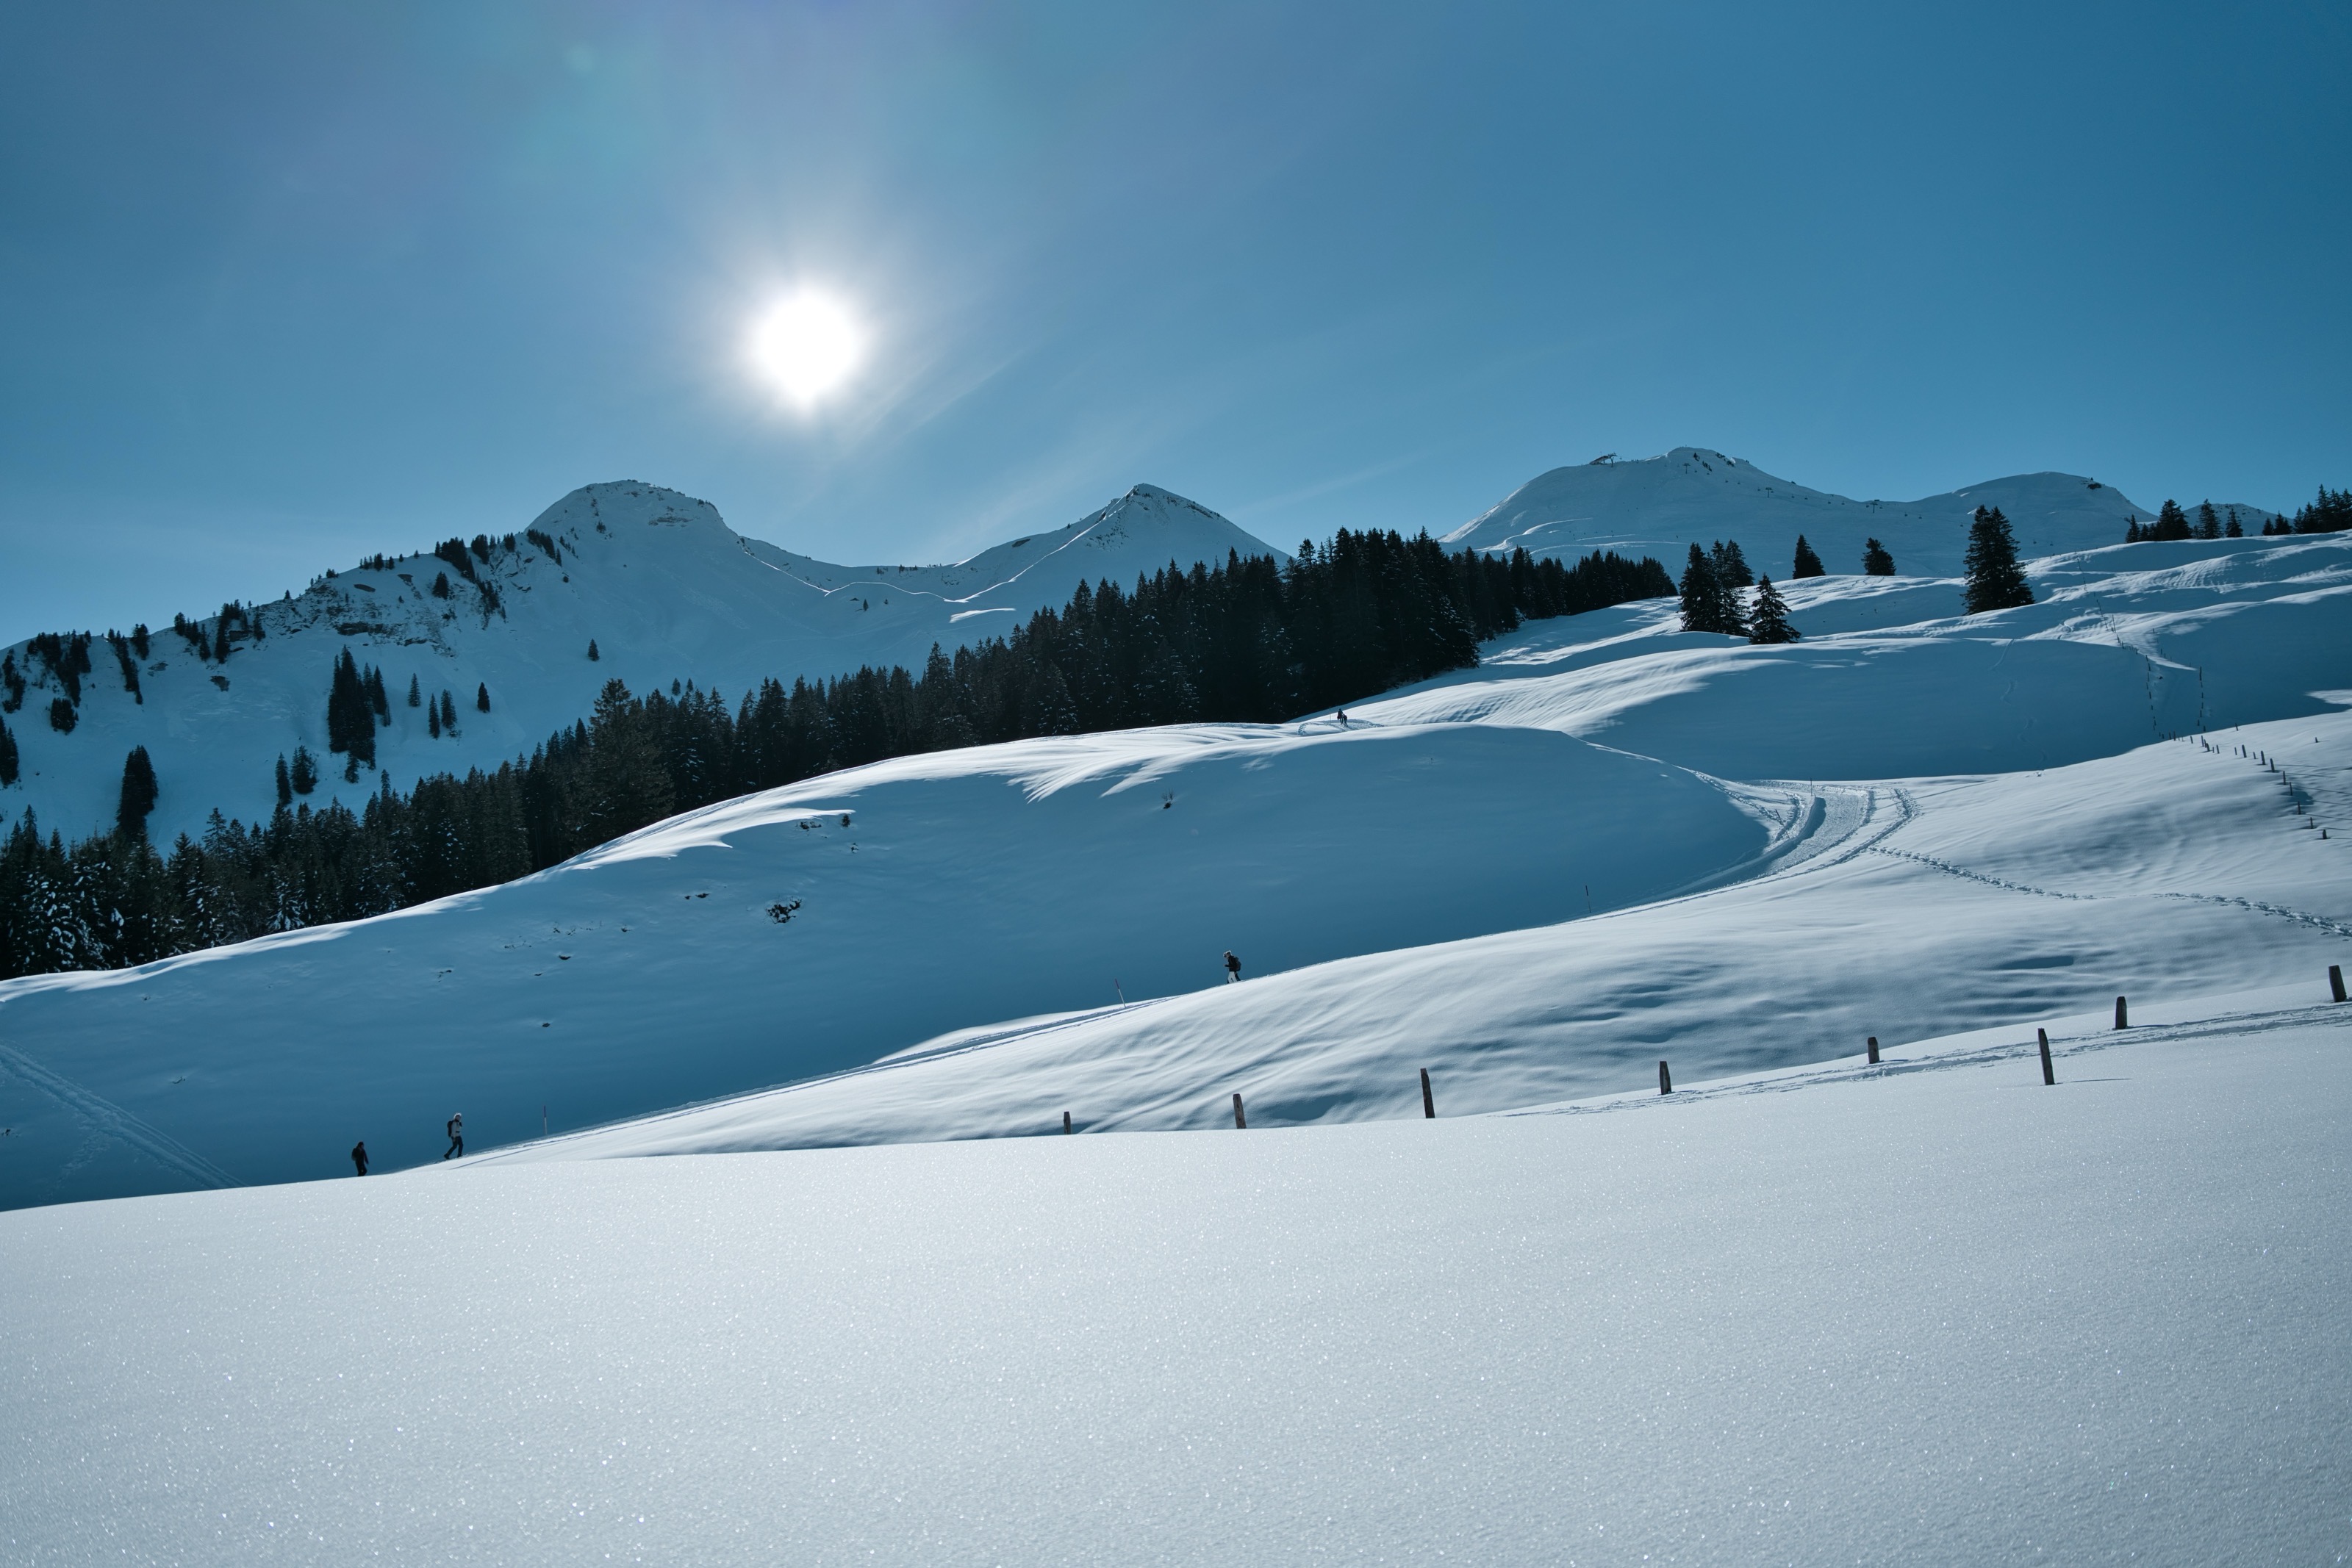
This phenomenon occurs when you photograph over large distances and the air has different temperatures. In winter, this happens especially in sunshine over snow, dark surfaces, or roads. The air layers move at different speeds and light is refracted, your images appear “wobbly” and soft, especially with long focal lengths.
The Solution: Use shorter focal lengths or get closer to the subject. Photograph early morning or late afternoon when temperature differences are smaller. Avoid shooting over heated surfaces like roads, roofs, or dark fields. Take burst shots, the shimmer isn’t constant, and often one image is much sharper than the others.
5. Exposure & Color: Why Snow Turns Gray or Blue
You photograph a beautiful snow landscape and on the display everything looks gray and lifeless. Or the images have a distinct blue cast. Why?
The Exposure Problem
Your camera measures light and tries to create a “middle gray” image. This works well in most situations. In winter with its large white areas, the camera interprets all the white as “too bright” and darkens the image. The result: gray snow.
The Color Problem
Snow reflects light from its surroundings. On cloudy days or in shadow, blue light dominates, the snow becomes bluish. Your camera’s automatic white balance often doesn’t correct this sufficiently.
The Solutions
Exposure Compensation: Manually increase exposure by +0.7 to +1.7 EV (f-stops). The exact correction depends on the scene, more with lots of snow, less with darker elements in the image. Check the histogram: The curve should be shifted to the right, but without the highlights clipping.
RAW Format: Shoot in RAW format instead of JPEG. This gives you significantly more latitude for exposure and color corrections in post-processing.
White Balance: Choose a deliberately warmer white balance or set it manually. In shadow or under cloudy skies, you can also use the “Cloudy” or “Shade” white balance preset, which automatically adds warmth and neutralizes the blue cast.
6. Operation with Gloves
In winter, you have to choose between two extremes: Either you operate the camera with cold, numb fingers, or you wear thick gloves and hit the wrong buttons.
The Problems
Thick gloves make precise operation almost impossible. You accidentally change settings, hit the wrong menu items, and touchscreens don’t respond or respond incorrectly. Without gloves, your fingers quickly become so cold that operation also becomes difficult.
Especially recommendable are specialized photographer gloves like those from Vallerret. These are designed so you can operate the camera well while your hands stay warm. They often have flip-back fingertips for precise operation and are still warm enough for longer sessions in the snow.
Vallerret Markhof Pro 3.0 Fotohandschuhe Schwarz Gr. M

Vallerret Markhof Pro 3.0 Fotohandschuhe Schwarz Gr. M
The Solutions
The best system is a layering principle: Wear thin, flexible liner gloves (preferably with touchscreen function) and over them thicker, warm gloves that you can quickly remove when you photograph.
Learn to operate your camera blind. In winter, you should be able to find the most important buttons and dials without looking. This reduces the time your hands remain unprotected.
Create a custom mode for winter in your camera. Save typical settings (exposure compensation, white balance, shutter speed, etc.) and recall them with a dial instead of navigating through menus each time.
7. Image Composition: Why Winter Images Often Look Empty
You’ve mastered all technical problems, but at home your winter images still seem boring. They’re not incorrectly exposed, not unsharp, but somehow they lack that certain something.
The Problem
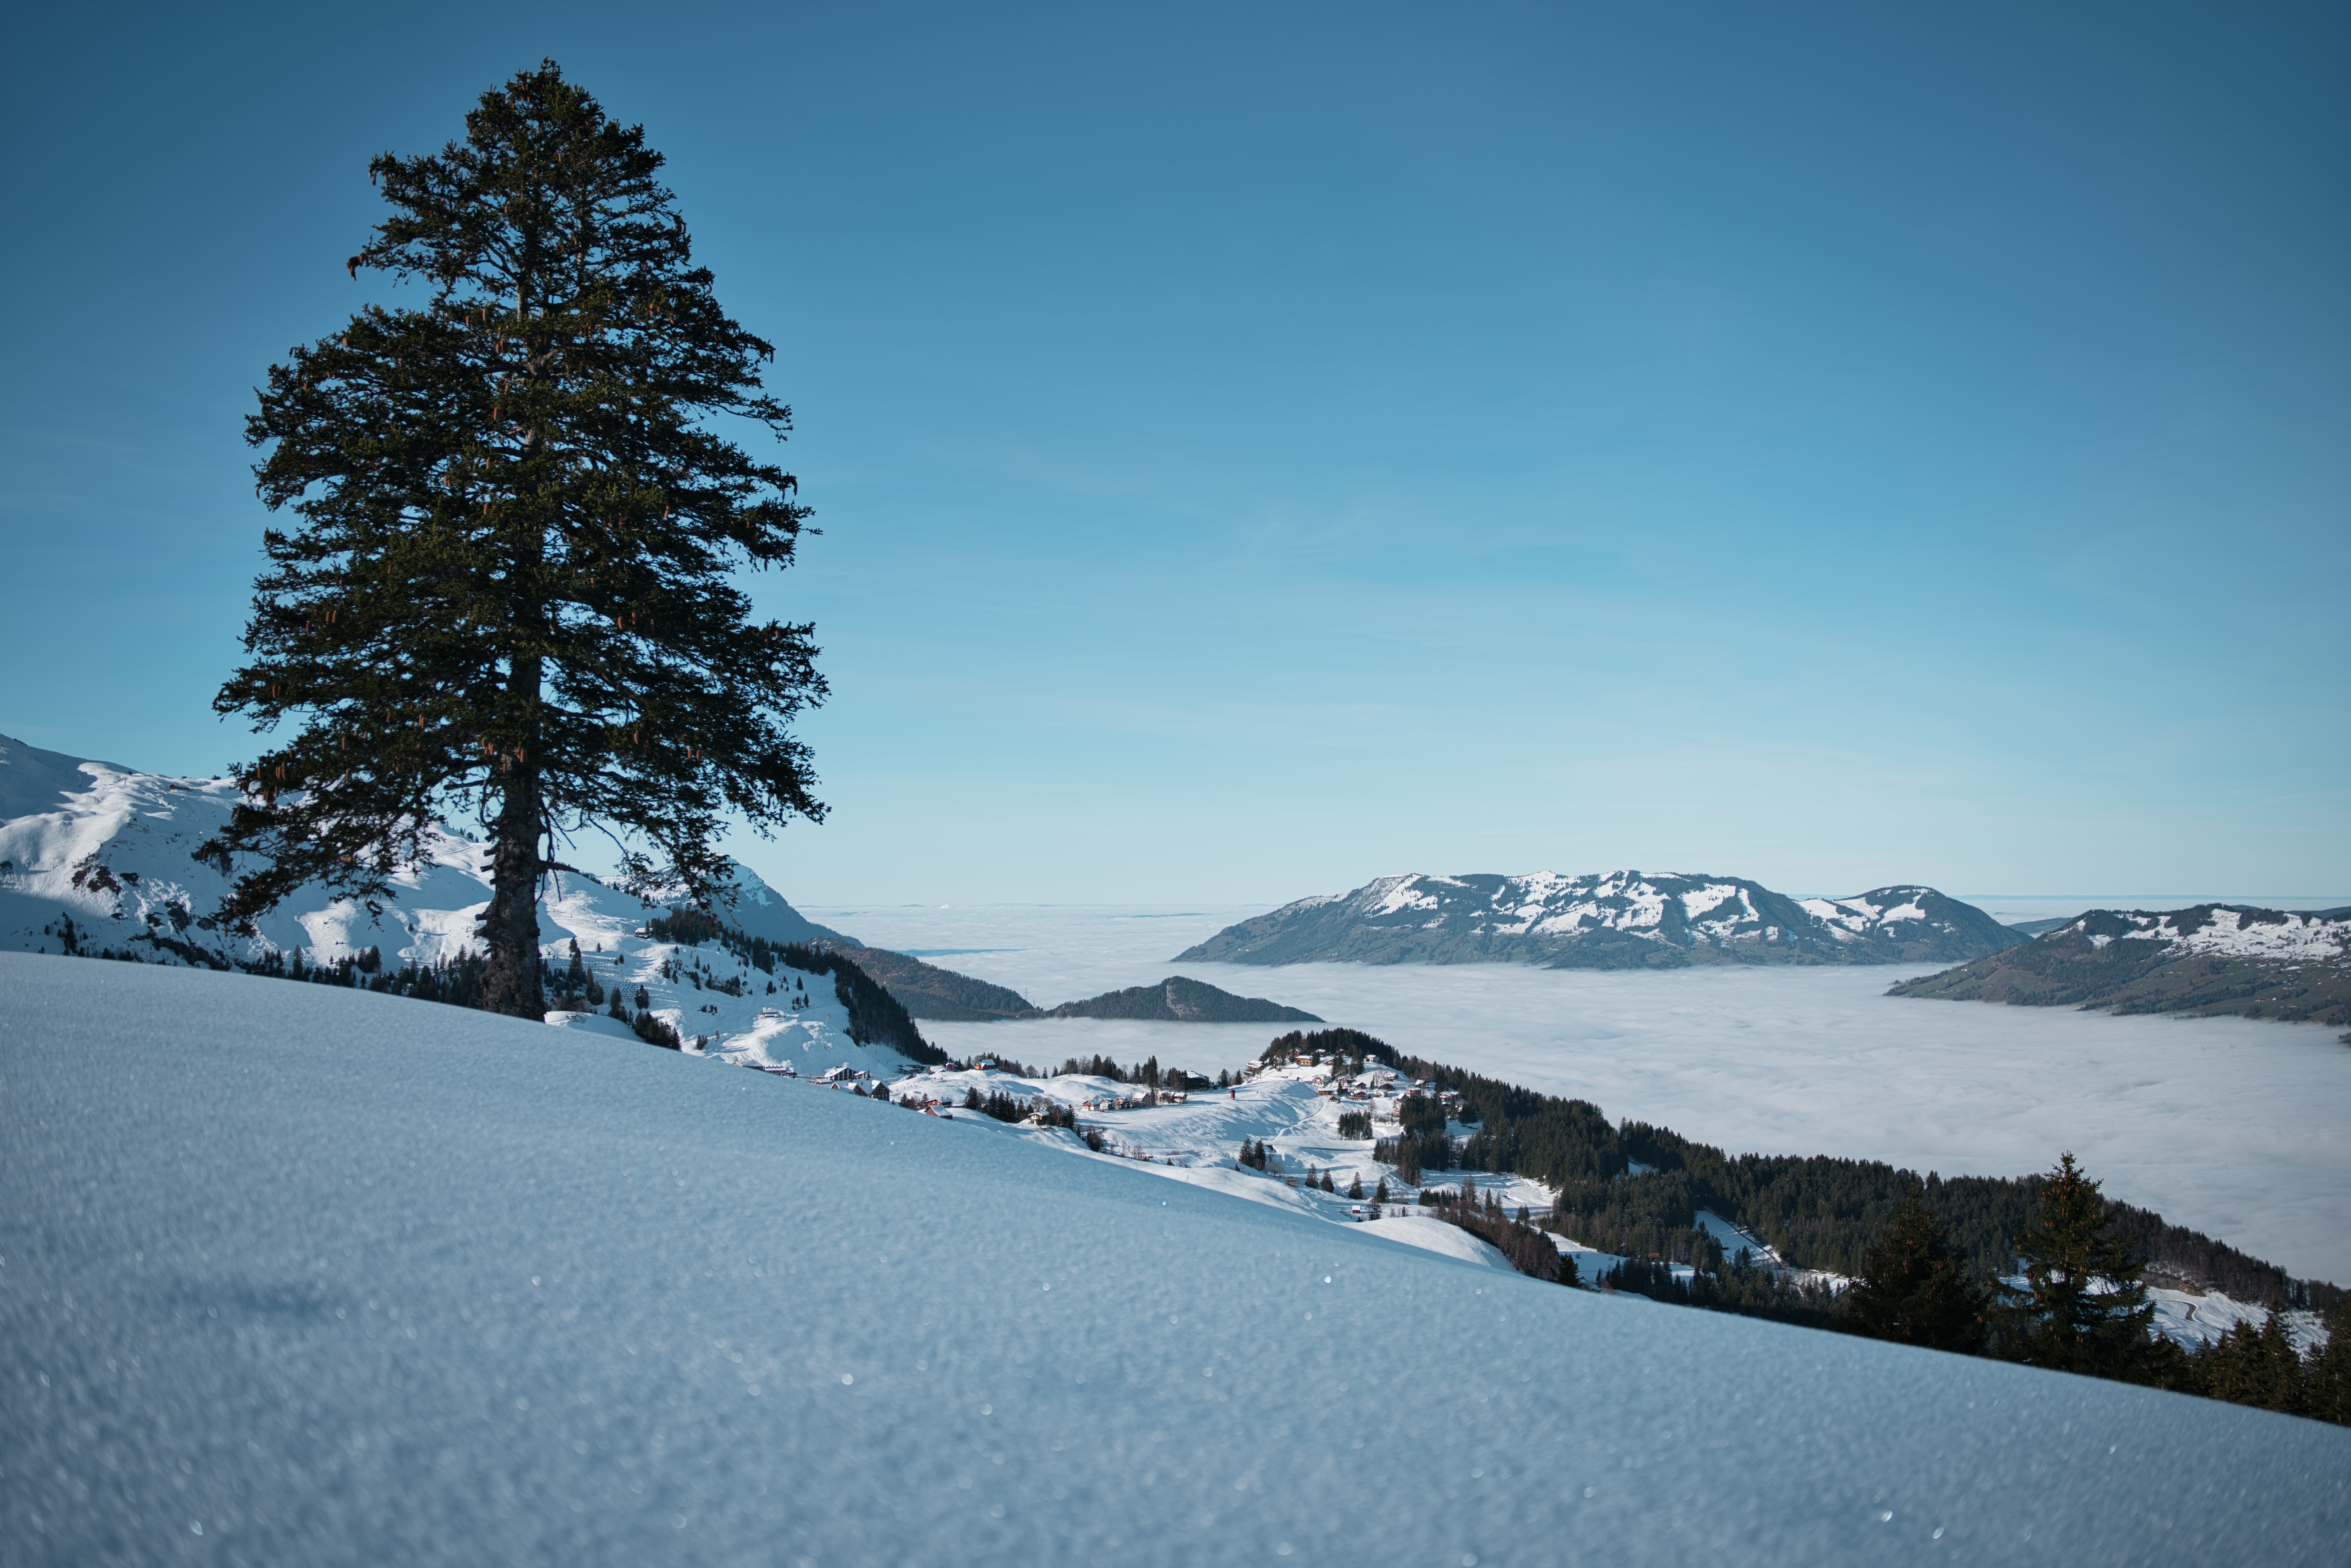
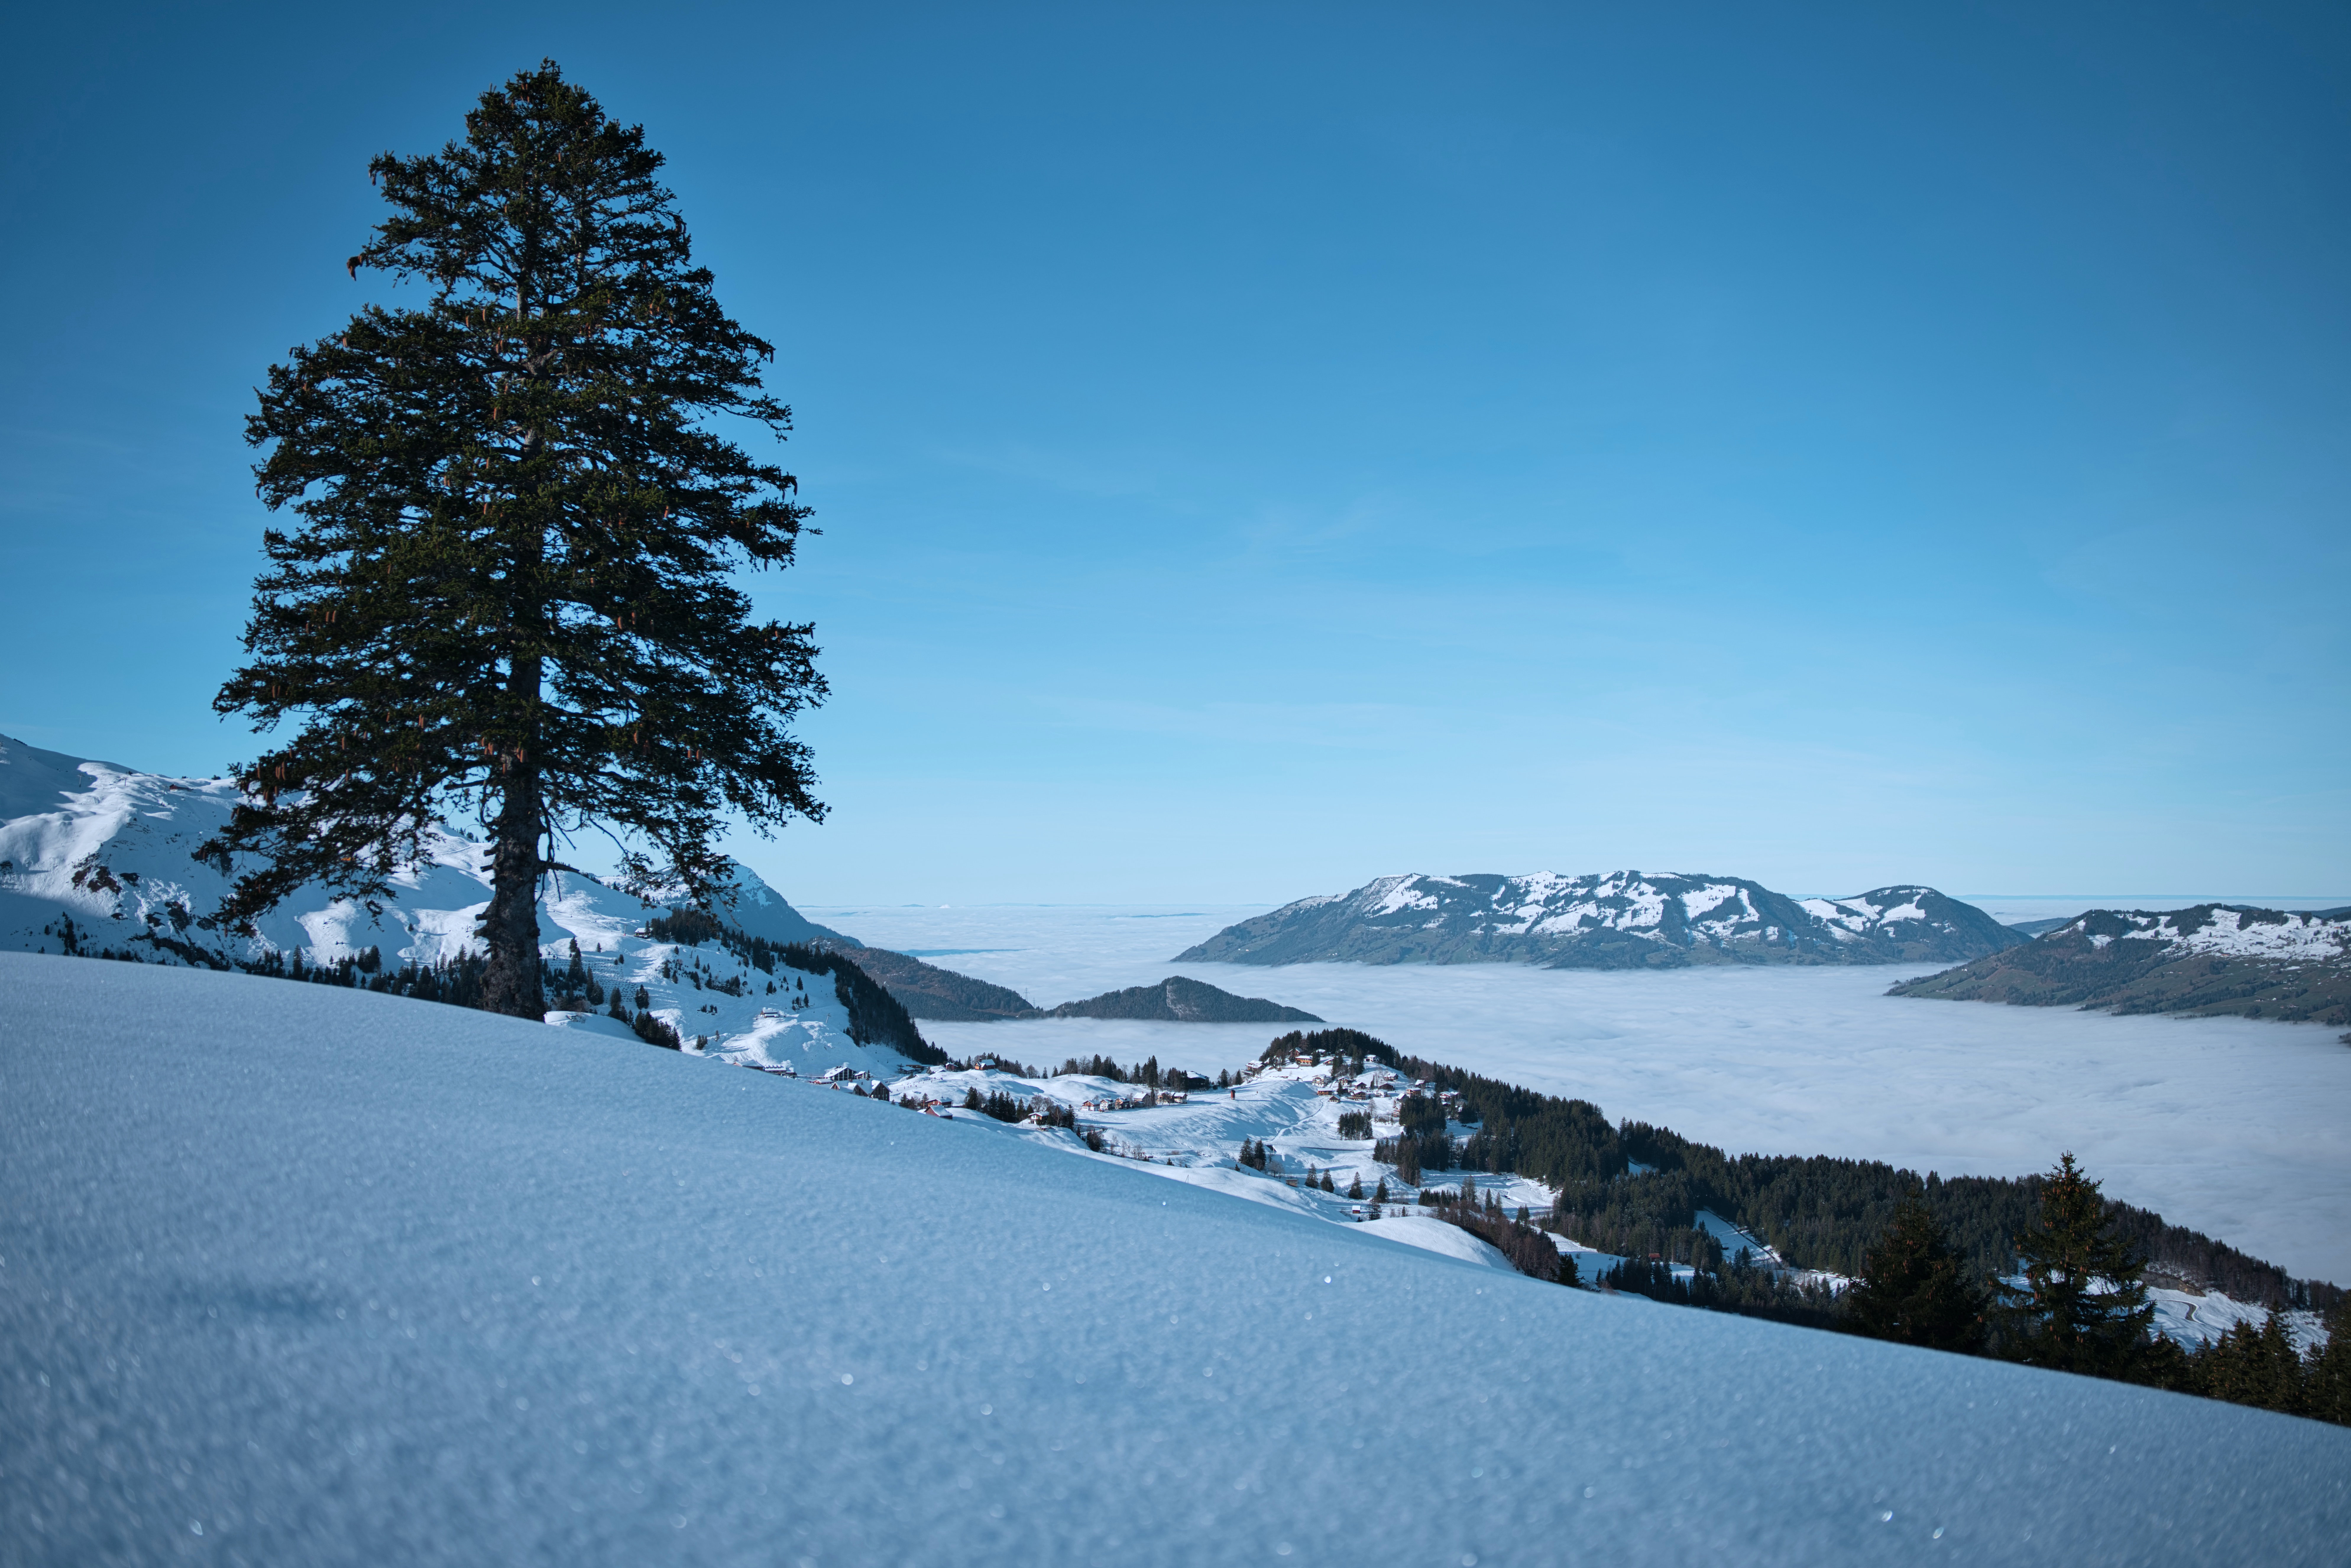
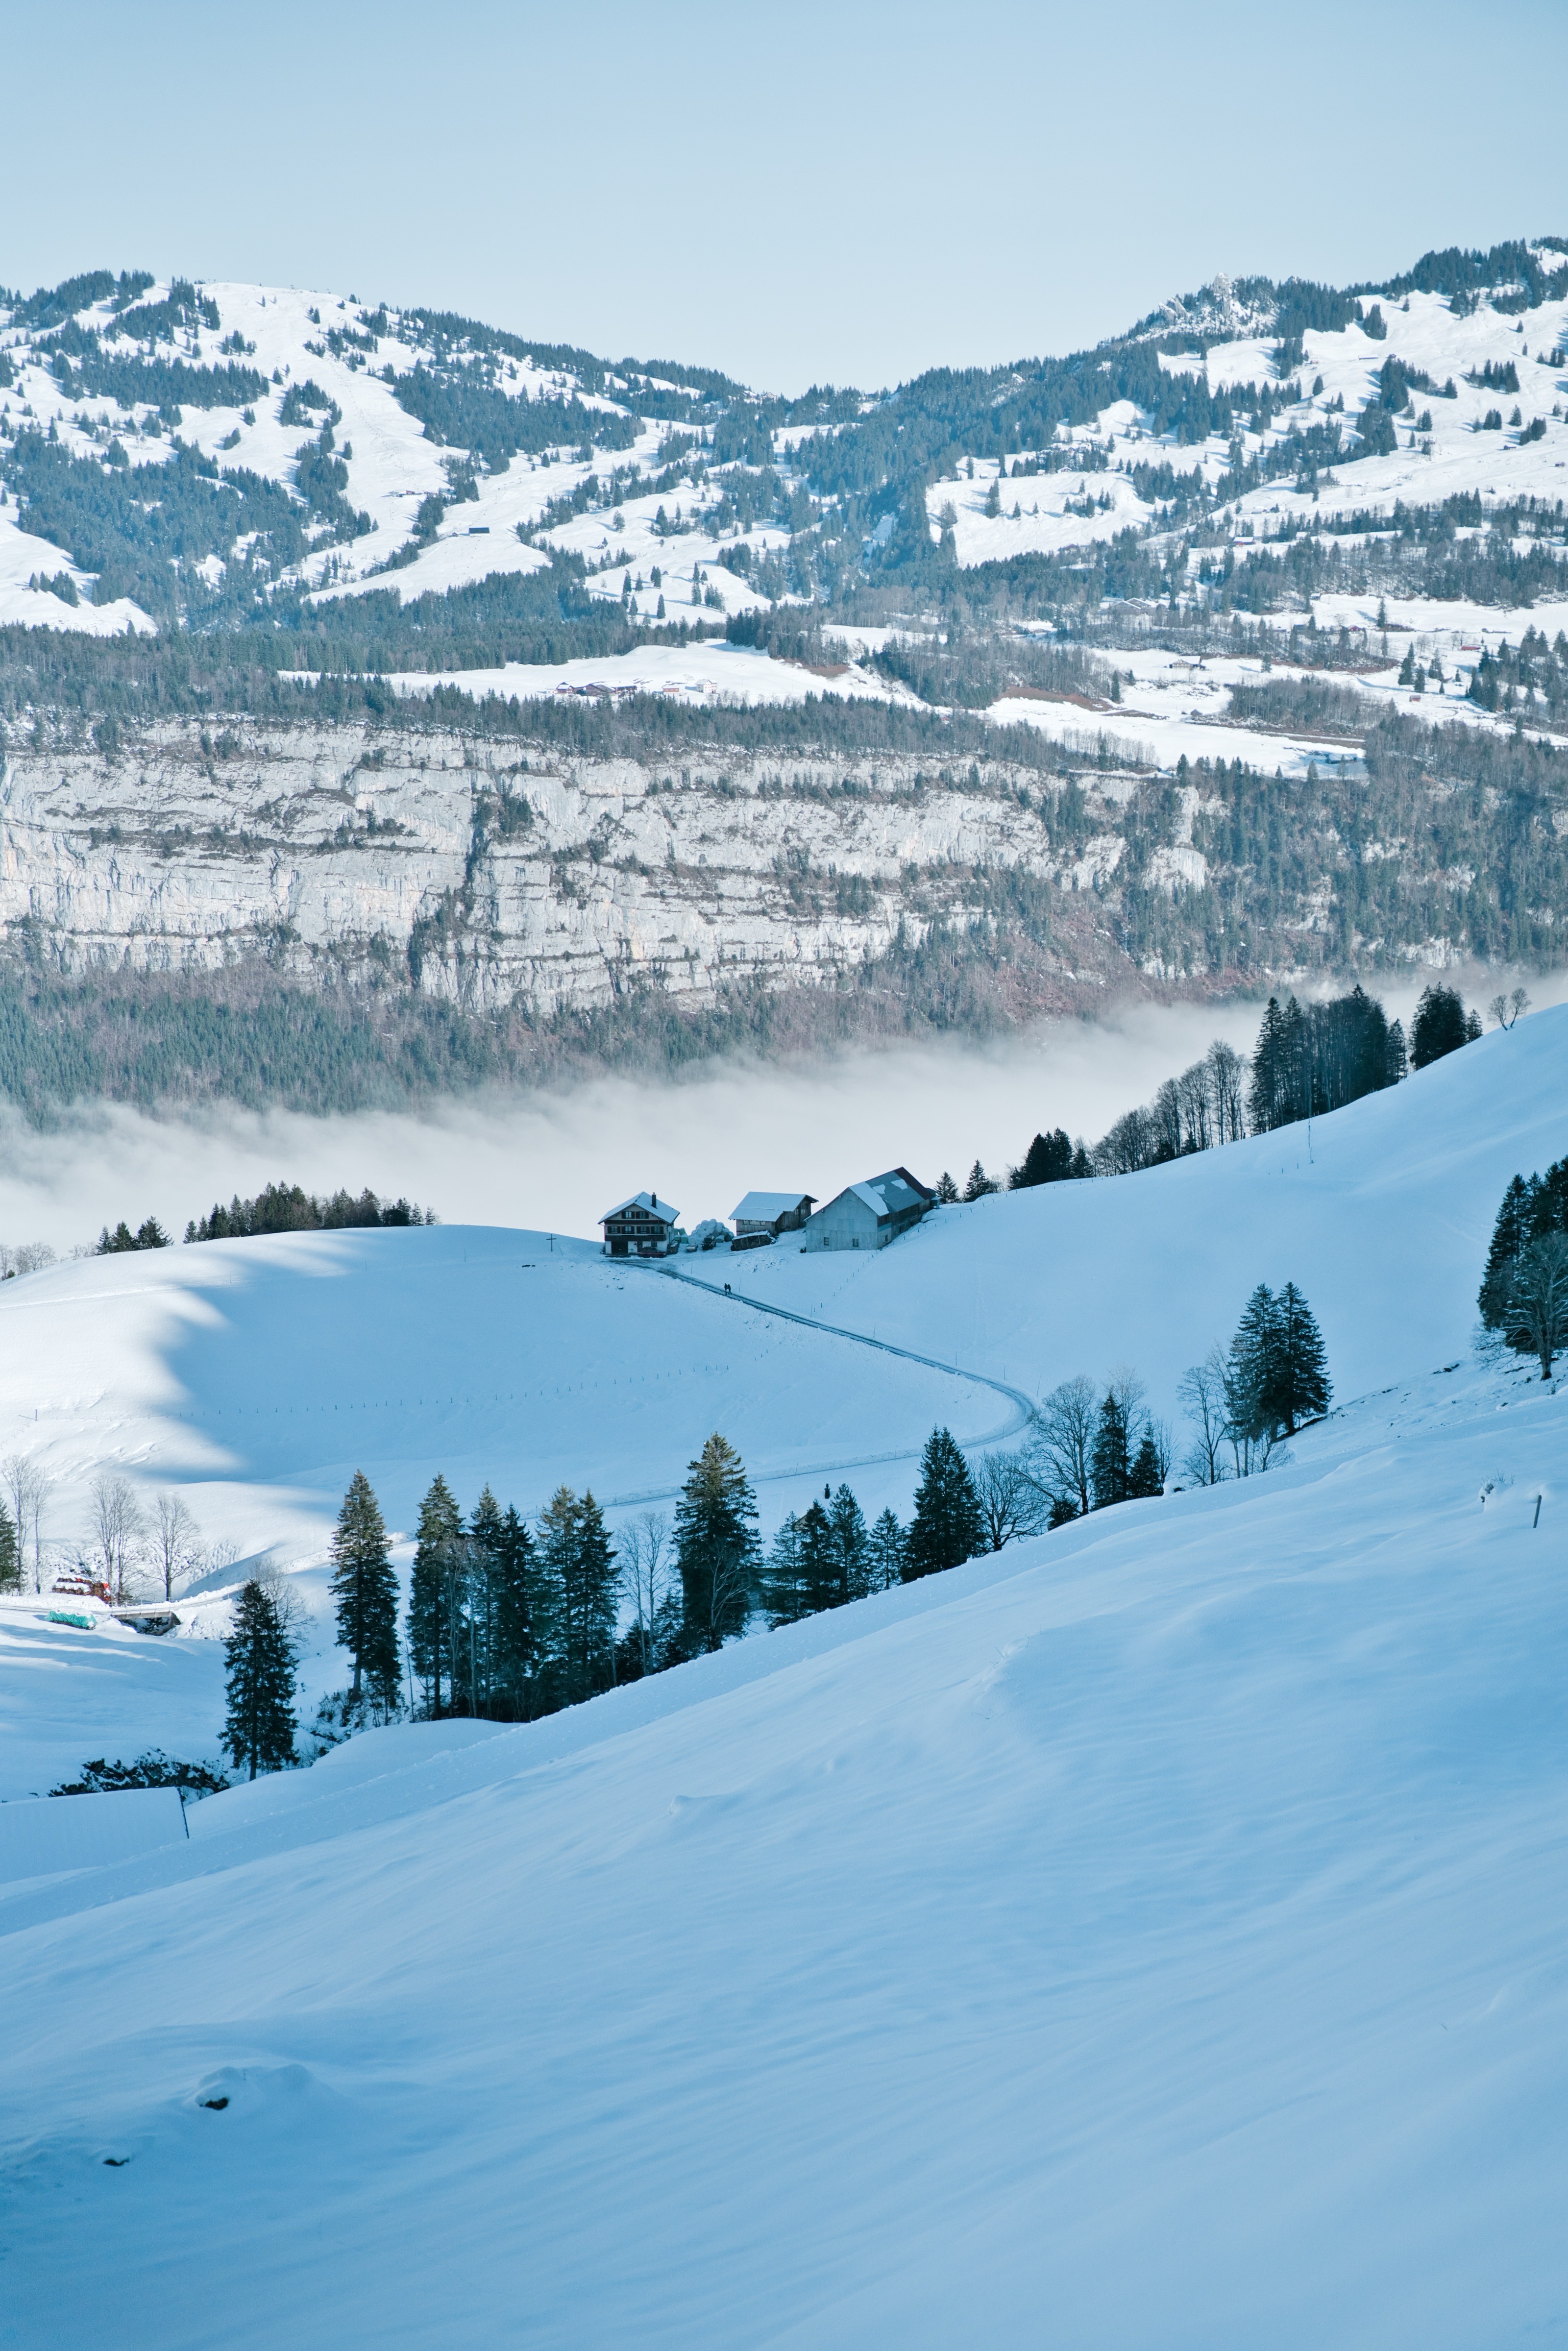
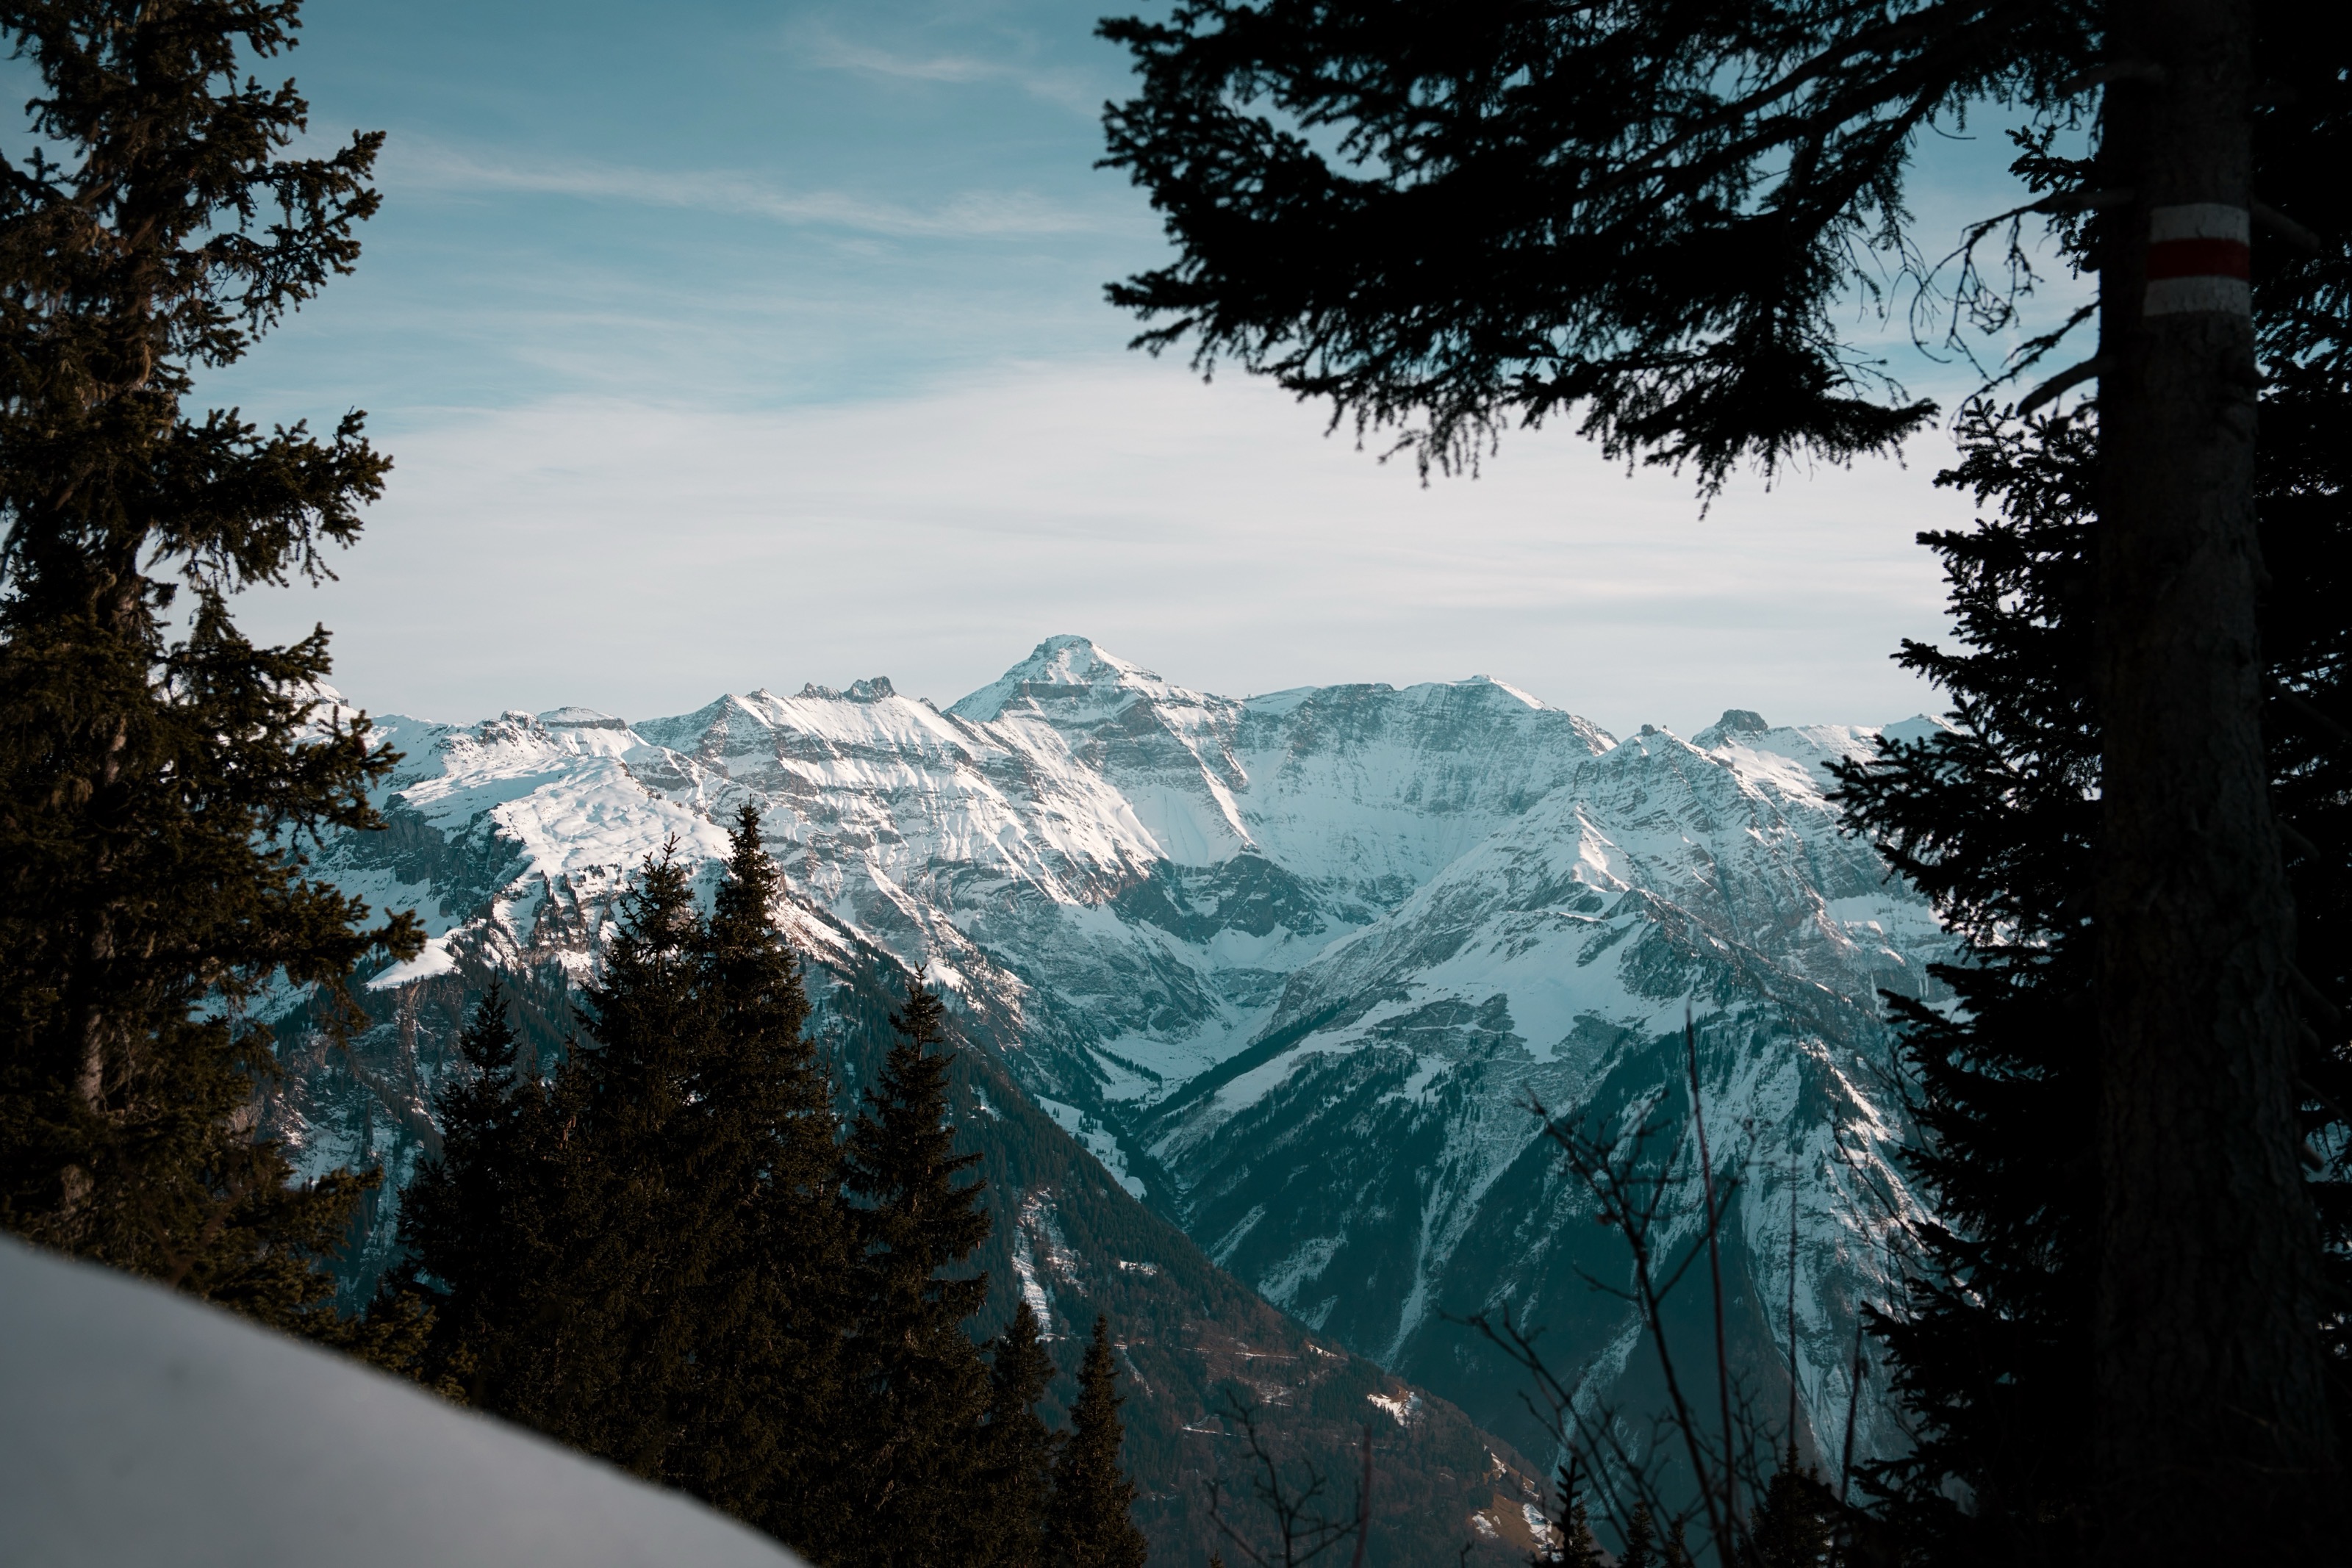
In winter, many of the compositional elements that make images interesting are missing: color, contrast, textures. Everything is white, and without conscious composition this quickly looks empty and monotonous. Snow can also swallow depth information: foreground, midground, and background blur together. Try to find exciting elements like houses, mountain peaks, trees, or people.
The Solutions
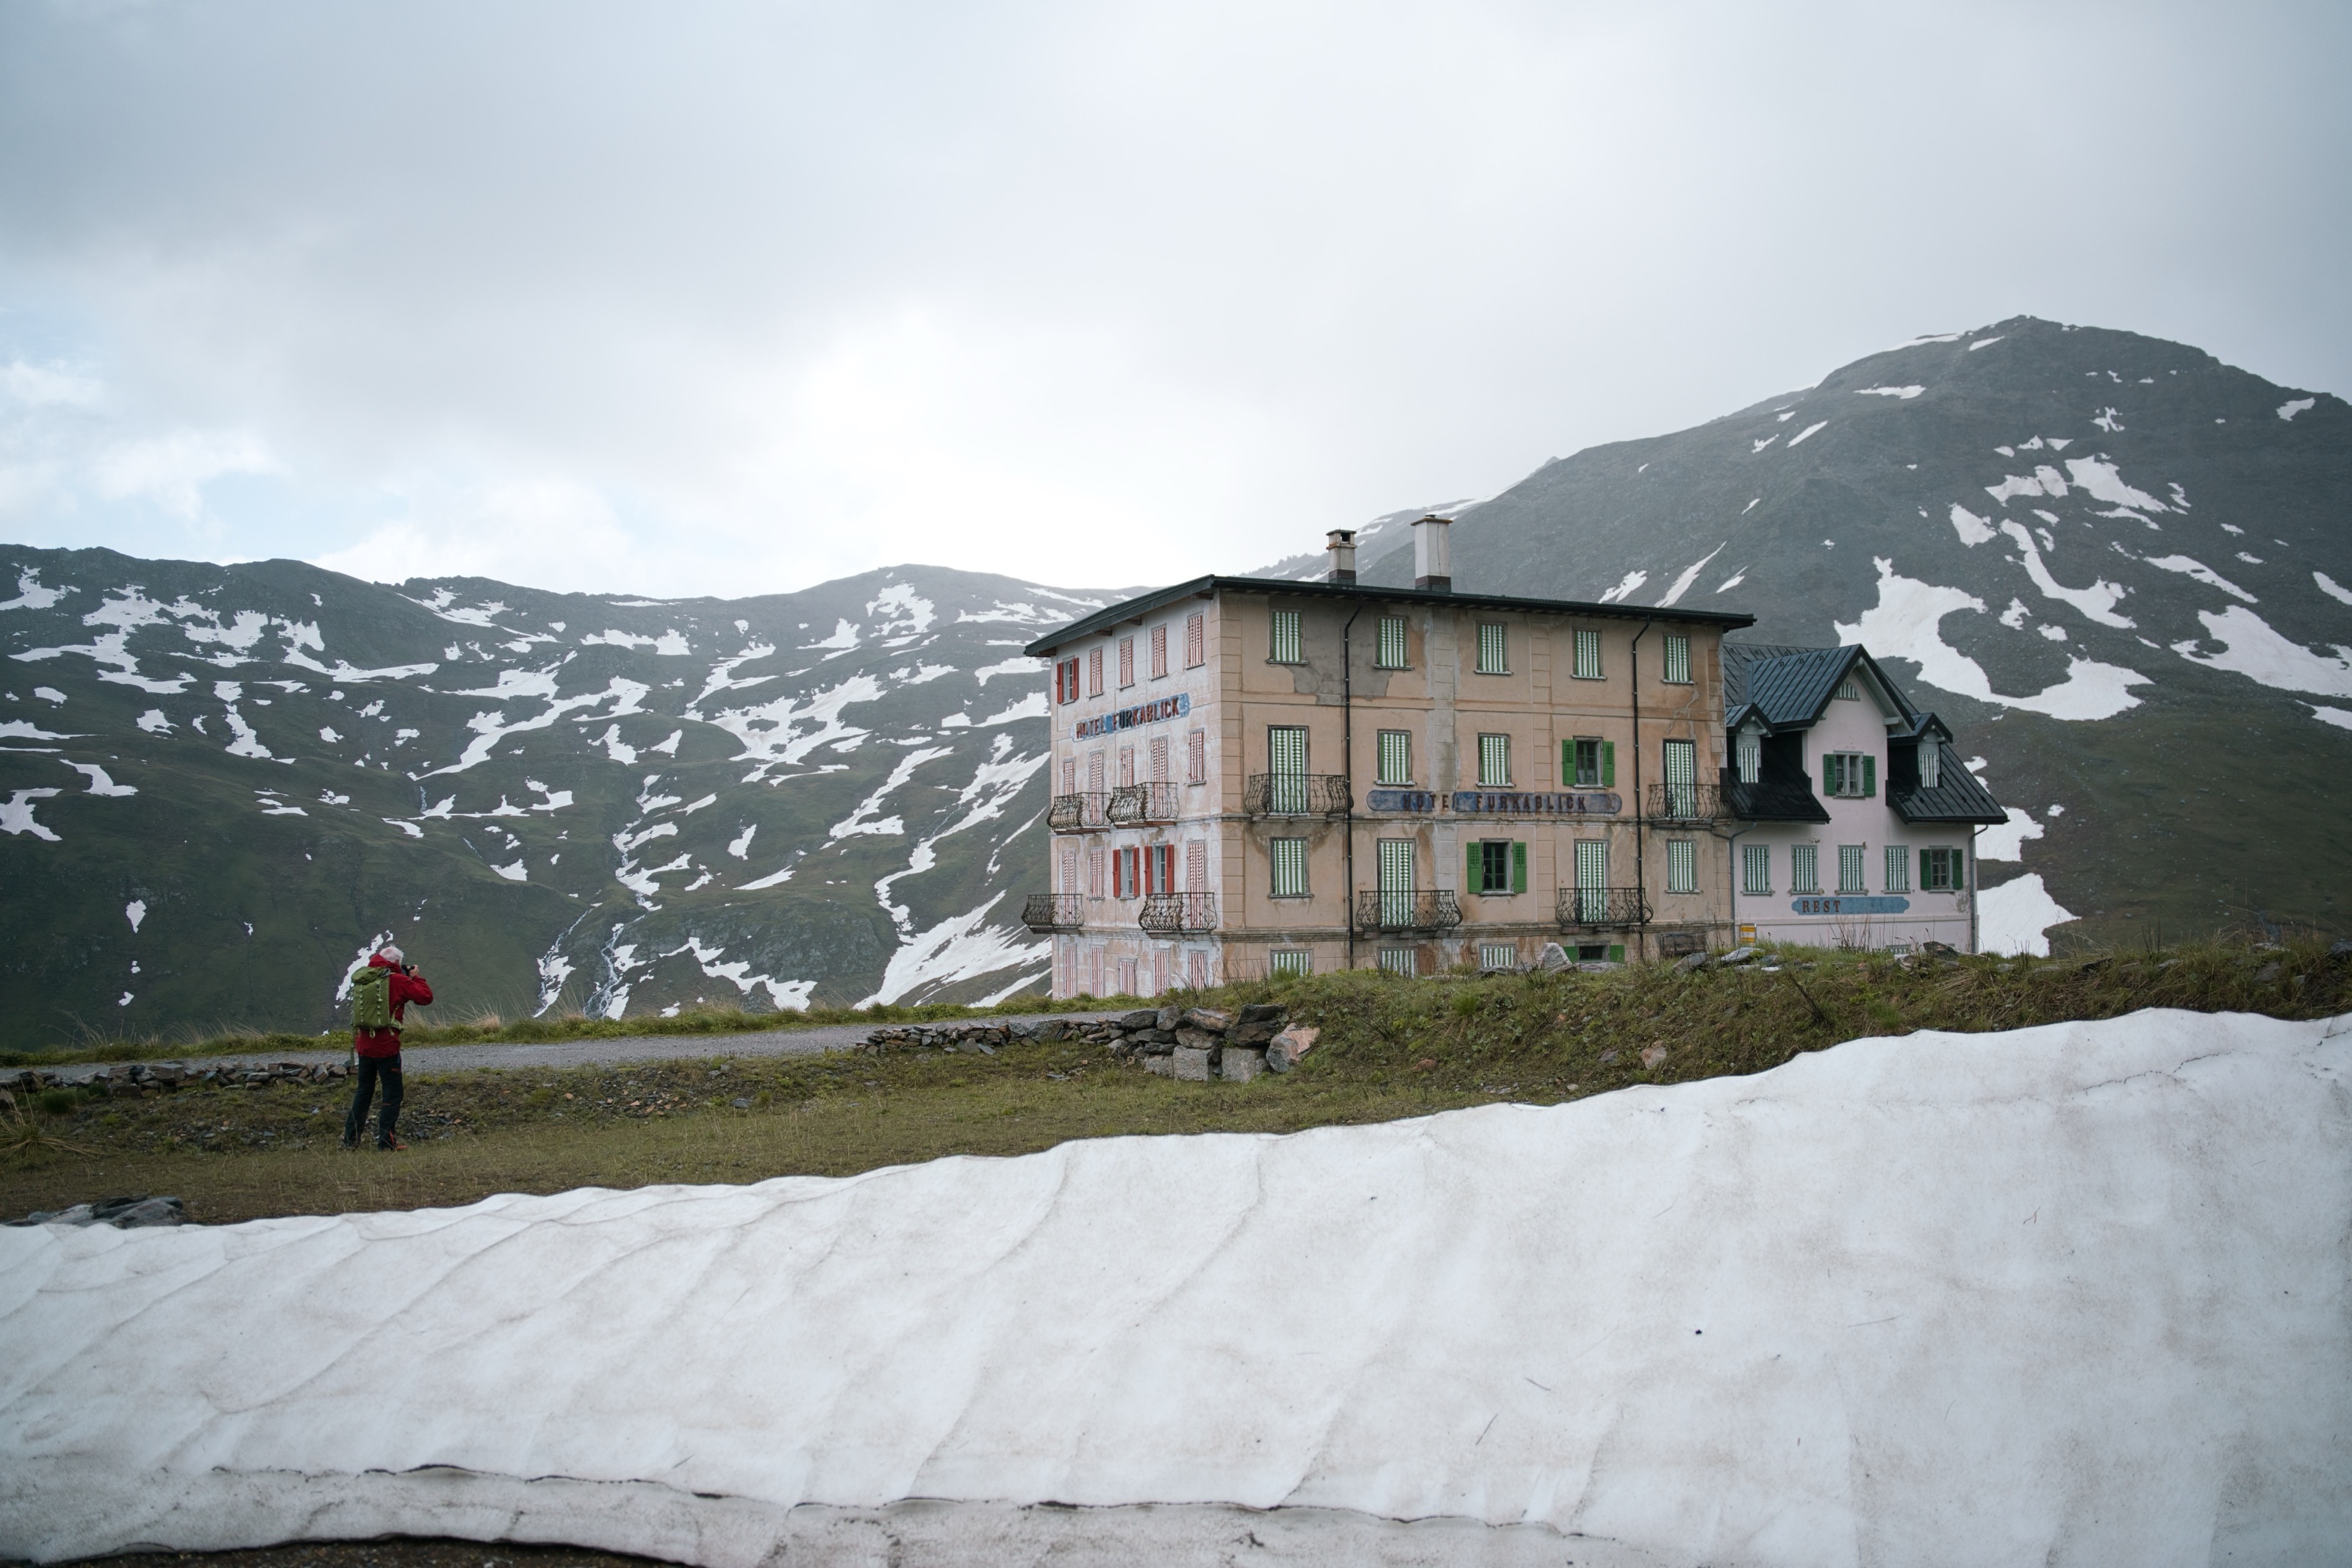
Color Accents: Consciously look for colorful elements, people in bright clothing, red cabins, colorful shutters, yellow lights. These small color accents make a huge difference.
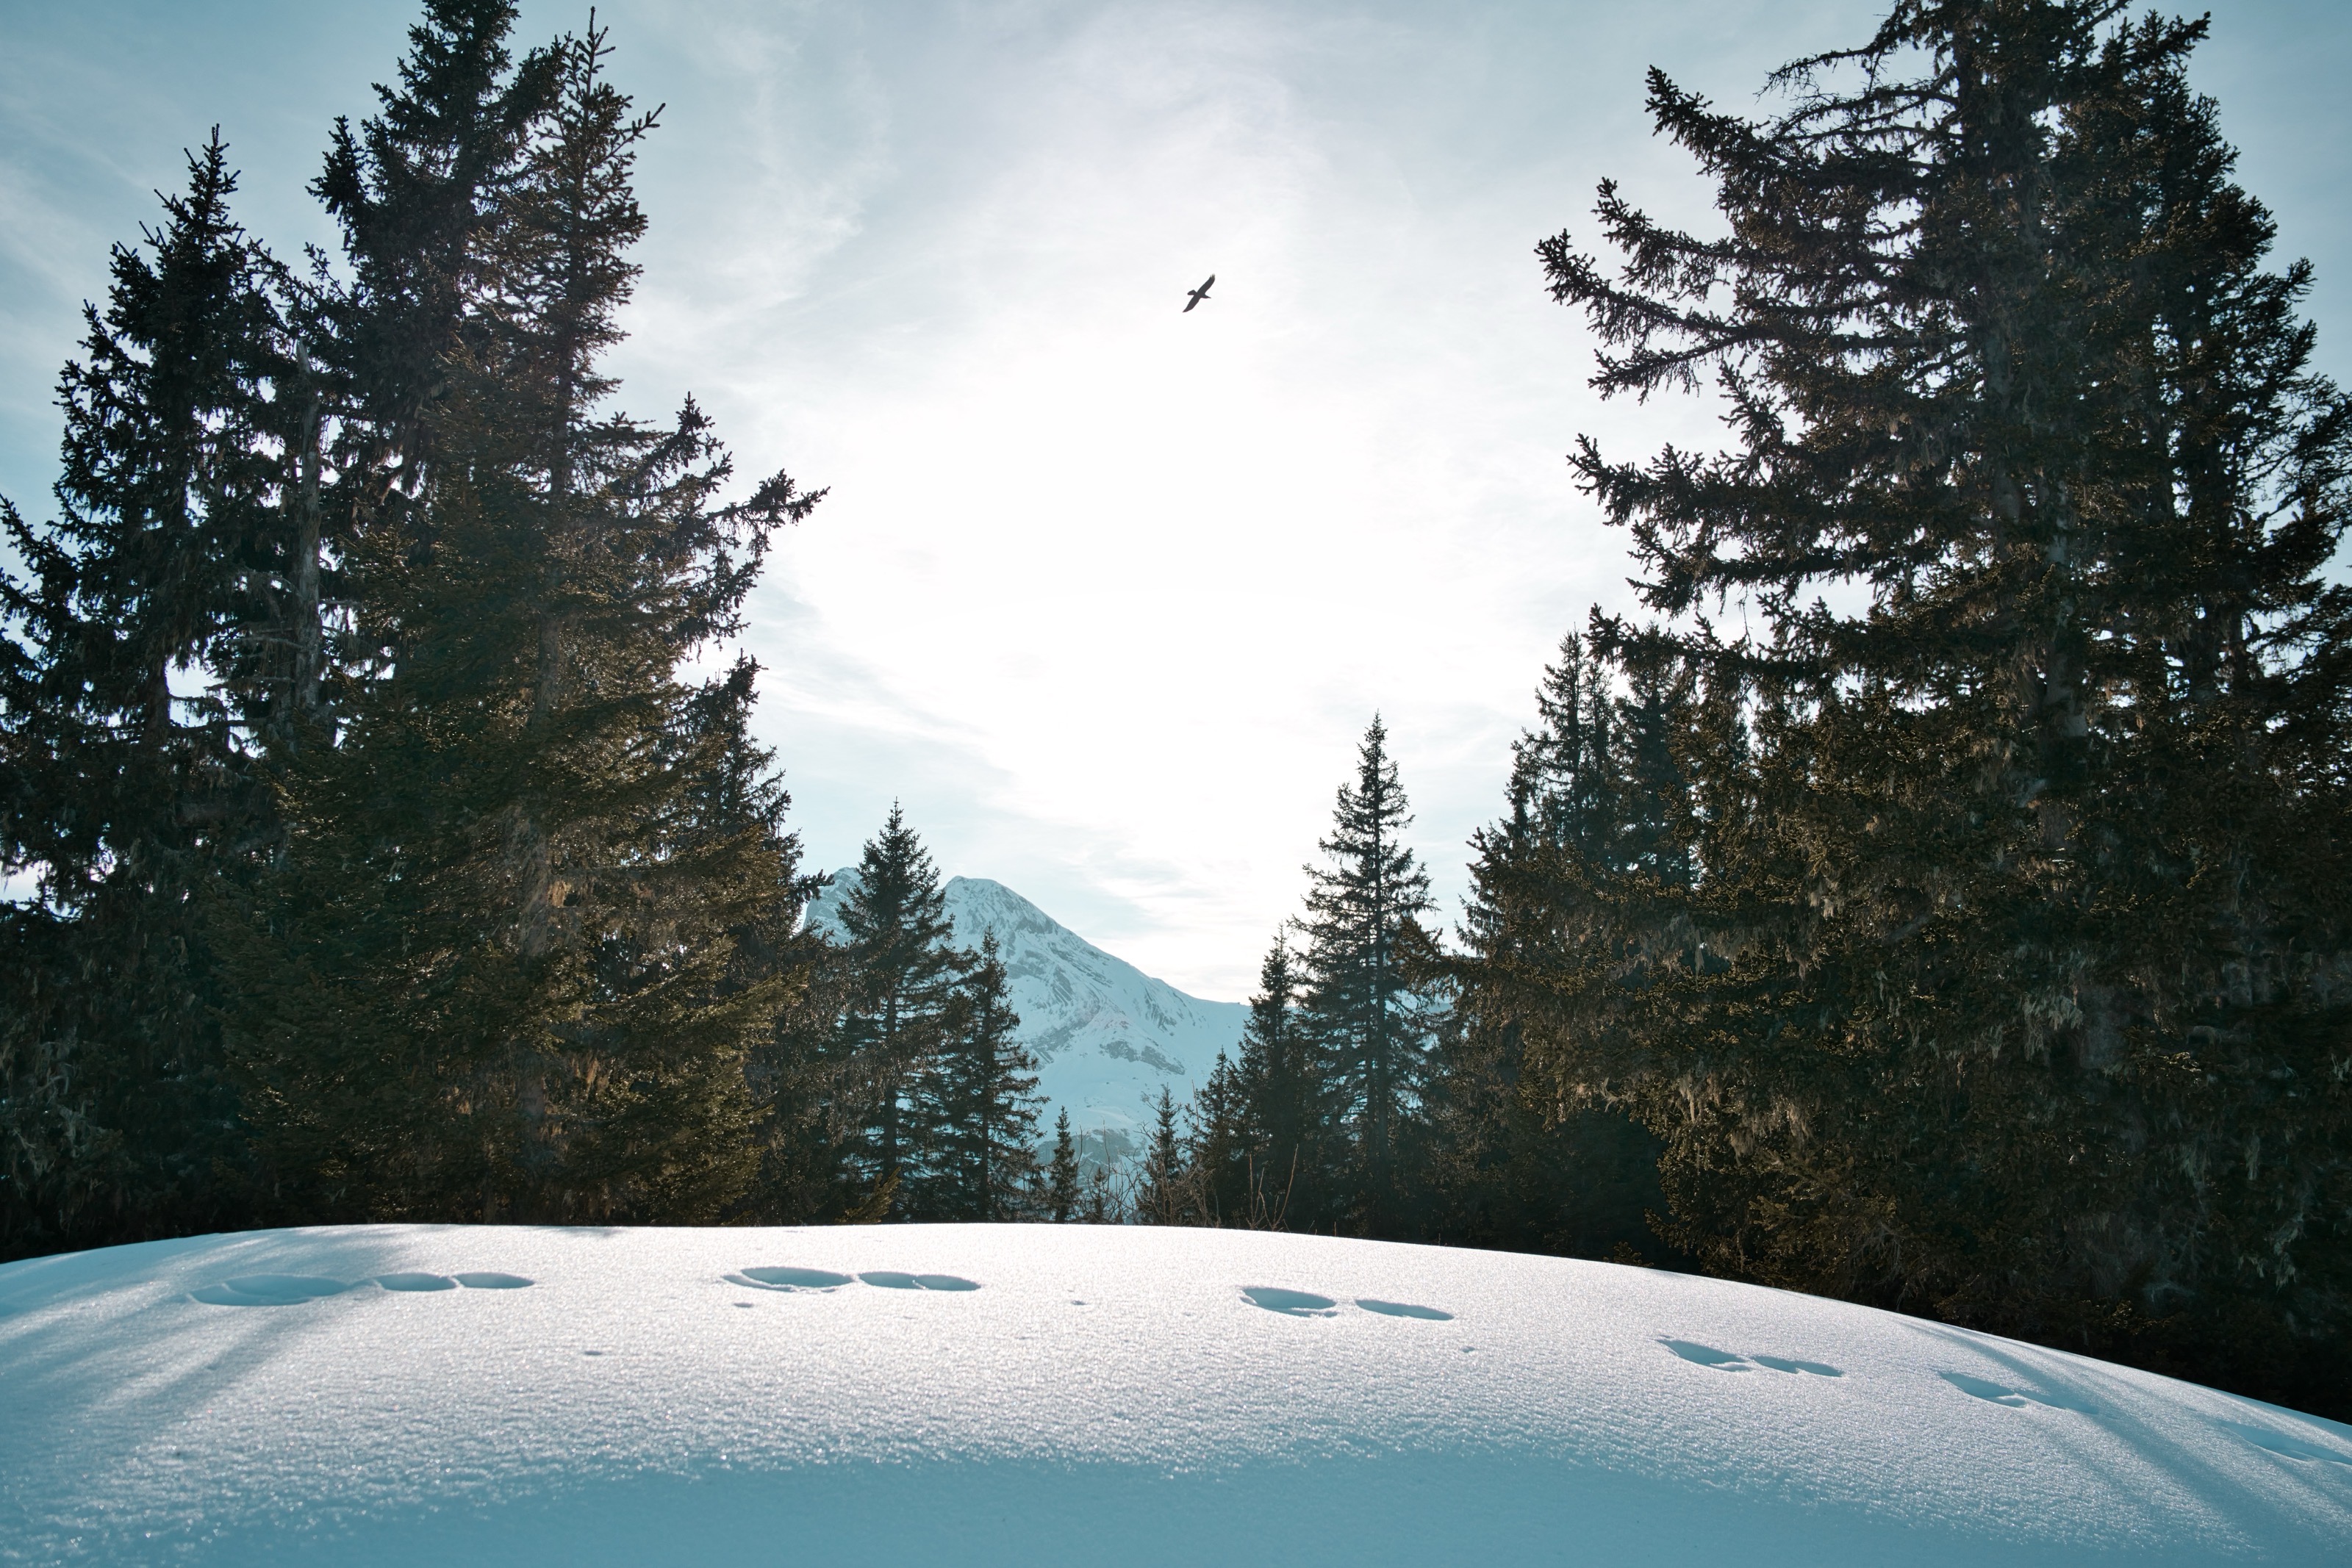
Lines and Structures: Use tracks in the snow as leading lines. Footprints, ski tracks, or tire tracks can guide the viewer’s eye through the image and create depth.
Include Foreground: Deliberately place something in the foreground, a branch, a fence, a stone. This gives the image depth and makes it more three-dimensional.
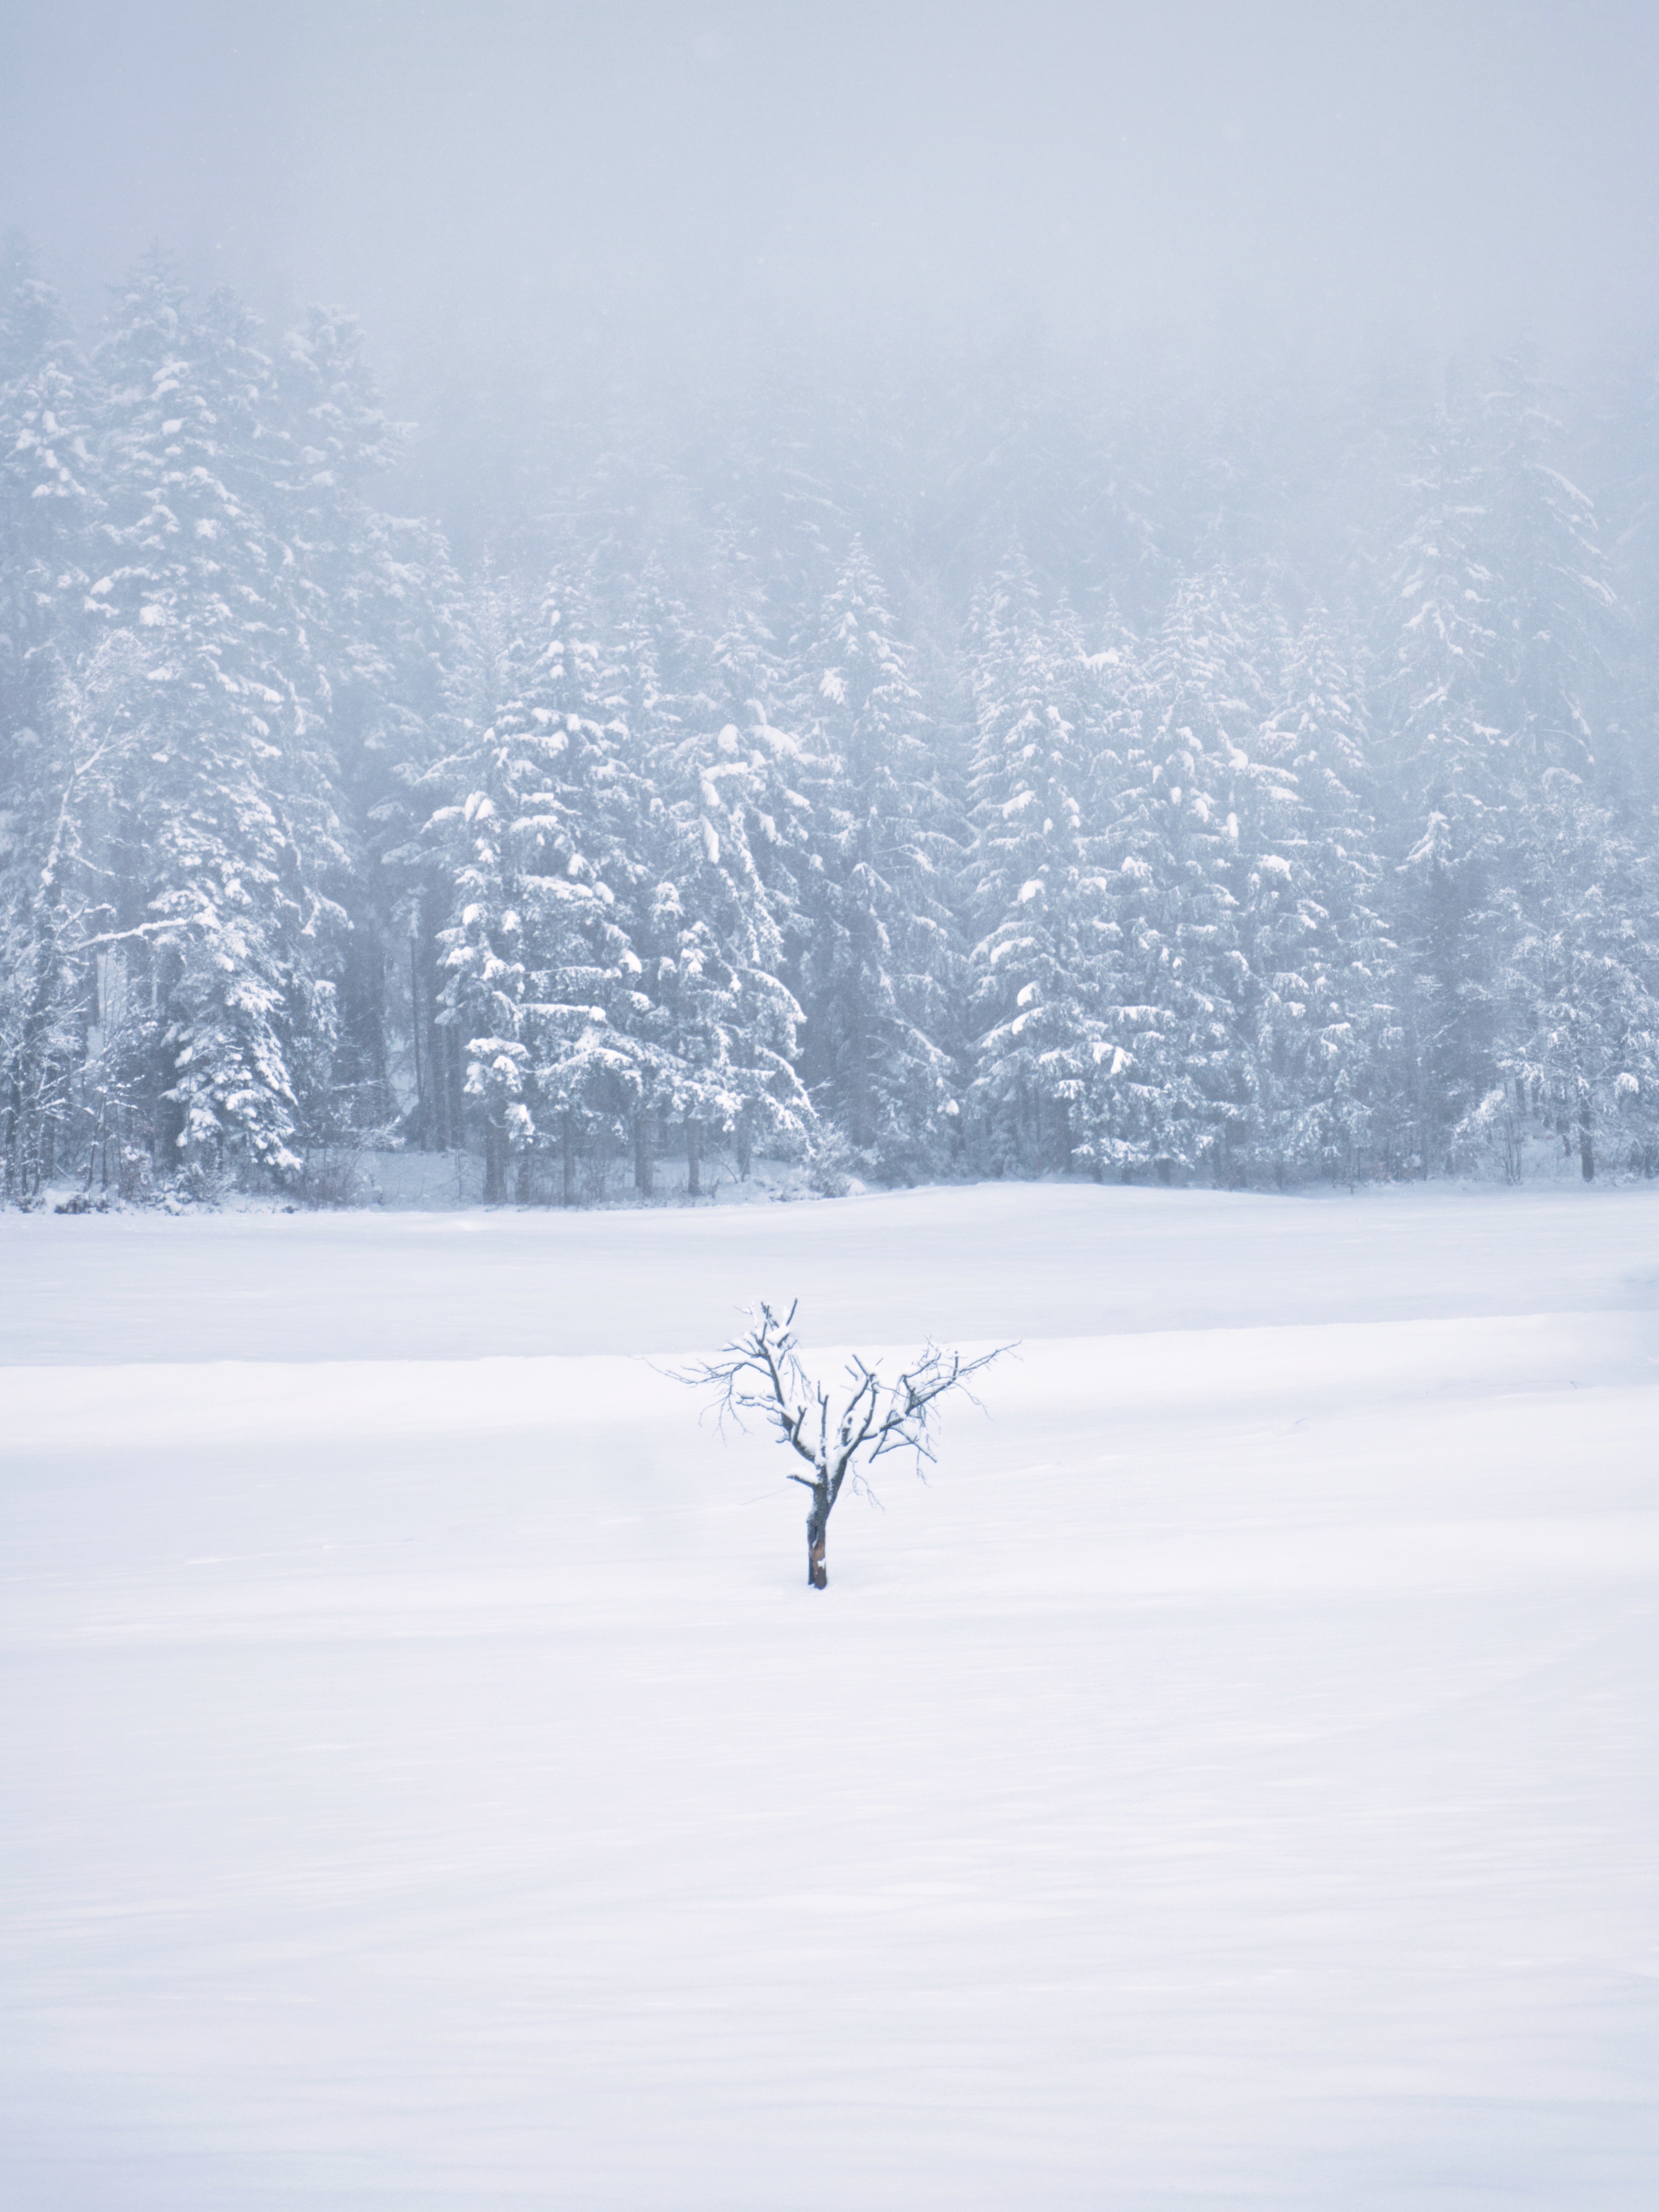
Minimalism: Accept that not every winter image needs to be “full.” Minimalism can be very powerful in snow images, but then it must be consciously designed, with clear shapes and good composition.
8. Safety & Practice Outdoors
The most beautiful images are worthless if you get into an accident or damage your equipment. Winter photography also means protecting yourself and your gear.
The Dangers
Slipping hazard is the most obvious risk, especially with heavy equipment on shoulders and back shifting your center of gravity. Moisture, salt, and grit can attack your equipment. In the mountains, there’s also the risk of avalanches and sudden weather changes.
The Solutions
Wear slip-resistant shoes or pull spikes over your hiking boots. Trekking poles provide additional stability, especially with a heavy backpack. Use a tripod with spikes on the legs when working on ice or packed snow.
Keeping yourself warm is just as important as protecting your equipment. Cold feet can quickly end a shoot. Invest in good, warm socks, that are comfortable without your feet overheating and sweating. The layering principle applies to the whole body: Multiple layers are better than one thick jacket.
Warm Socks for Outdoor Photography

Rohner Army Working Socks 3-Pack
Clean your equipment after every use. Dry the tripod legs, remove salt residue, and let everything dry thoroughly before packing it away. Salt and moisture can corrode metal and damage electronics.
Check weather and avalanche conditions if you’re in the mountains. Beautiful photo light isn’t worth risking your life. Also inform someone about your route and planned return.
9. Common Beginner Questions
Is my camera winter-proof?
Yes, modern cameras are robustly built and withstand cold well. The bigger problem isn’t the cold itself, but condensation from temperature changes and battery life. With the right precautions, practically any camera functions reliably in winter.
Is my lens broken if it’s soft? / Why isn’t my lens sharp?
In the vast majority of cases, no. The most common causes for soft images in winter are heat shimmer, condensation on the lens, or a not-yet-acclimatized lens. Let it adjust, clean the front element, and try again. Actual lens damage from cold is extremely rare.
Can I fix this later in post-processing?
You can correct exposure and color very well in RAW format, that’s one of the big advantages of RAW. Unfortunately, you can’t repair unsharpness. That’s why it’s so important to ensure sharp images while shooting.
Conclusion
Winter is photographically demanding. It forgives fewer mistakes than other seasons, and you need to prepare yourself and your equipment better. But these very challenges make it so rewarding. With clean, conscious work, winter rewards you with unique light, magical moods, and images that would be impossible in summer.
You don’t have to be a pro to successfully photograph in winter. You just need to know what matters and you know that now. Pack your camera, bring some spare batteries, and go outside. The next snowfall won’t wait. Especially in winter when the landscape is completely transformed, the most exciting, minimalist images emerge.


