How to Clean your Camera Sensor yourself: Complete Guide + Best Methods 2026
- Marvin Kuhn
- Education , Photography
- October 11, 2025
Table of Contents
Sensor cleaning is a task that every photographer must deal with, whether hobbyist or professional. The term “sensor cleaning” often triggers anxiety before the first attempt because the sensor is the heart of the camera and seems very delicate. Why you shouldn’t be afraid of this process is what I’ll explain in this article.
Why You Don’t Need to Be a Professional
As mentioned at the beginning, every photographer really must deal with sensor cleaning sooner or later. But why is that?
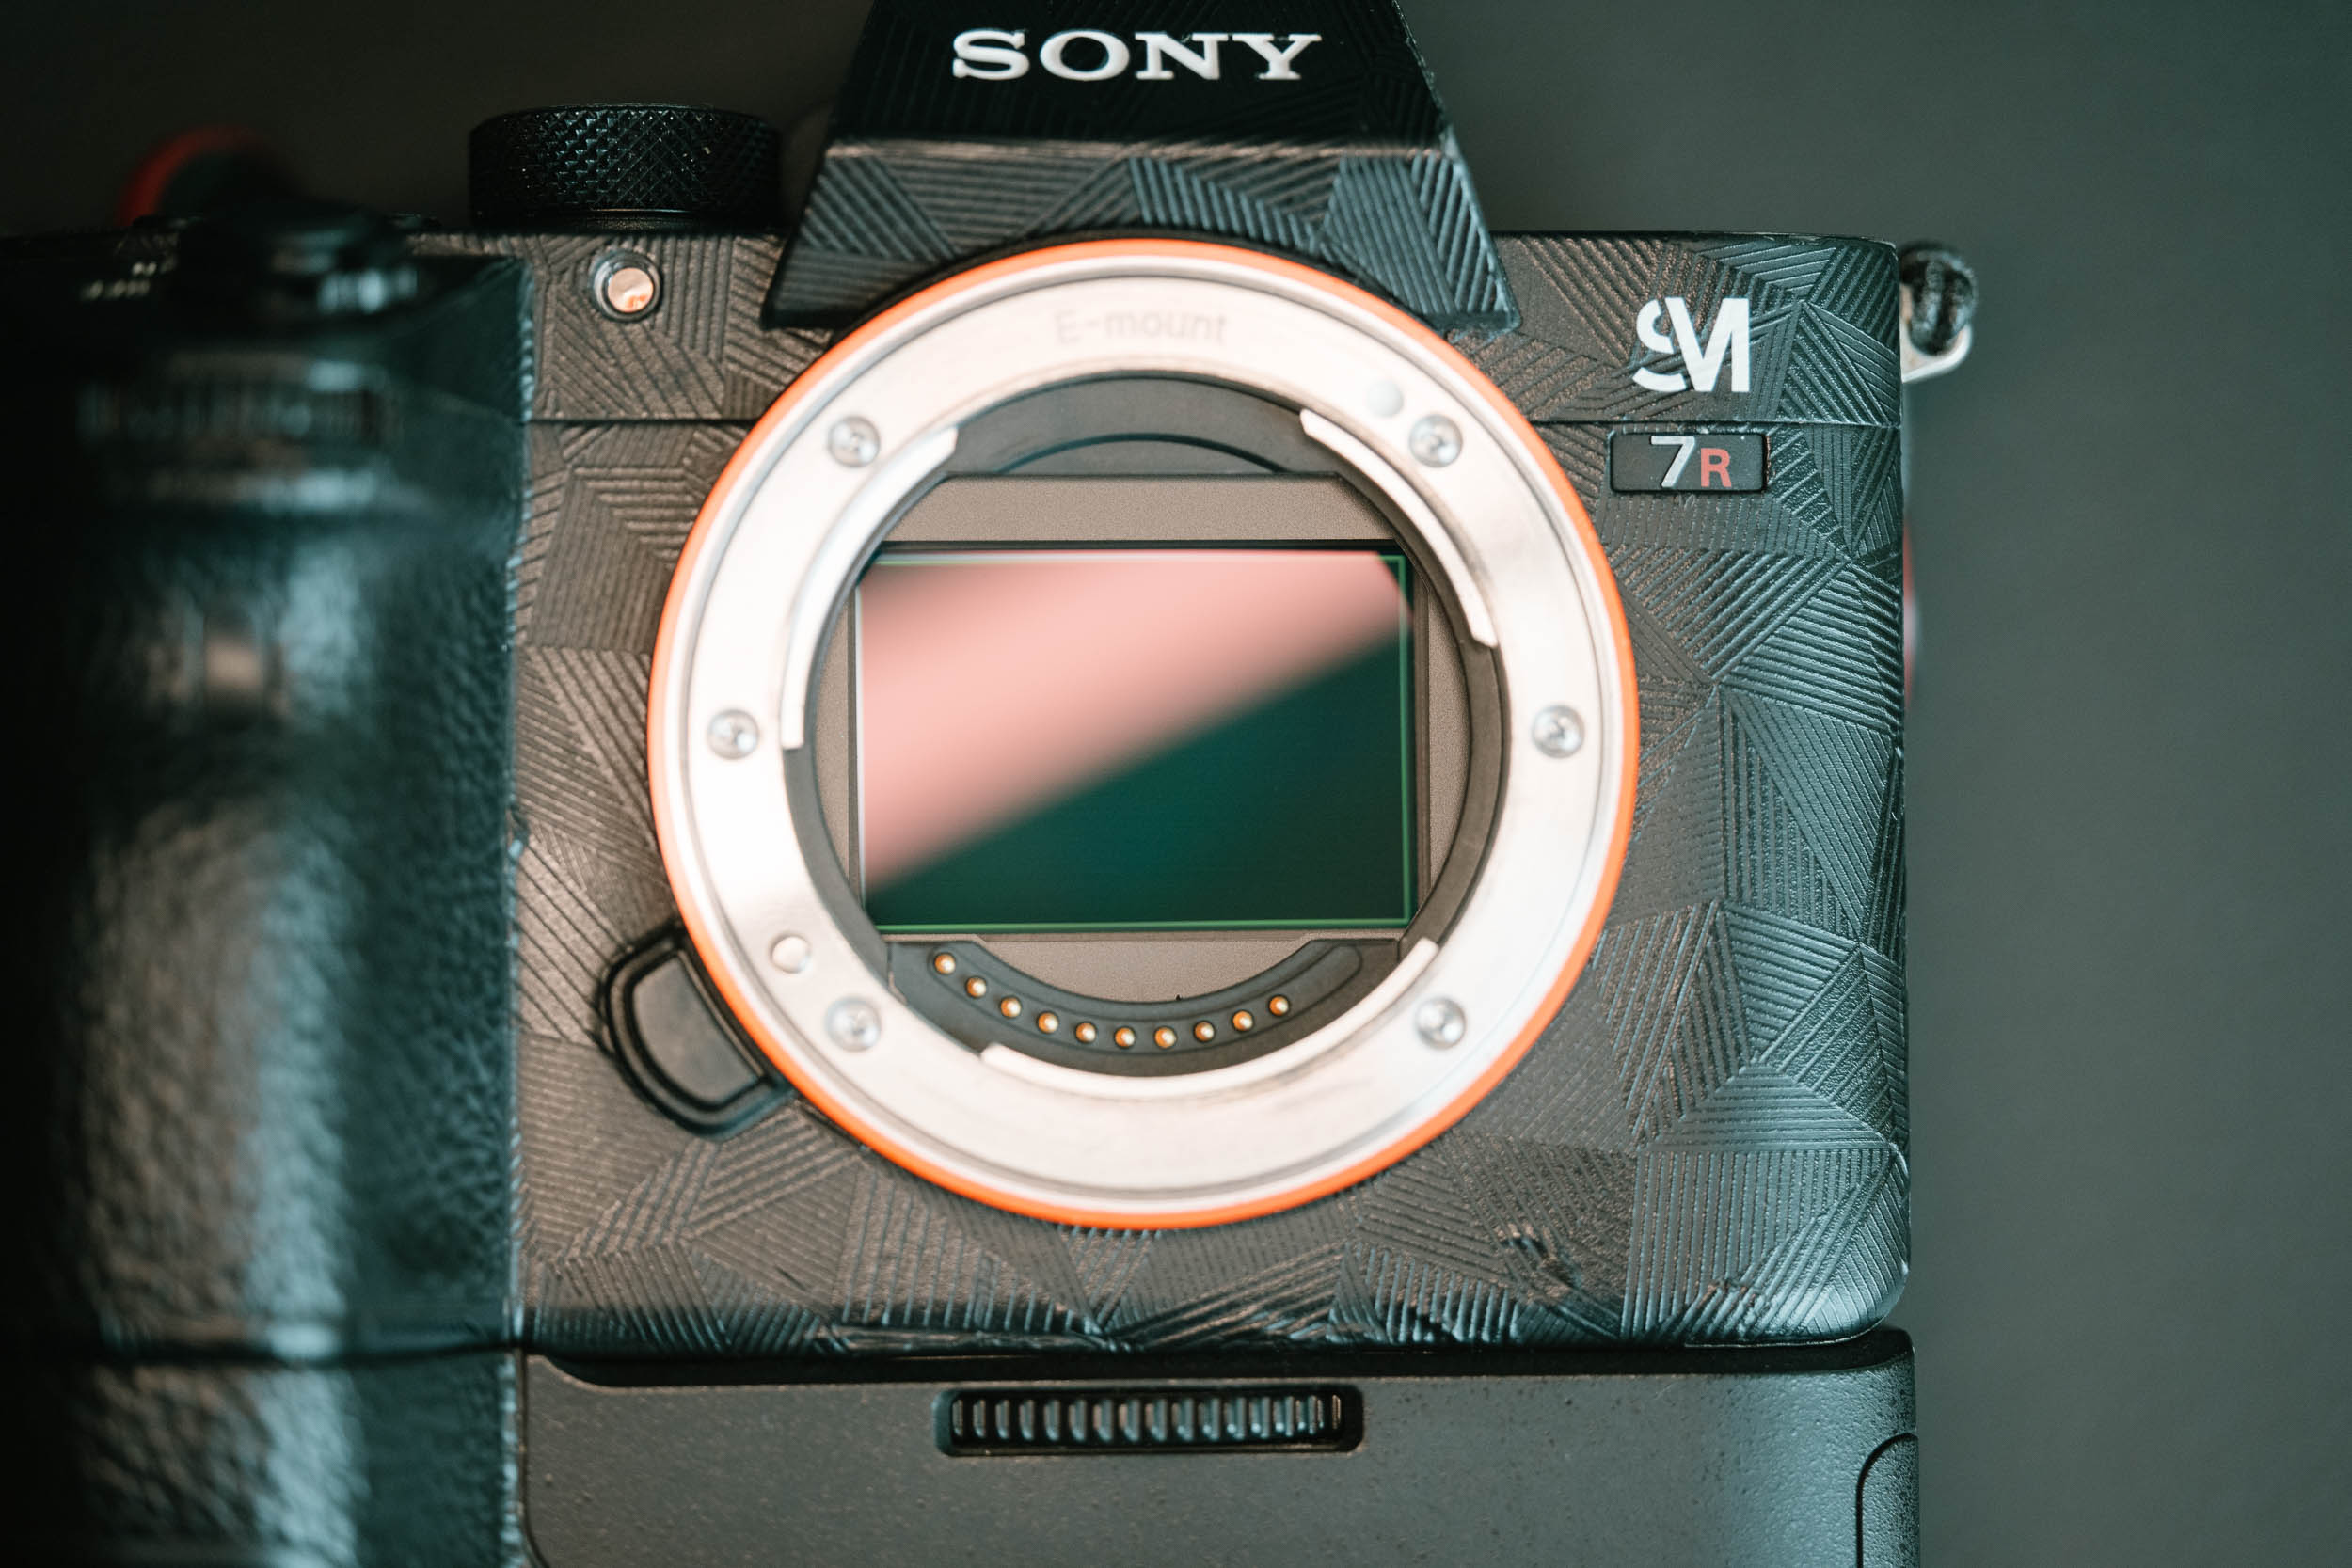
The sensor is the heart of the camera and captures the light that falls on it through the lens. Sooner or later, the sensor will be contaminated by dust, lint, or other particles. These contaminants can appear as dark spots or streaks in photos, especially when shooting with small apertures (high f-values). Therefore, it’s important to clean the sensor regularly to maintain image quality.
This process initially sounds very complicated and delicate, but it really isn’t. With proper preparation and the right tools, sensor cleaning is a simple process you can perform yourself.
First, you should know that you’re not actually cleaning the sensor directly. Most cameras have a filter or glass plate in front of the sensor that protects it. This plate is what you’re actually cleaning. It’s similar to cleaning a lens or filter. However, you can’t and shouldn’t simply wipe the plate with a cloth or similar, as you could scratch or damage it. That’s why there are special tools and methods you should use.
Cleaning Options - What Fits Which Situation?
You have various options for sensor cleaning, each with their own advantages and disadvantages. The choice of the right method depends on the type and degree of contamination.
Basic Equipment: Blower - The Important First Step (Always Use!)
What is it? A small rubber or silicone device that creates a controlled airflow to blow away loose particles.
Produktvergleich

JJC CL-DF1BK Airblower mit Staubfilter Schwarz
- ✅ Absolutely safe - no direct contact with the sensor
- ✅ No consumables - one-time purchase
- ✅ Quick and easy to use
- ✅ Often removes 70-80% of all contamination
- ✅ Reduces risk in subsequent cleaning steps
Disadvantages:
- ❌ Often insufficient alone for stubborn contamination
- ❌ Can sometimes just redistribute dust
- ❌ With cheap models, the tip can fall off
Important: The blower should ALWAYS be used as the first step - even if you plan to use other methods afterward. It removes loose particles and makes subsequent cleaning safer and more effective.
Option 1: My Recommendation, Cleaning Swabs
Always start with the blower - this is non-negotiable! But for anything still visible afterward, I recommend sensor cleaning swabs with solution. They are the most reliable and thorough method.
Produktvergleich
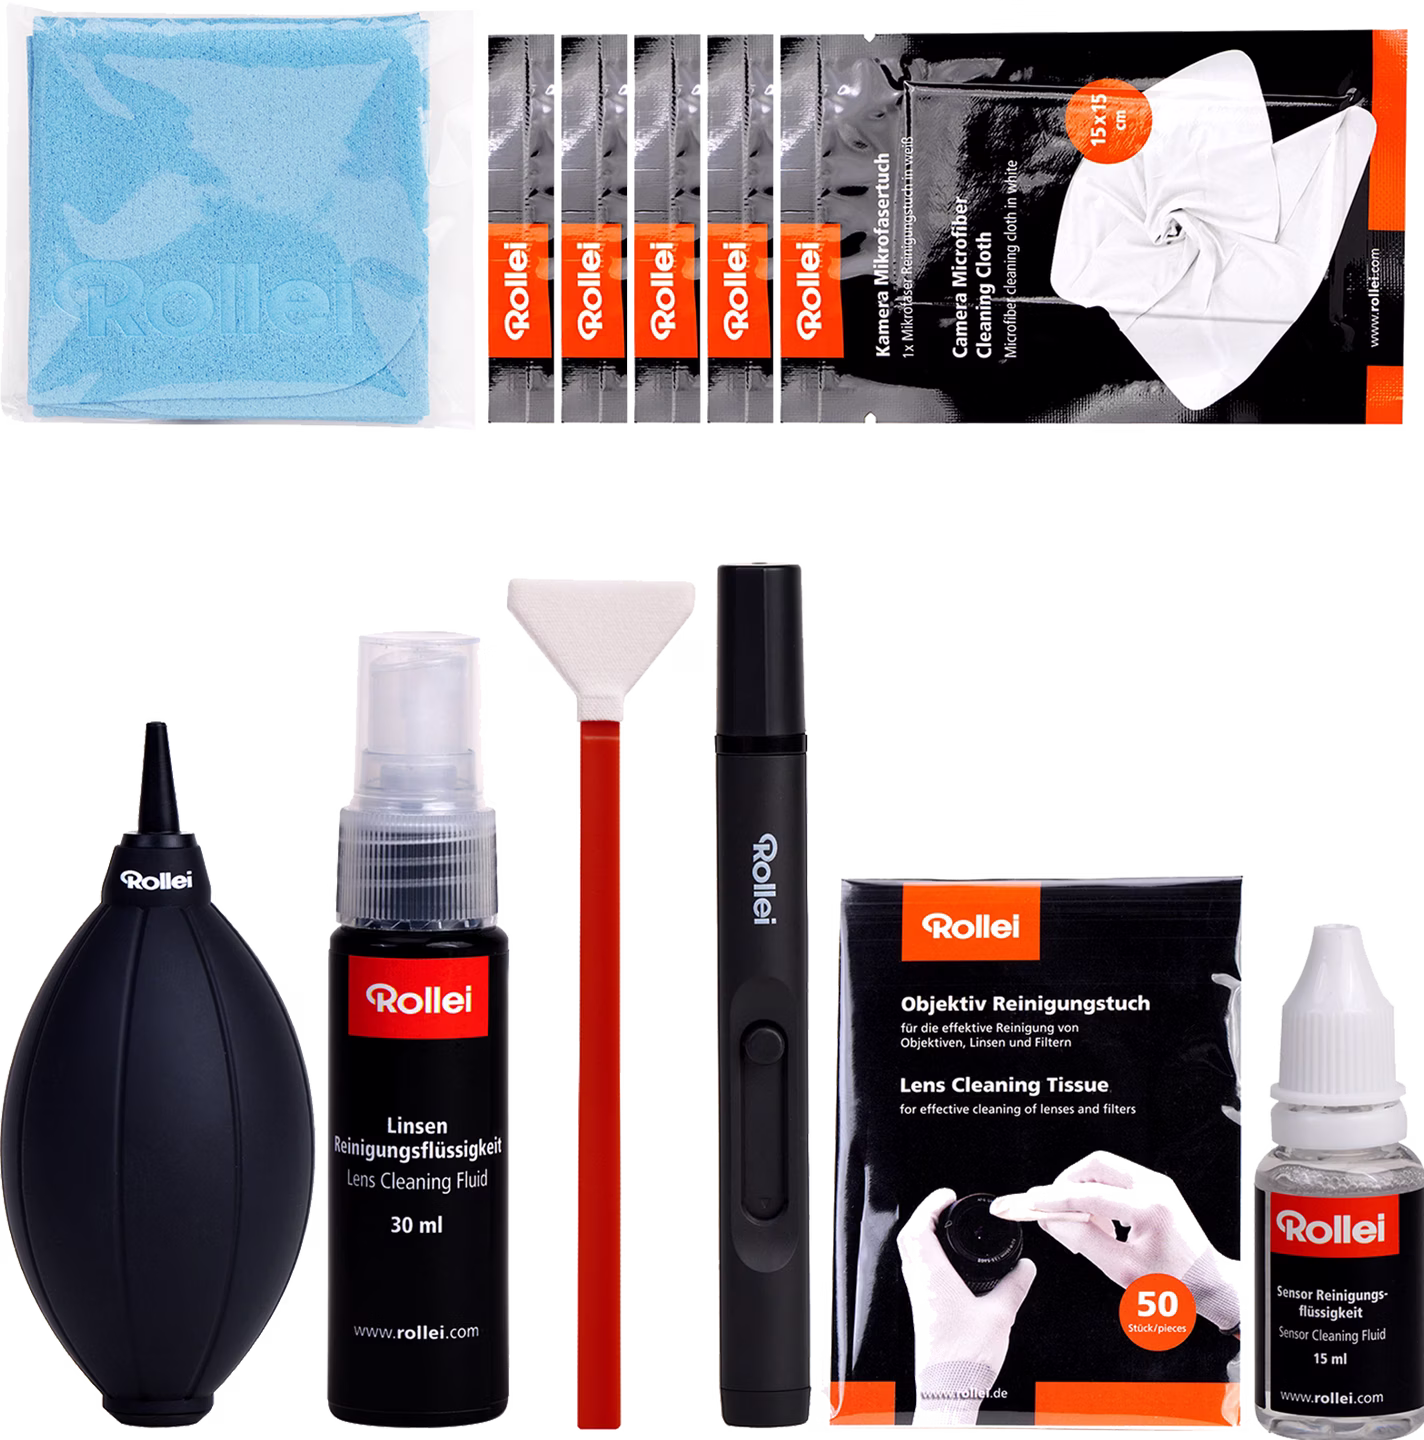
Rollei Sensorreinigungs Kit XL

VSGO Vollformat Sensor Reinigungs Kit
- Blower (always first)
- Check: Are contaminations still visible?
- Sensor cleaning swabs for thorough cleaning of all remaining contamination
Why swabs? They reliably remove all types of contamination - dust, grease, fingerprints, pollen. Other methods like brushes or sticky swabs only work for certain types of contamination.
For monthly basic cleaning, I swear by Rollei swabs - they offer different sizes (full frame: 24mm, APS-C: 16mm, Micro Four Thirds: 13mm) and have consistently delivered better results than VisibleDust products for me.
Advantages:
- ✅ Very thorough: removes dust, pollen, oil/grease residue, and fingerprints
- ✅ Reproducible results with correct technique
- ✅ Matching widths for all sensor sizes (full frame 24mm, APS-C 16mm, MFT 13mm)
- ✅ Quick to learn, well documented and widely used
Disadvantages:
- ❌ Consumable material: ongoing costs for swabs and cleaning solution
- ❌ Direct contact: wrong technique can cause streaks; theoretically damage coatings with excessive force
- ❌ Risk of streaks with too much/too little liquid or wiping too fast
Option 2: Sensor Cleaning Brush - Only for Dust
What is it? Special brush with ultra-fine, anti-static bristles that can “attract” dust.
Produktvergleich
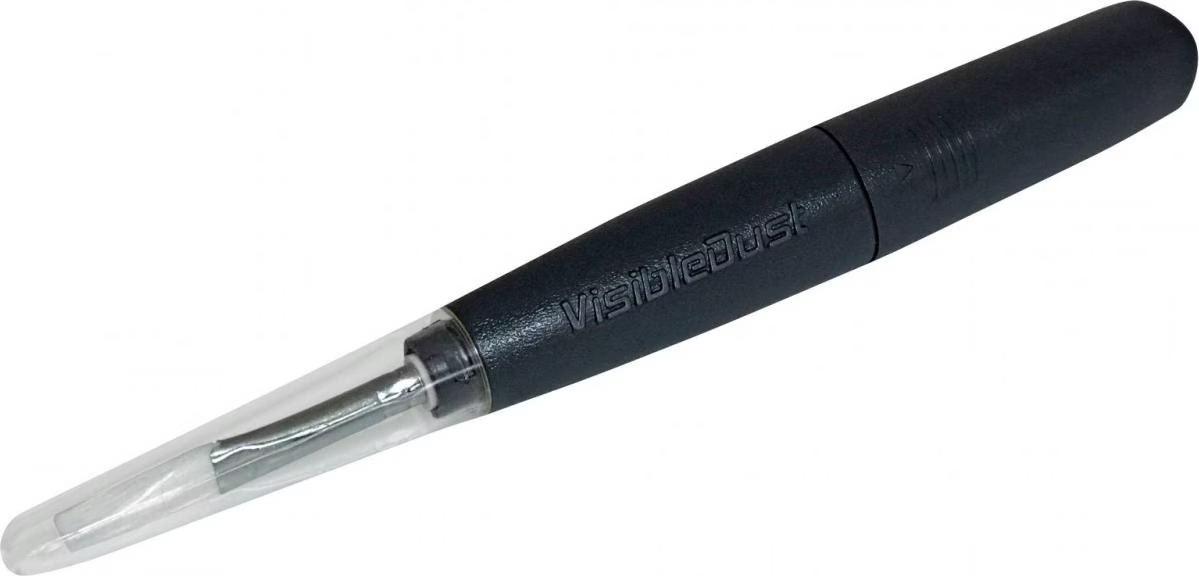
Visible Dust Arctic Butterfly
- ✅ Removes even stuck dust
- ✅ Anti-static effect prevents new dust accumulation
- ✅ Reusable with proper care
- ✅ Very precise application possible
- ✅ Gentle on sensor surface
Disadvantages:
- ❌ Direct contact with sensor - higher risk
- ❌ Only suitable for dry contamination (dust)
- ❌ Completely fails with grease, oil, or fingerprints
- ❌ Requires practice for safe application
- ❌ Anti-static effect is lost when touched with fingers
Option 3: Sticky Sensor Cleaning Swabs - For Problem Cases
What is it? Swabs with special sticky surface that picks up smallest particles.
Produktvergleich

Eyelead SCK-1 Sensor Adhäsionstupfer-Set
- ✅ Removes even tiniest particles like pollen or fibers
- ✅ Very effective with “stuck” contamination
- ✅ Easy application without liquids
- ✅ No risk of streaks
Disadvantages:
- ❌ Single use - relatively expensive
- ❌ Not suitable for all types of contamination
- ❌ Limited availability
- ❌ Can fail with oily contamination
Cleaning
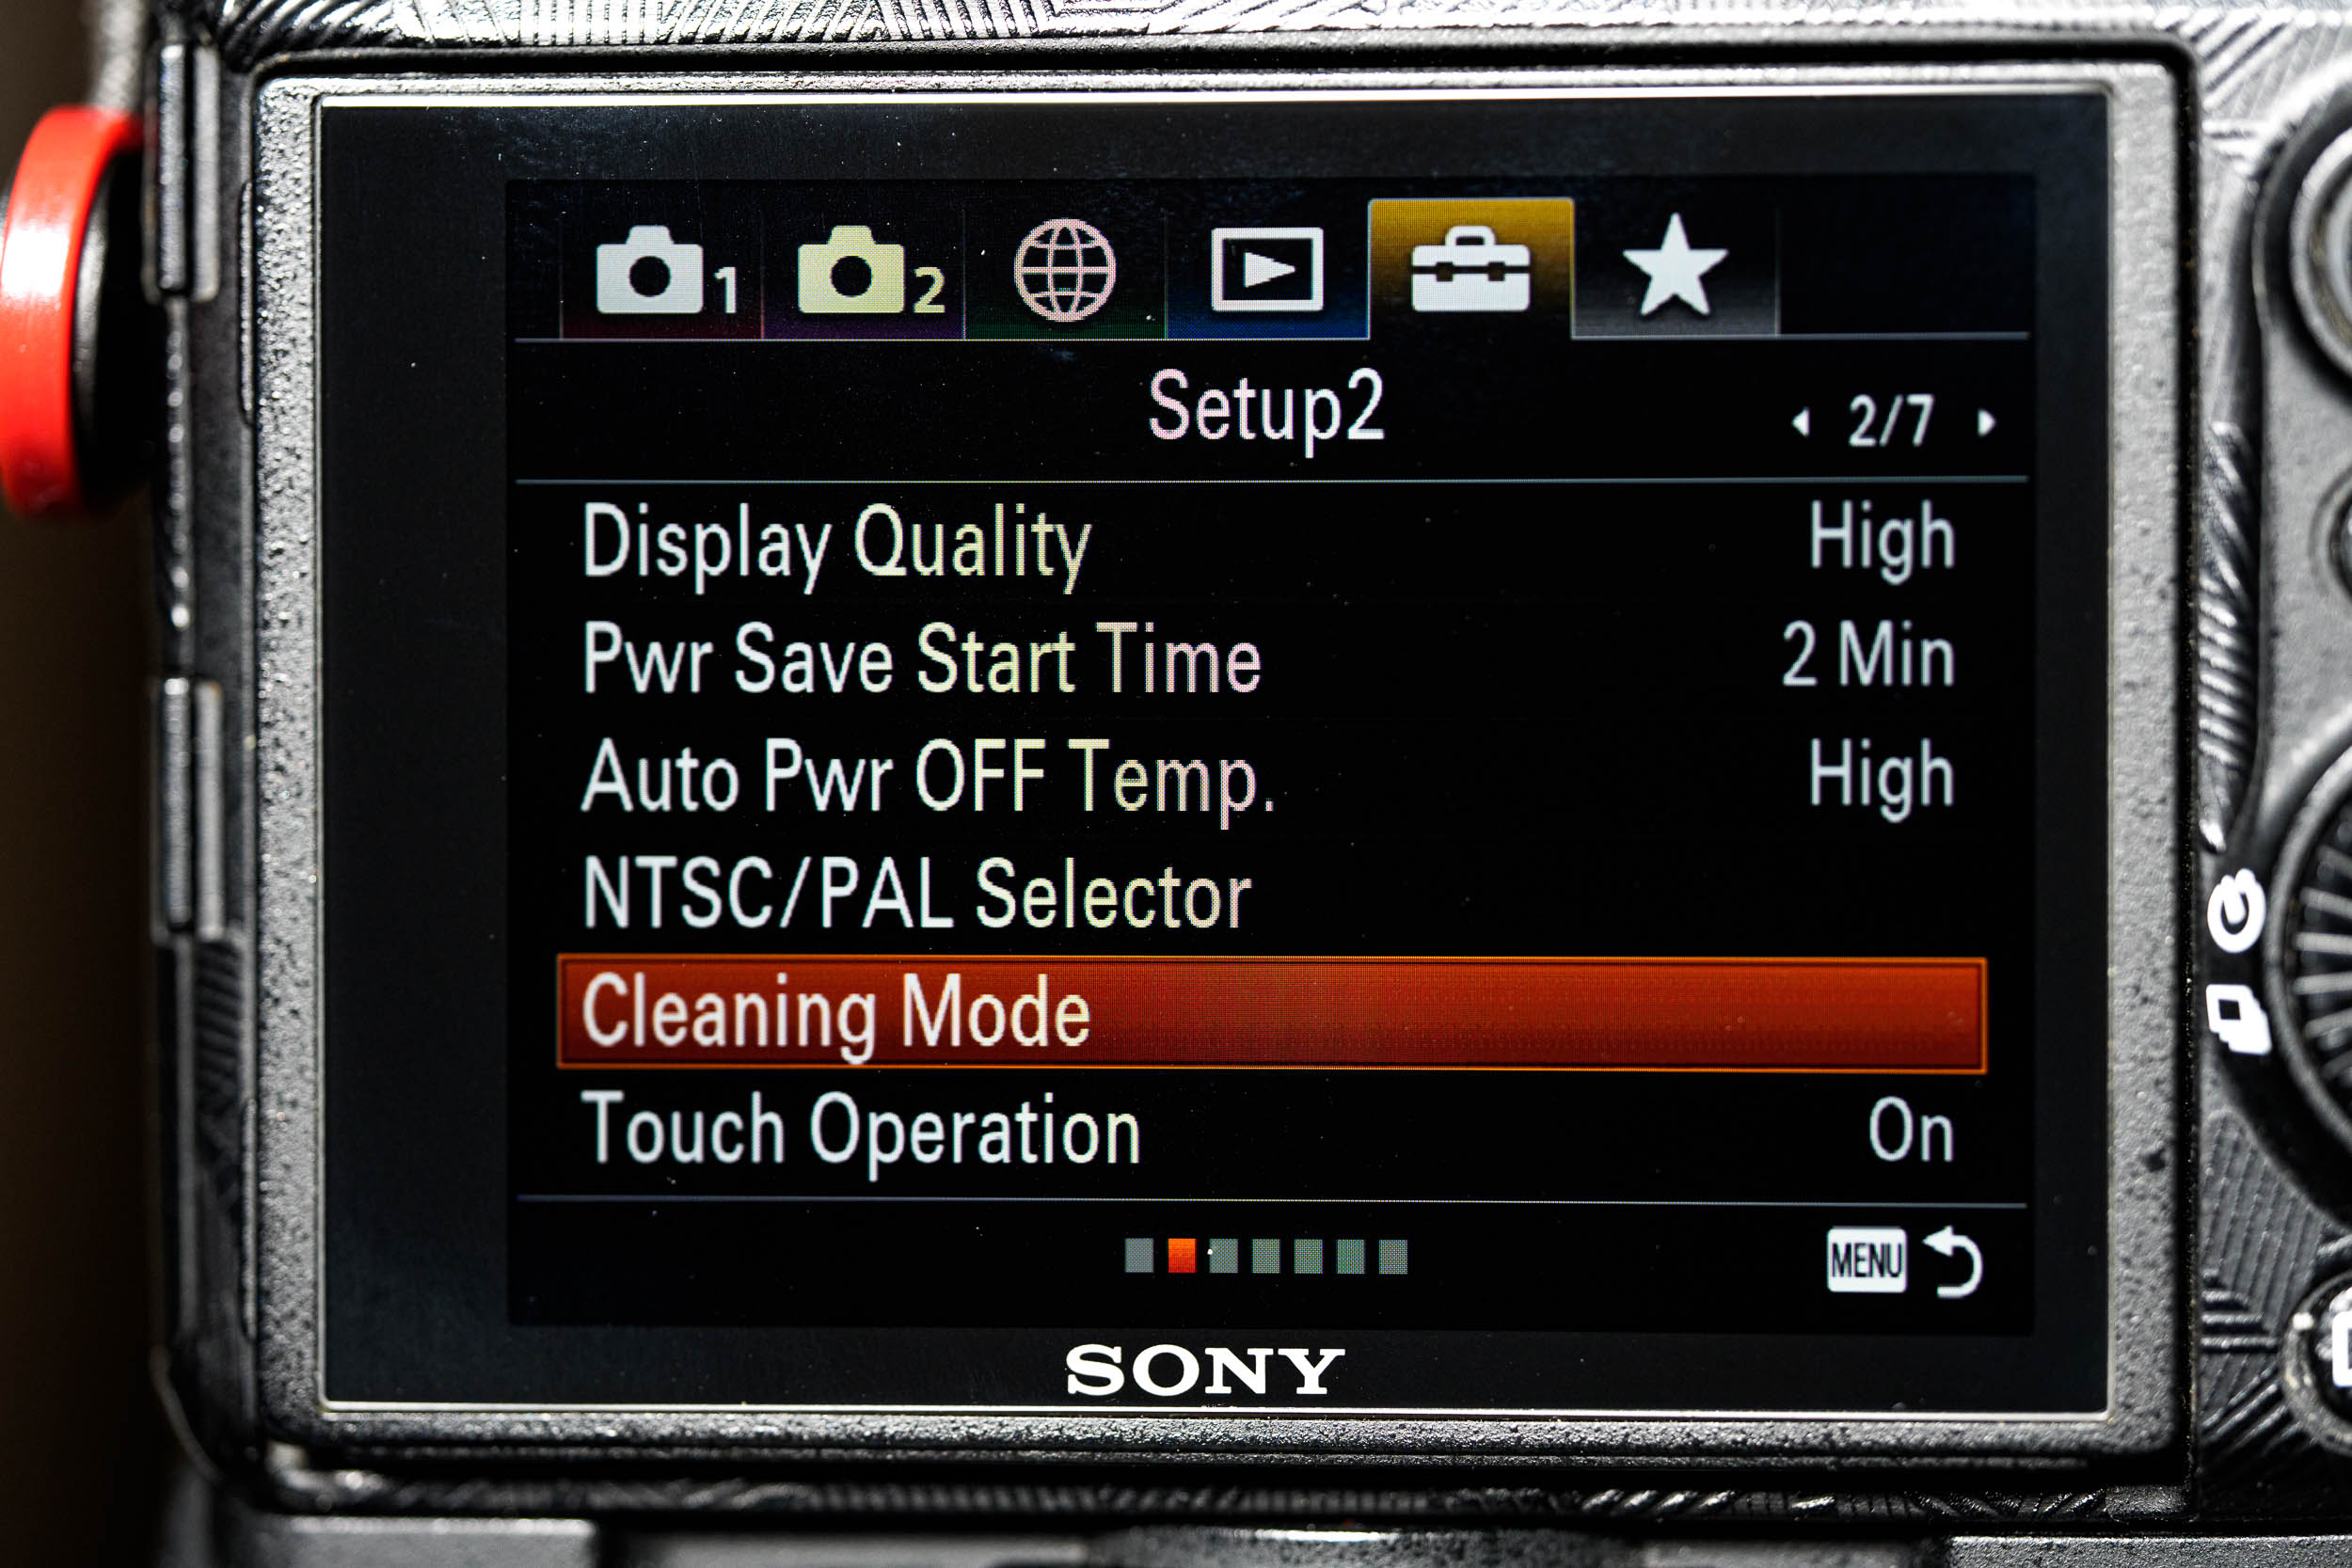
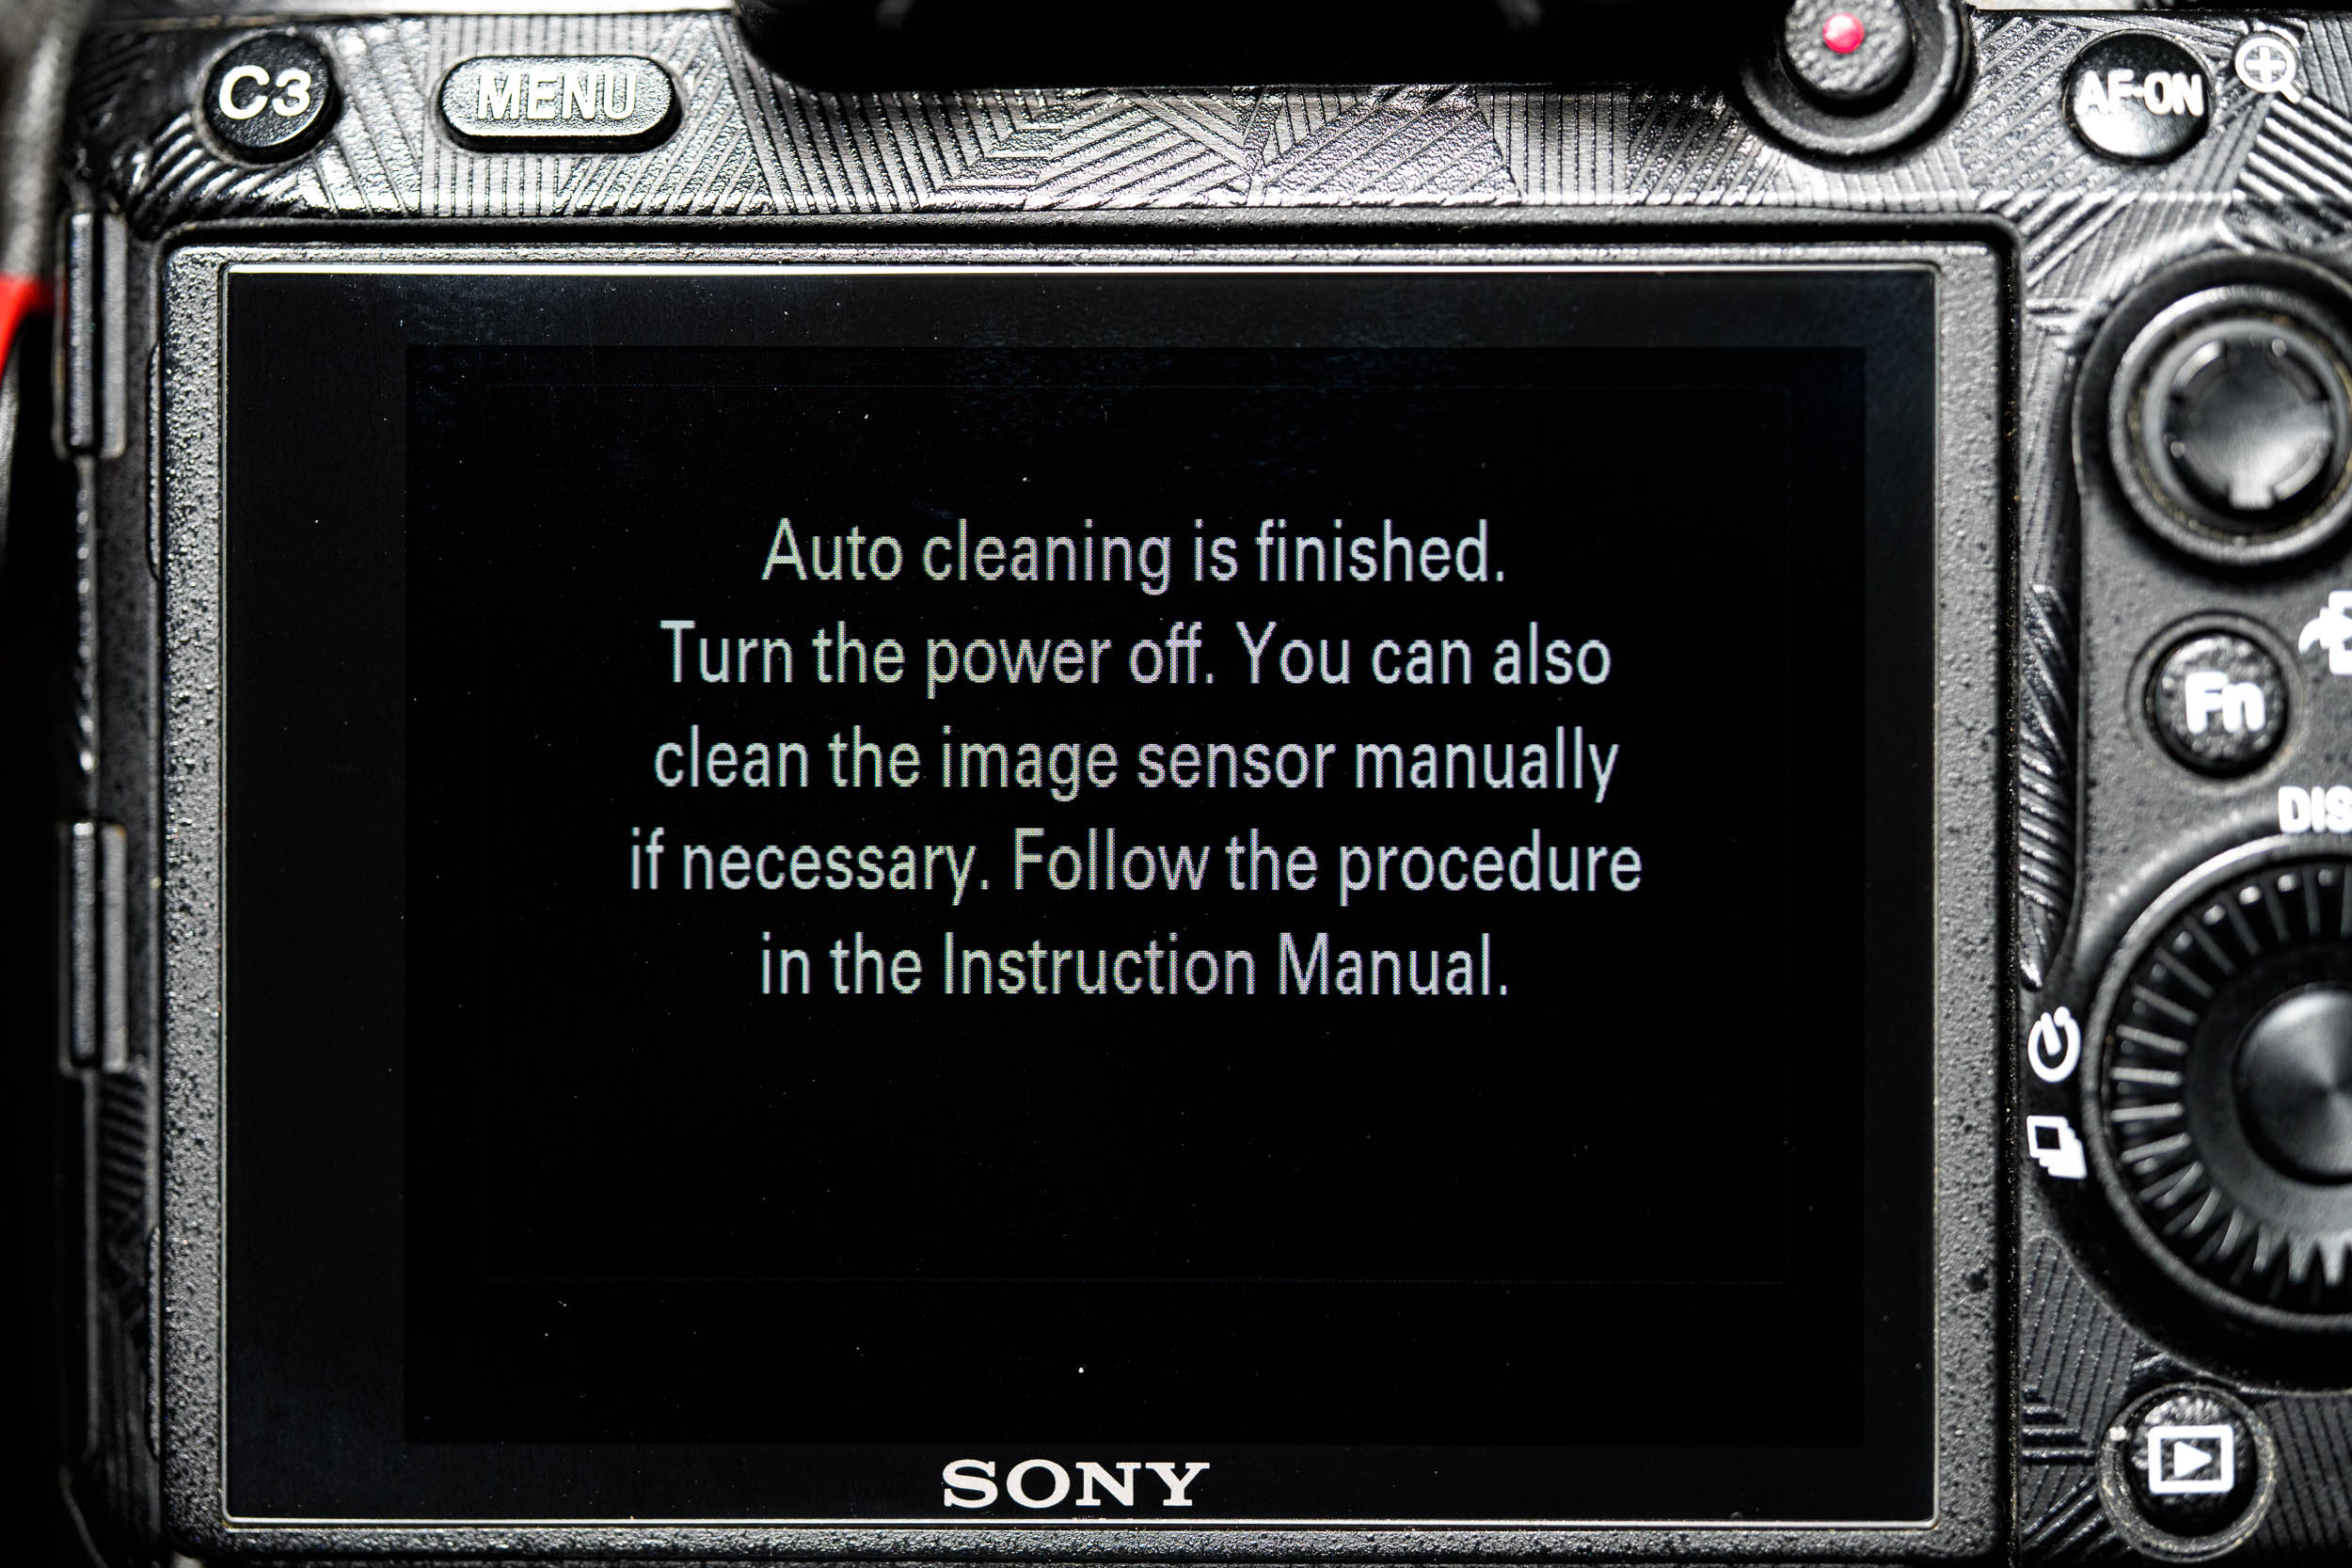
Before you start cleaning, you should put the camera into its cleaning mode. Most cameras have a function that deactivates the stabilizer and, with SLR cameras, flips up the mirror to expose the sensor. Consult your camera’s manual to find out how to activate this mode. Most camera models need to stay powered on during cleaning, tough consult your manual for specifics. So it is important to ensure your camera has sufficient battery life before starting the cleaning process or you could risk the camera getting damaged if it powers off during cleaning.
Step 1: Using the Blower
Hold the camera with the sensor facing down so dust falls out and doesn’t spread further on the sensor. Use the blower to gently blow air onto the sensor. Keep the blower a few centimeters away from the sensor and press it several times to remove dust. Avoid holding the blower too close to the sensor to prevent damage.
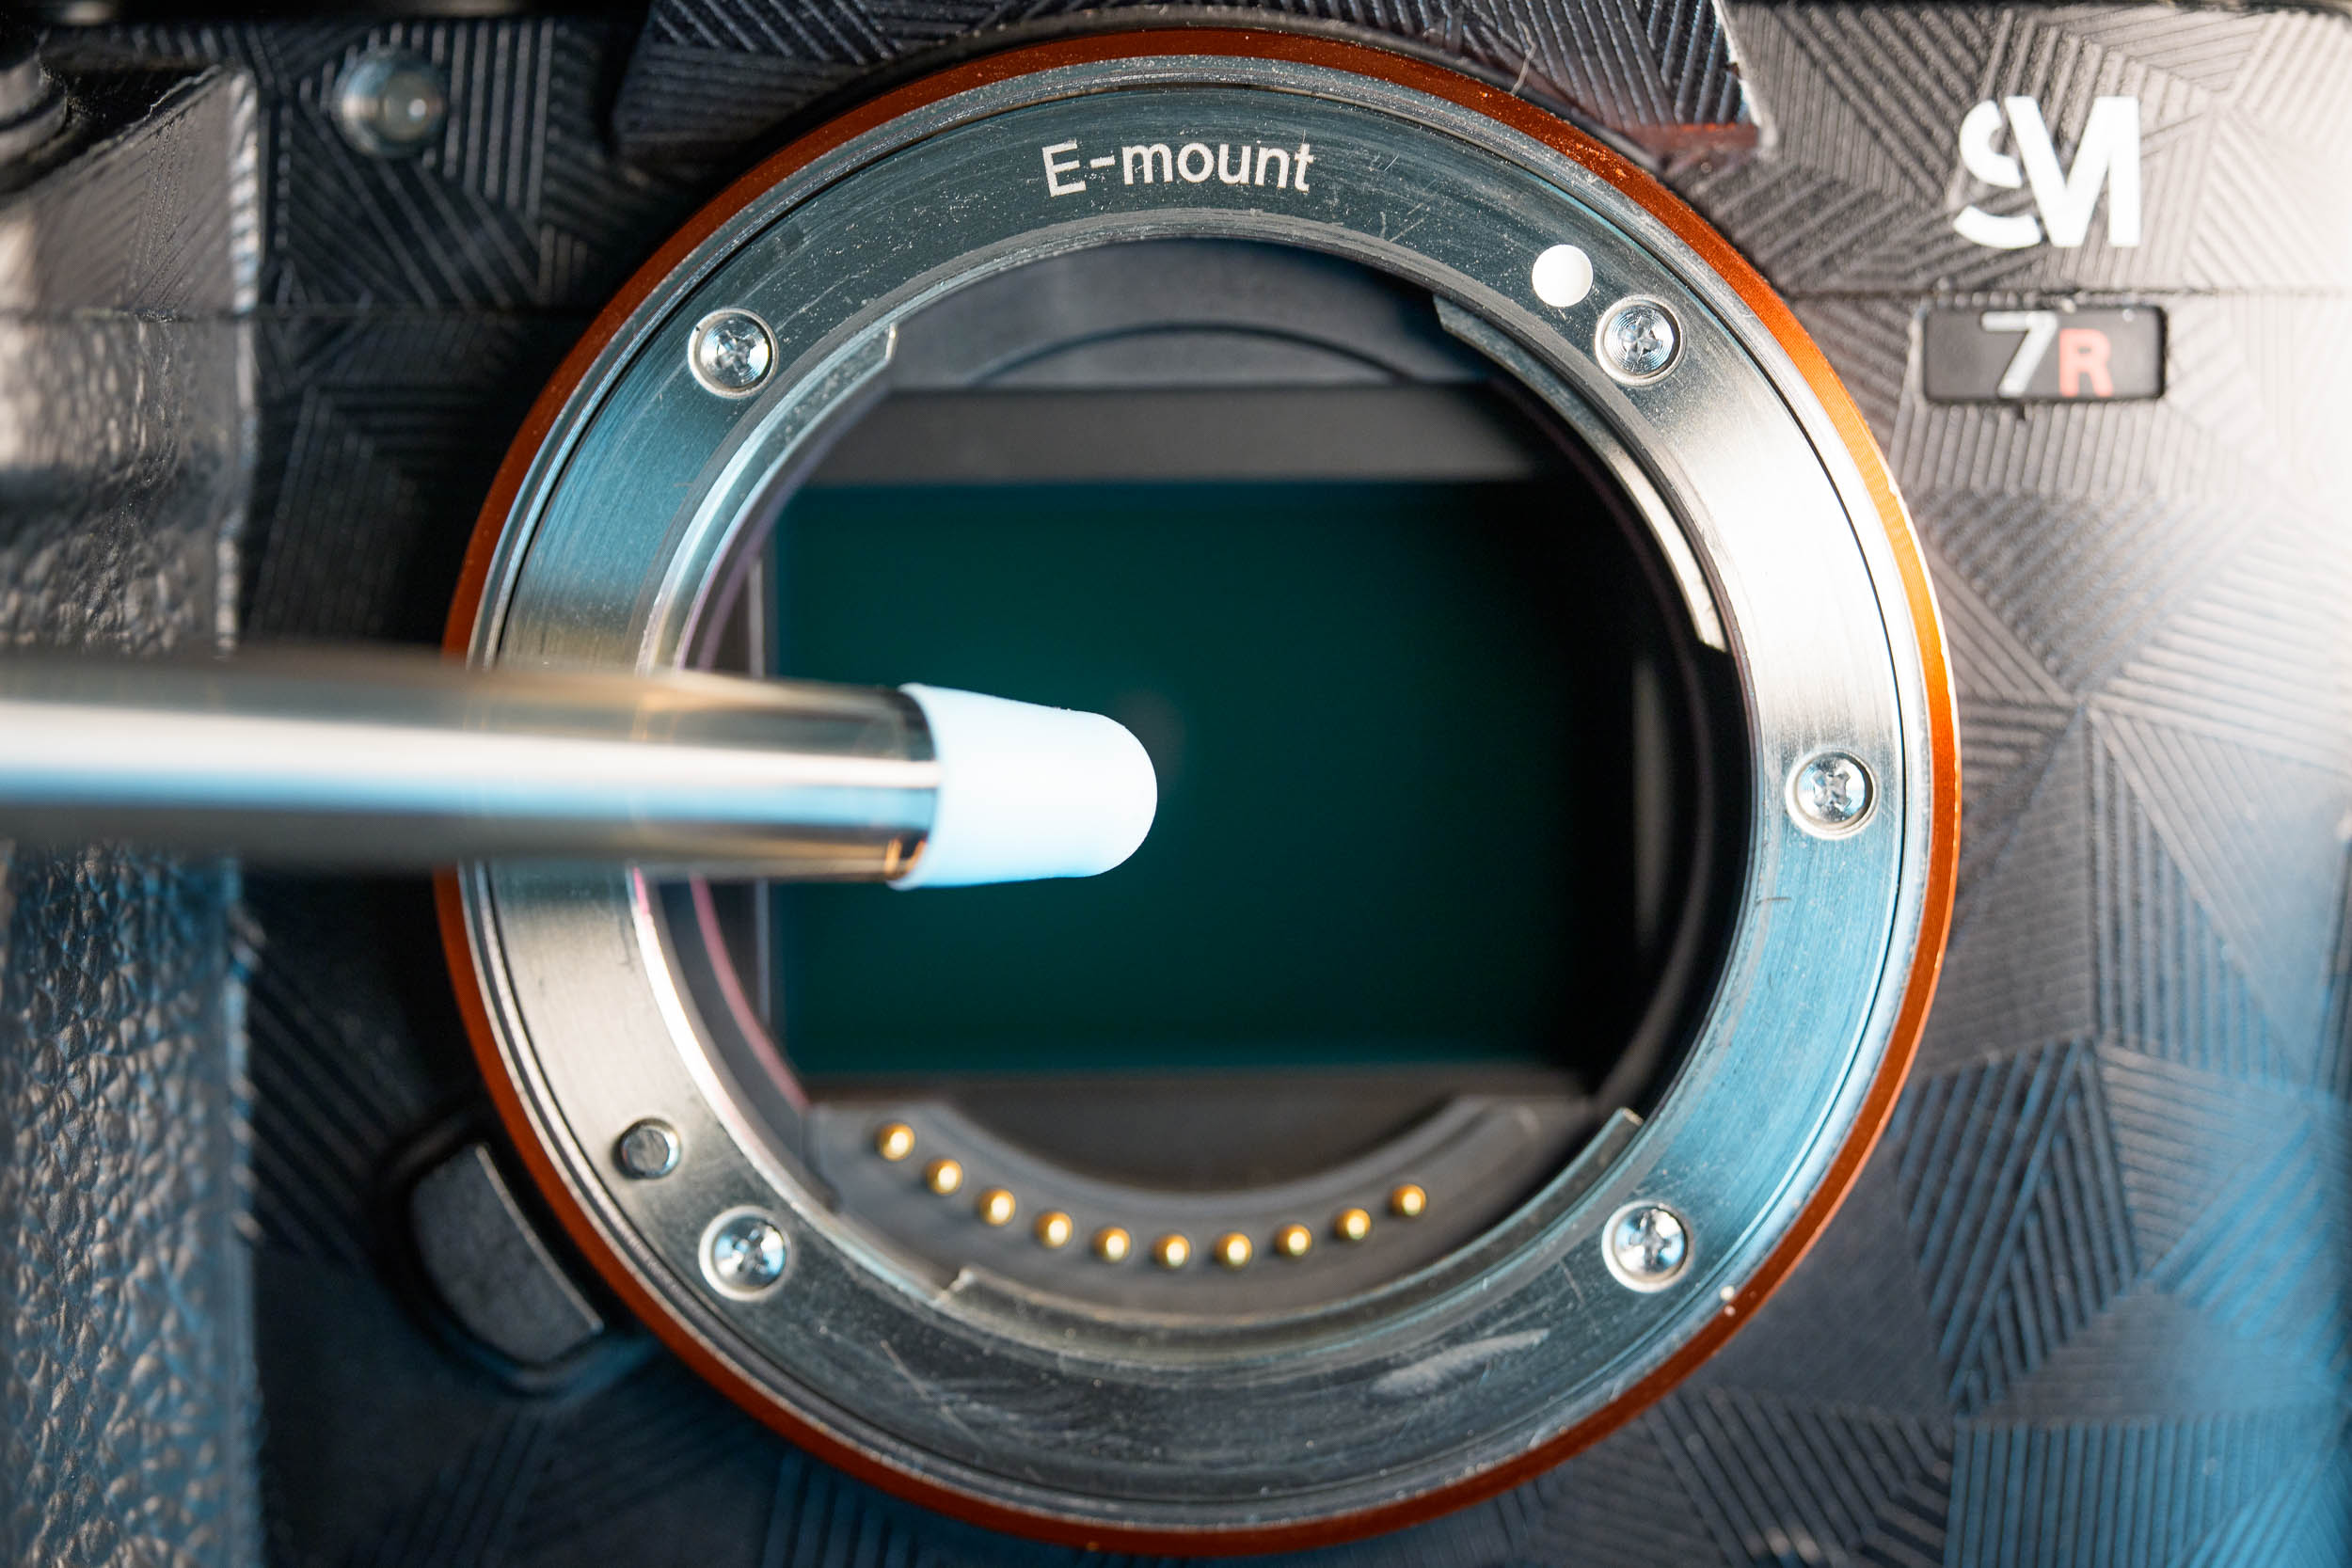
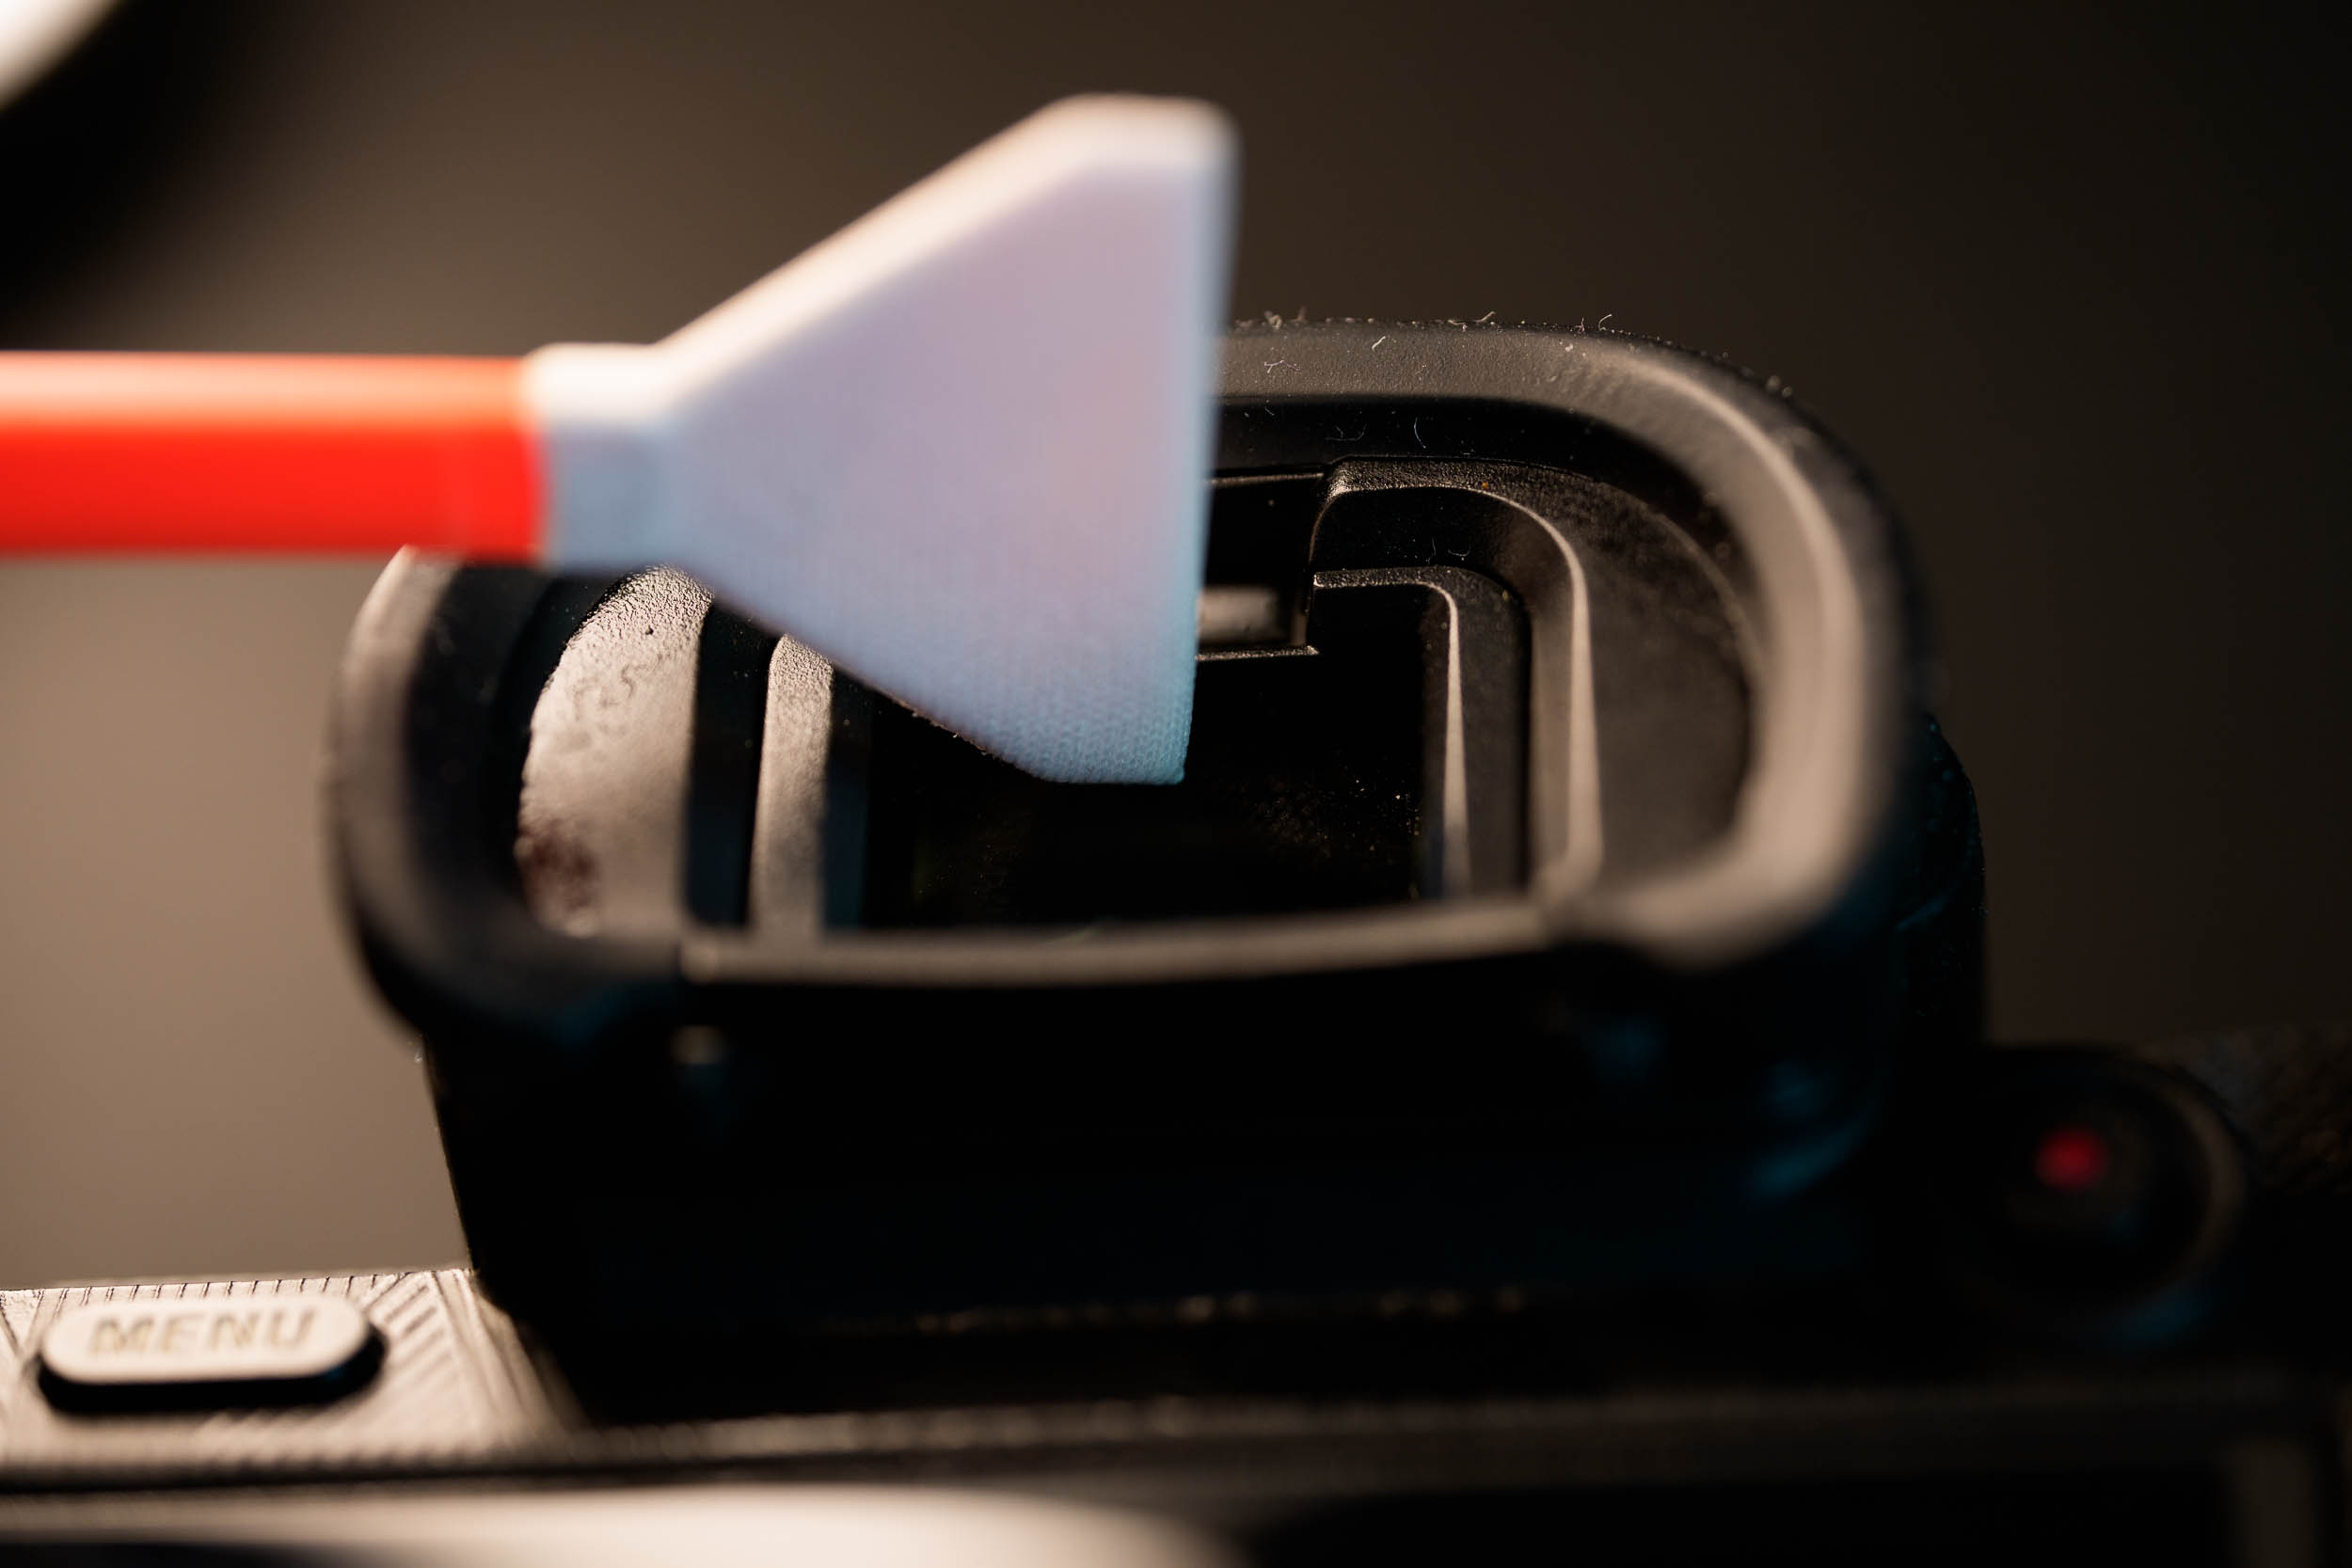
Step 2: Using Sensor Cleaning Swabs
If dust or particles are still visible on the sensor after using the blower, you can use the swab. For this, you should be in a dust-free room to prevent new dust from settling on the sensor.
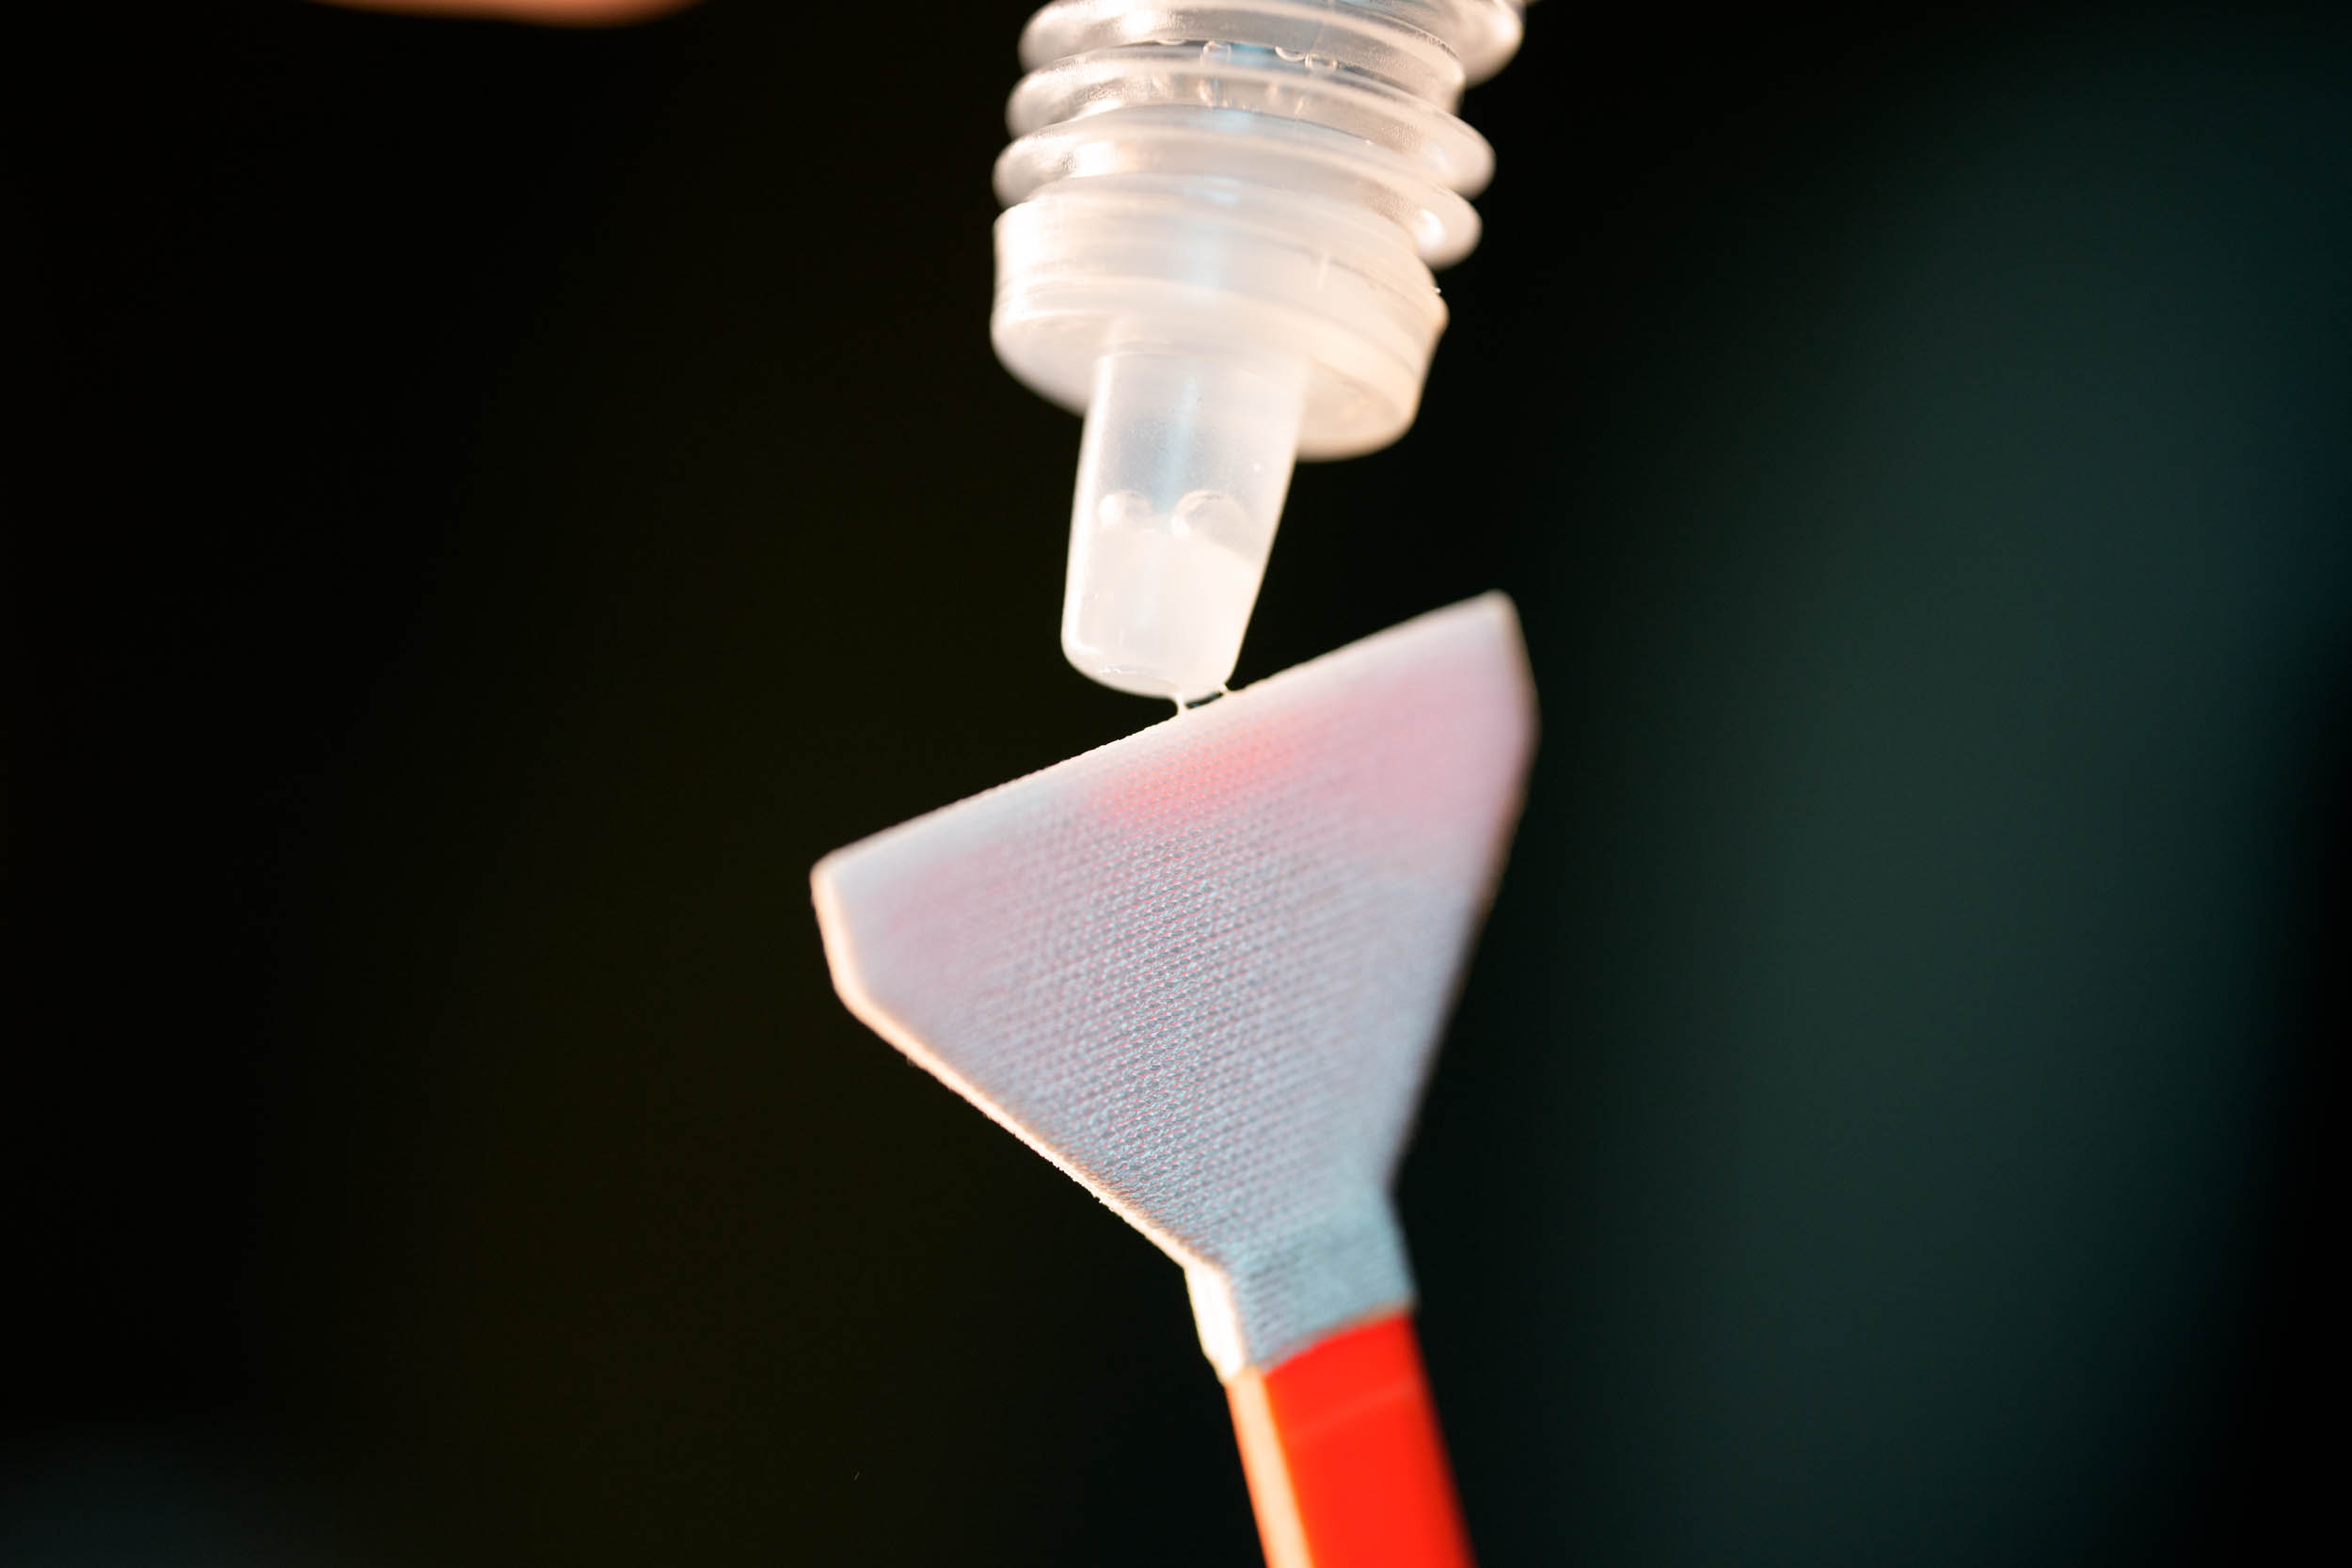
Place the camera on a clean, flat surface with the sensor facing up. Take a fresh swab from the package and apply a few drops of cleaning solution to the swab. Be careful not to use too much solution, as this can leave streaks on the sensor. It’s best to put one drop left, right, and in the middle on the swab so it’s moistened.
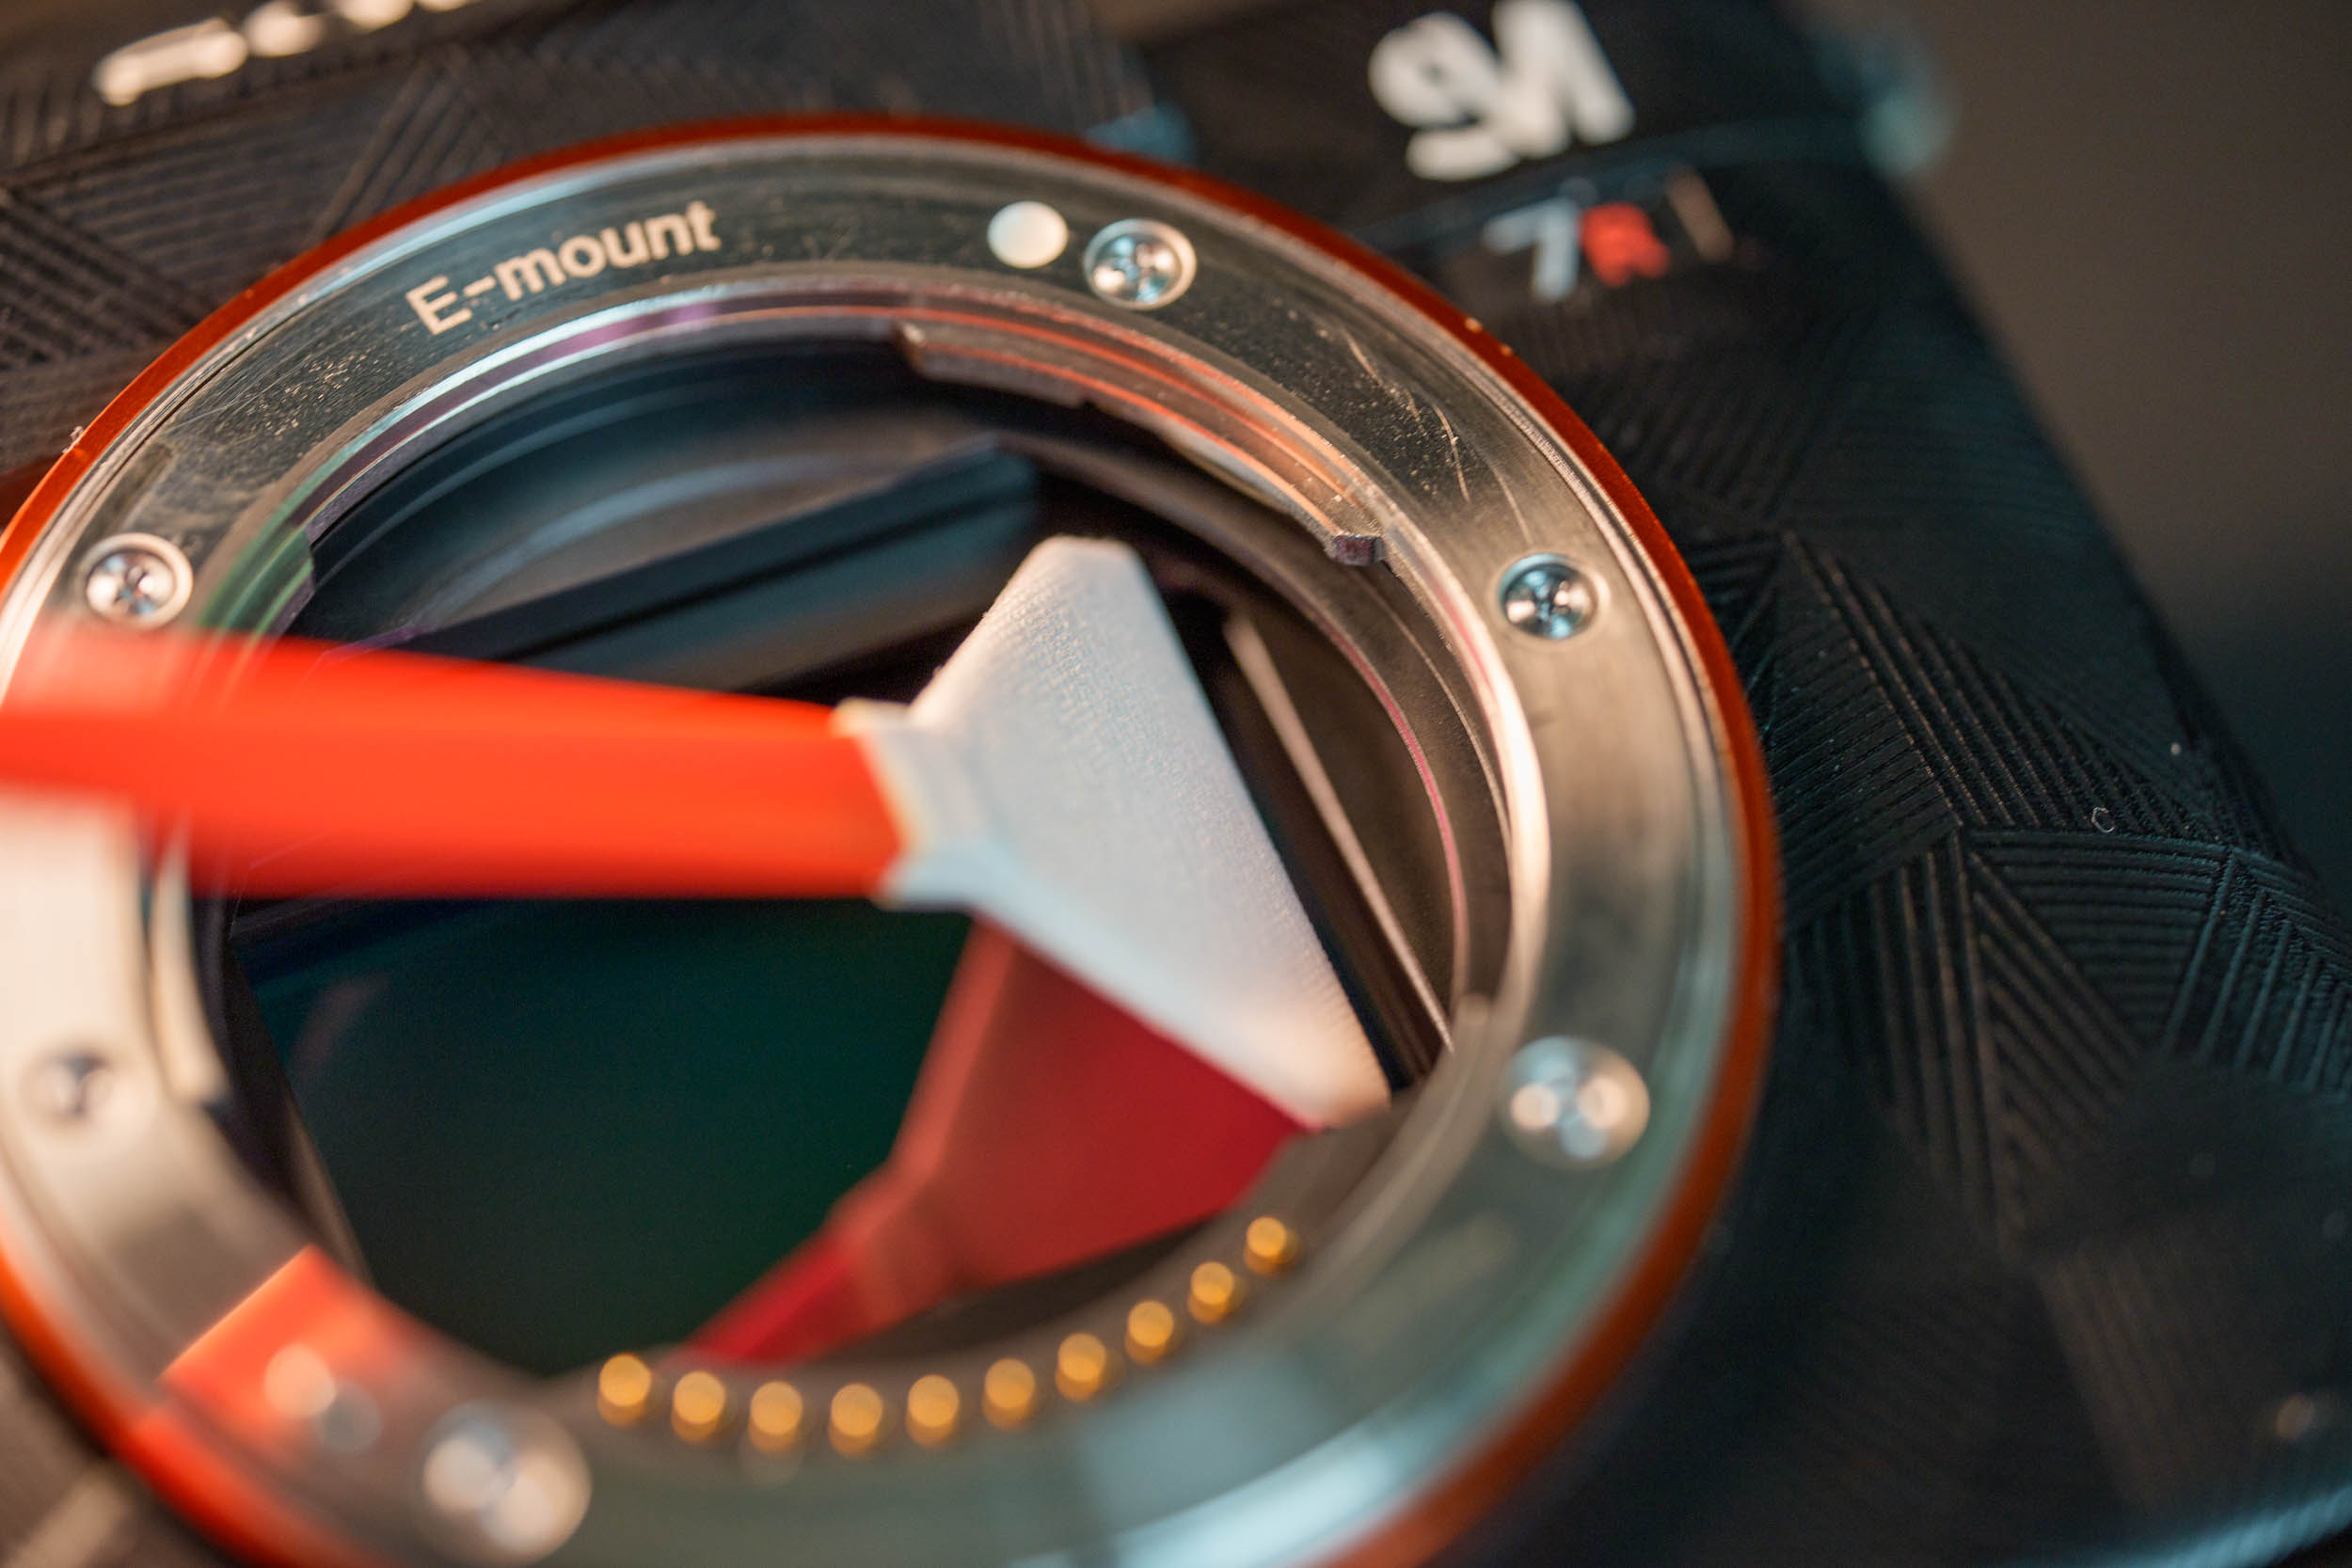
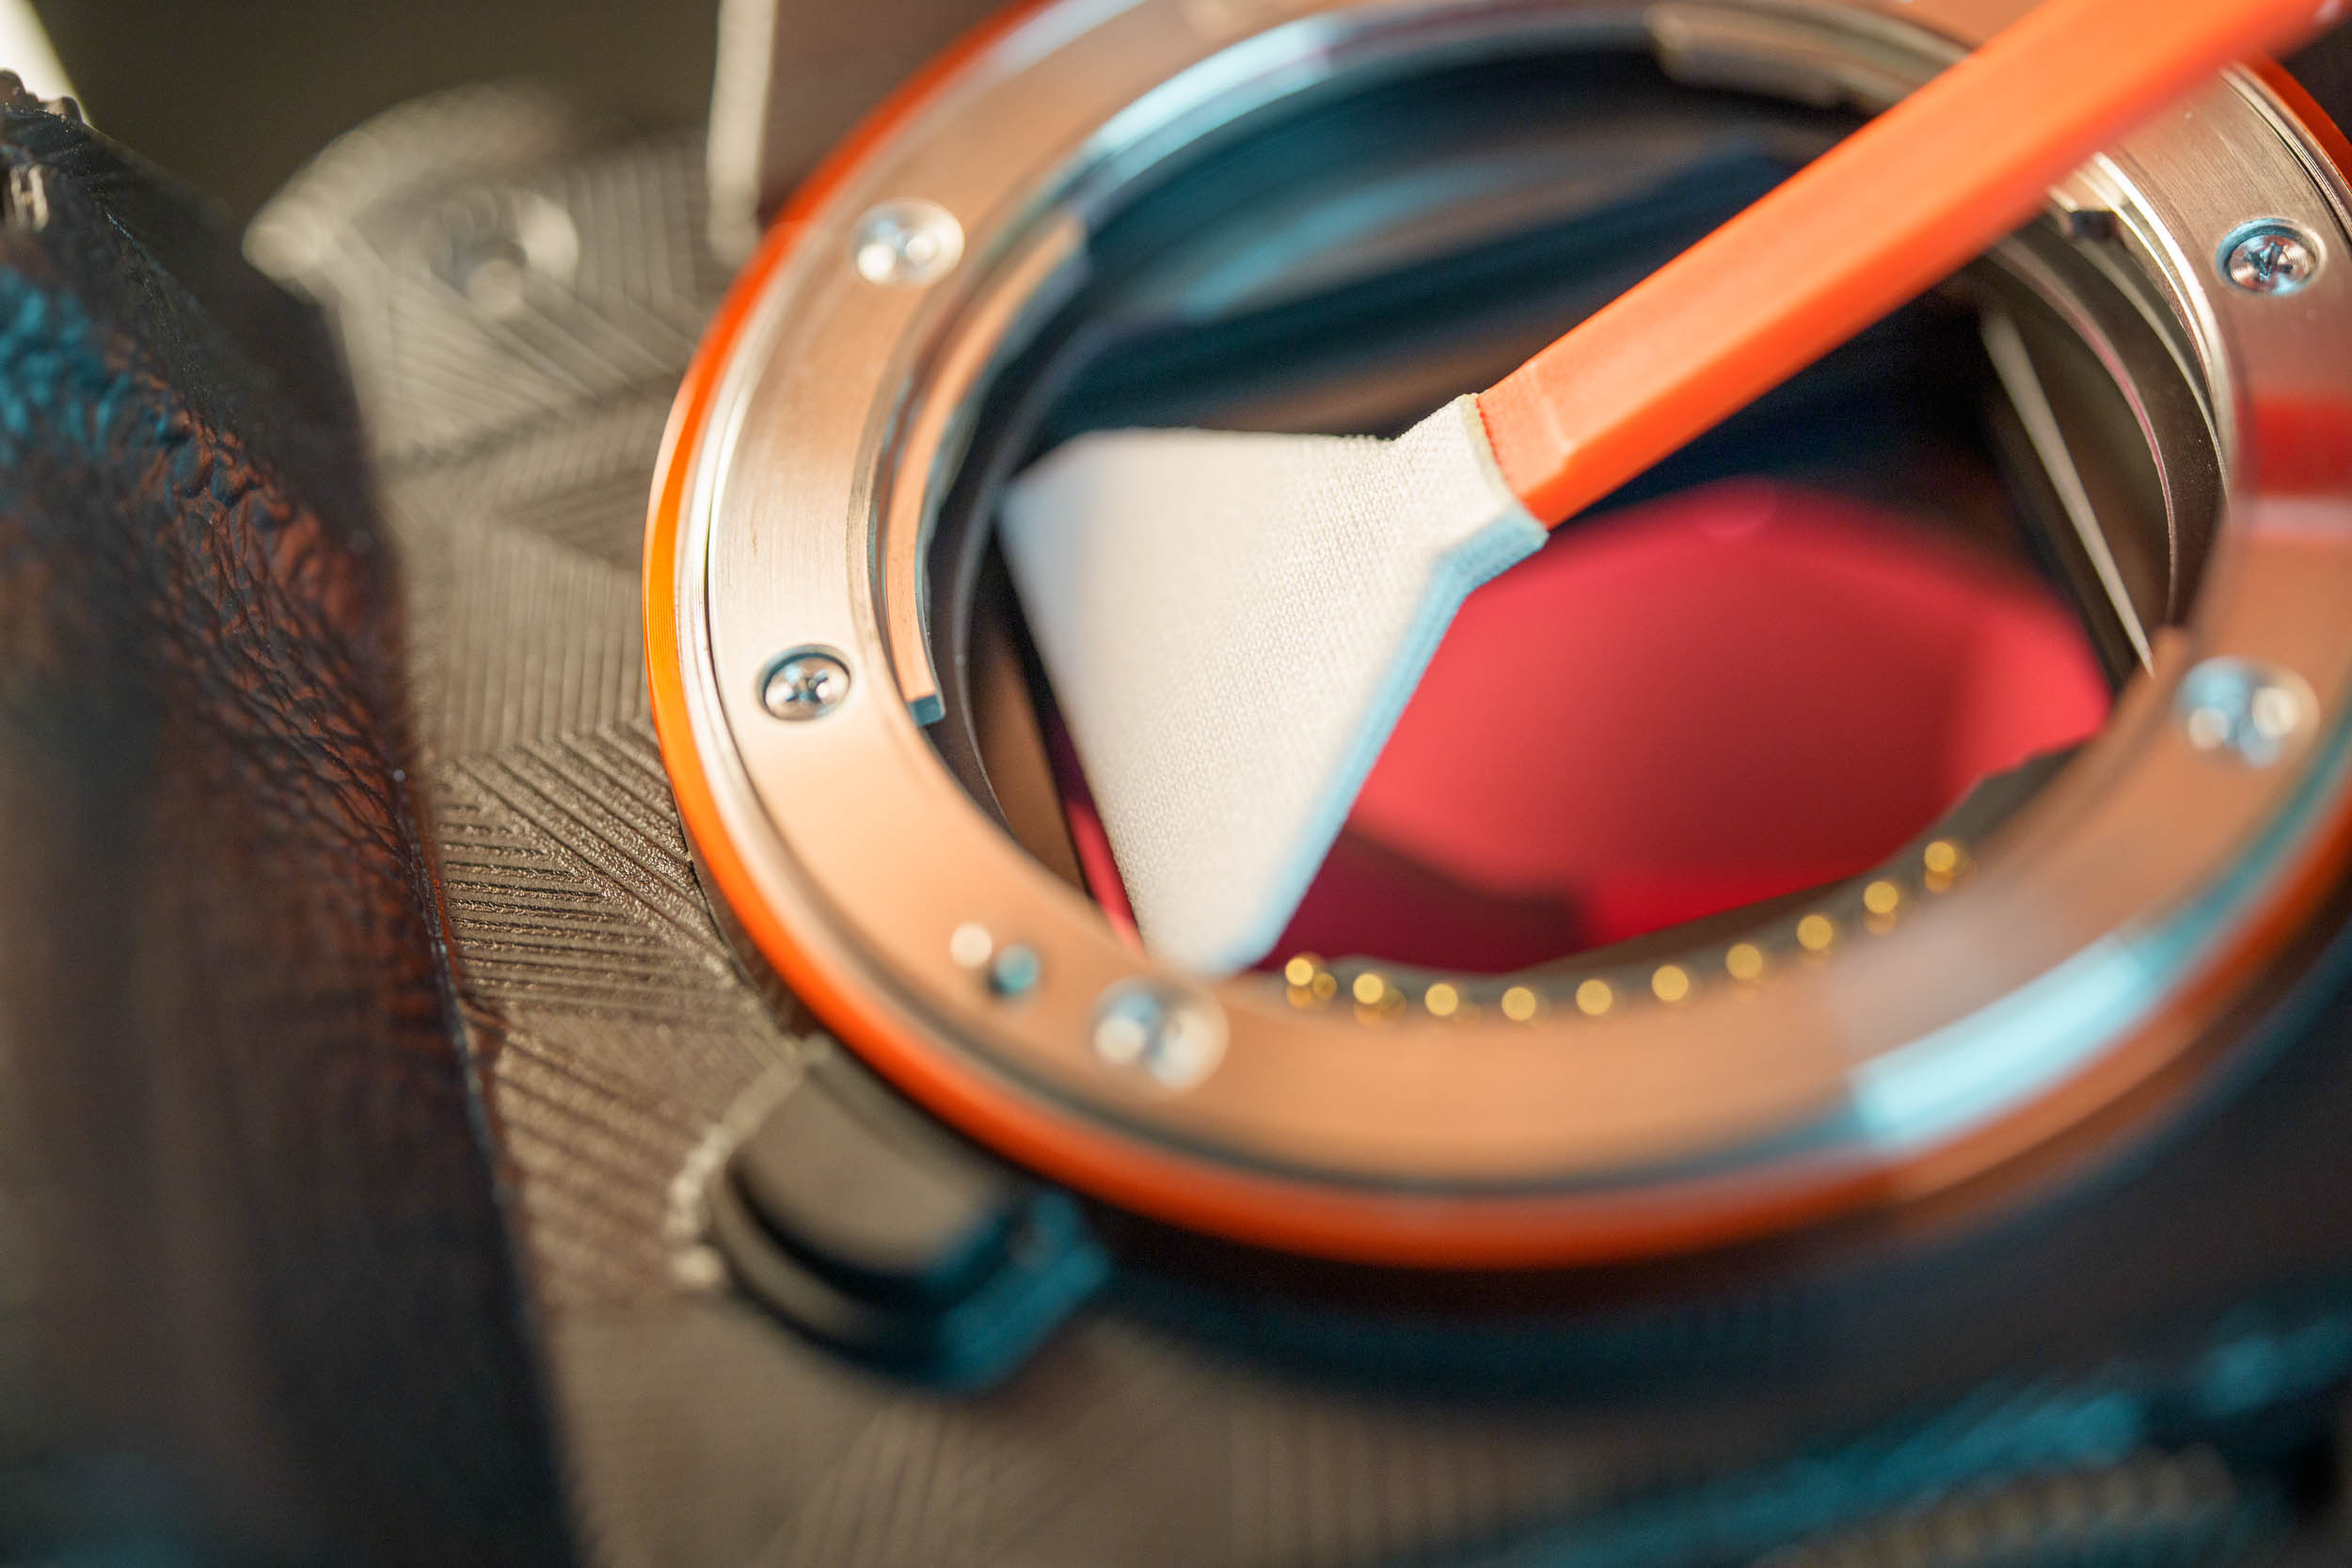
Gently place the swab on one side of the sensor and pull it across the sensor in a single, smooth motion. Use light pressure, but not too firm, to avoid damaging the sensor. With the clean side of the swab, repeat the process in the opposite direction.
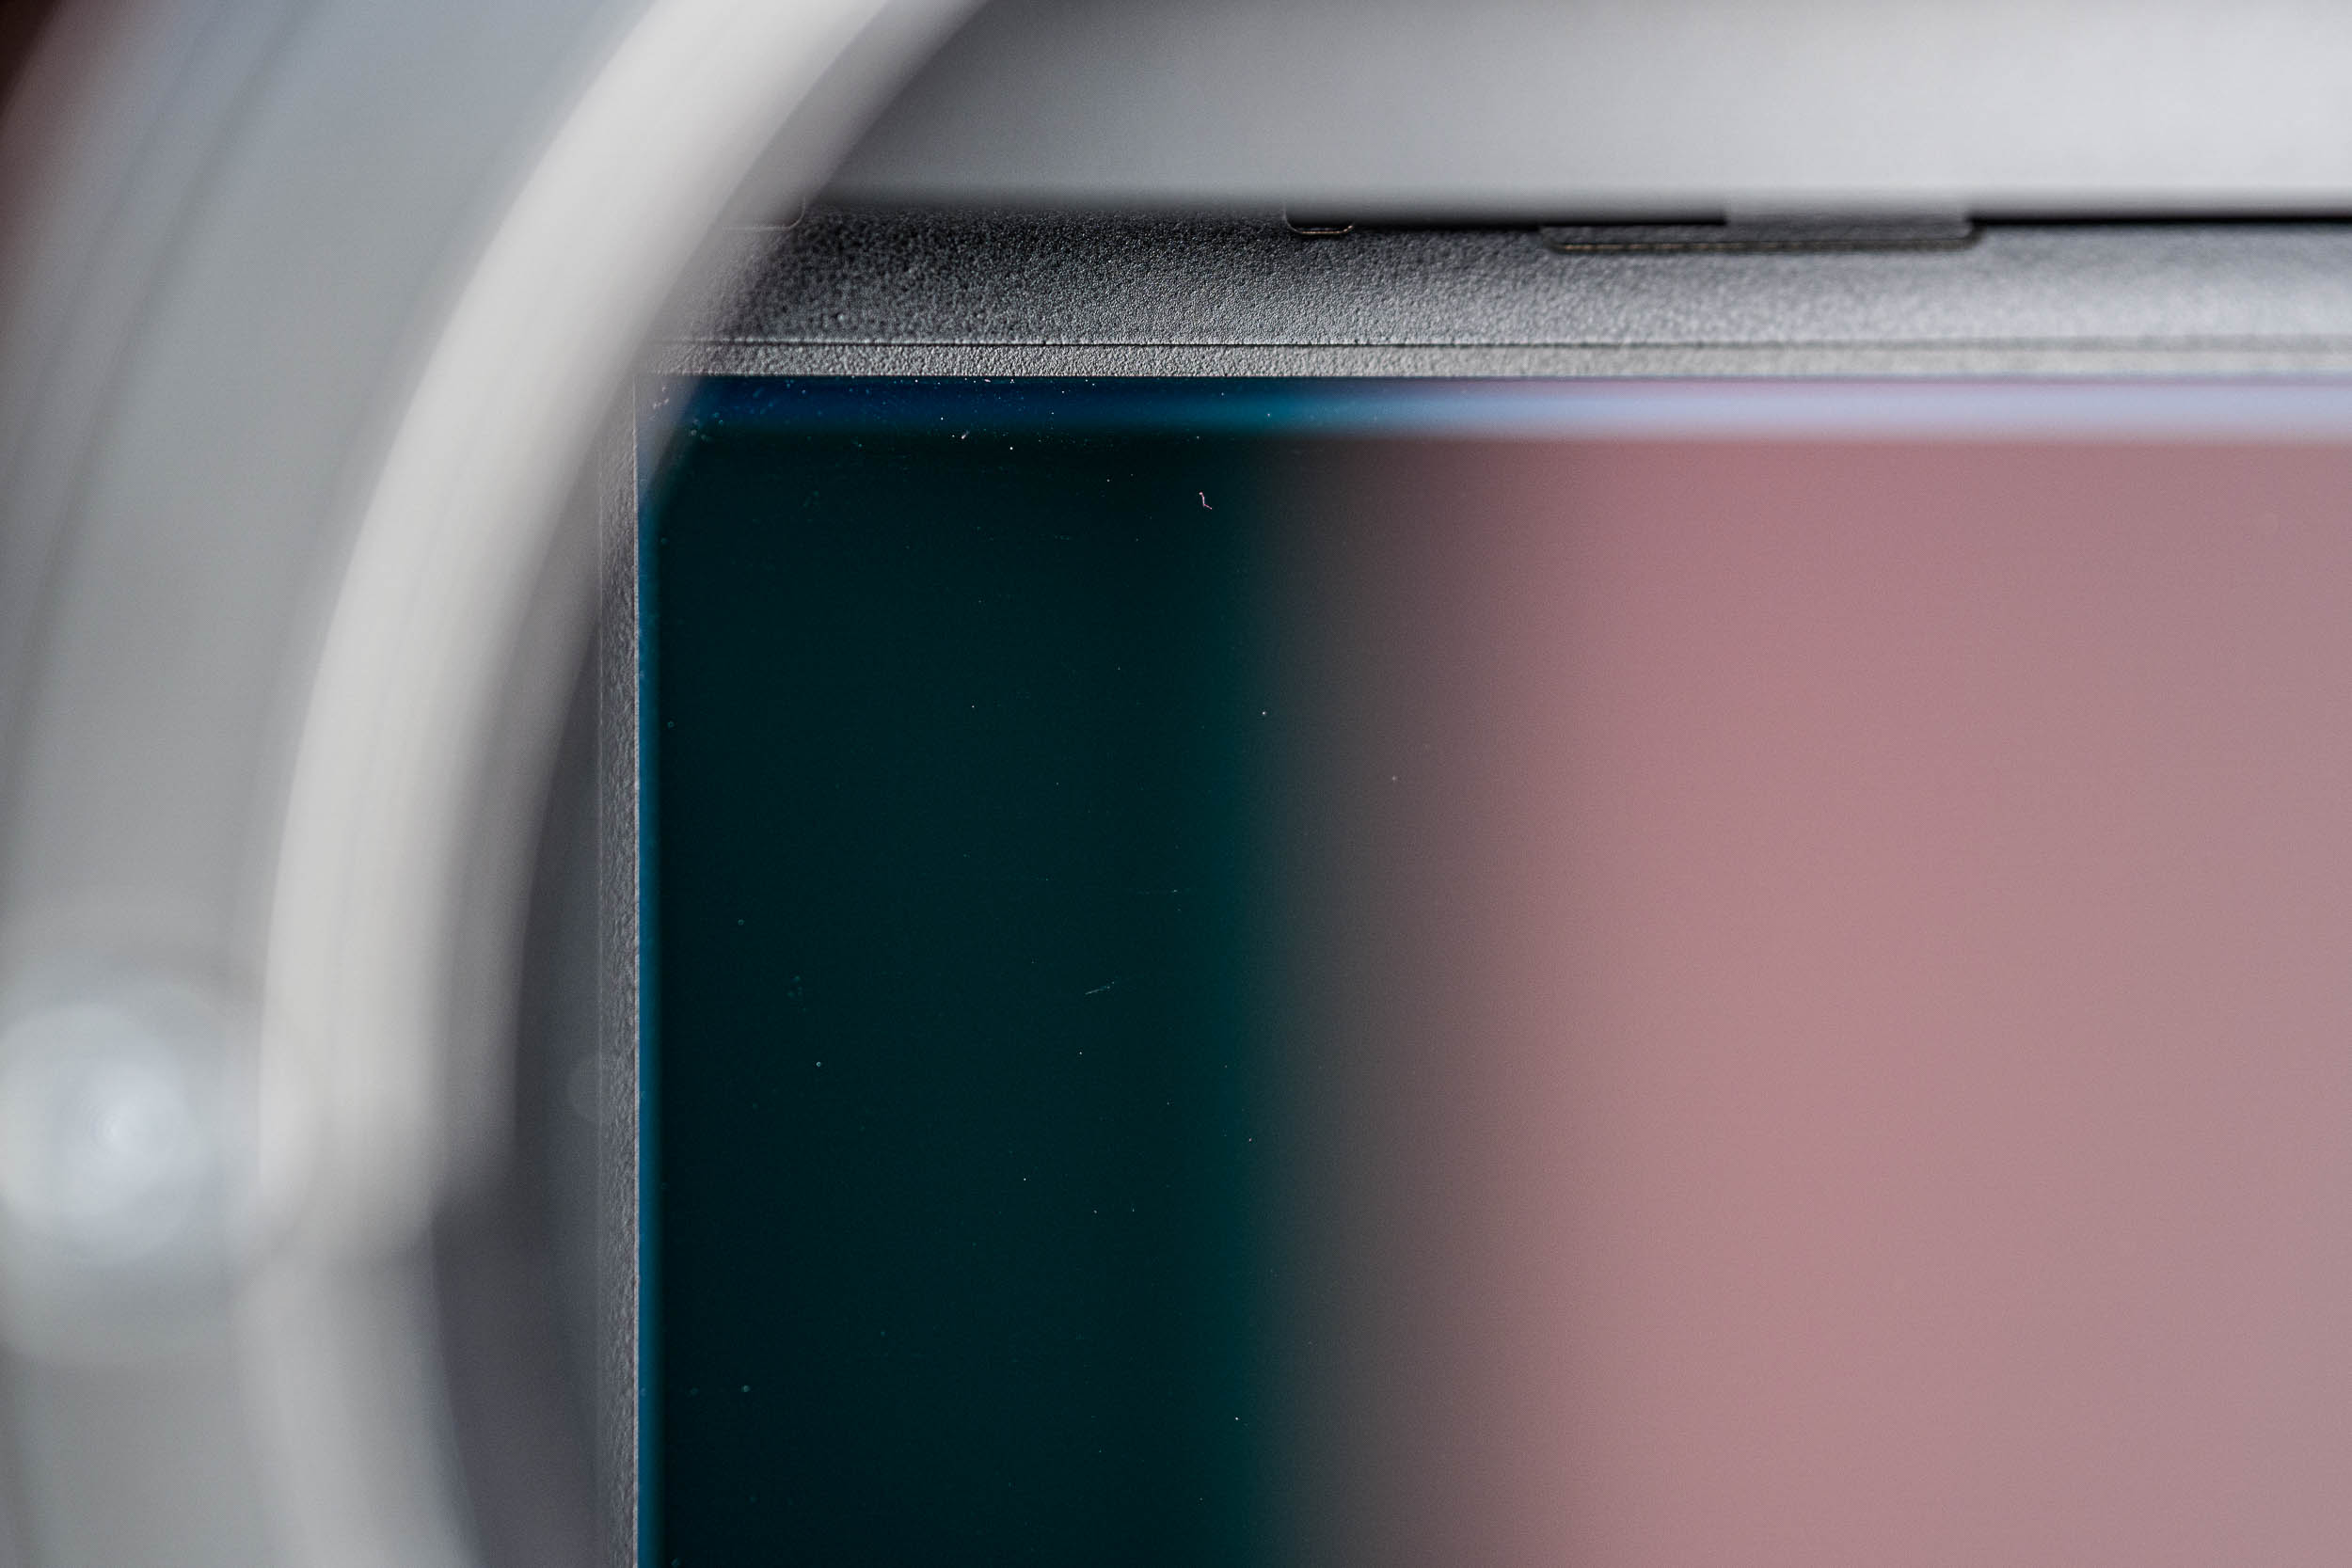
Step 3: Check
After cleaning the sensor, you should check whether all contamination has been removed. The easiest way is to shine your smartphone’s flashlight on the sensor and look for dust or spots. Alternatively, you can take a test photo of a white sheet of paper at a small aperture (e.g., f/16) and check the photo on your computer. If you still see contamination, repeat the cleaning process with a new swab.
Quick Tip:
You can’t reuse the already used swabs, but you can use them to clean your viewfinder or display and hard-to-reach spots that aren’t delicate.