
How I Prepare for Birding and Bird Photography
- Marvin Kuhn
- Education , Nature photography
- October 8, 2026
Table of Contents
A bird lands on a branch, looks in the right direction for a moment and is gone the next. Try again? Impossible. That’s exactly why good bird photos rarely happen by chance. Luck plays a part, sure. But most of my trips start days in advance at my desk. In this post I’ll show you how I plan, which apps and websites I use and which gear almost always comes along.
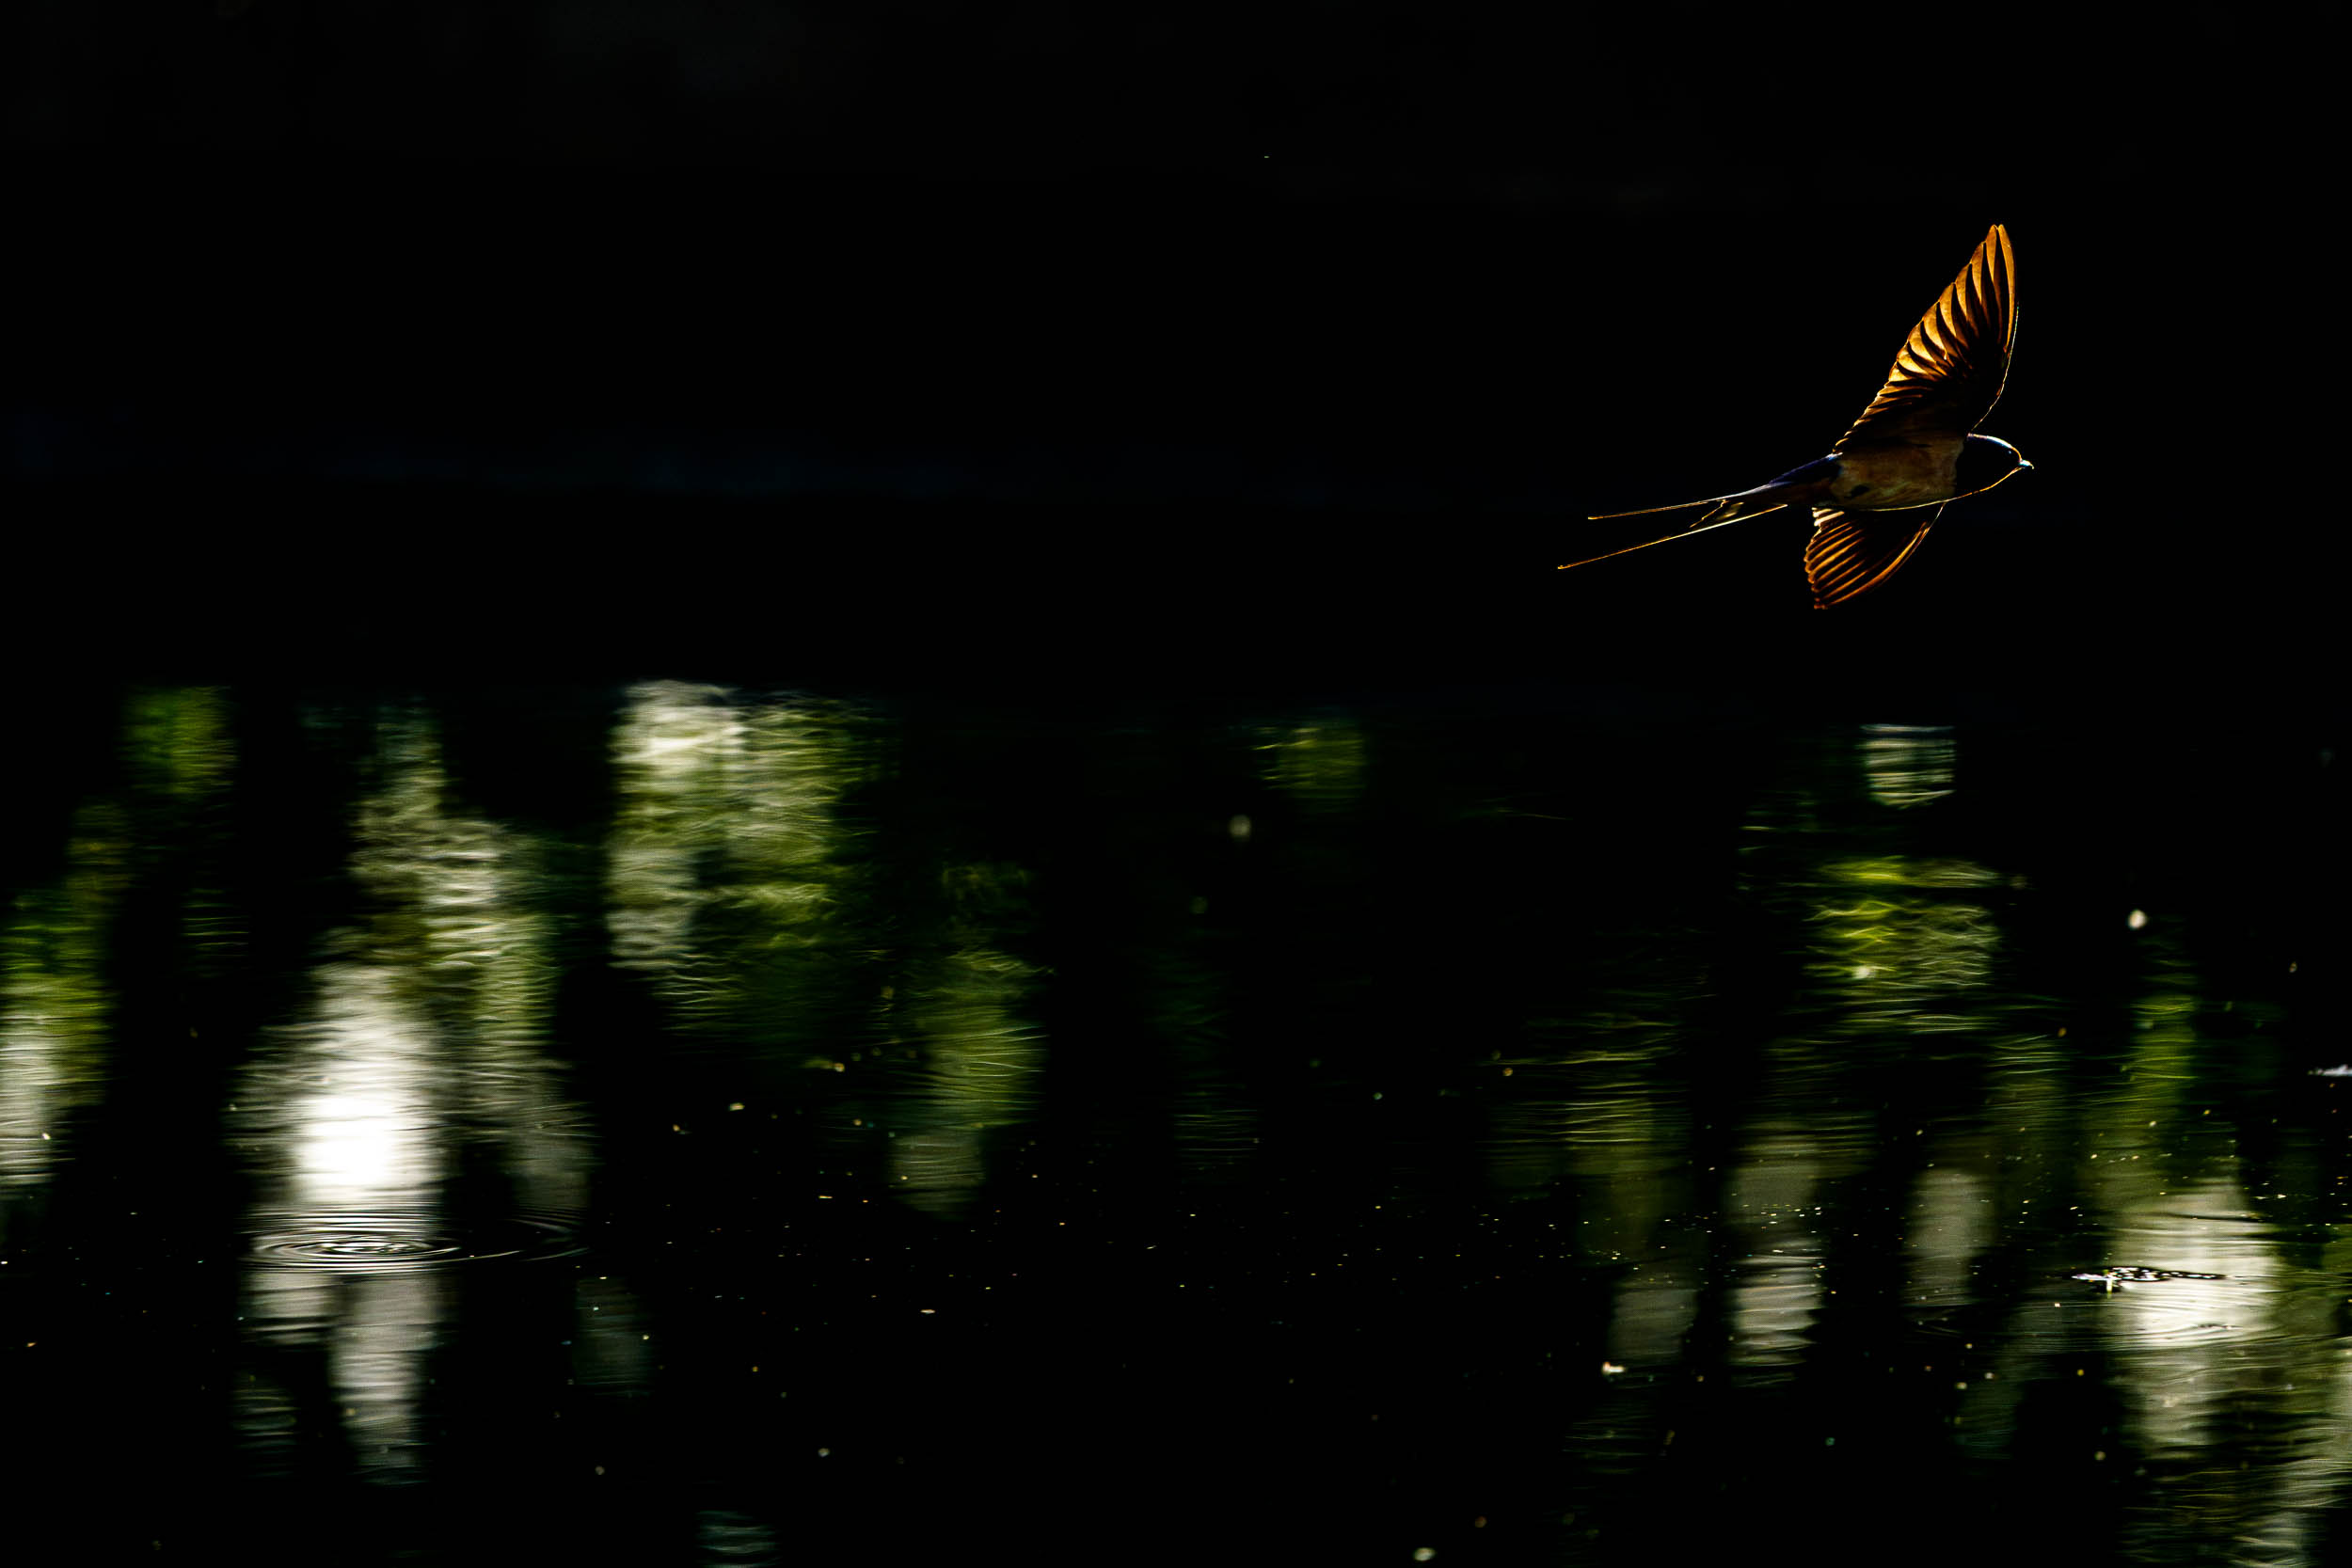
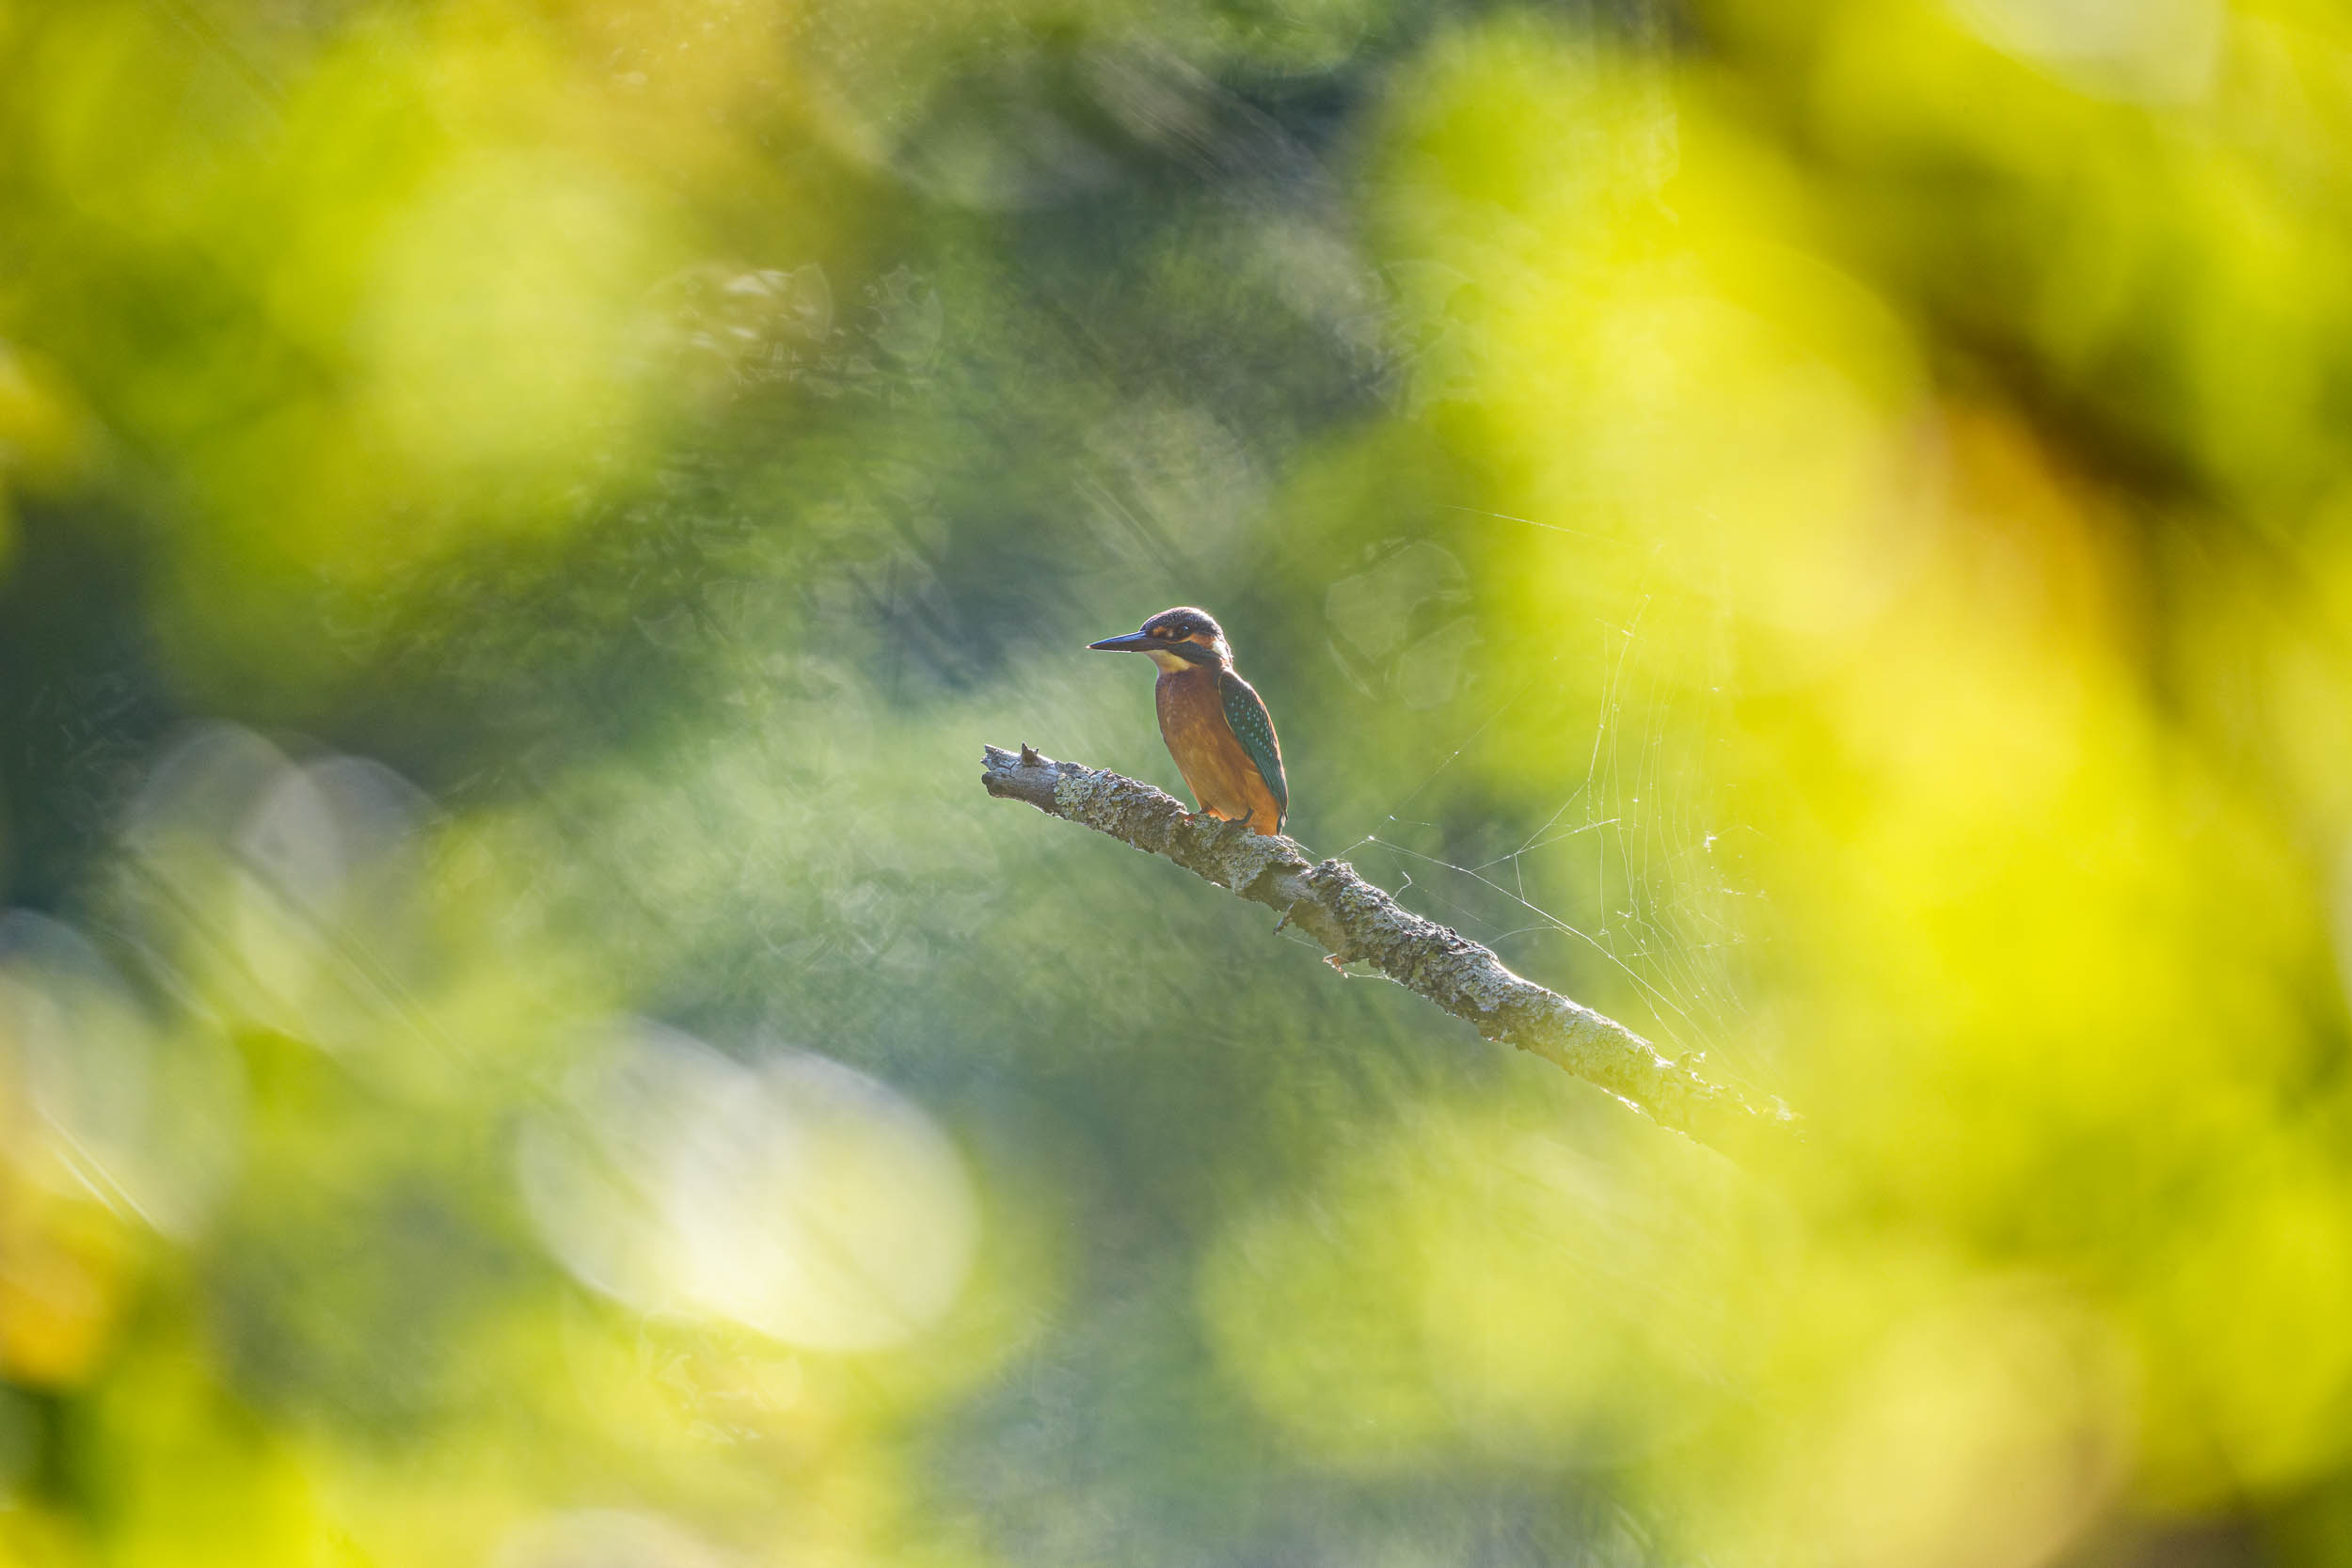
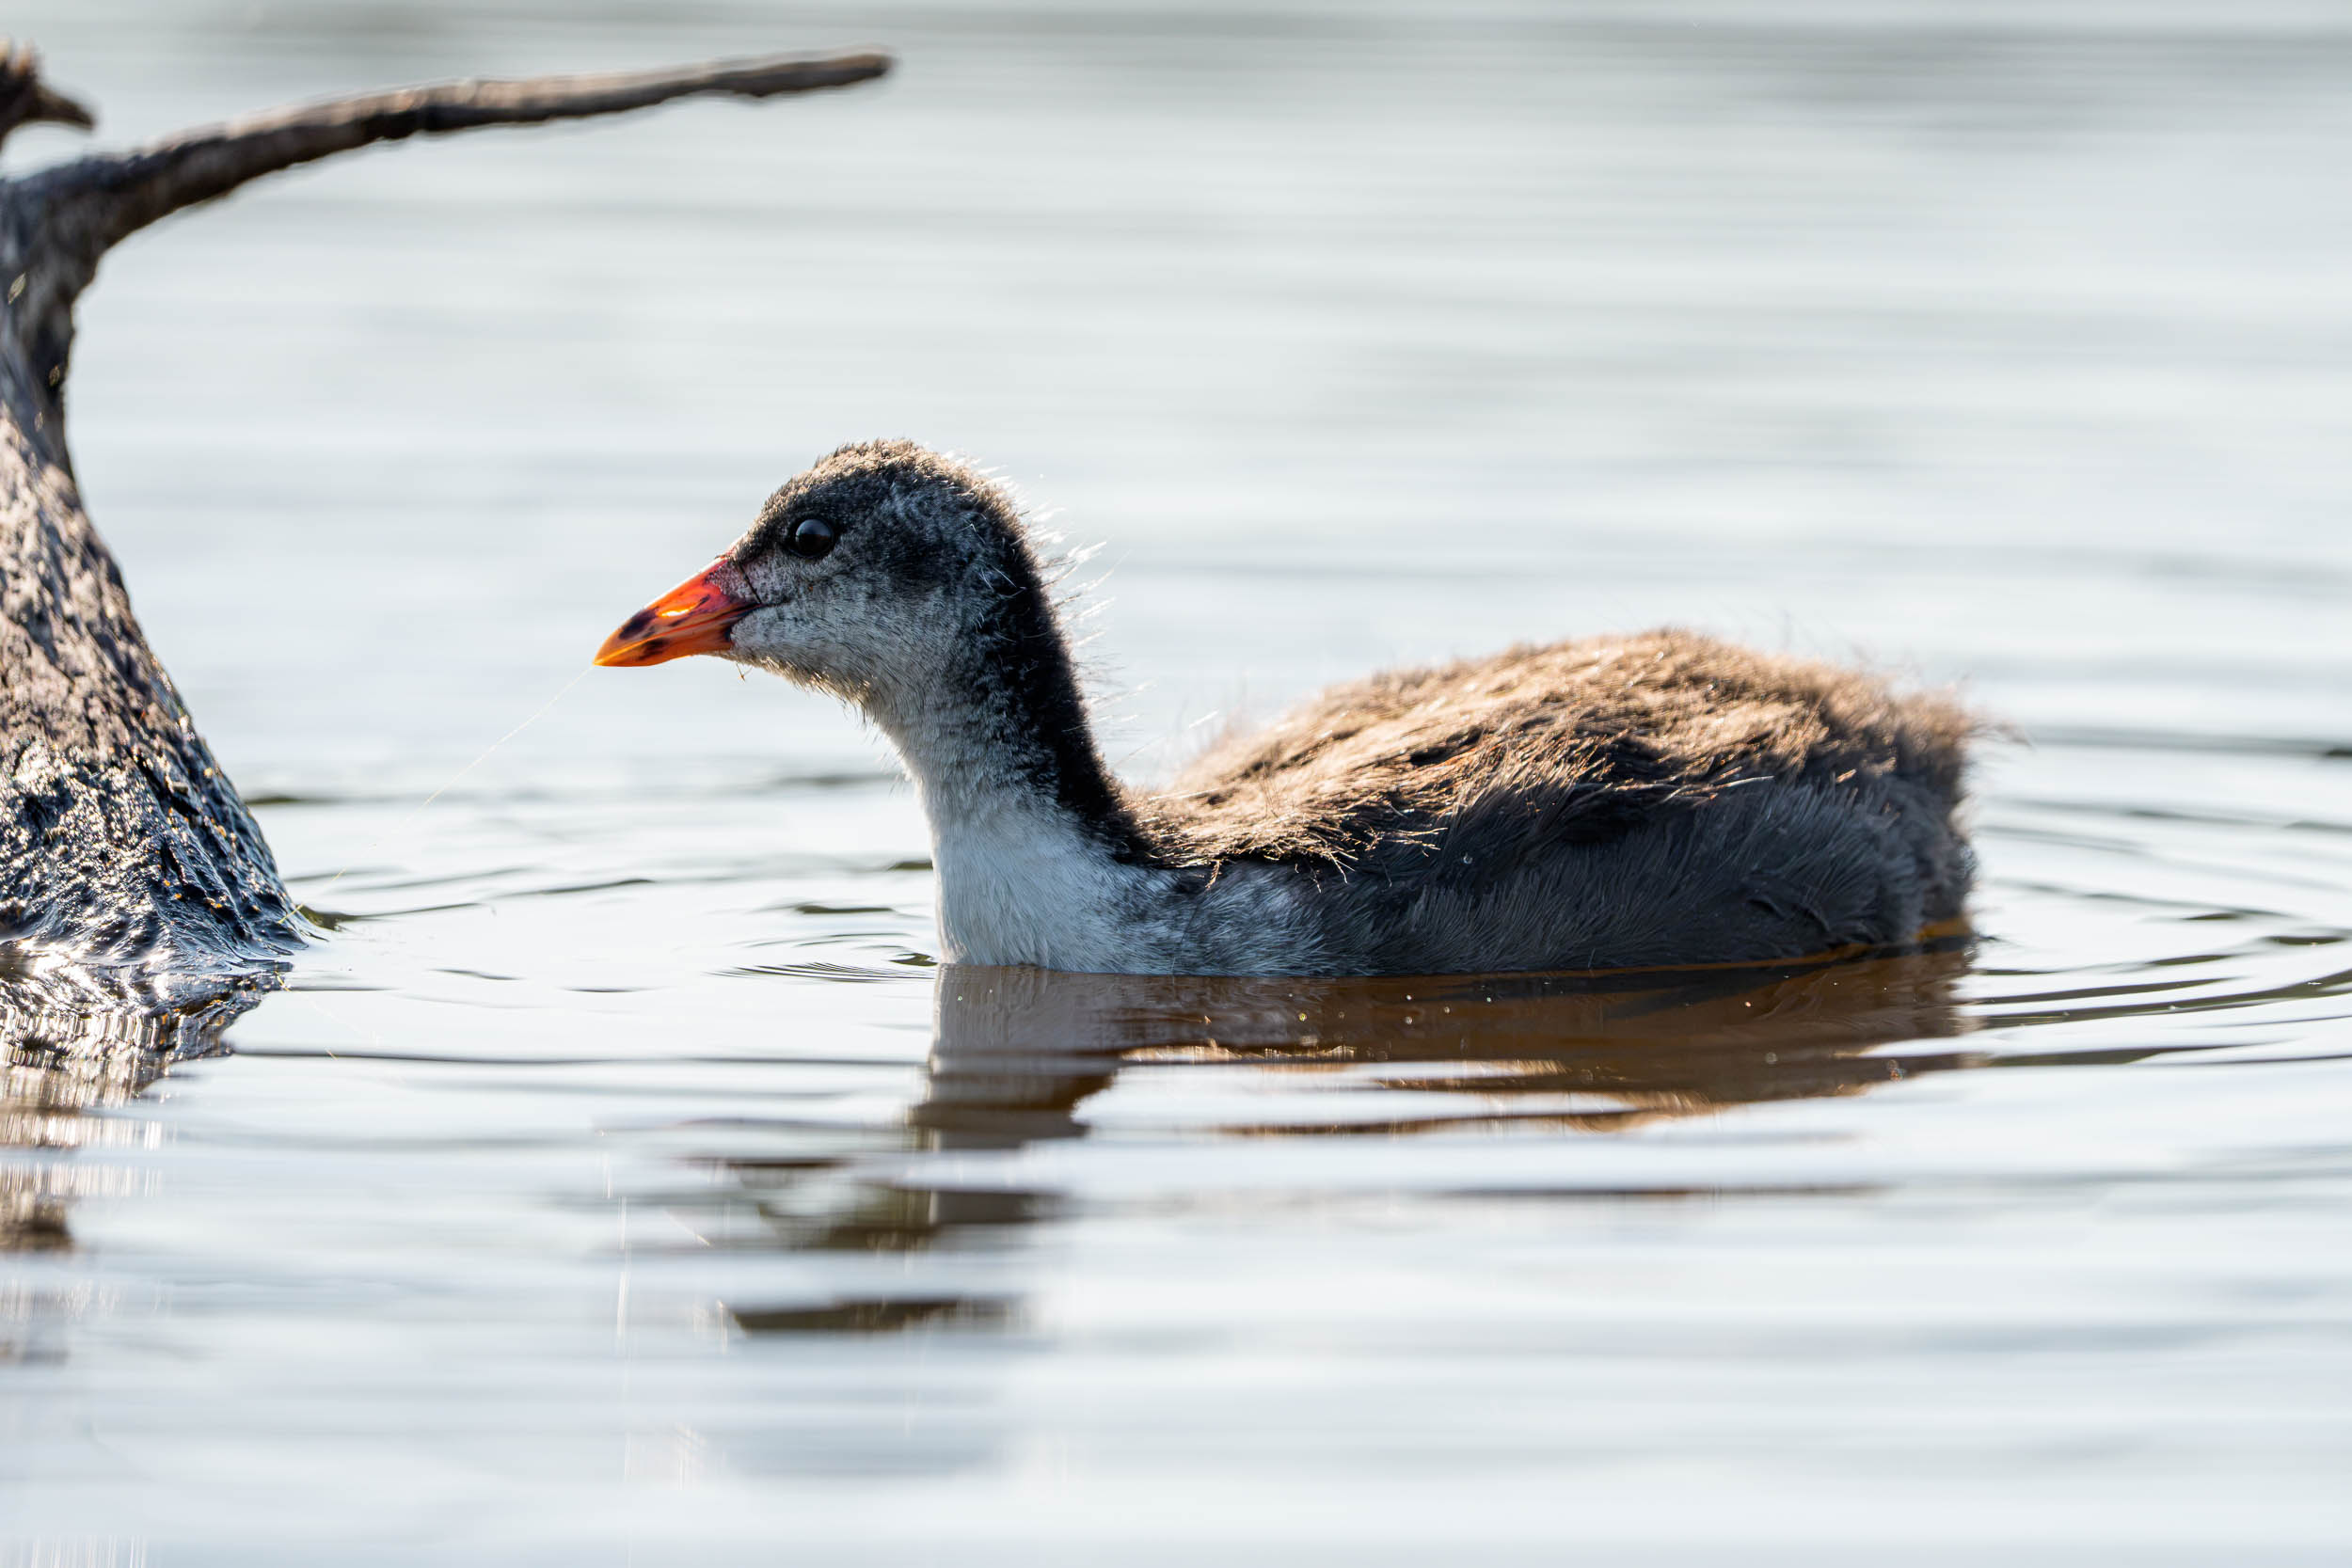
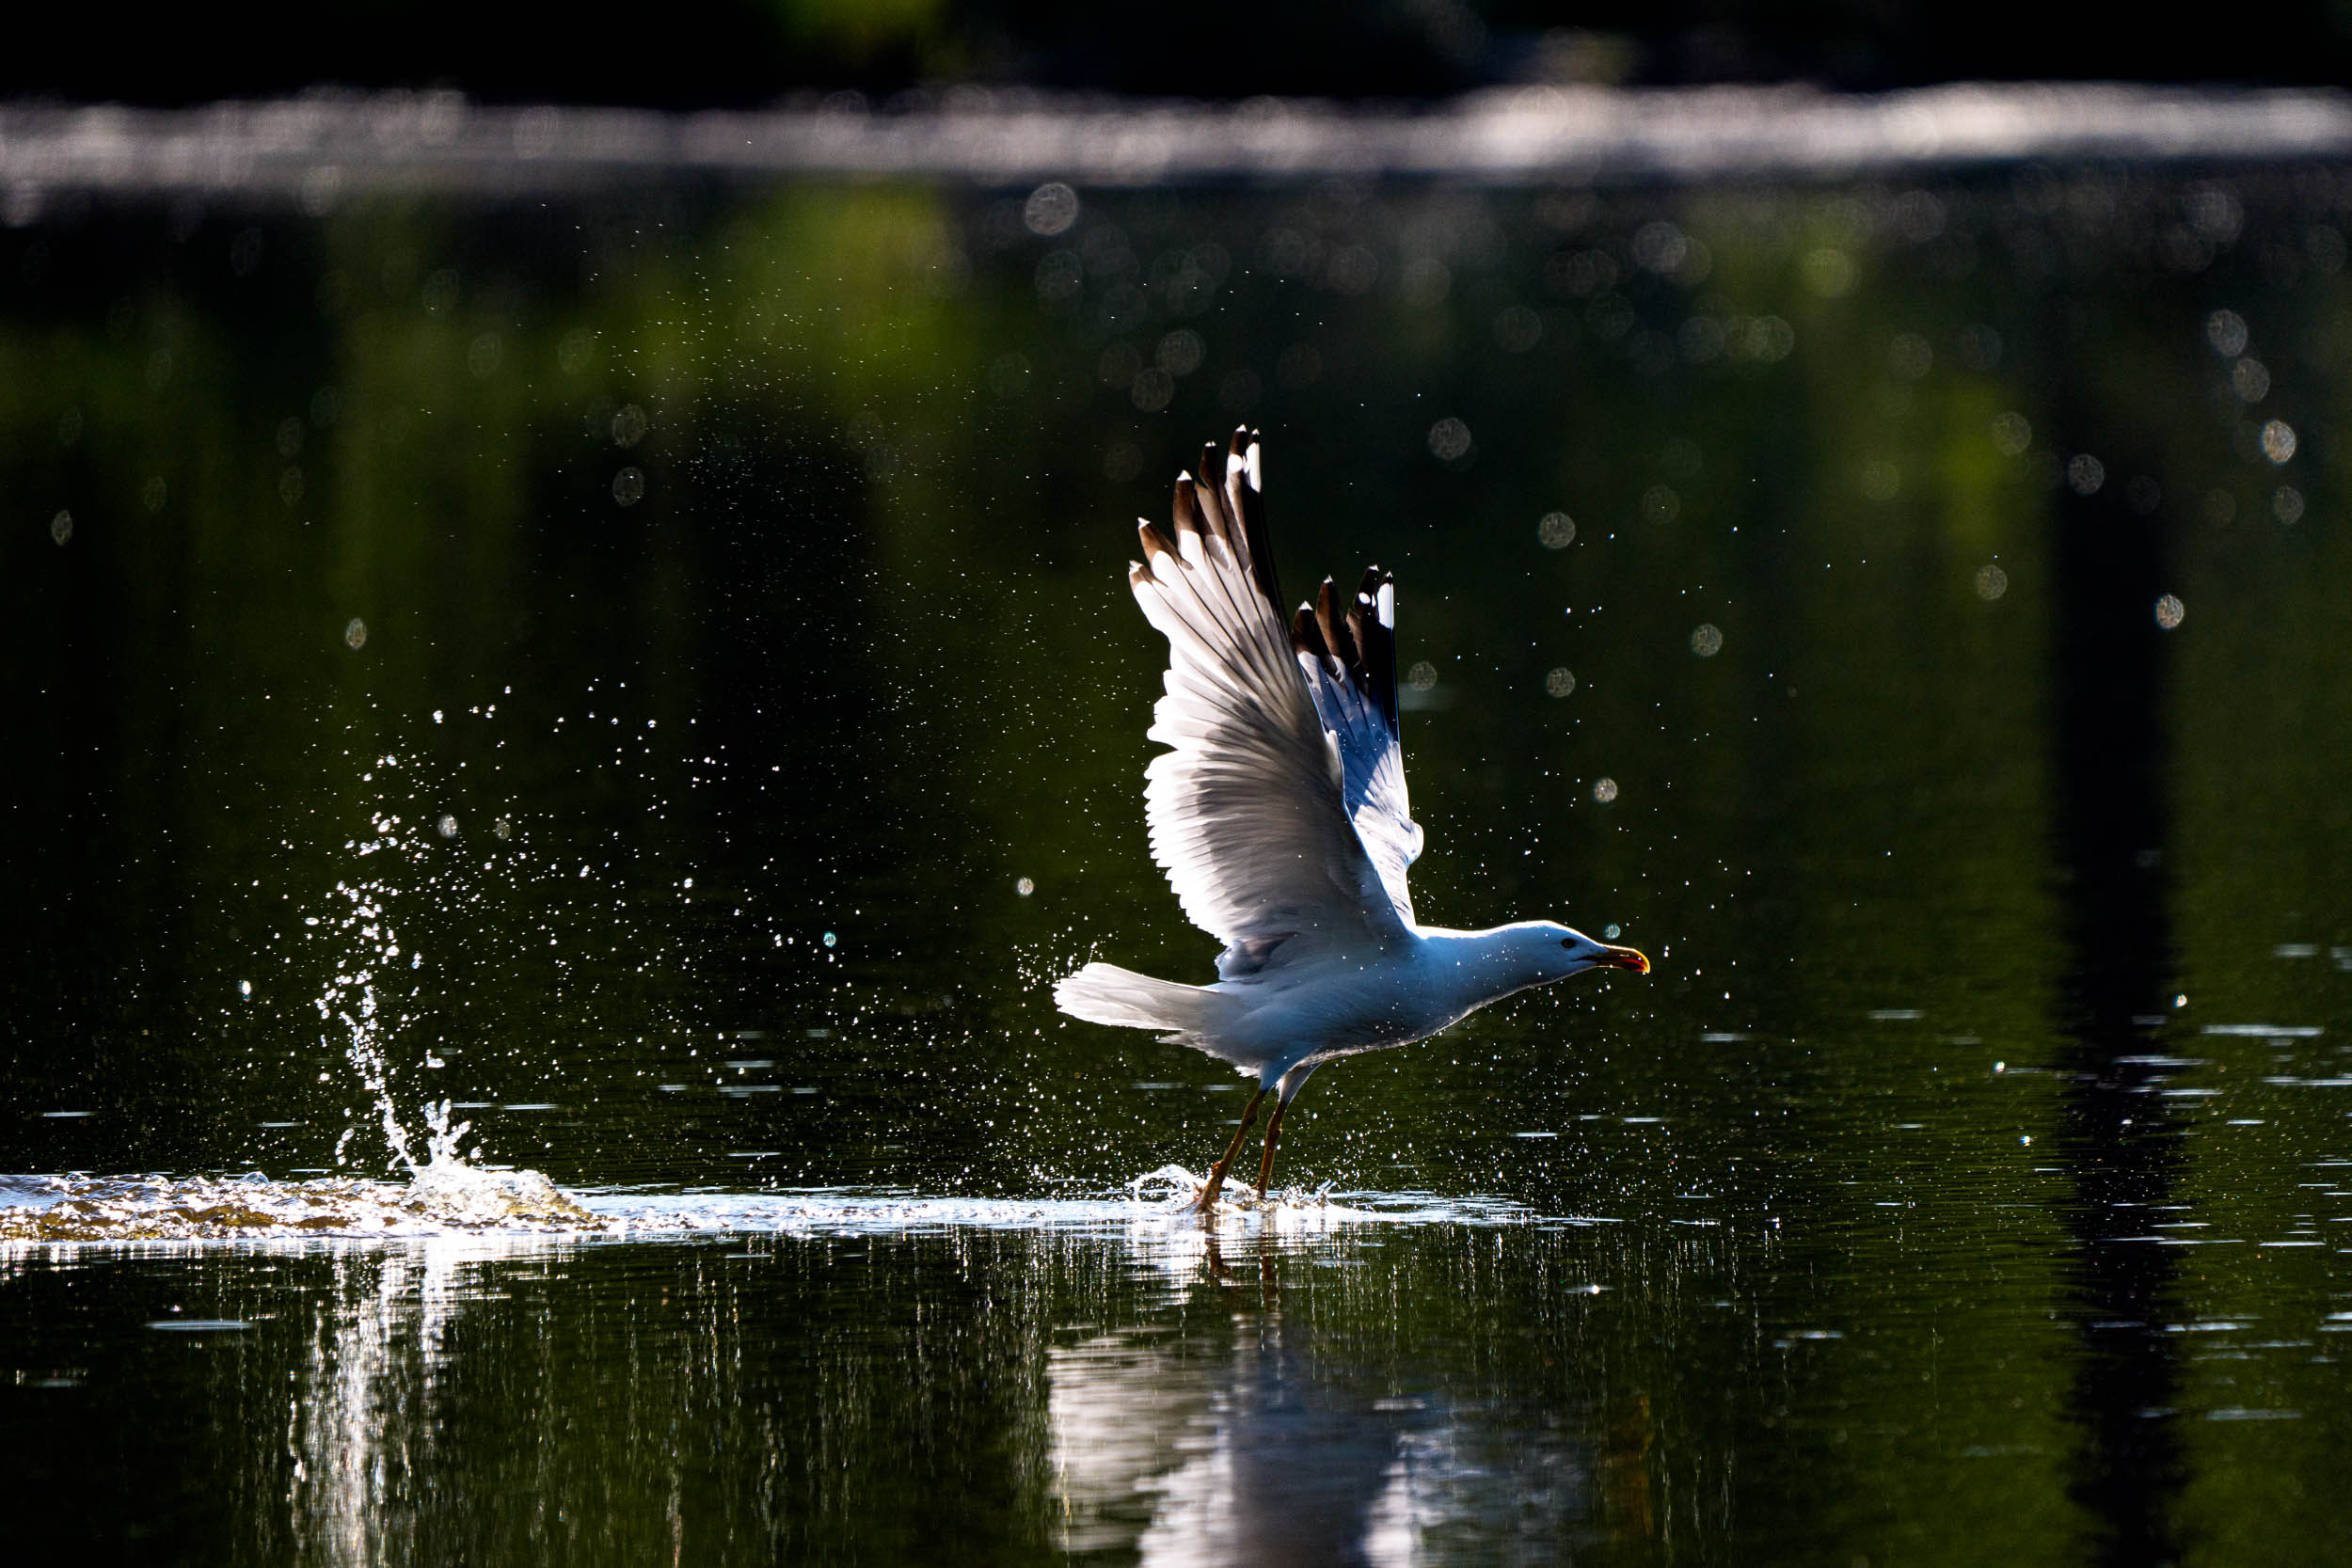
Planning Starts at Home
eBird and Merlin Bird ID
If I could only recommend a single platform, it would be eBird. eBird and Merlin both come from the Cornell Lab of Ornithology at Cornell University – and that’s exactly how they feel: like two halves of one tool.
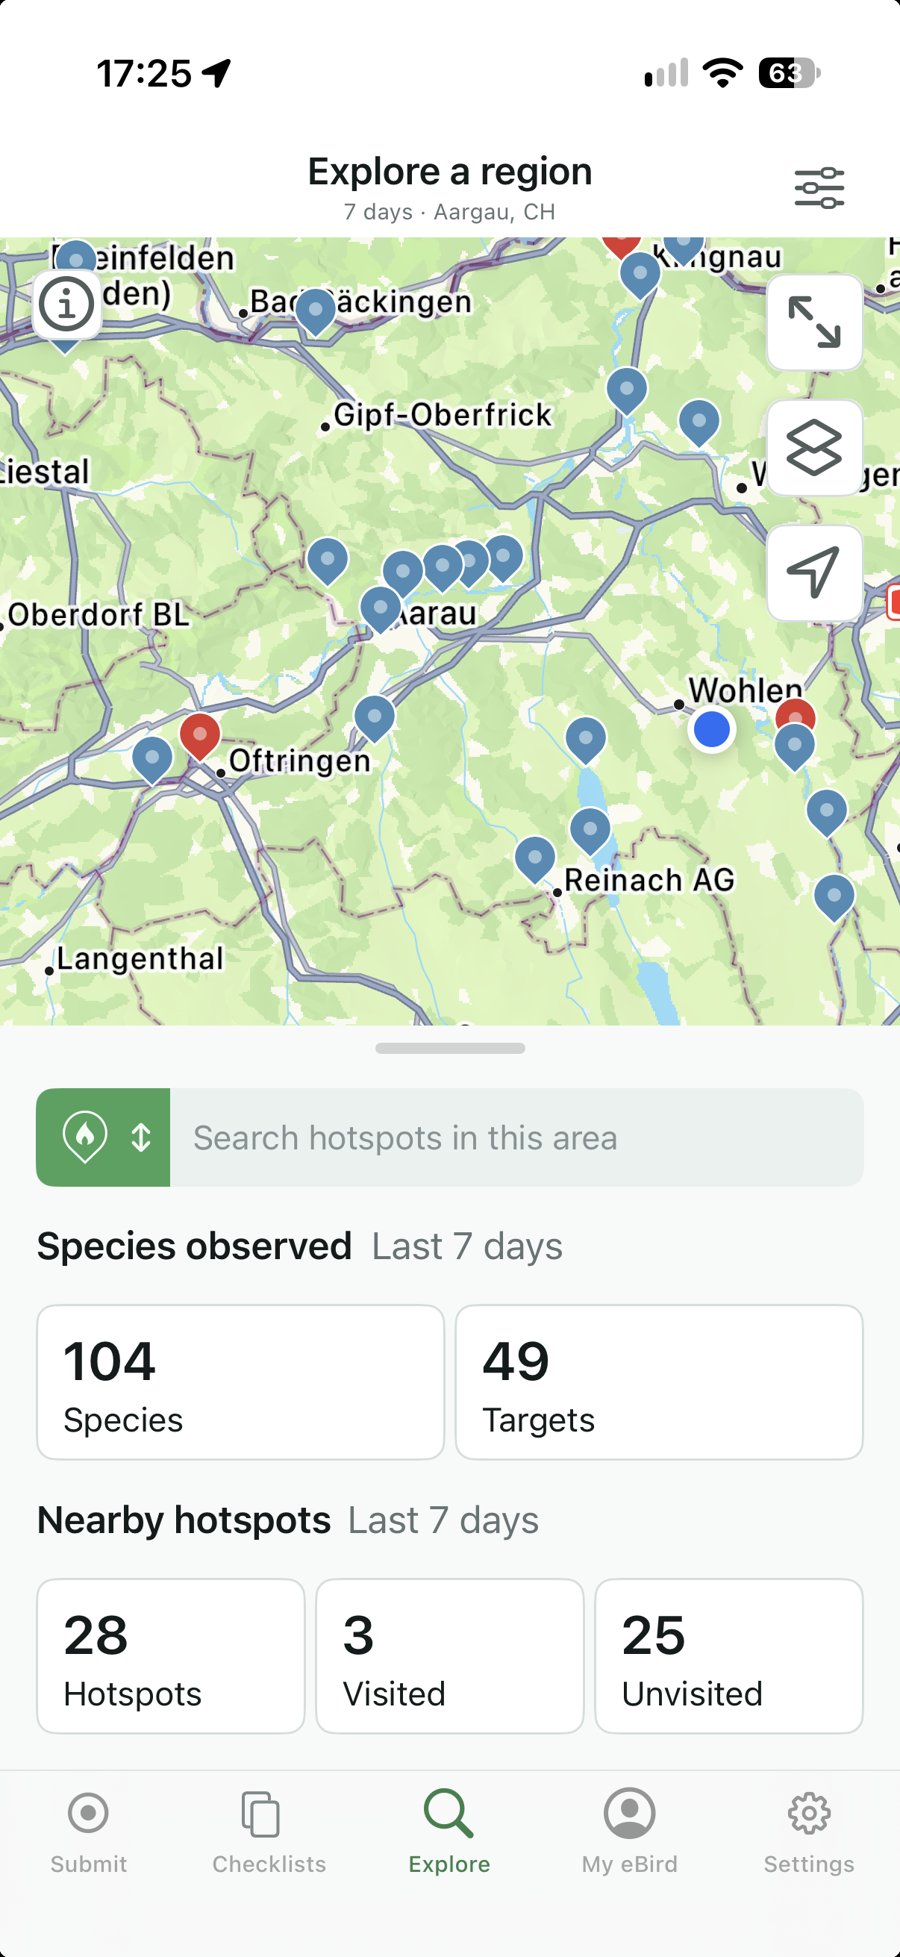
eBird shows me which species have recently been seen in an area, how often they’re reported and where sightings cluster. For a new area or a specific target species, eBird is almost always my first stop. That said, a sighting from yesterday doesn’t mean the bird is still there today. Wild birds don’t follow databases.
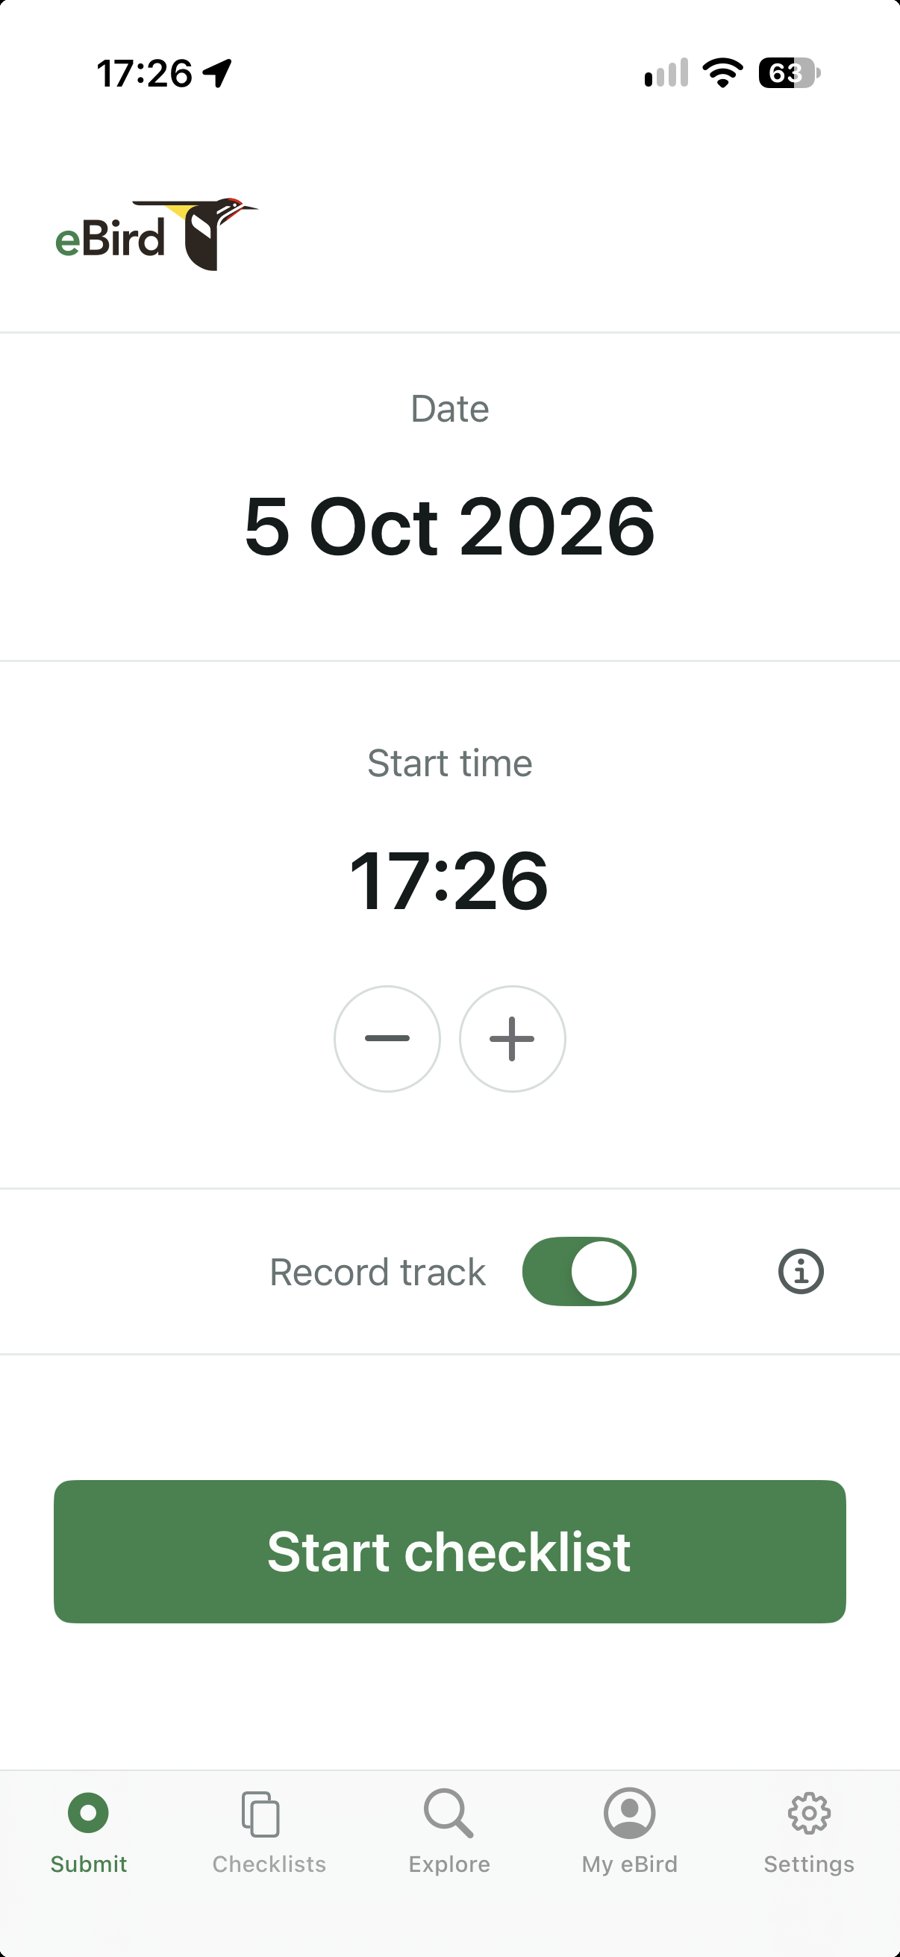
Under “Explore” I pick a region and see at a glance what’s going on there. In the canton of Aargau, for example, there were 104 species in the last seven days, spread across 28 hotspots. Once I’m in the field, I start a checklist and log what I observe. That way I also give something back to the database.
Merlin Bird ID, on the other hand, comes with me on almost every trip. The app recognises bird calls in real time and helps identify unfamiliar species. Often I can’t even see a bird, but I know from its call that it’s nearby. I was honestly surprised by how much you learn about the sounds around you.
The split is simple: eBird helps me plan where to look – Merlin tells me in the field what I’m hearing or seeing.
Besides Sound ID, I mainly use two features in Merlin: under “Explore”, the app shows which species to expect at my location at this time of year. And every species I’ve identified goes into my Life List, with place and date. Over time, it turns into a small birding diary.
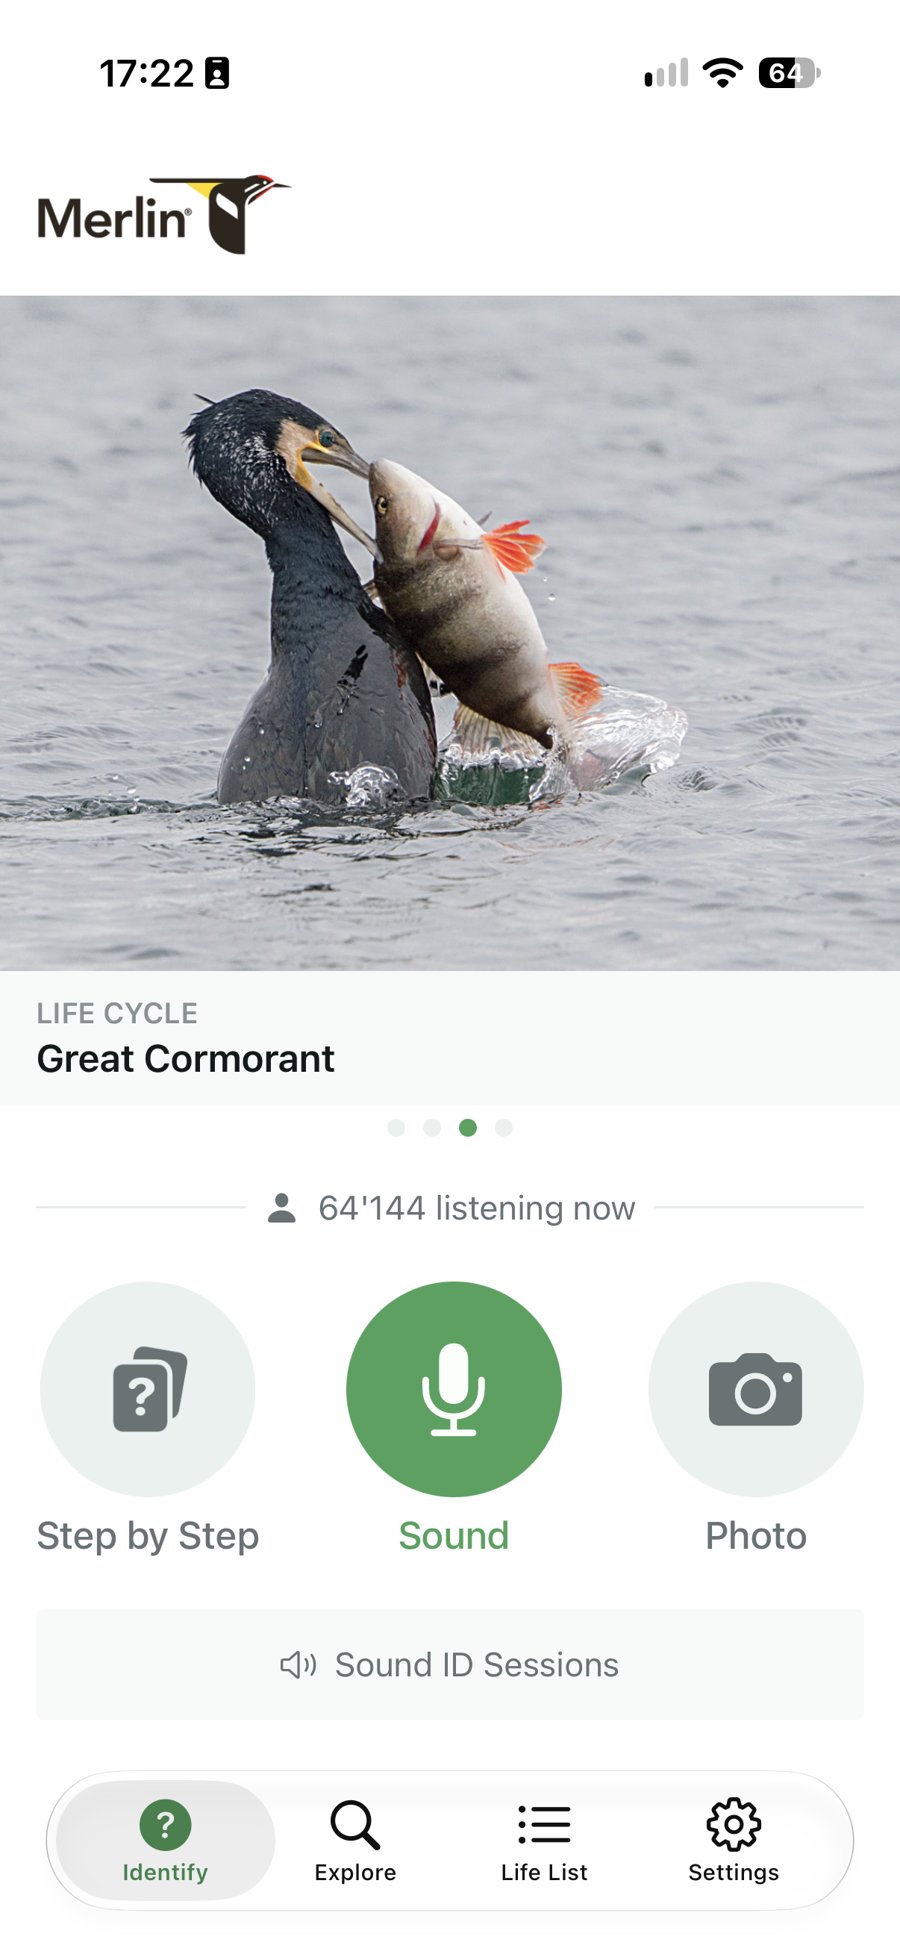
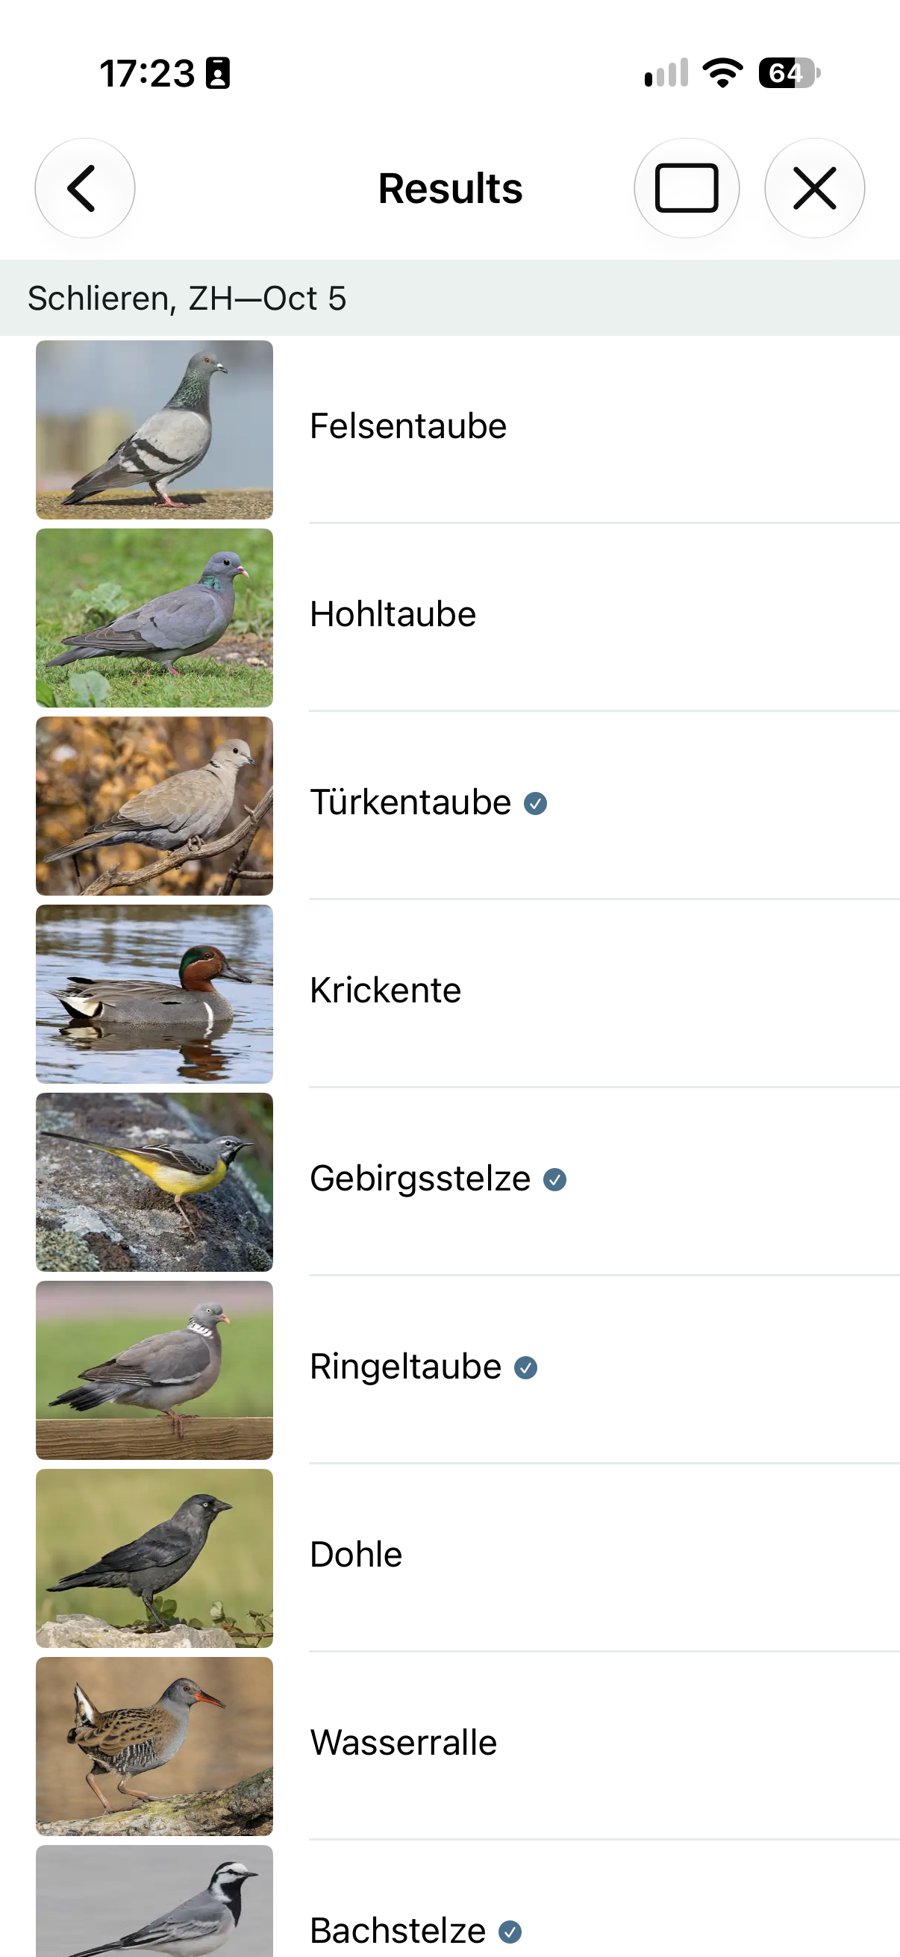
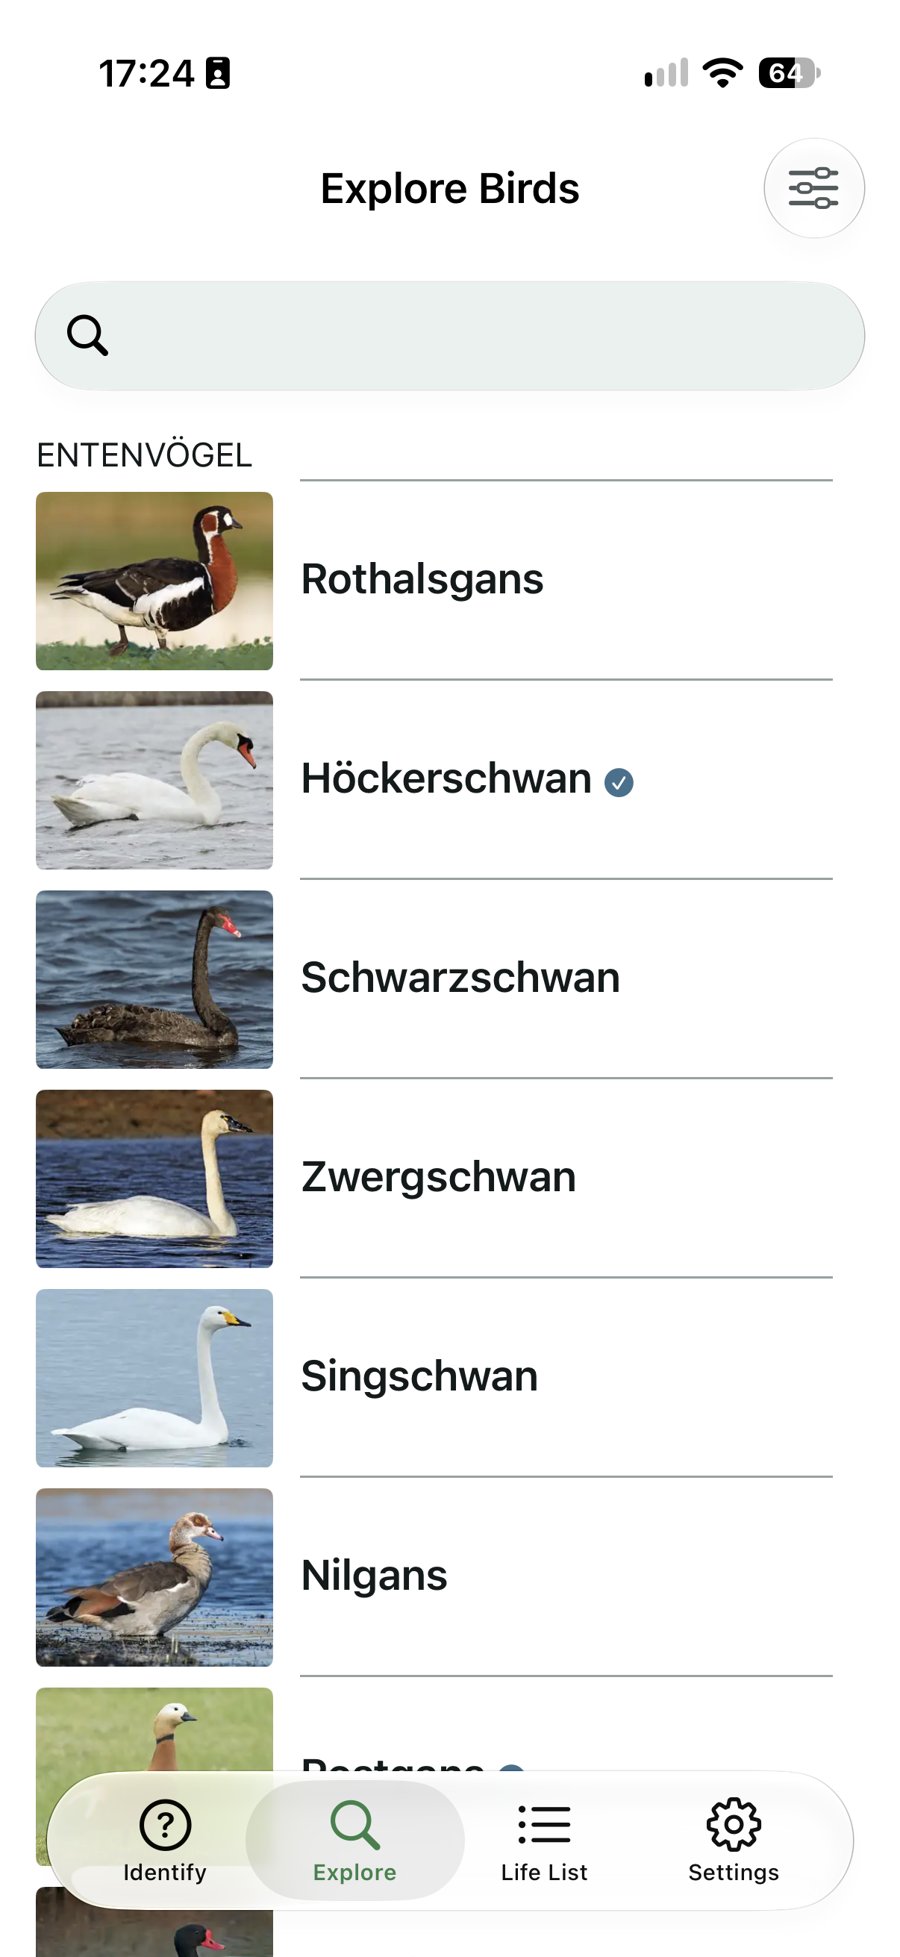
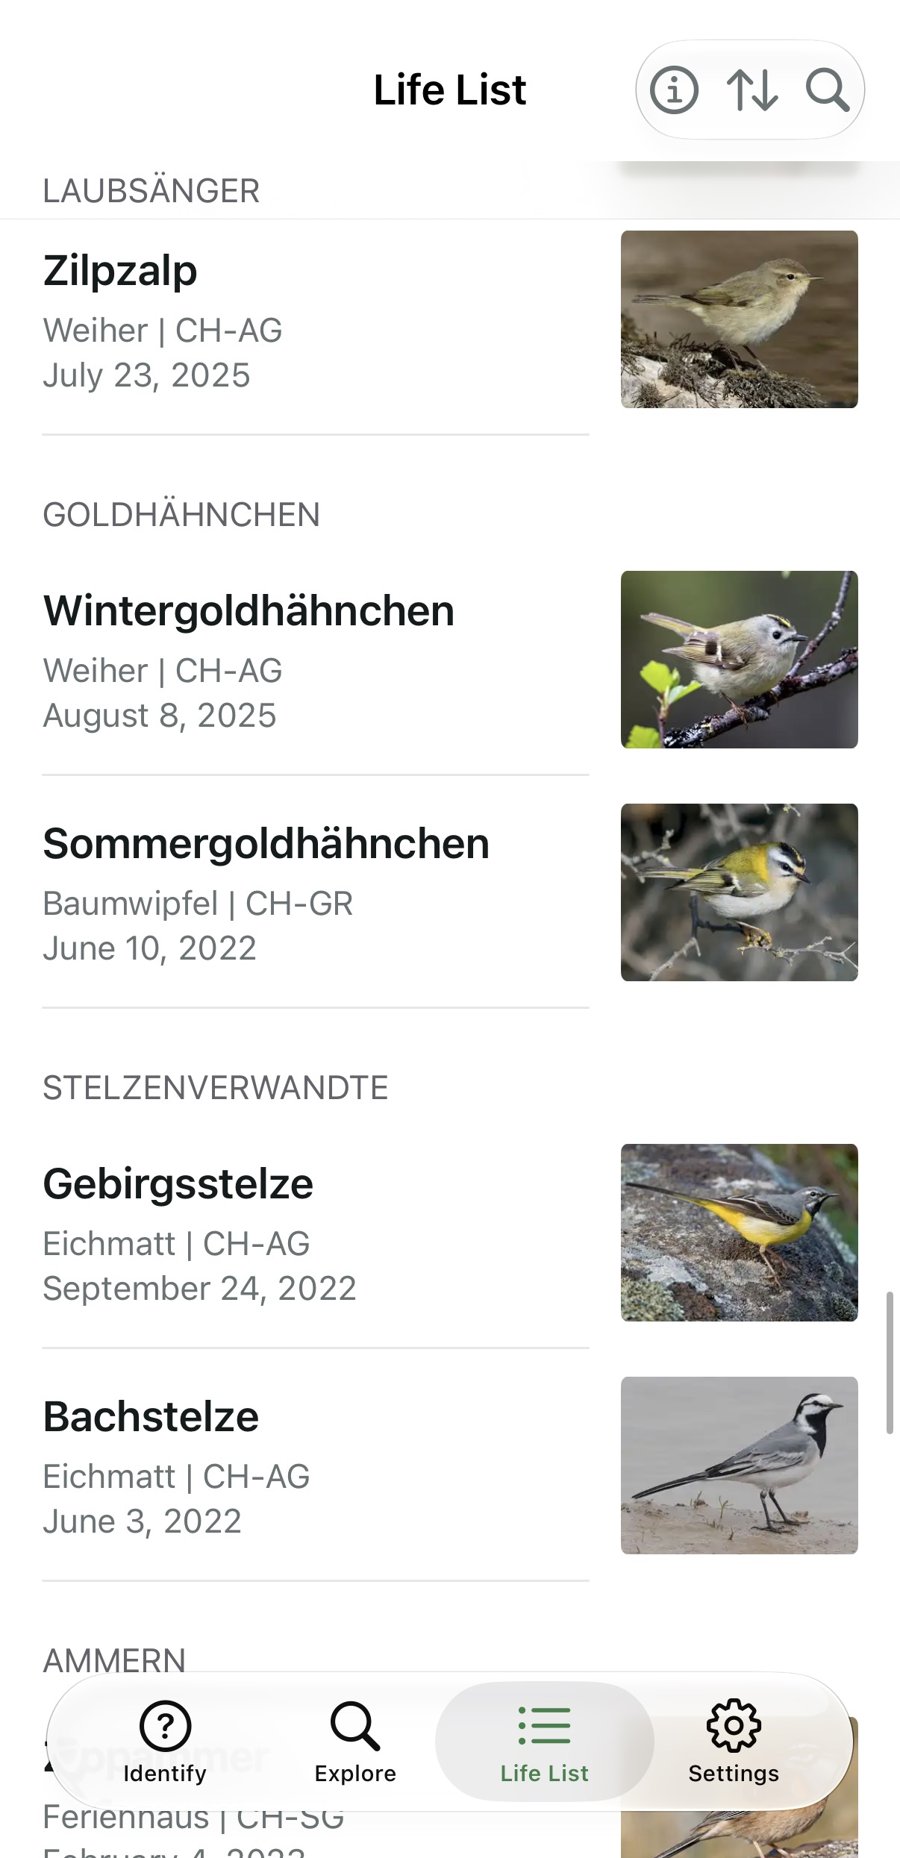
All that glitters is not gold: Merlin isn’t always right. With wind, traffic noise or species that mimic other birds, the app sometimes suggests the wrong thing. That’s why I treat its suggestions as a hint, not an identification. And on eBird, the locations of sensitive species are deliberately hidden – rightly so, because disturbance at breeding sites is a real problem.
BirdingPlaces
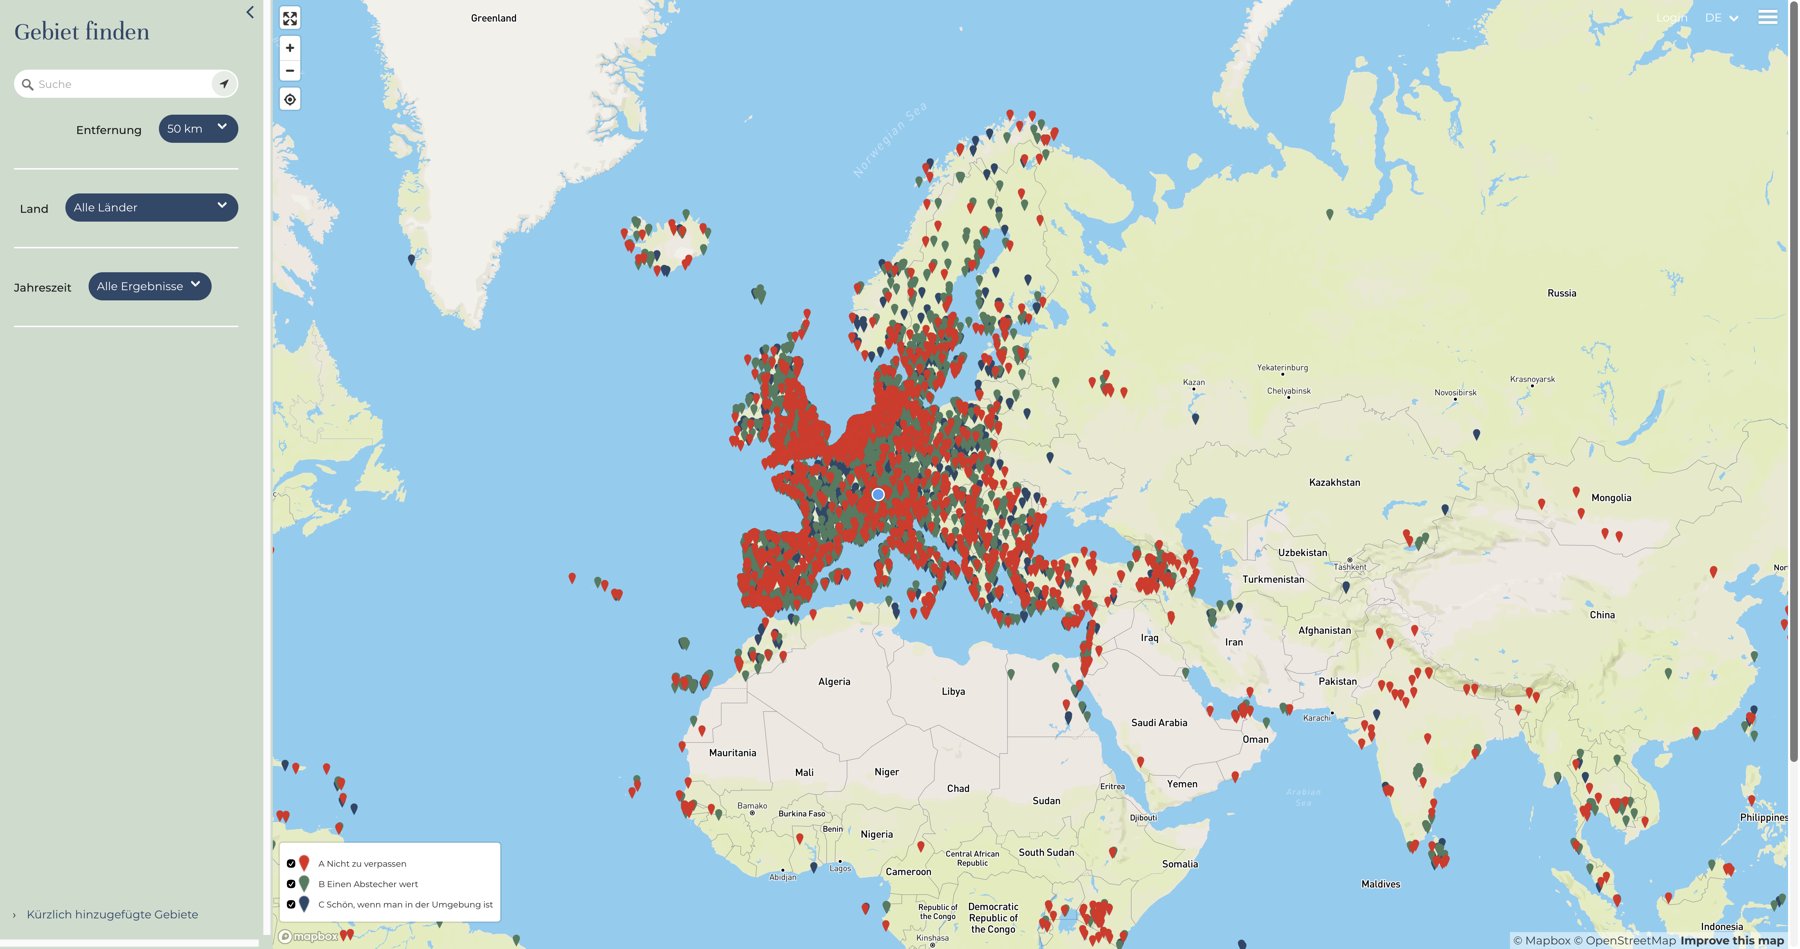
While eBird shows me what’s currently being observed, I use BirdingPlaces to discover new spots. The platform describes birding sites and gives a first impression of the area – ideal when travelling to find interesting places in advance.
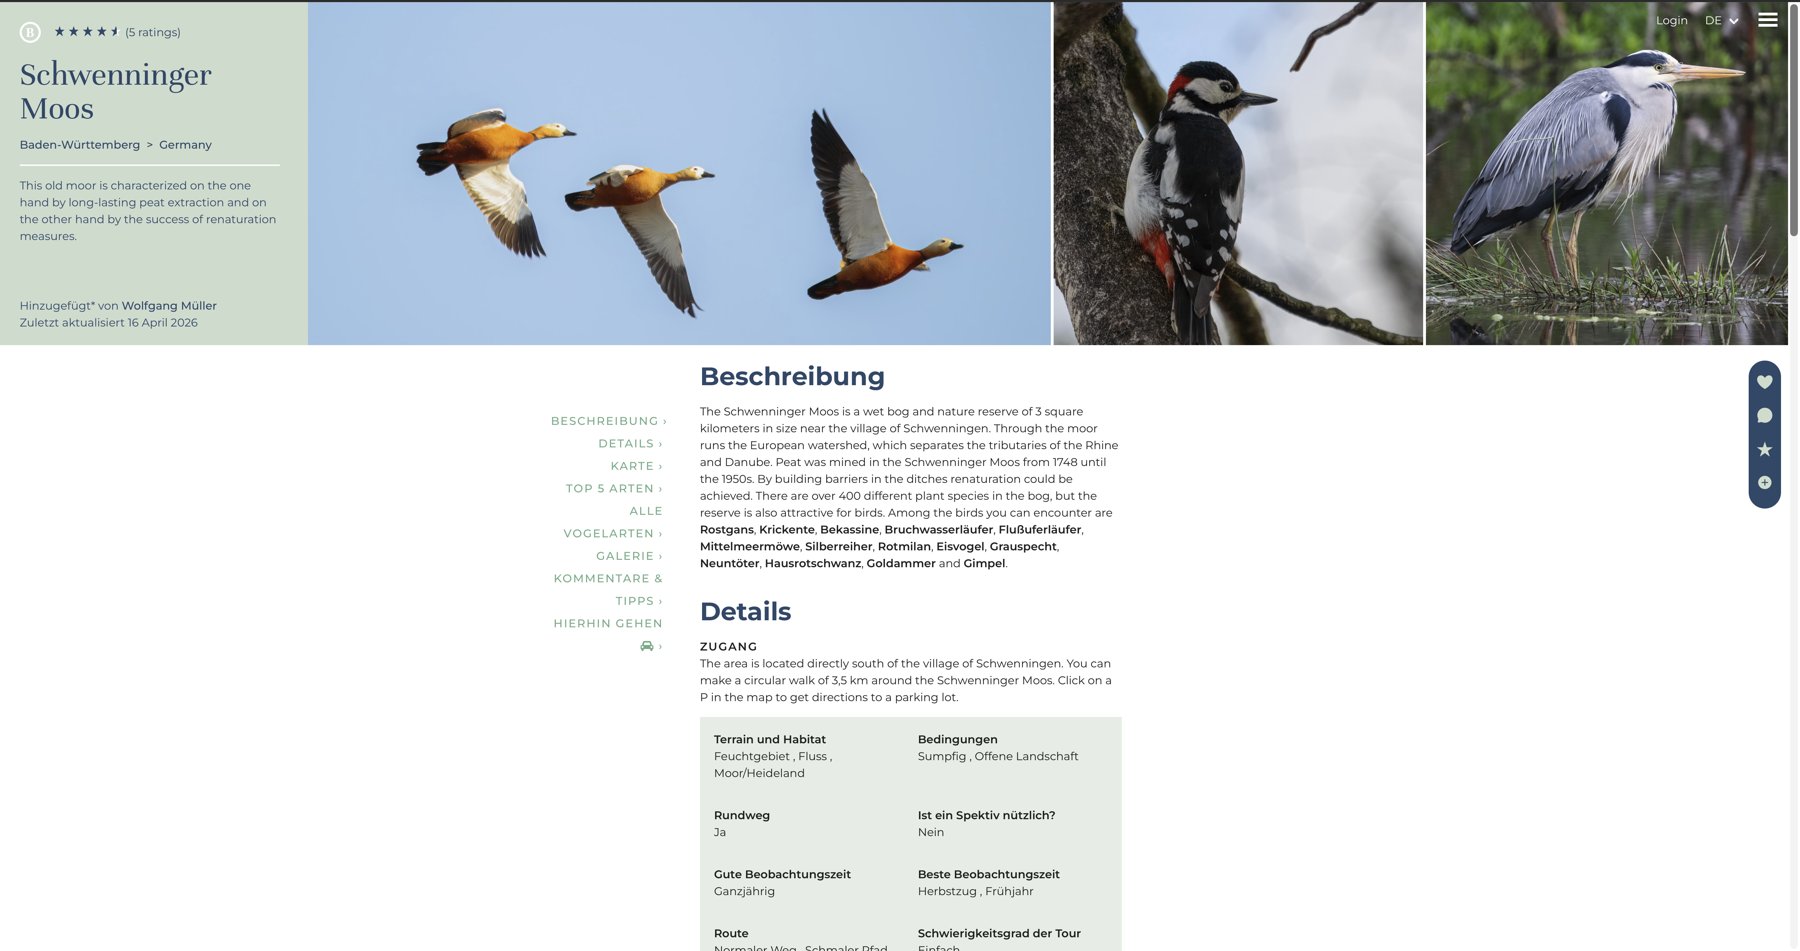
On the map, sites can be filtered by distance, country or target species. Each site has its own page with a description, typical species and practical details such as access, habitat and the best time to visit.
BirdWeather
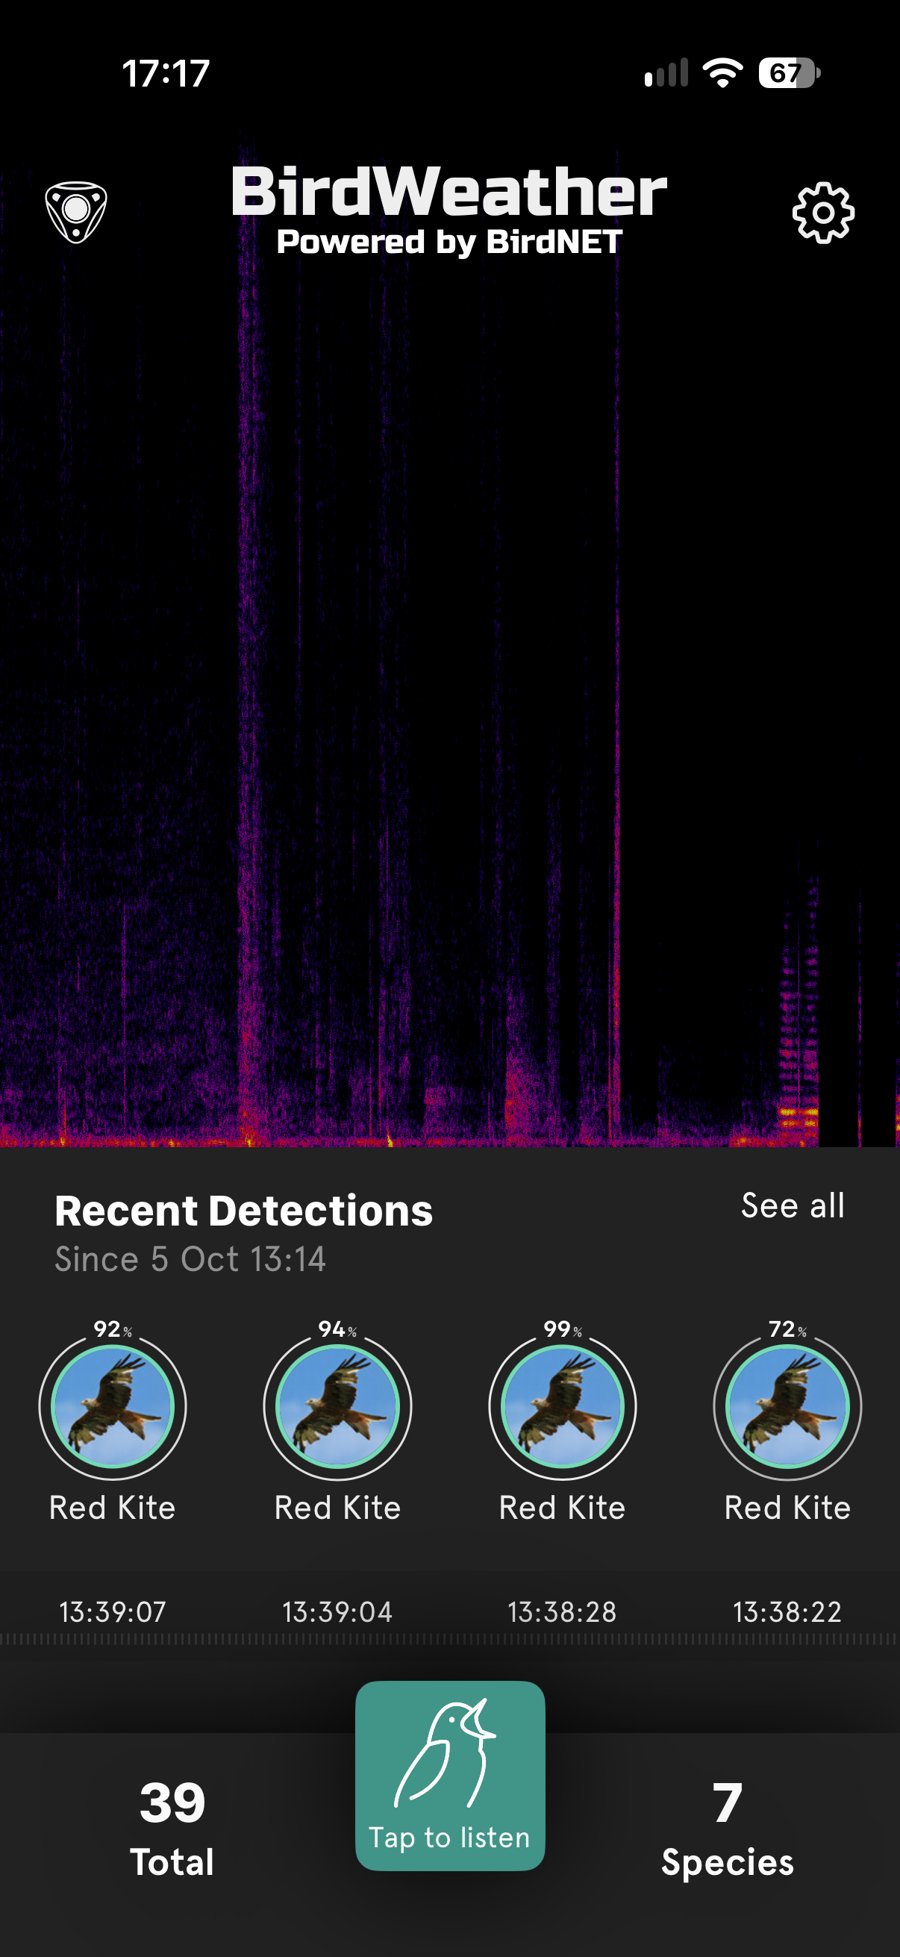
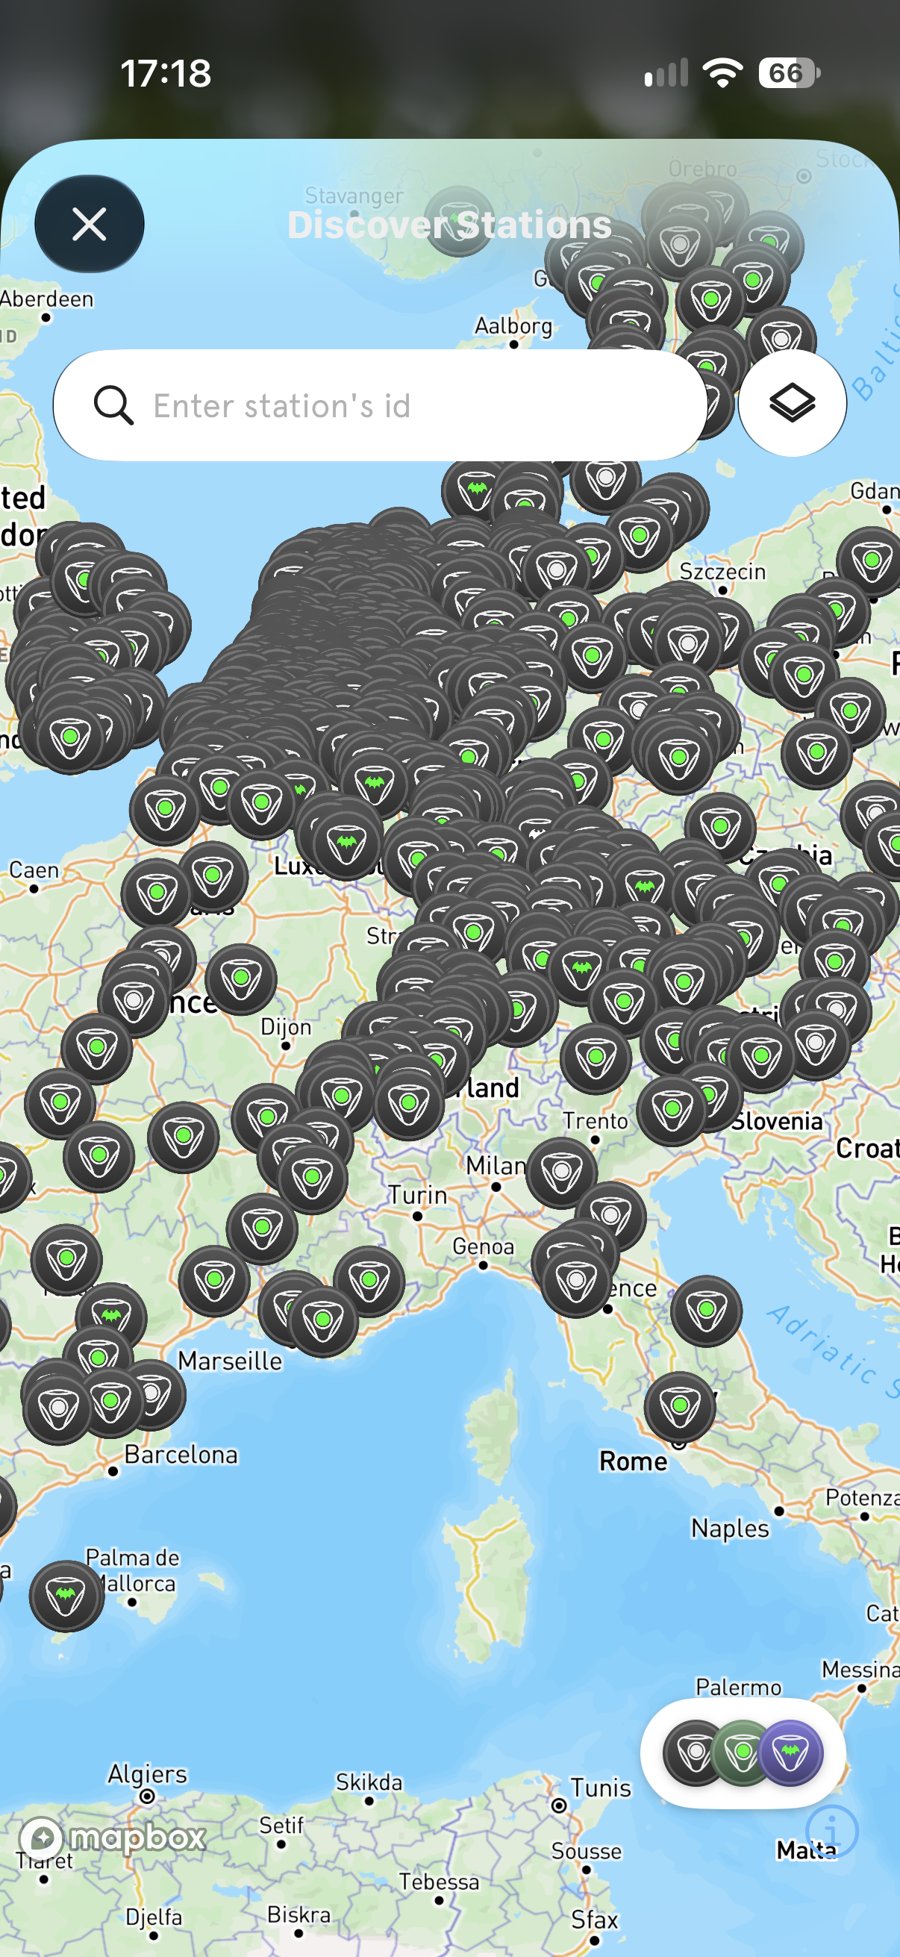
A resource I open more and more often is BirdWeather. Automatic recording stations capture and analyse bird sounds. That sometimes lets me see which species are active in an area before I even get there. The catch: it only works where someone actually runs a station.
The map shows how dense the network already is in parts of Europe. For each station, the app lists the latest detections along with time and confidence.
PhotoPills
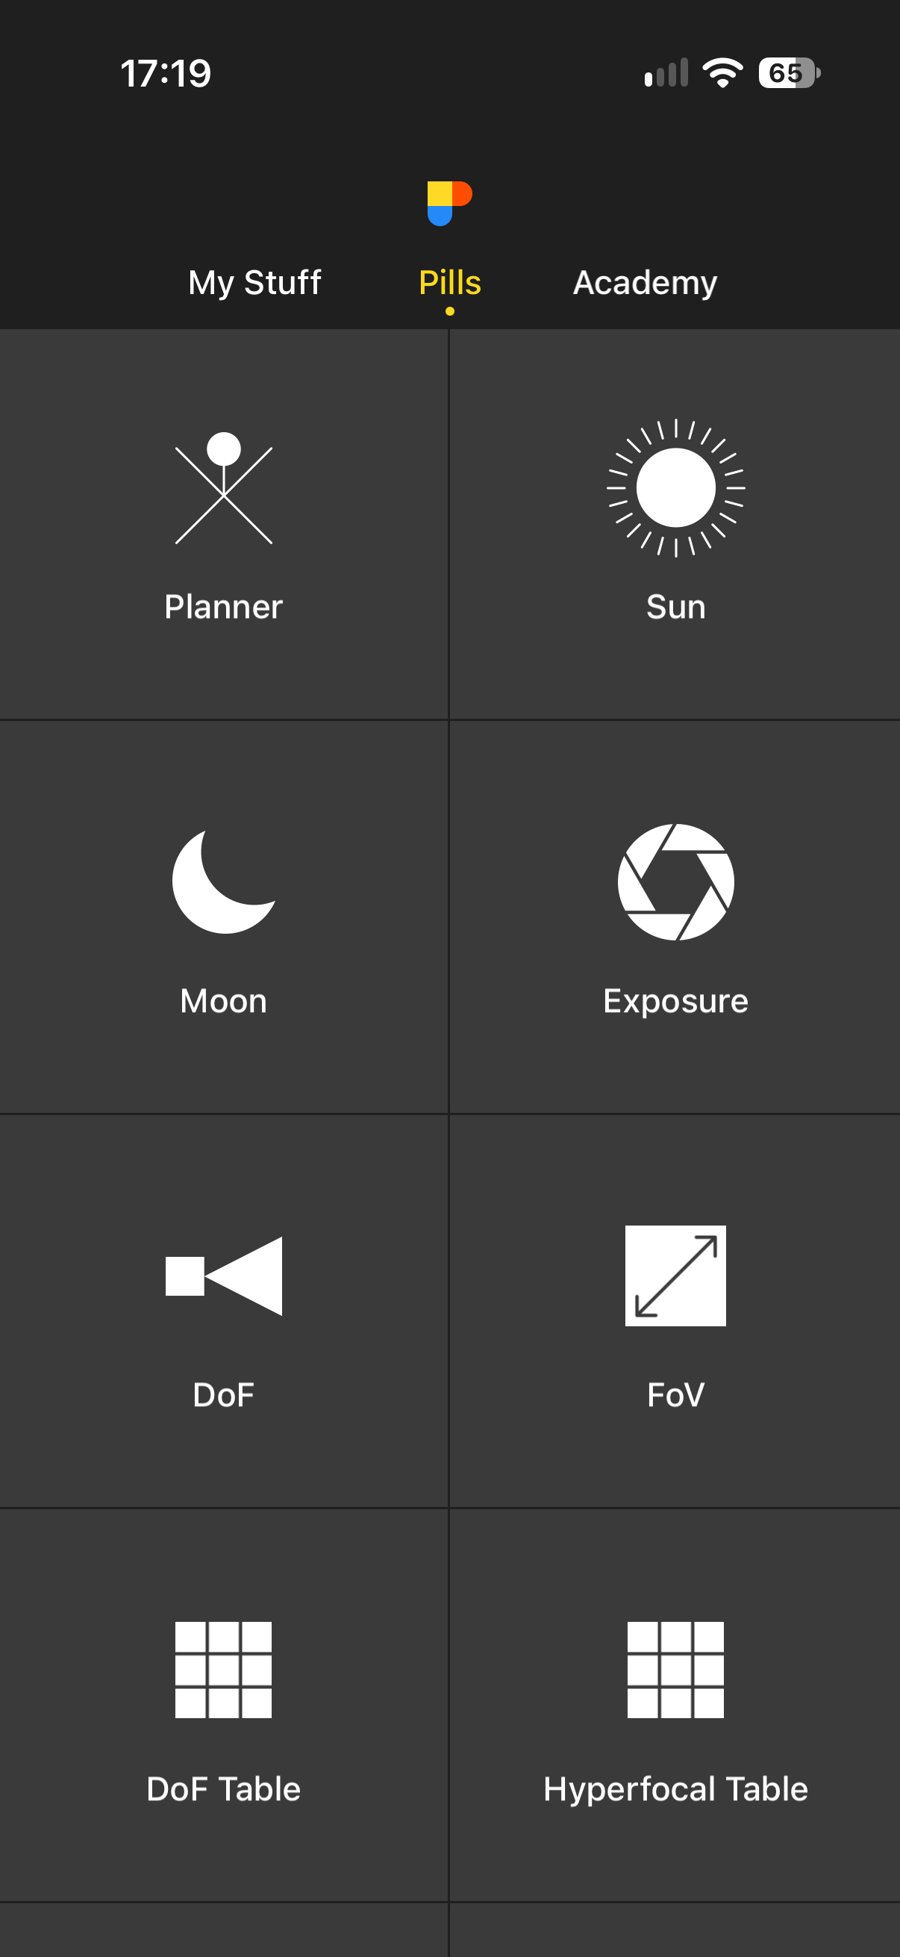
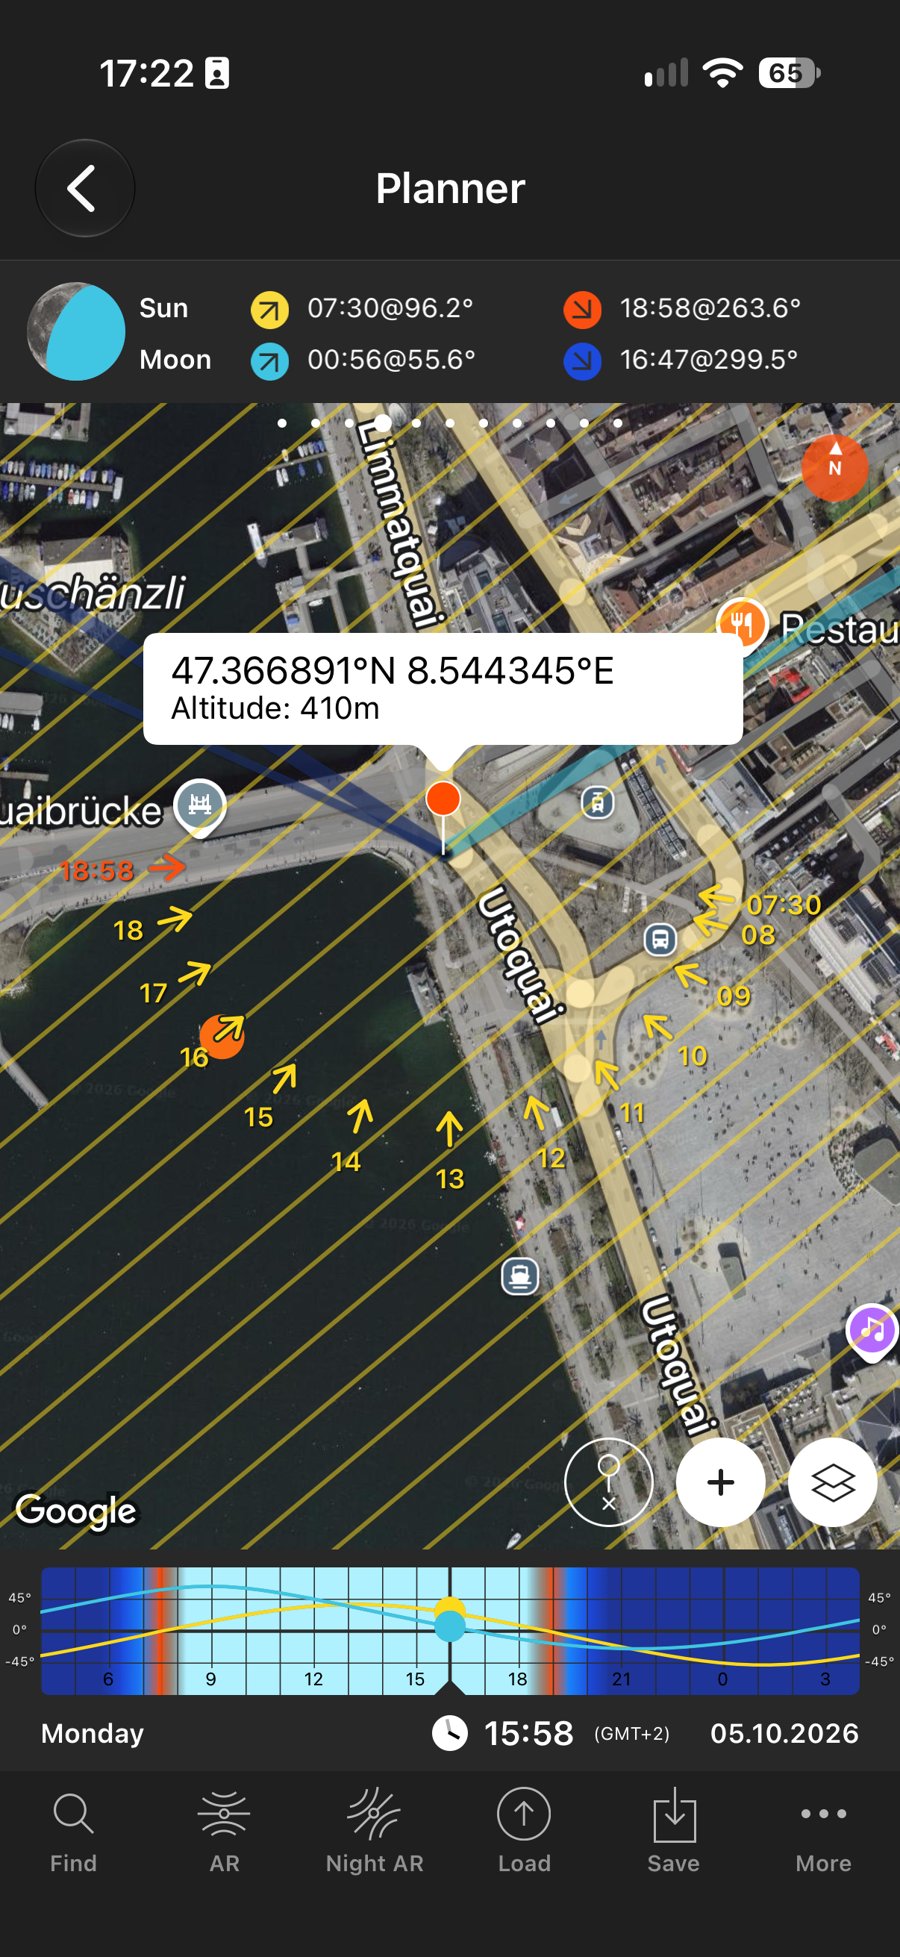
I’ve used PhotoPills for landscape photography for years, and now for birding too. When I have a specific hide spot in mind, I check the sun’s position and the direction of light so I know roughly when to expect good light there. No matter how beautiful a bird is, if the background is in shadow or the light comes from an awkward direction, it gets difficult. In the Planner I can see right on the map where the sun comes from at what time and when it rises and sets.
Scouting – Not Every Trip Is About Photos
Not every trip is meant to bring home as many usable images as possible. In a new area I leave most of my gear at home. Instead, I get to know the habitat: perches, water sources, possible flight paths and, of course, the light. At the same time I think about where a hide could go later, or where I could tuck myself away under a camouflage poncho, and which position gives a calm background.
Binoculars are my most important tool here. With them I can scan a large area much faster than by constantly looking through the viewfinder at 600 mm. That’s why I visit many places several times before I photograph there with intent.
My Birding Gear
My setup has changed again and again over the years, and I adapt it to every trip. Sitting in one spot for several hours looks different from a long hike where every gram counts.
Camera and Lenses
My main camera is currently the Sony A1 II, usually paired with the Sony FE 200-600mm f/5.6-6.3 G OSS. With small or distant birds the reach is a big advantage, and the fast autofocus and high burst rate help enormously with unpredictable subjects.
When I want to travel lighter or cover longer distances, I sometimes reach for the Sony FE 100-400mm f/4.5-5.6 GM OSS. When I’m actively searching for birds and don’t have a spot in mind yet, it’s the more comfortable lens. Which one comes along I usually decide shortly before the trip.
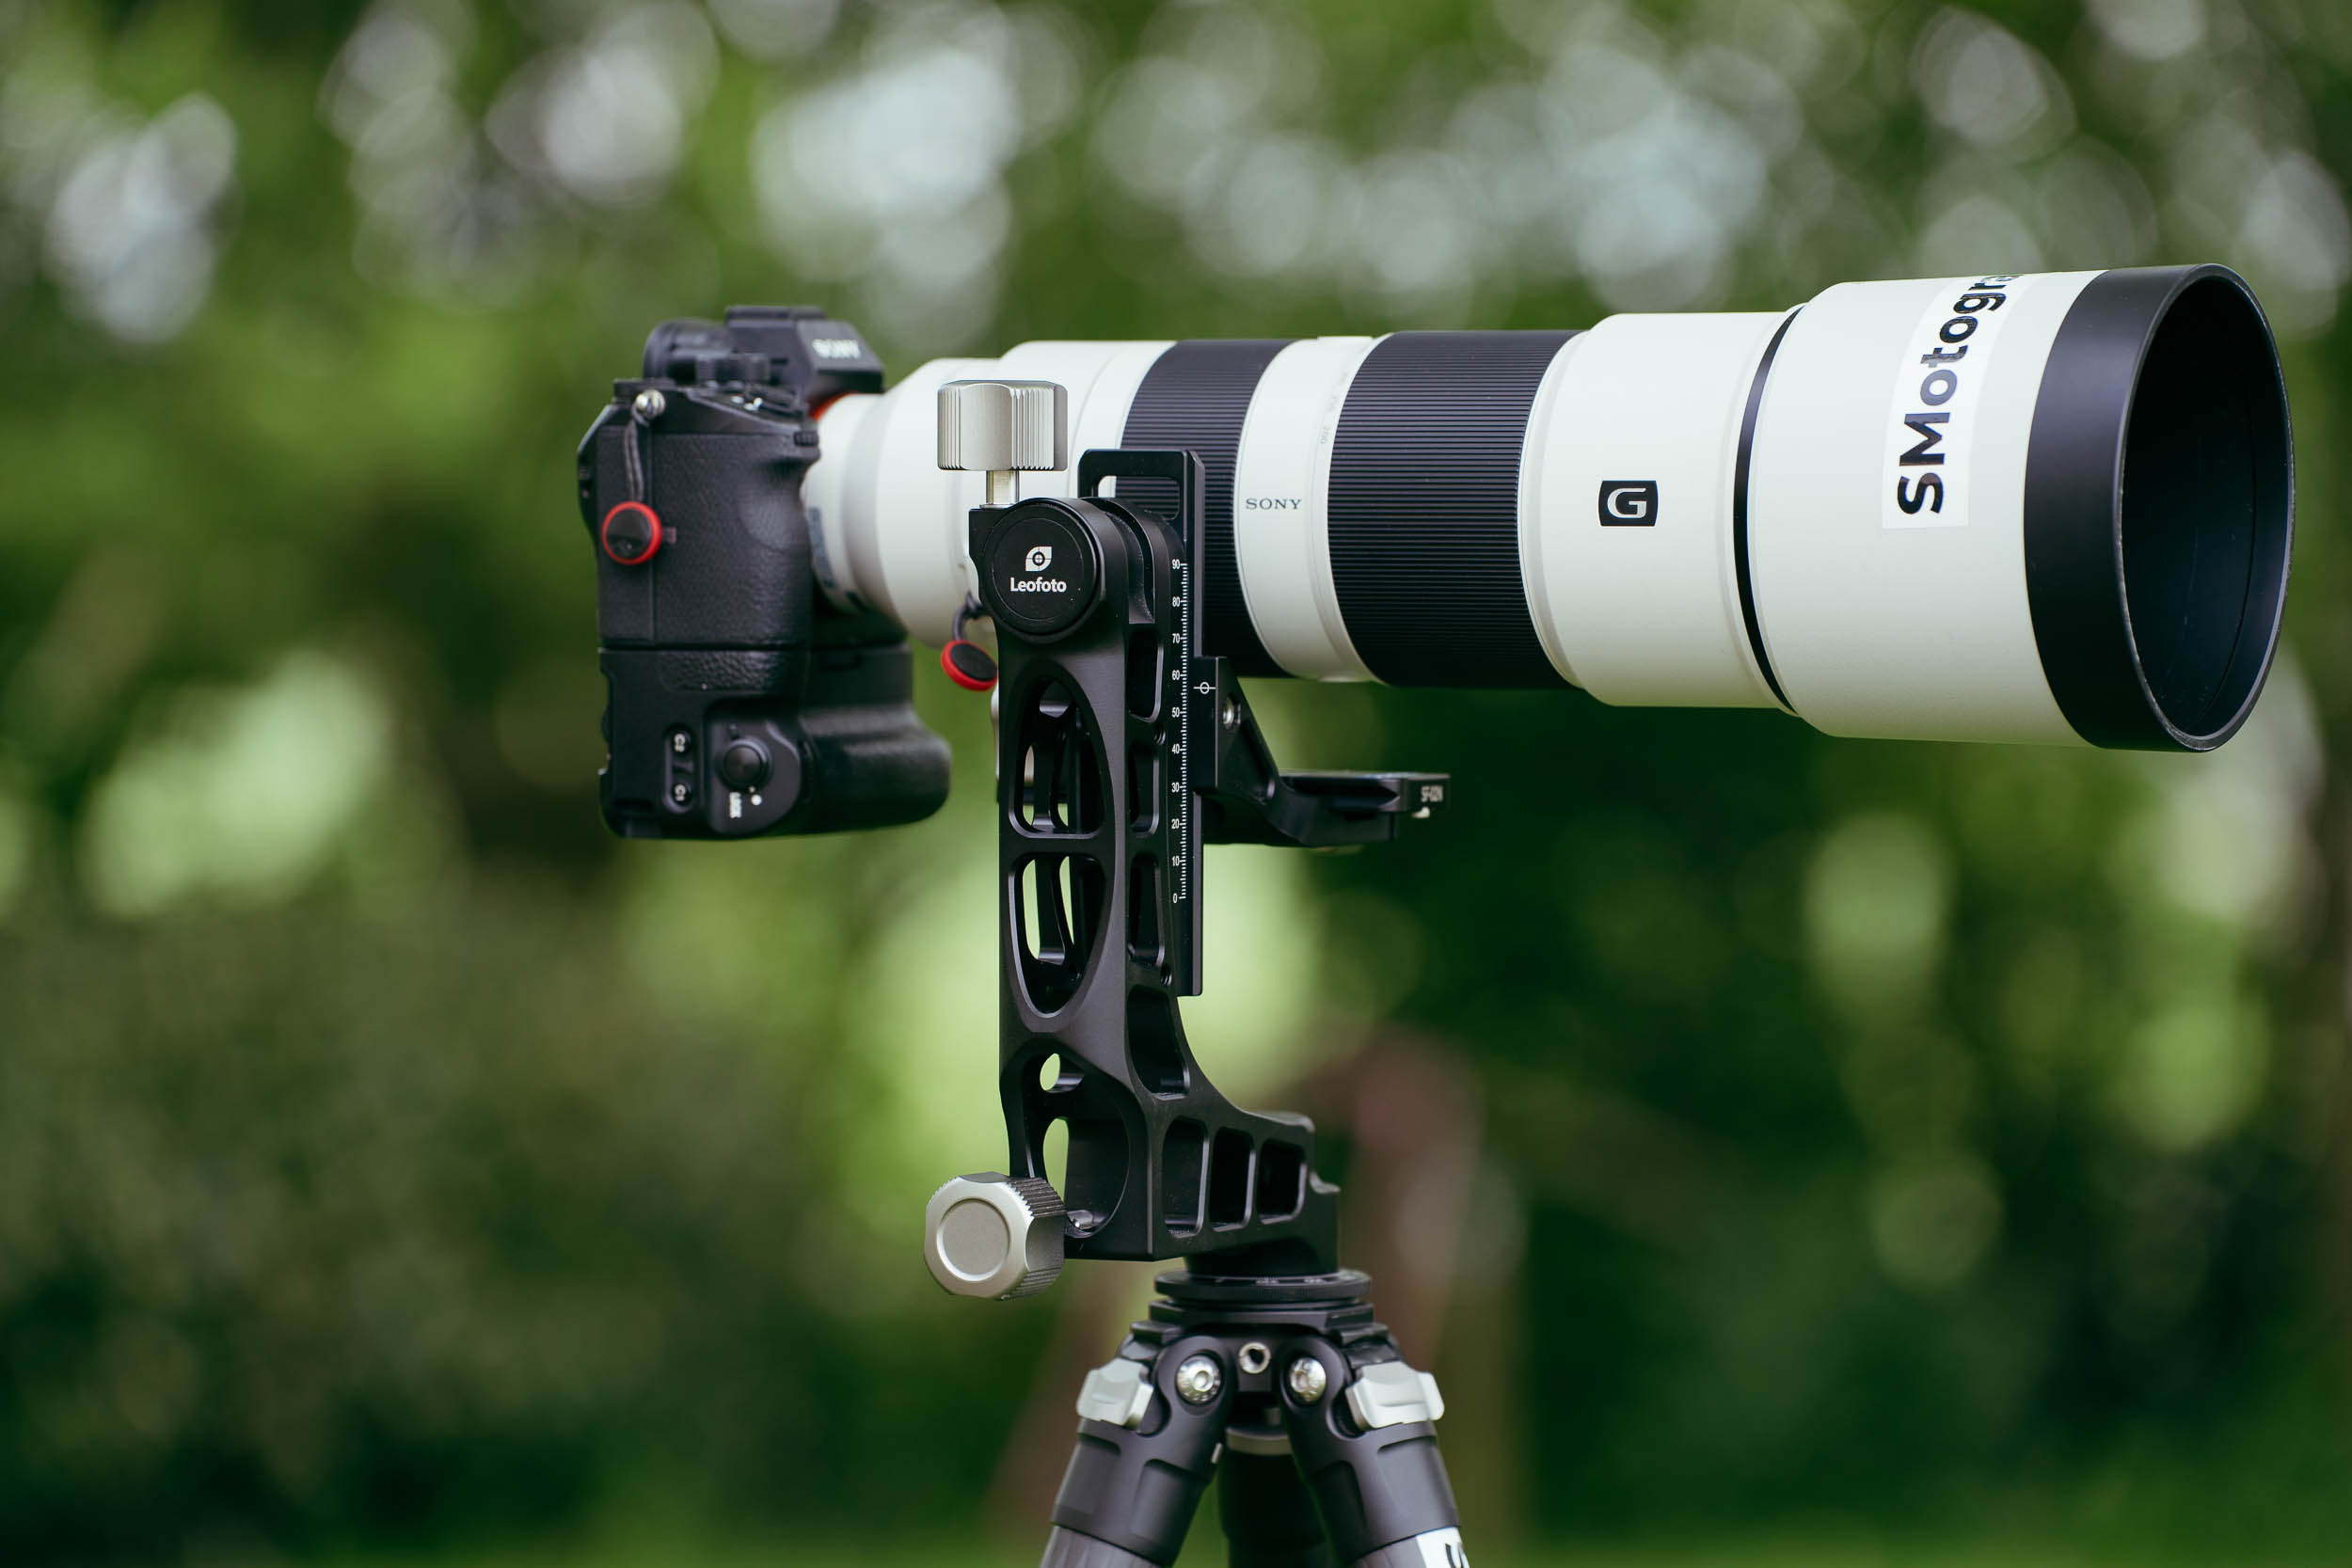
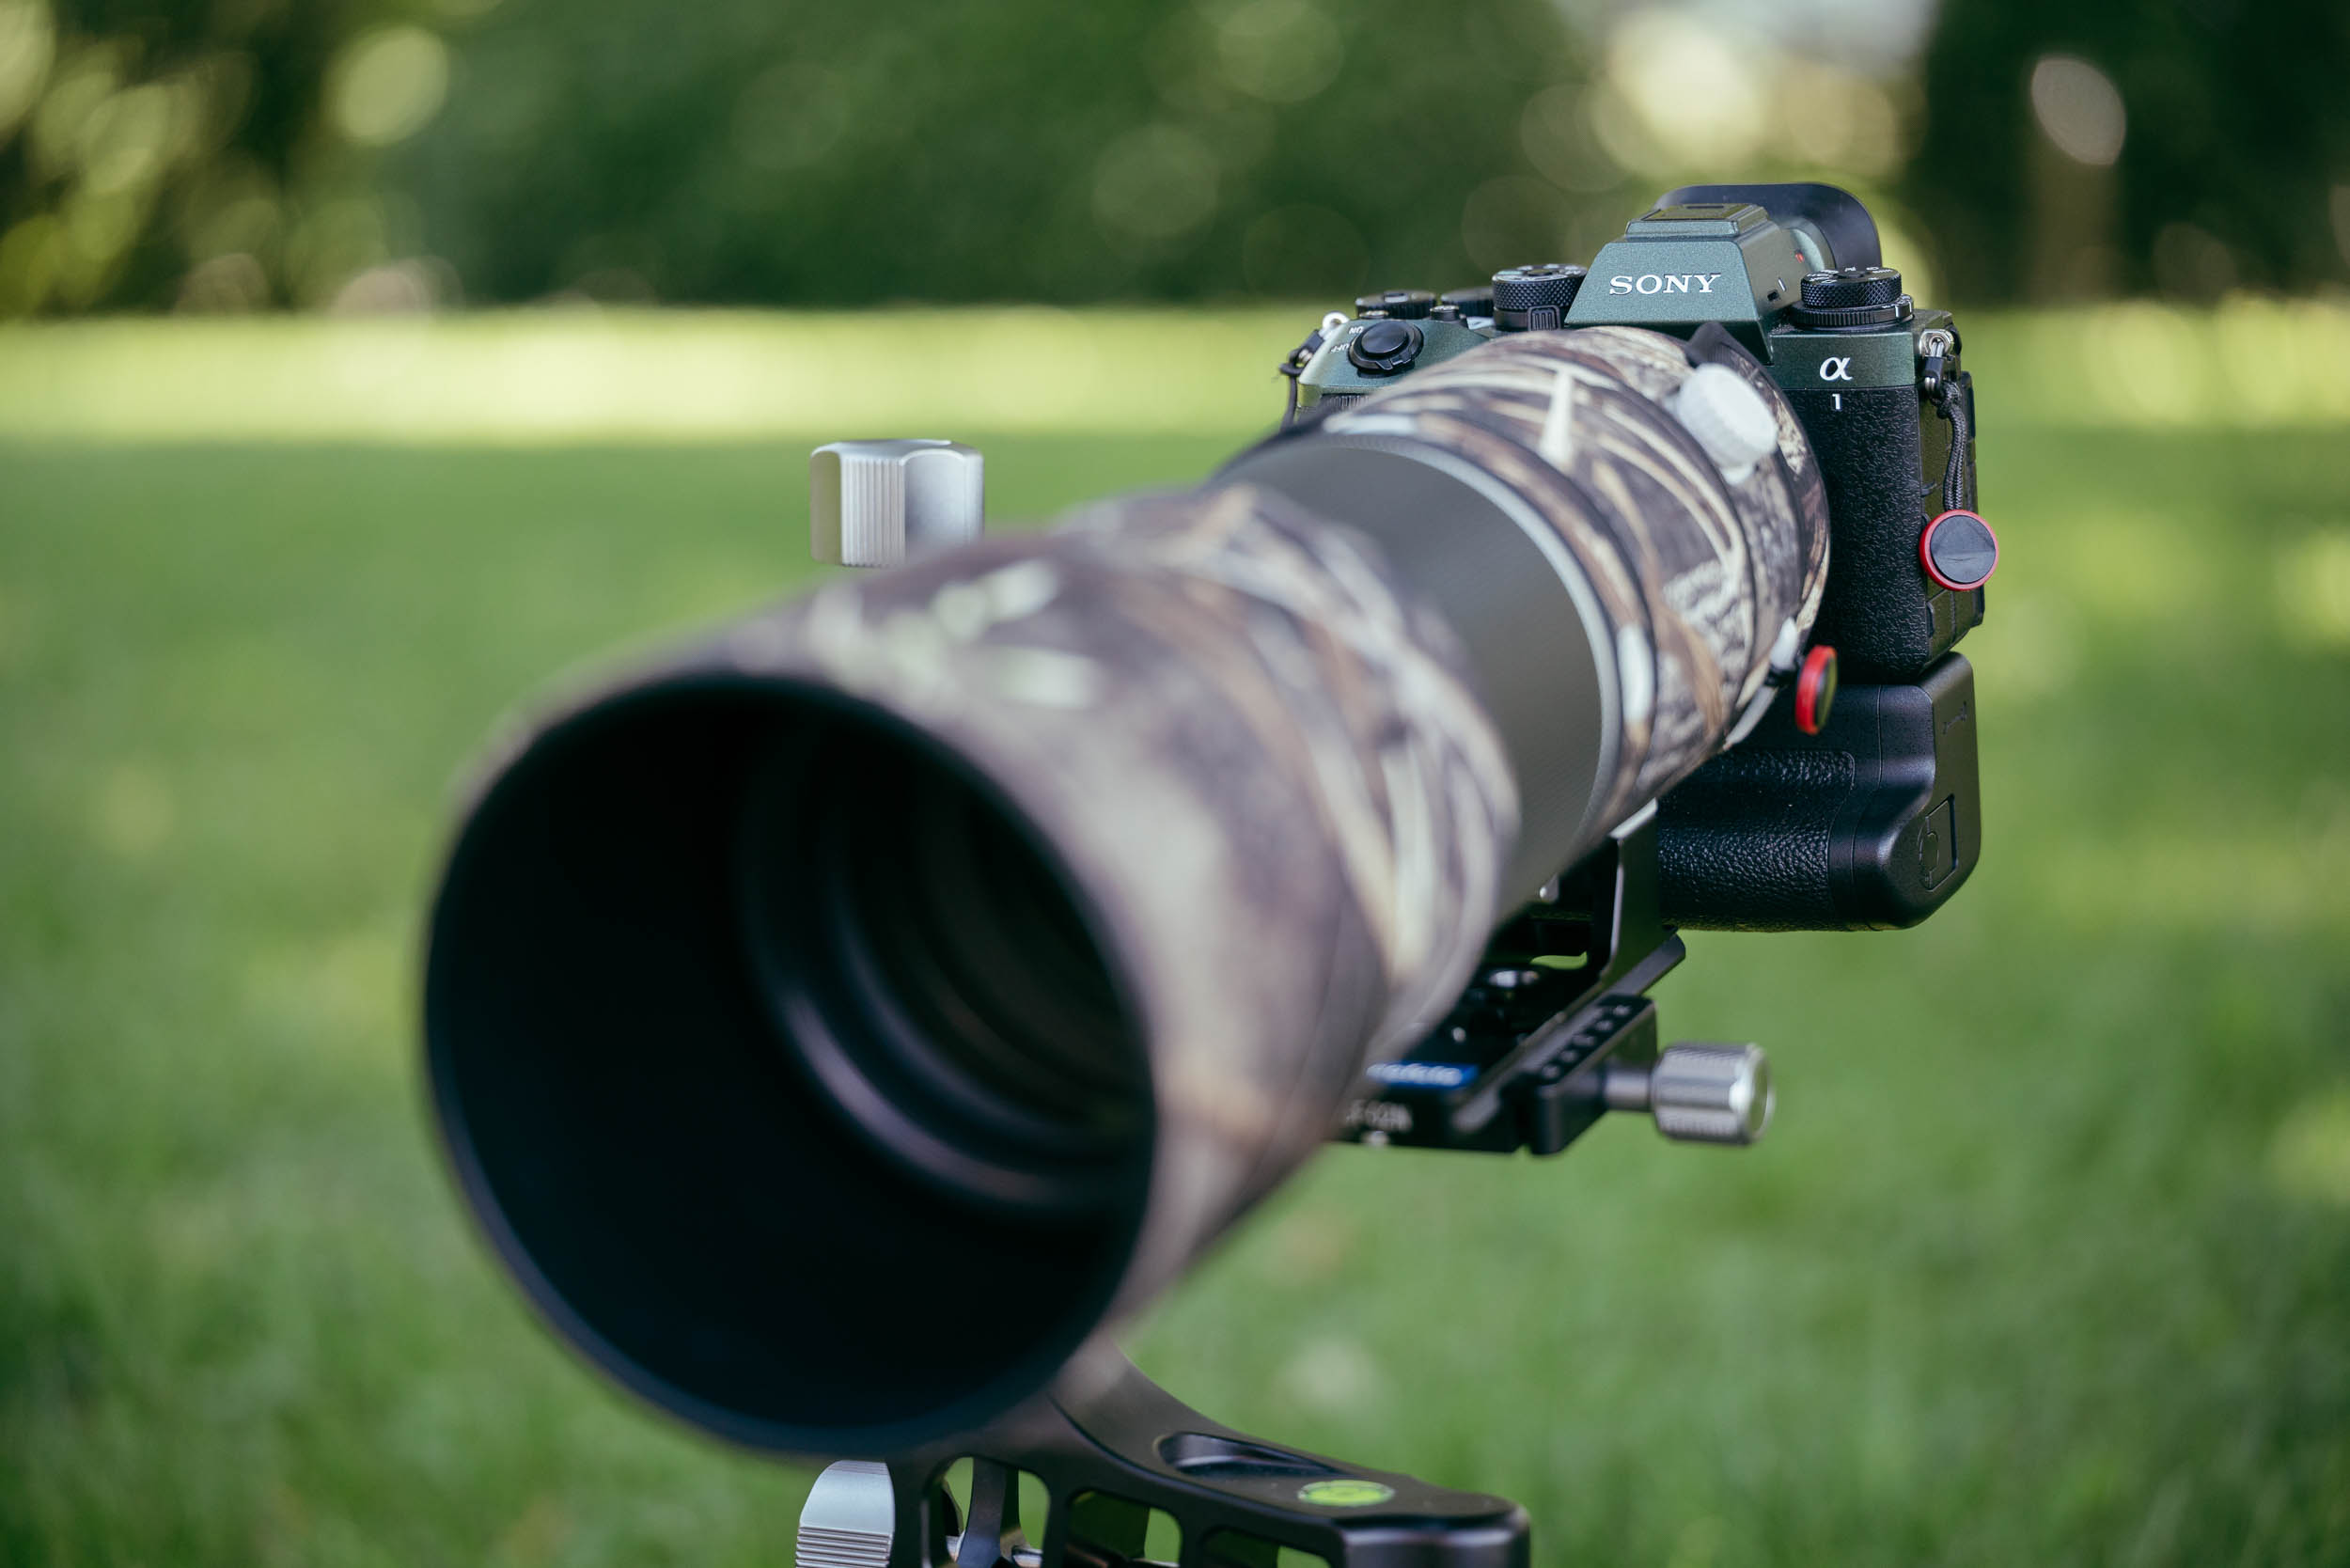
I’ve written in detail about how both perform in practice:

Tripod and Gimbal
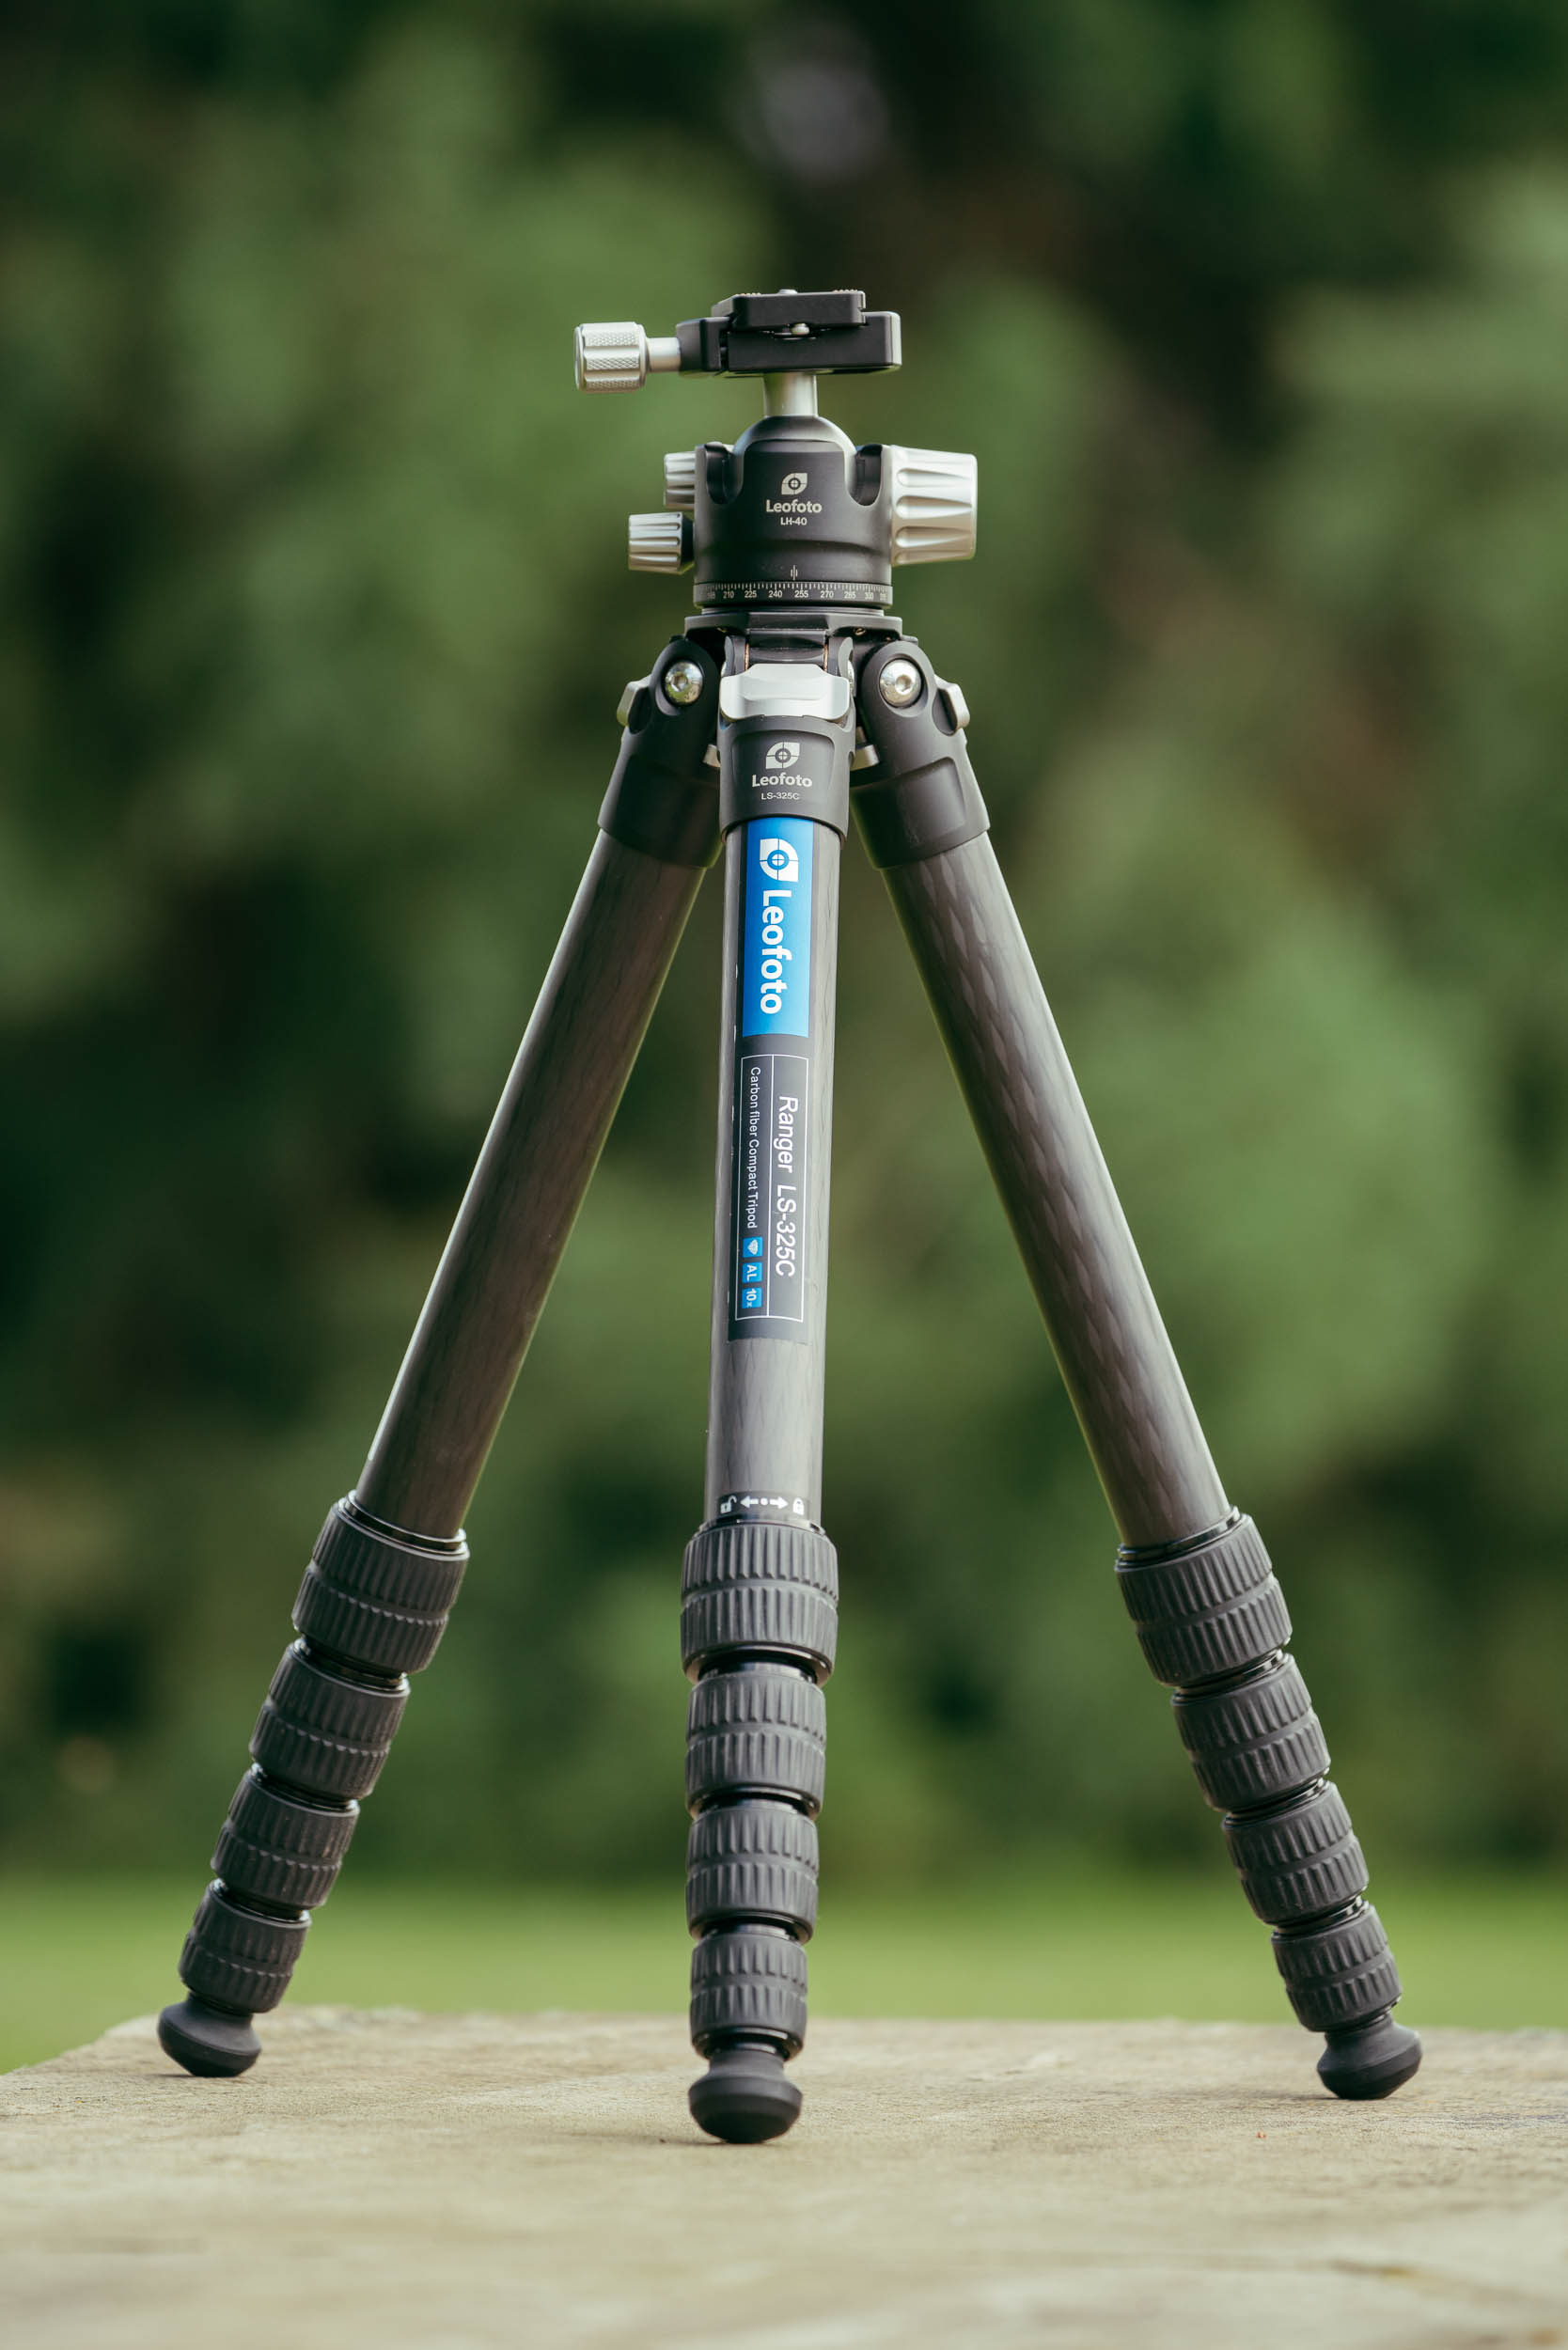
On longer sessions in one spot, I don’t want to hold the weight in my hands for hours. That’s why I mostly work with the Leofoto LS-325C and the Leofoto PG-1 gimbal. With the 200-600mm, the lens moves quickly and smoothly while the tripod carries the weight. When I’m constantly on the move, though, the tripod sometimes stays at home.
In the future I’m planning to get a monopod to cut the weight even further. That’s especially handy on hikes and scouting trips, when I don’t want to set up the tripod every time. A monopod is lighter, quicker to deploy and still offers a decent amount of stability.
Binoculars
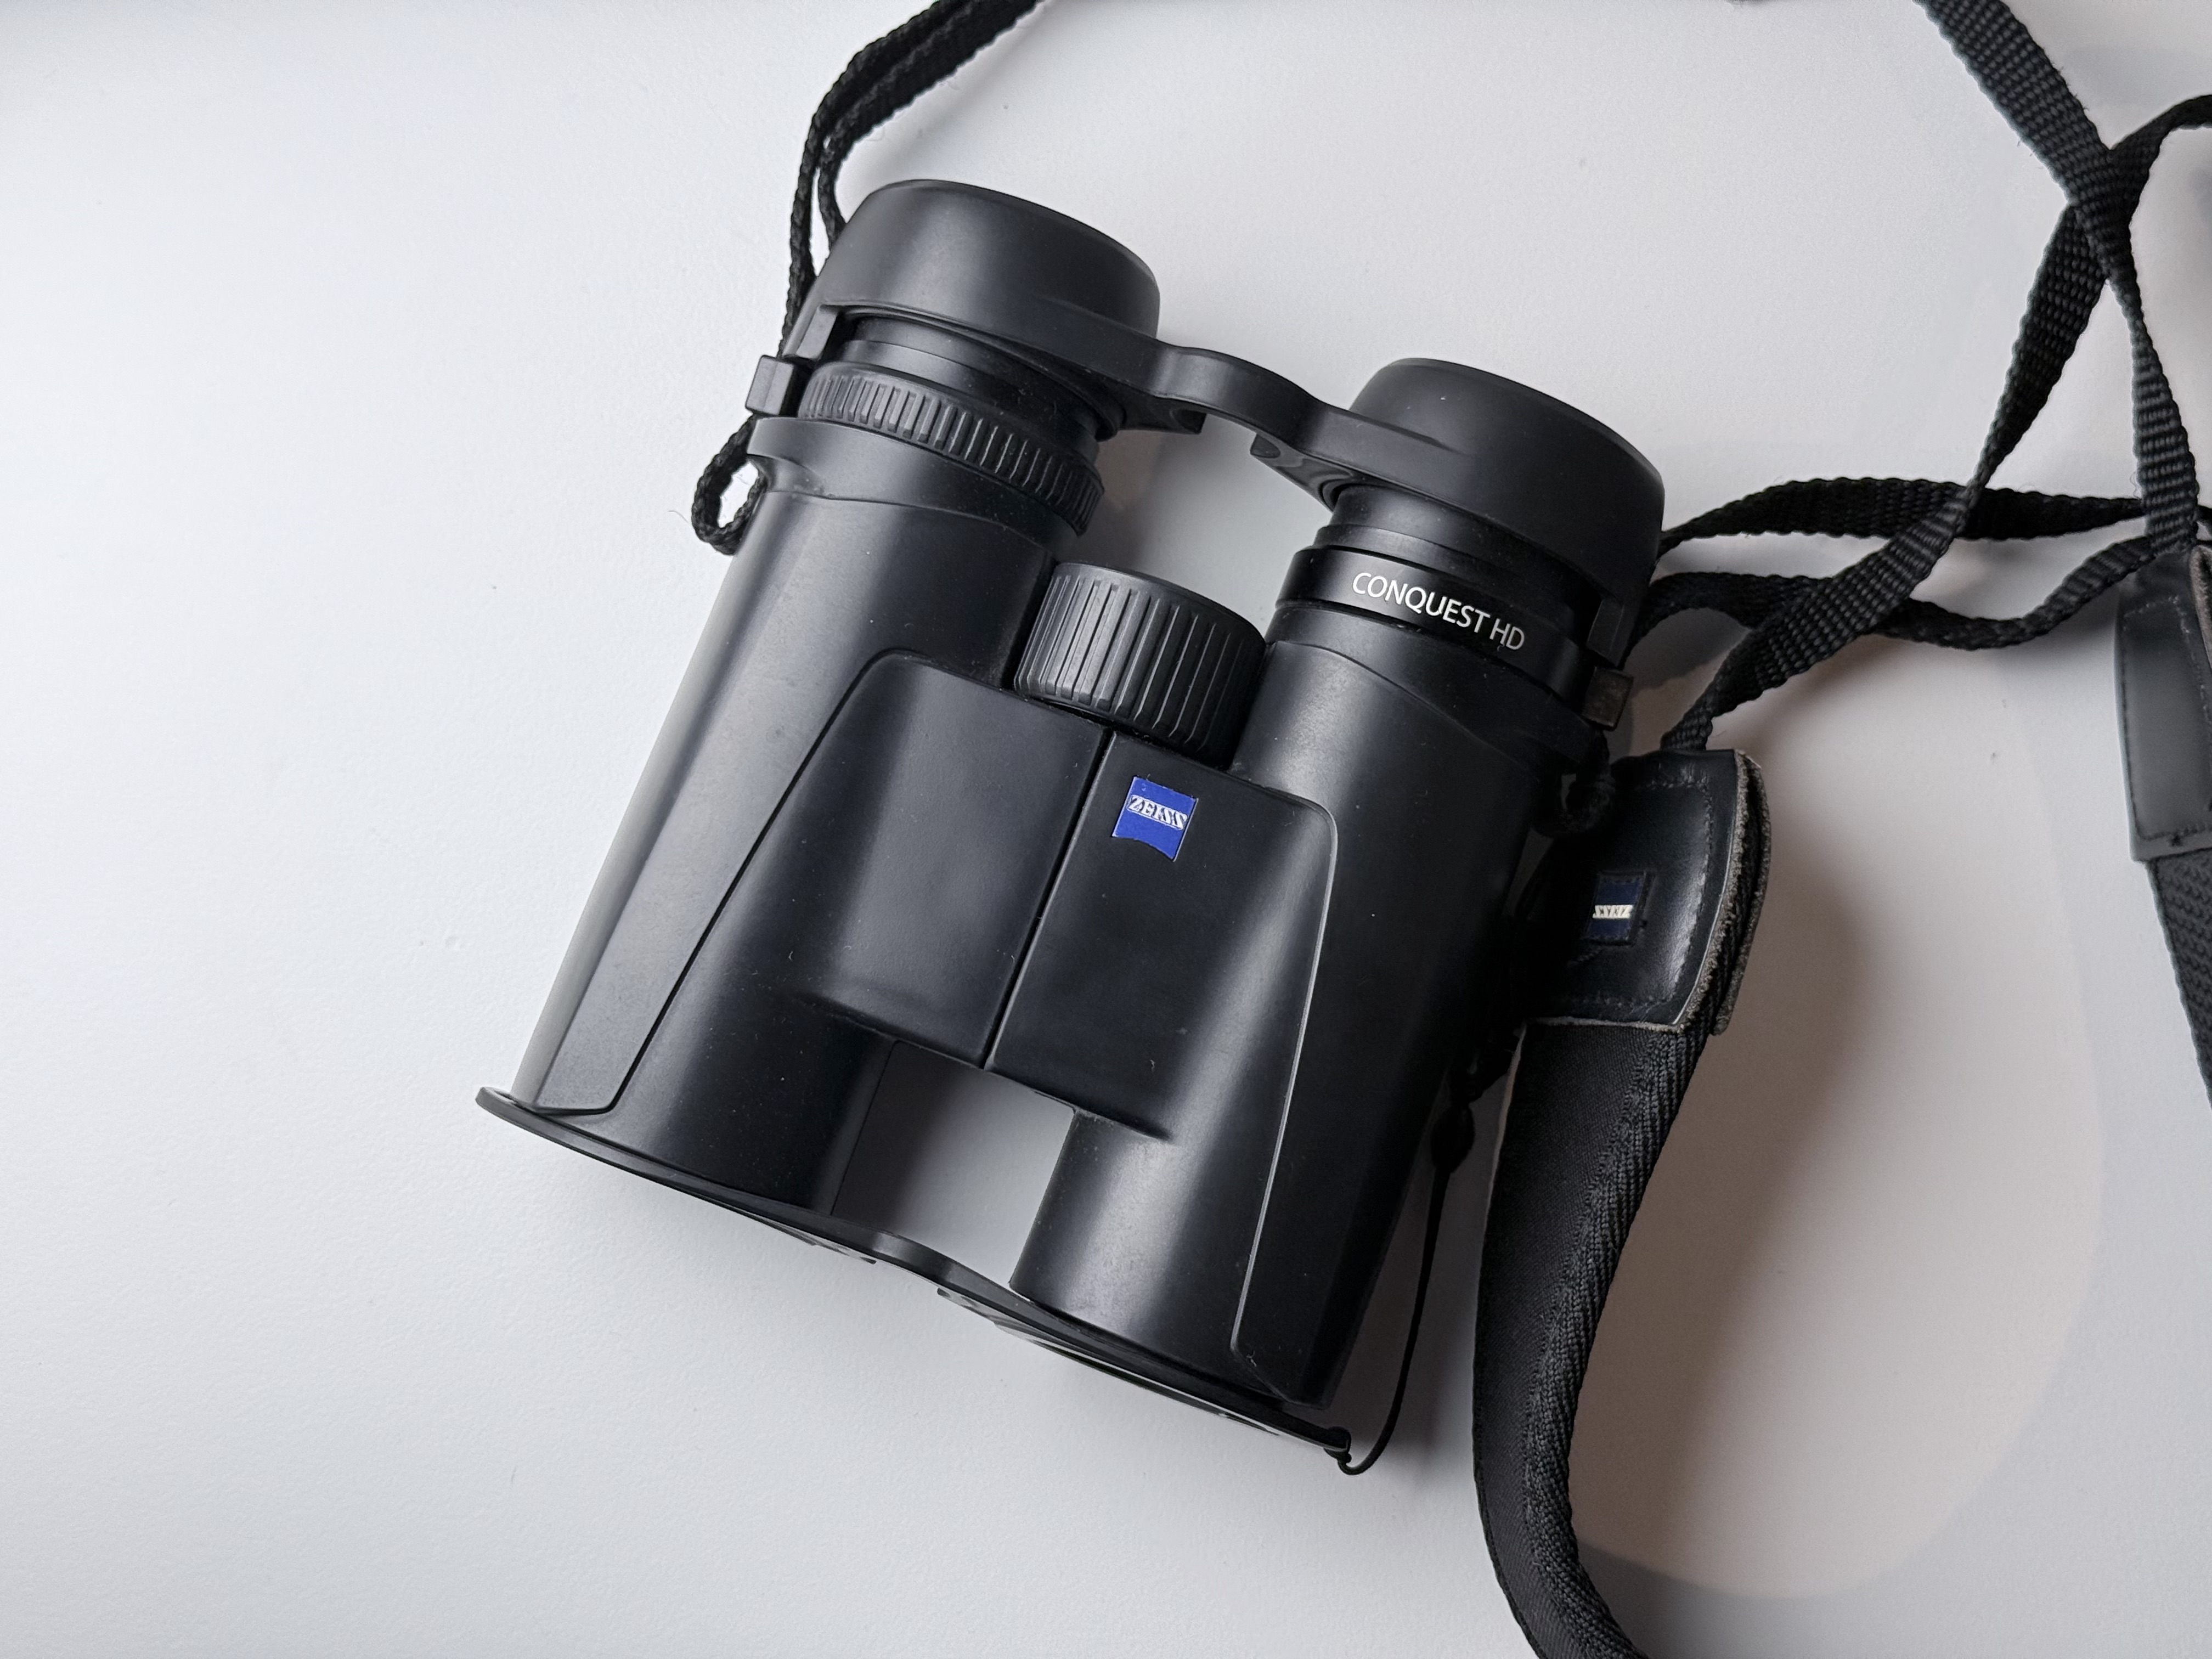
At least as important as the camera: a good pair of binoculars. I currently carry the Zeiss Conquest HD. When scouting, I don’t want to unpack the camera every time just to check a bird in the distance. With binoculars I scan the surroundings faster and watch behaviour without photographing right away.
Camouflage
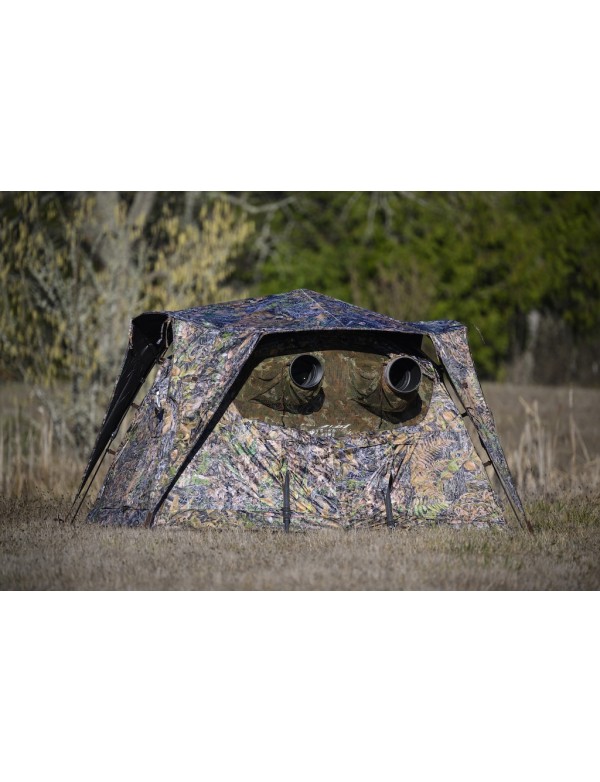
Depending on the species and situation, my Tragopan hide or a camouflage net comes along, especially when I already know where I want to photograph and will stay in one place for a while. With shy species it makes a big difference, and I can watch the animals for a long time without having to move constantly. The downside: a hide adds weight and bulk. For spontaneous trips it’s usually too much.
The firecrests from my 200-600mm report, for example, were taken from under a camouflage net: in the forest among dead trees, during the breeding season. The birds kept switching between branches and singing to attract a mate, without being bothered by me.
Seating
Anyone who has waited for hours for a kingfisher or woodpecker knows how important a comfortable seat is. That’s why a Walkstool almost always comes along: it folds up small, is light and barely noticeable in the pack. In the hide, I’m glad every time that I don’t have to sit on the ground.
The Little Things That Make a Difference
Besides the camera, lenses and tripod, a few things now end up in my backpack automatically:
- Cotton Carrier harness
- Spare batteries and a power bank
- Insect repellent and sunscreen
- Drinks and snacks
- Sleeping pad
- Swiss Army knife
None of this is exciting – but on long trips it’s indispensable. You usually only miss insect repellent and sunscreen when you don’t have them. And who wants to head home early because of hunger or thirst before the bird shows up?
I was still testing the Cotton Carrier in the 200-600mm post, and I’m currently trying out the harness in different situations. What I can already say: it’s much more comfortable than a camera strap.
A power bank and spare batteries are part of the basic kit too. With eBird, Merlin, BirdWeather and PhotoPills, my phone has become a fixed part of my gear, so a dead battery at the wrong moment would be all the more annoying.
Patience Beats Technology
As important as good gear is: the best camera is no substitute for patience.
I often spend more time observing than photographing. Which branches do the birds prefer? When do they go foraging? From which direction do they usually fly in? The better I know a species’ behaviour, the more likely I am to see the right moment coming.
Sometimes nothing happens for an hour, and then the bird suddenly sits exactly where you want it for a few seconds – and of course you have to be ready. That’s why many of my favourite images weren’t made on the first visit, but only after hours or several attempts.
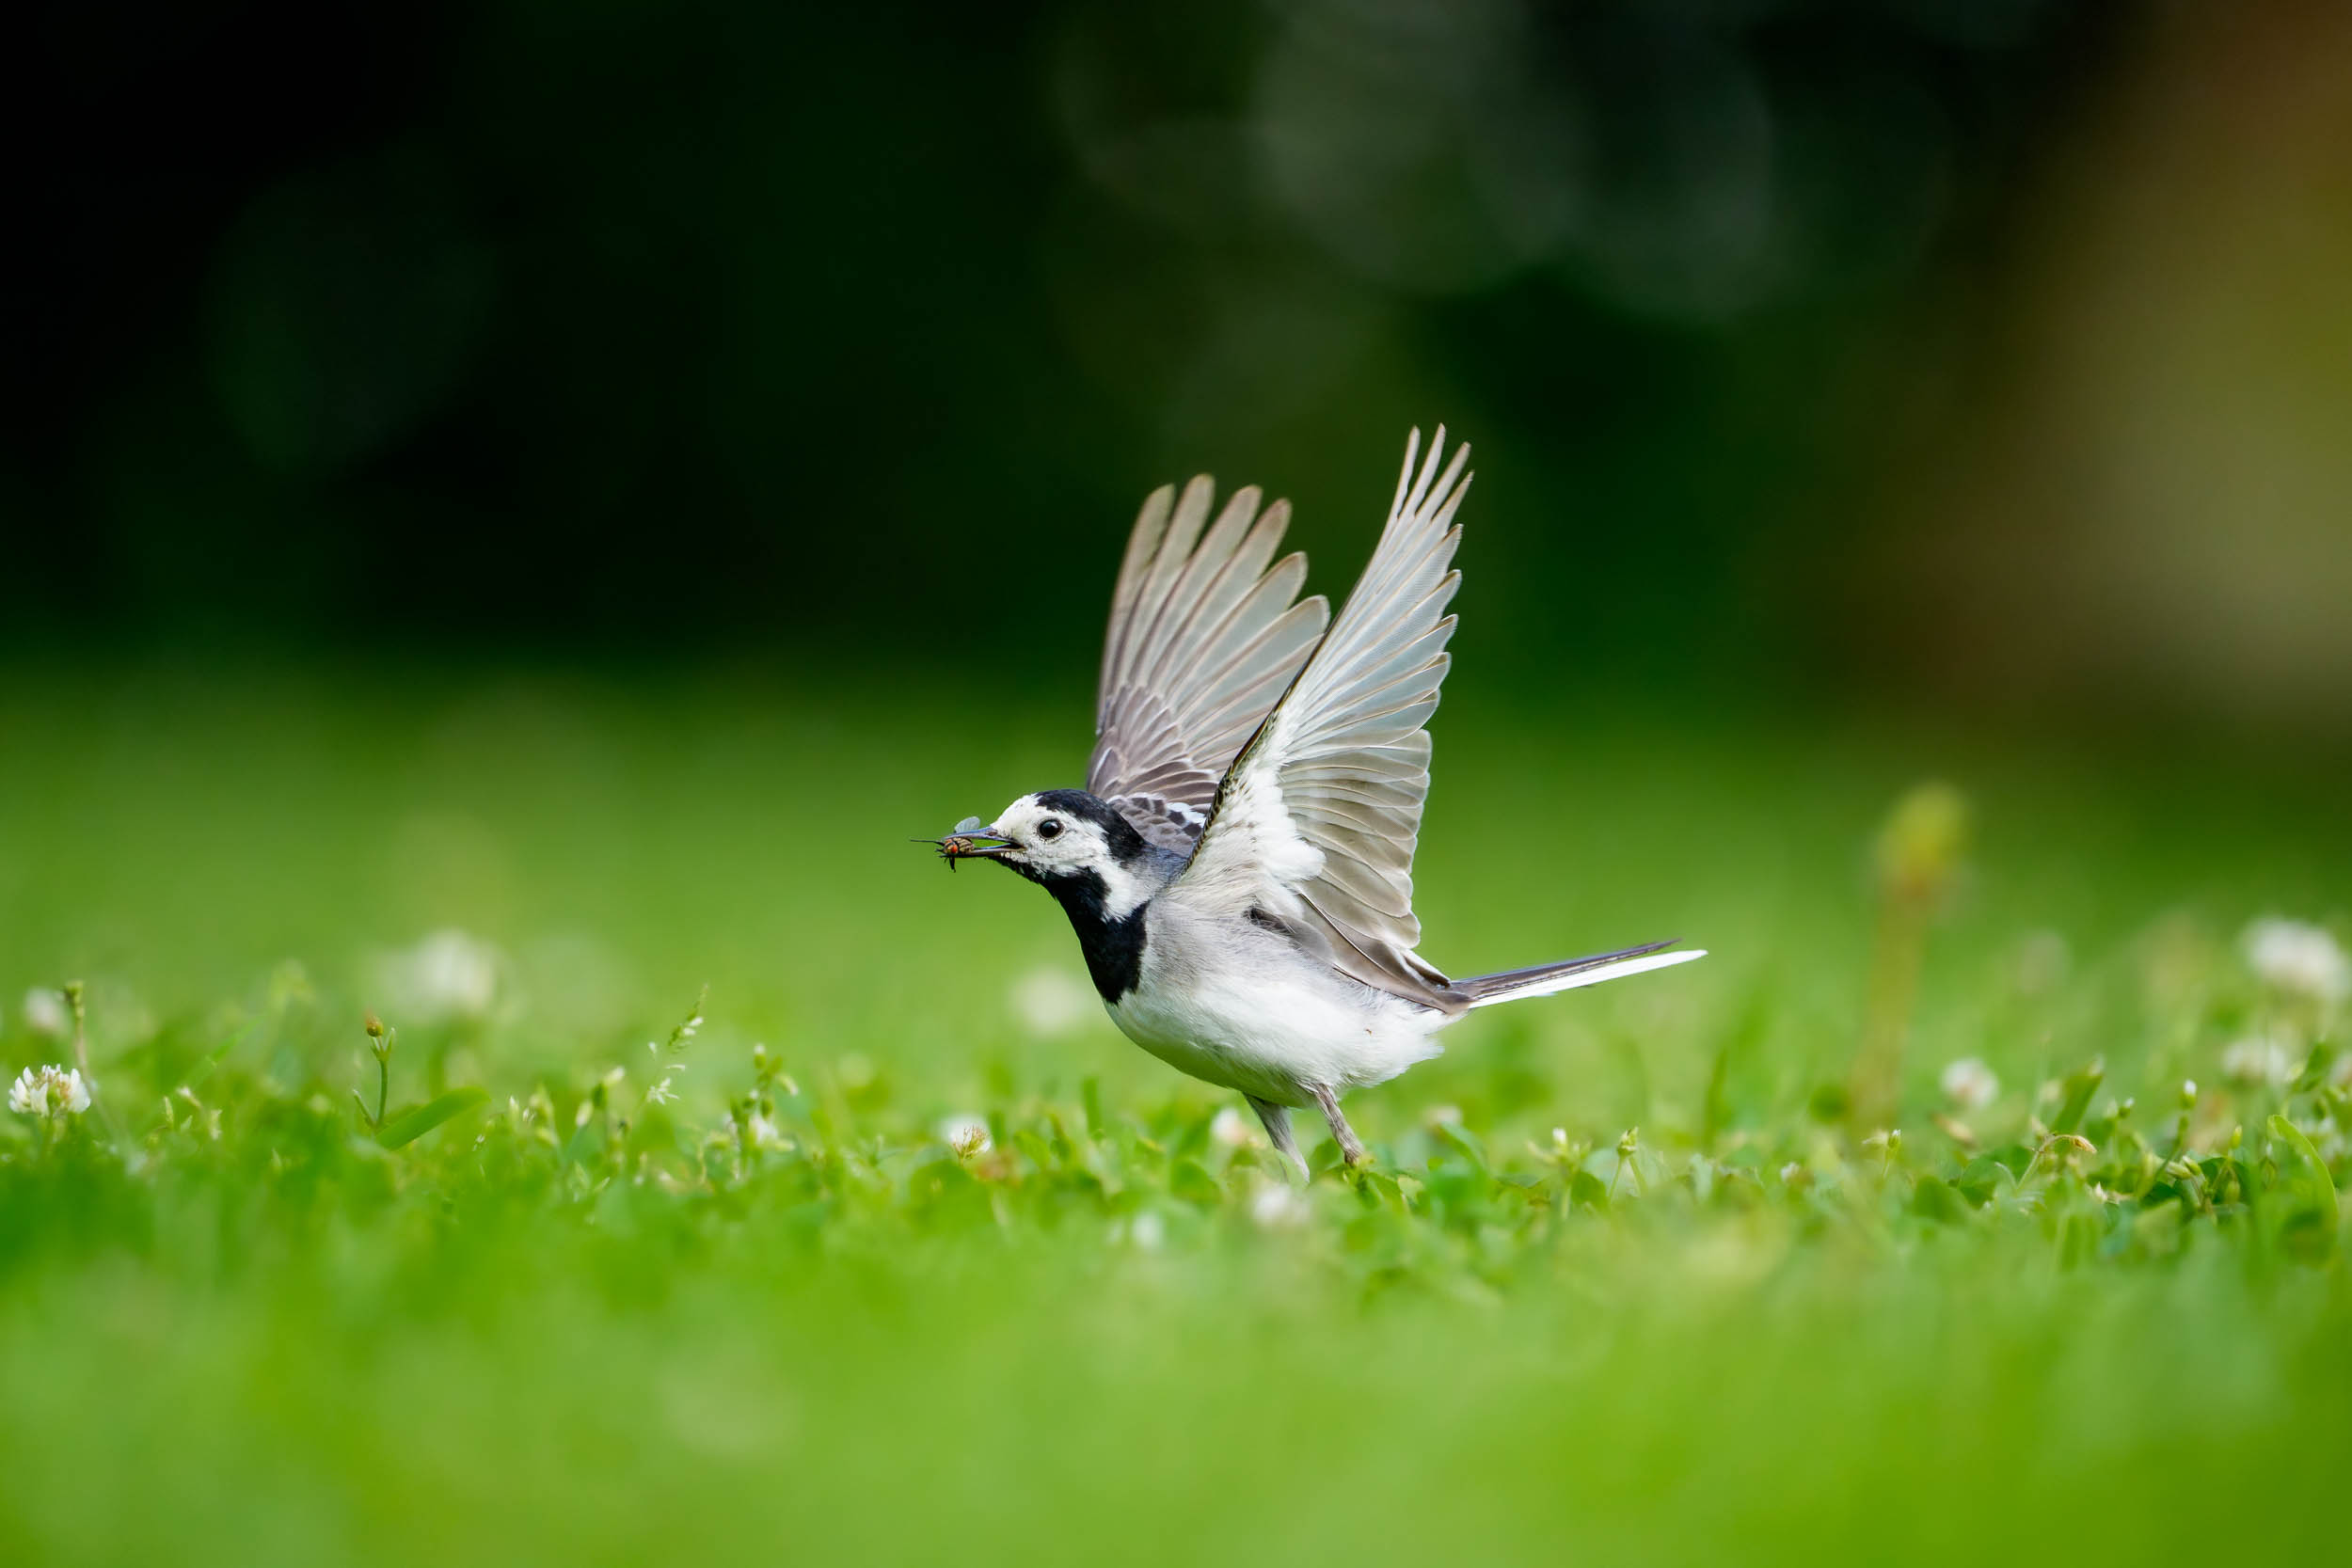
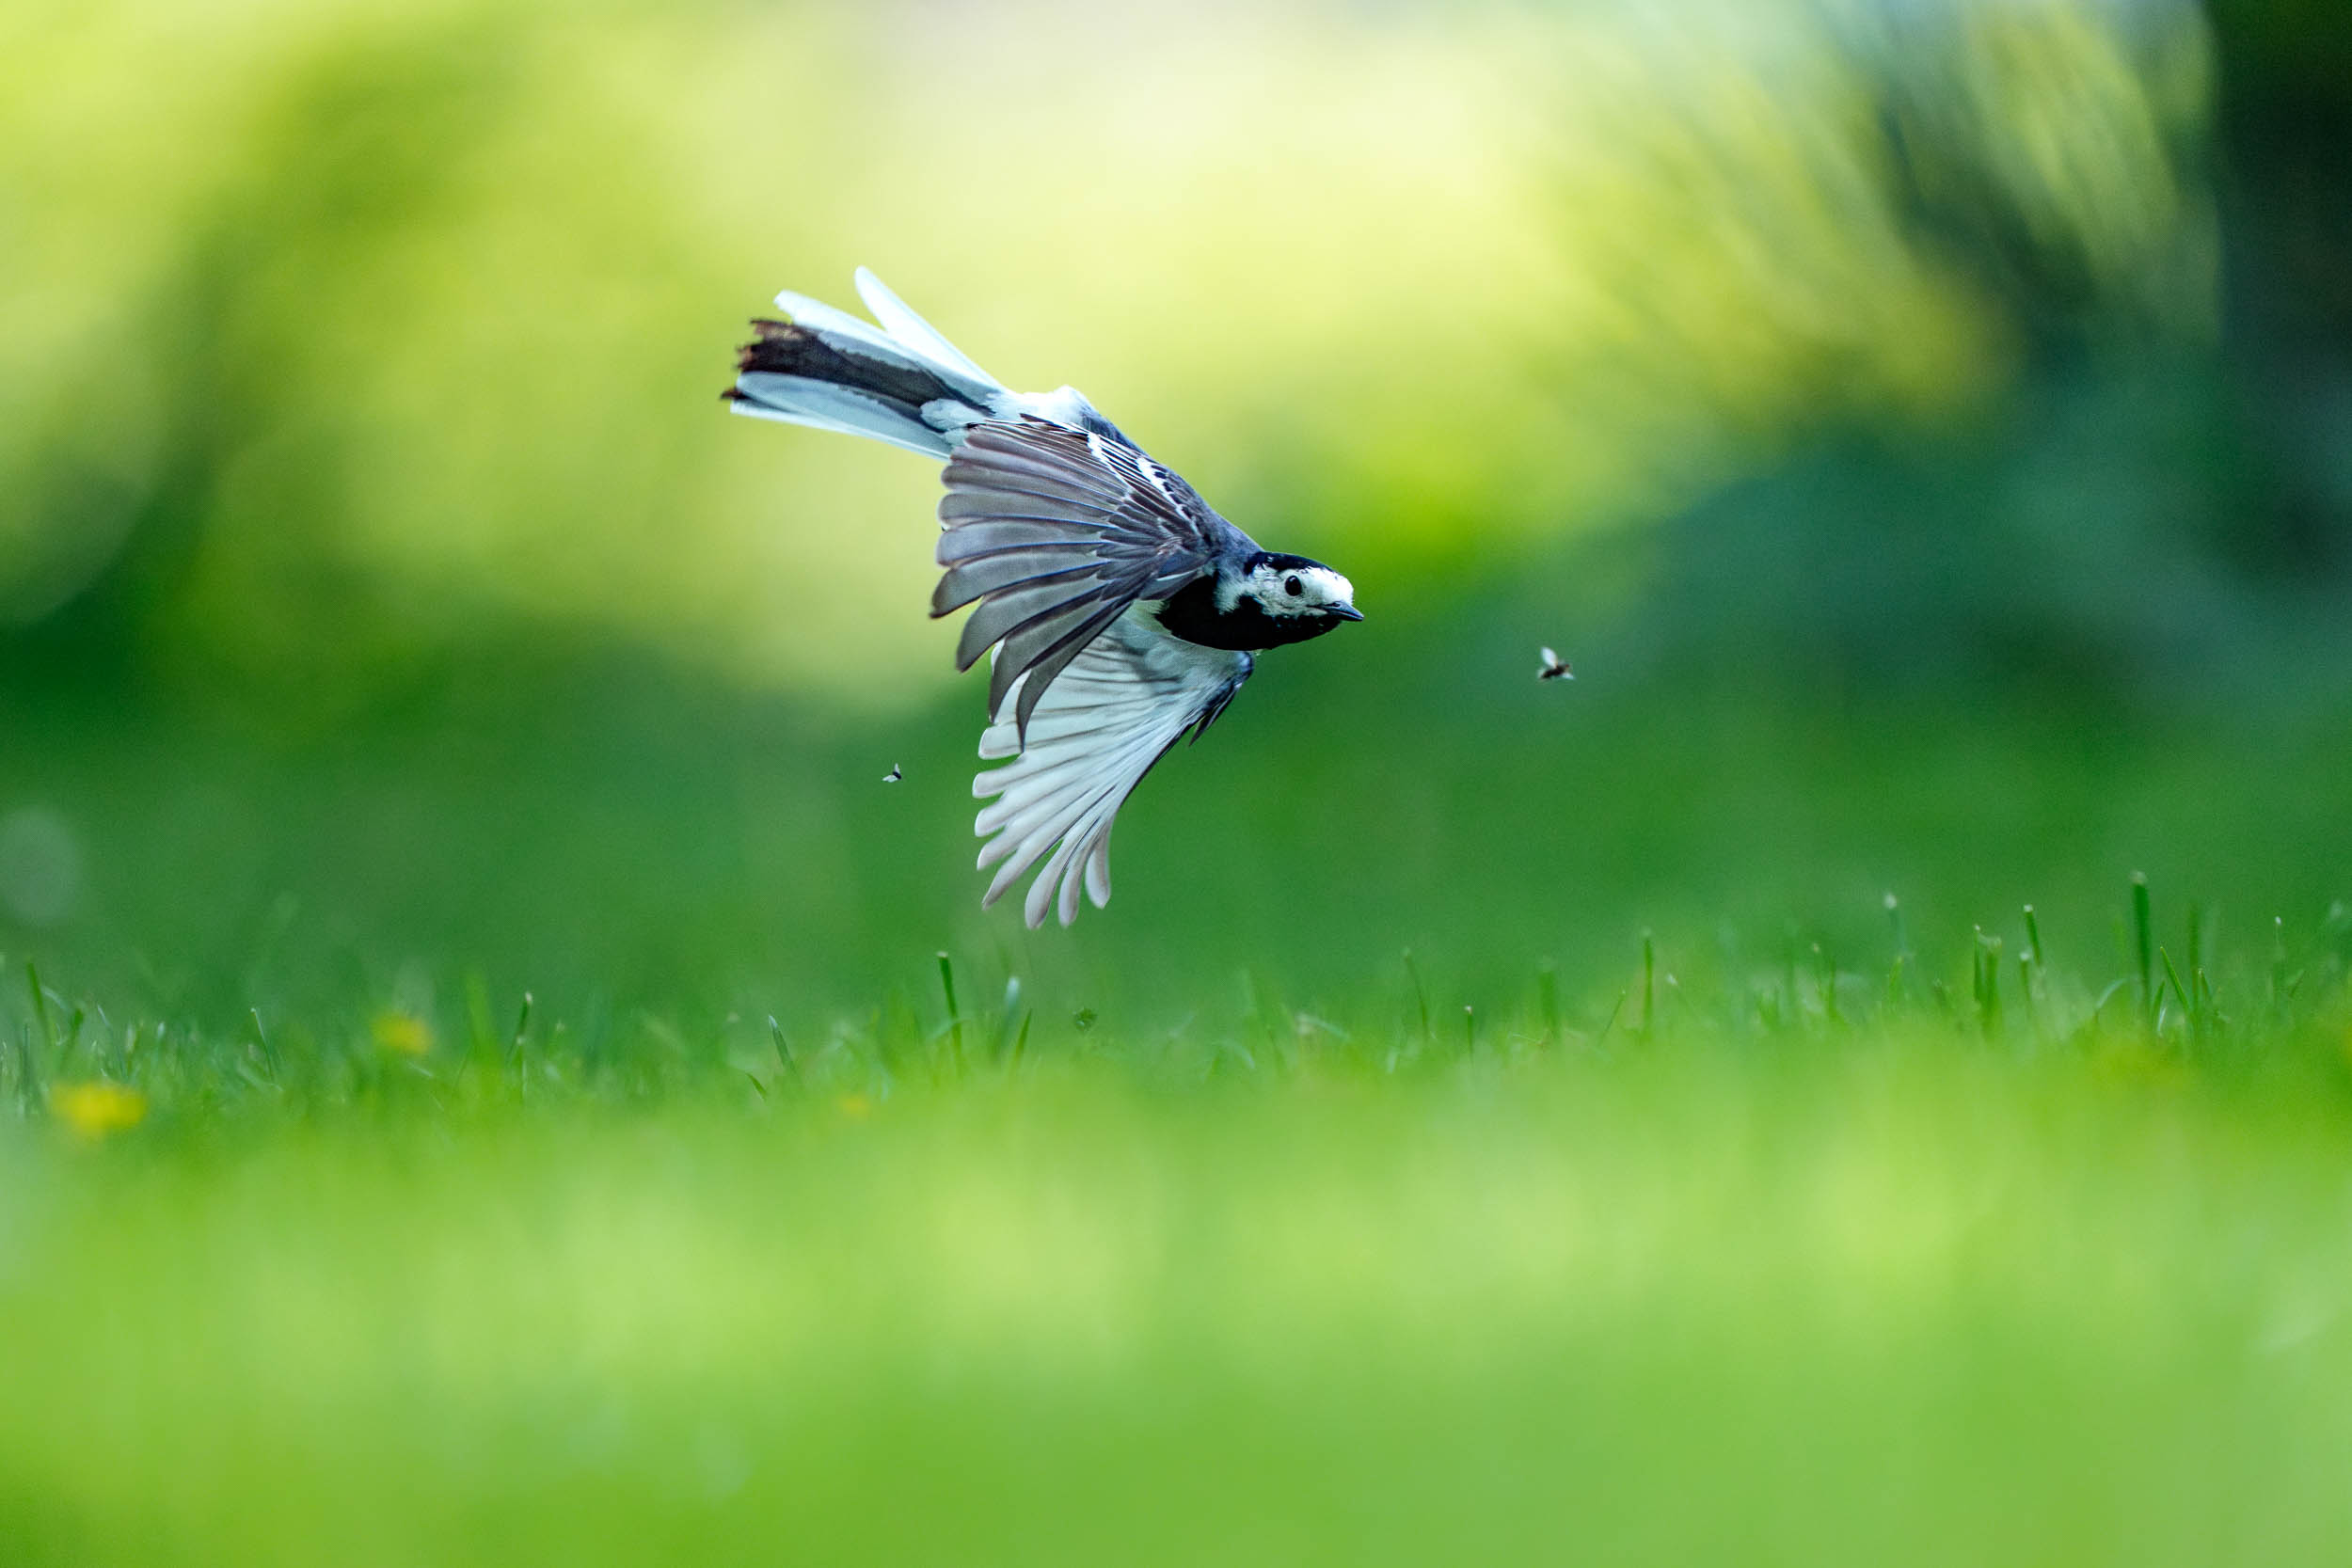
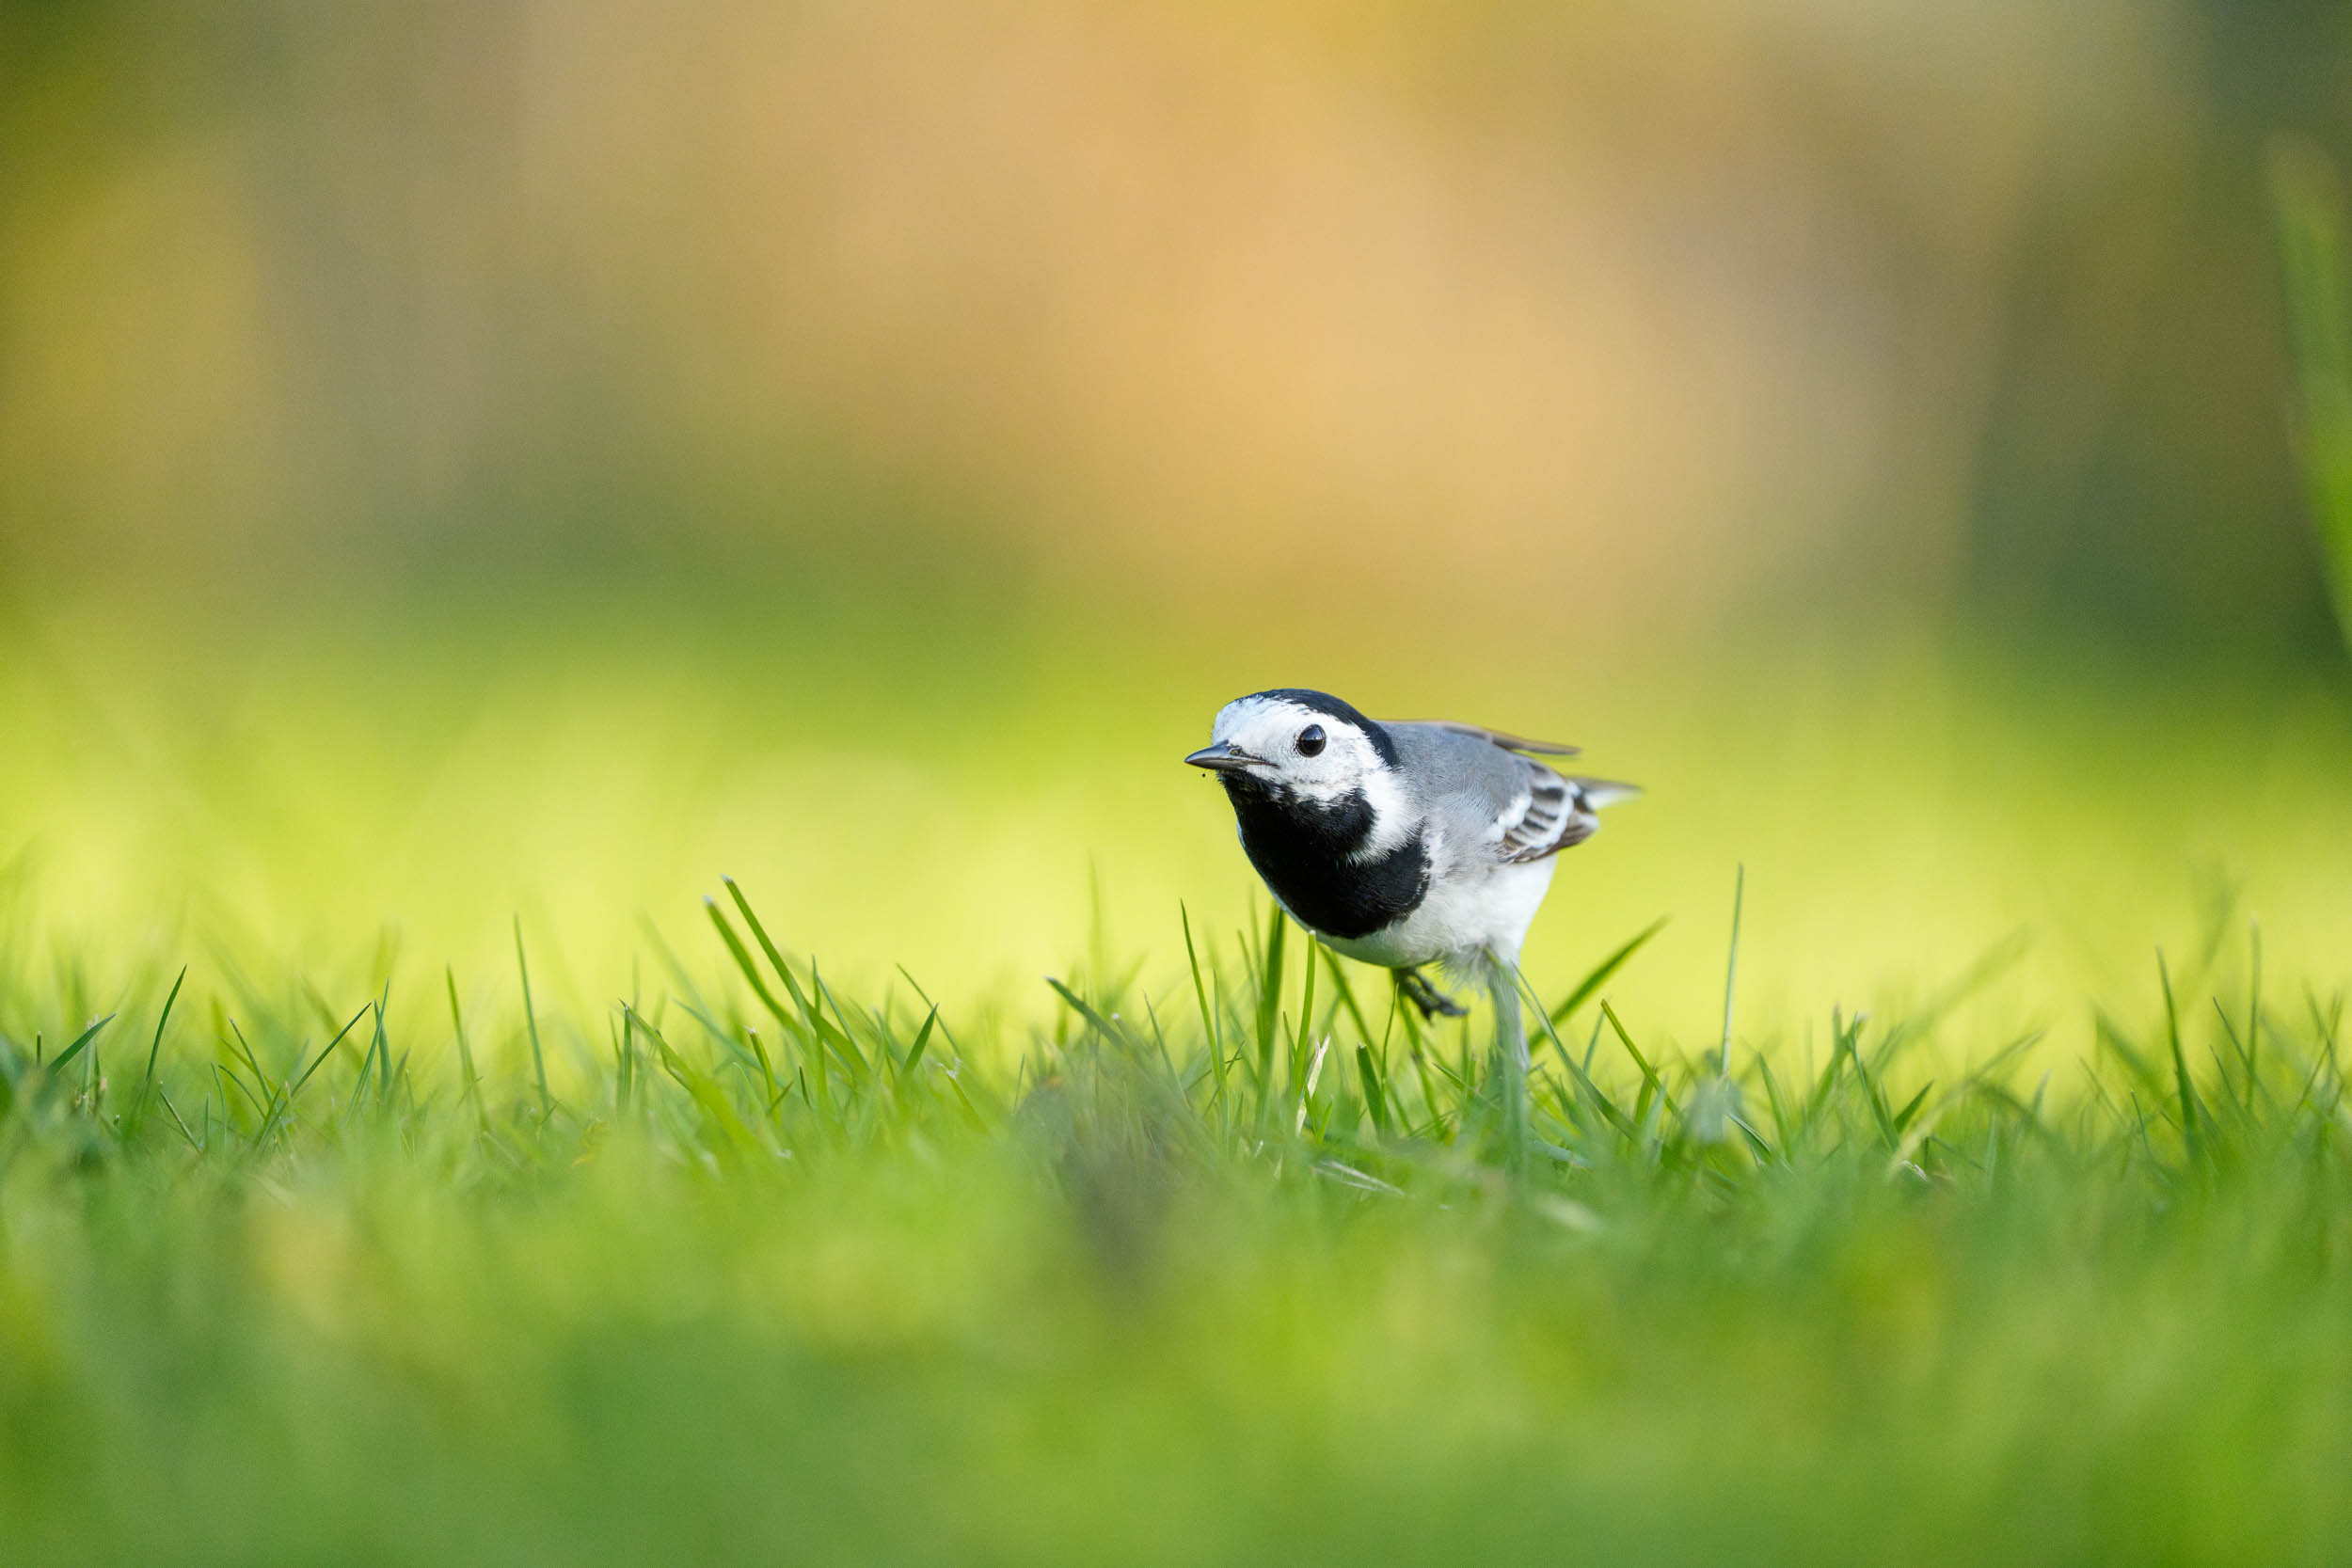
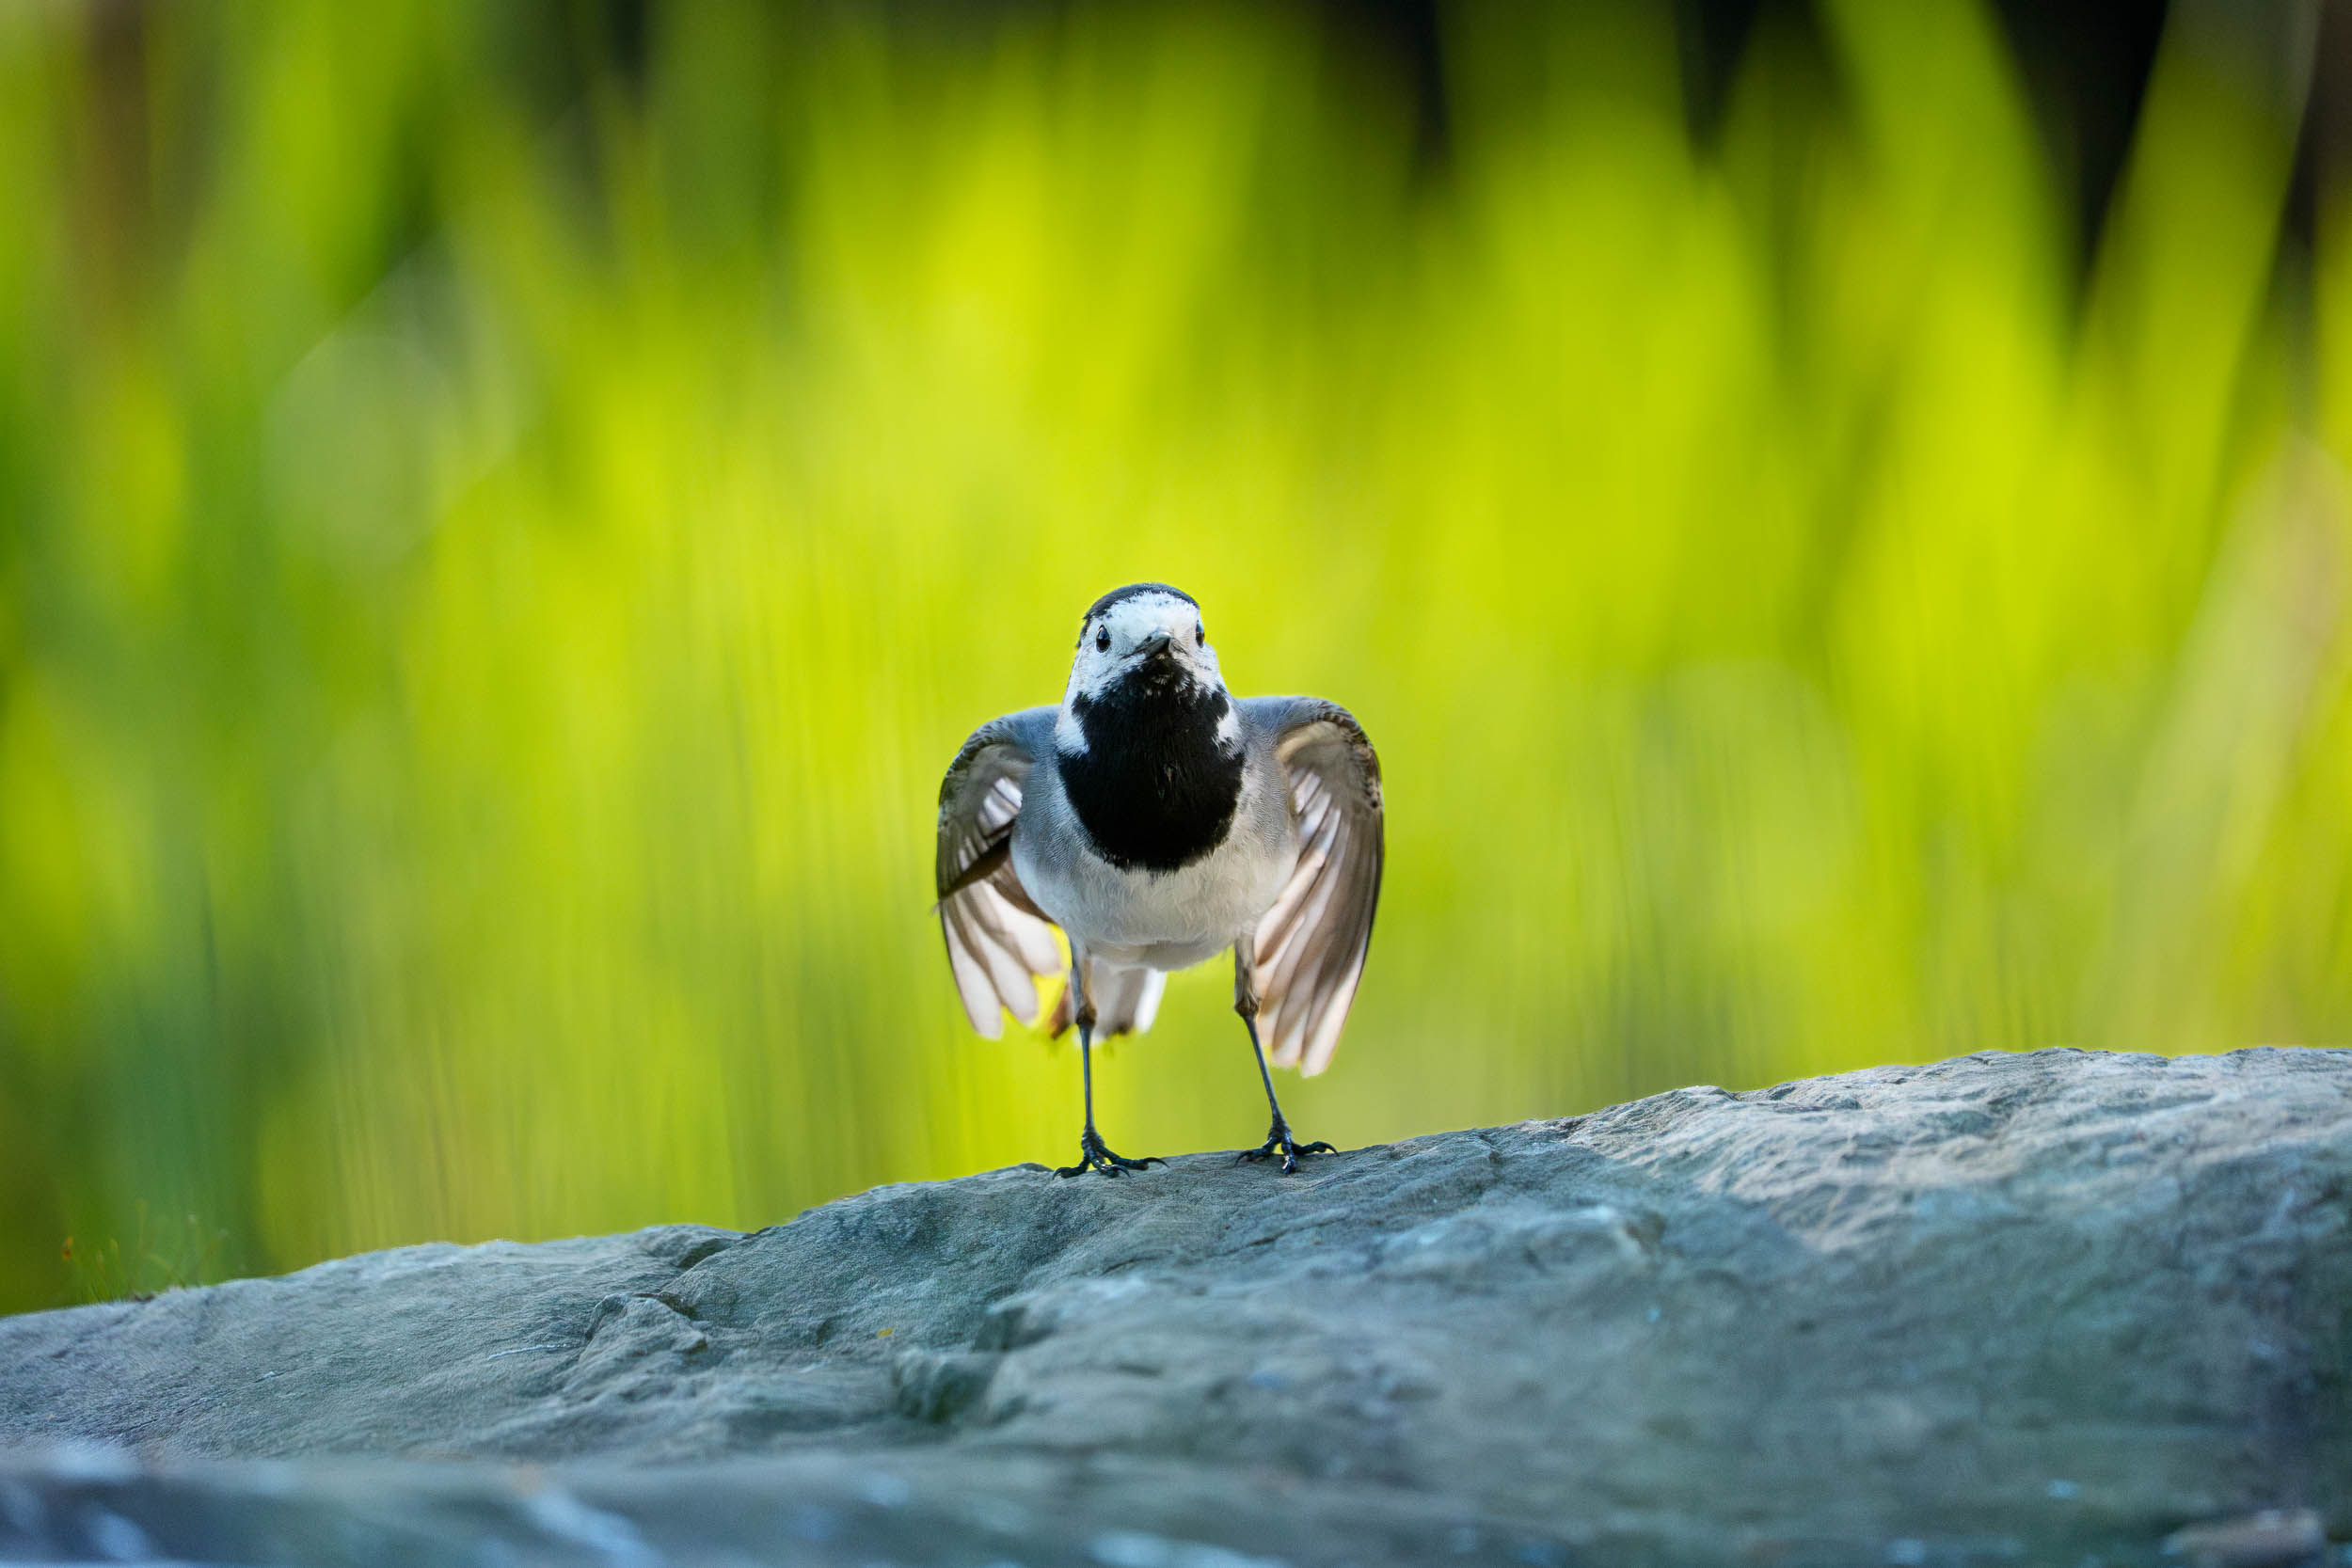
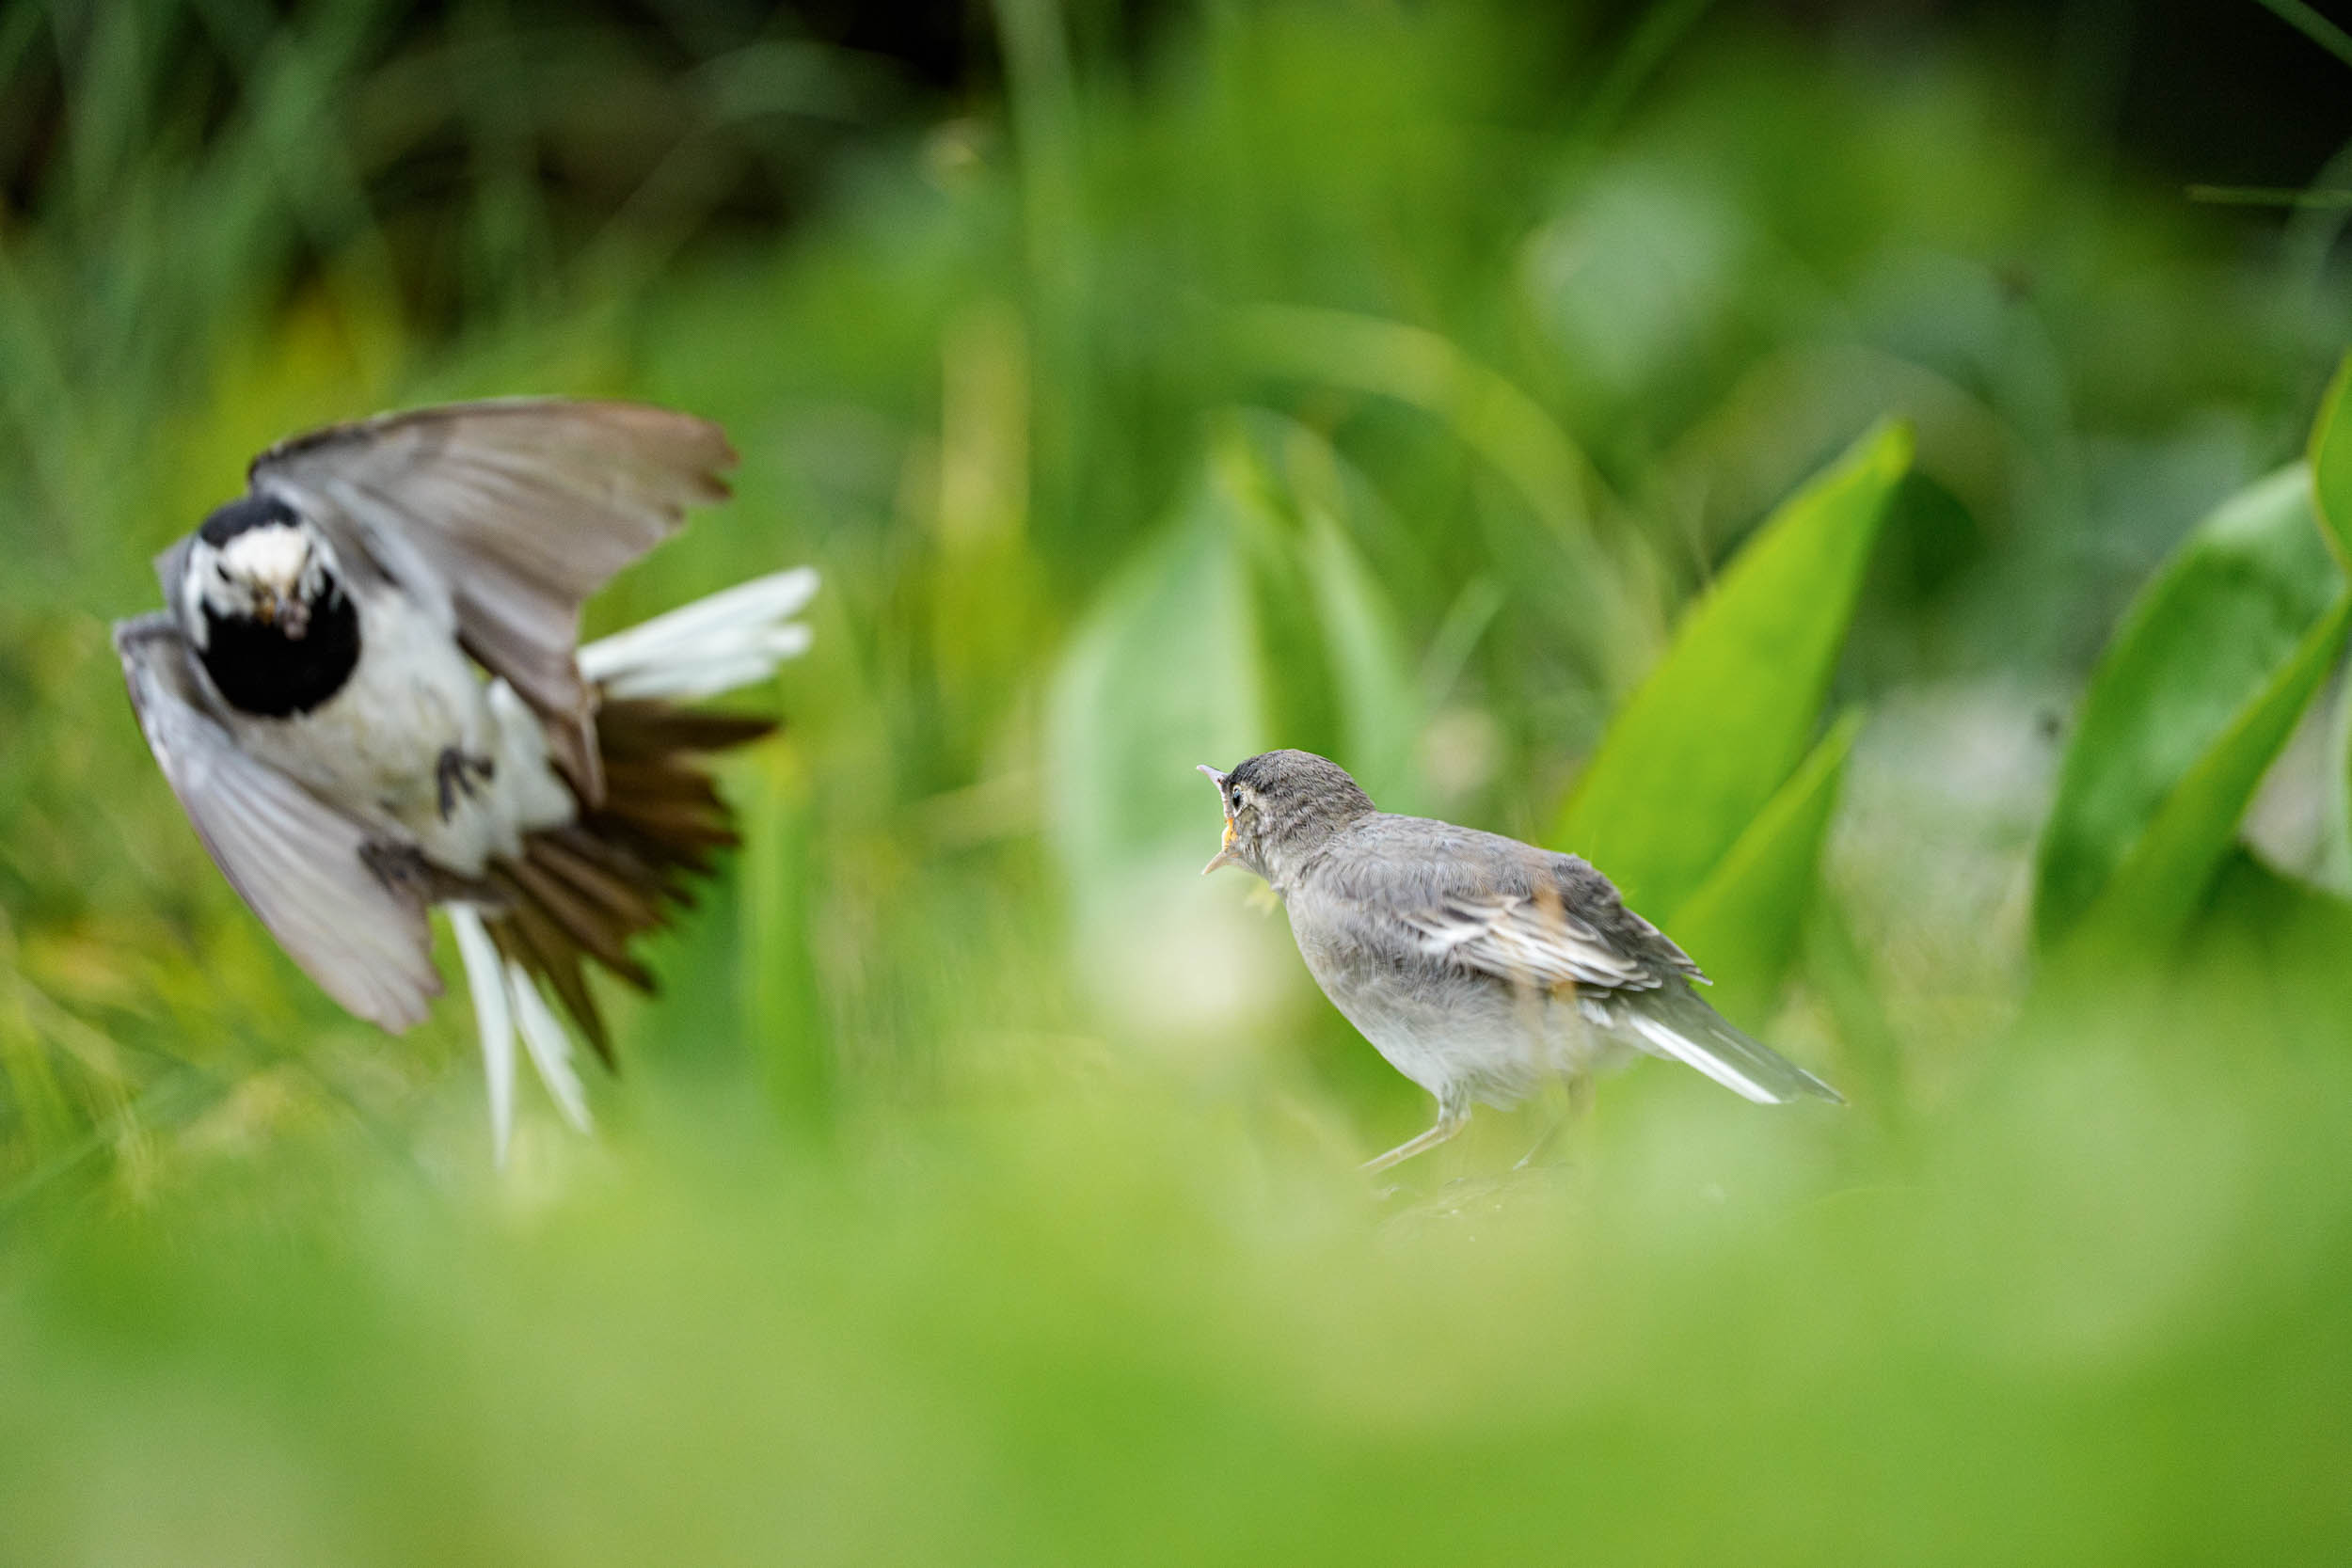
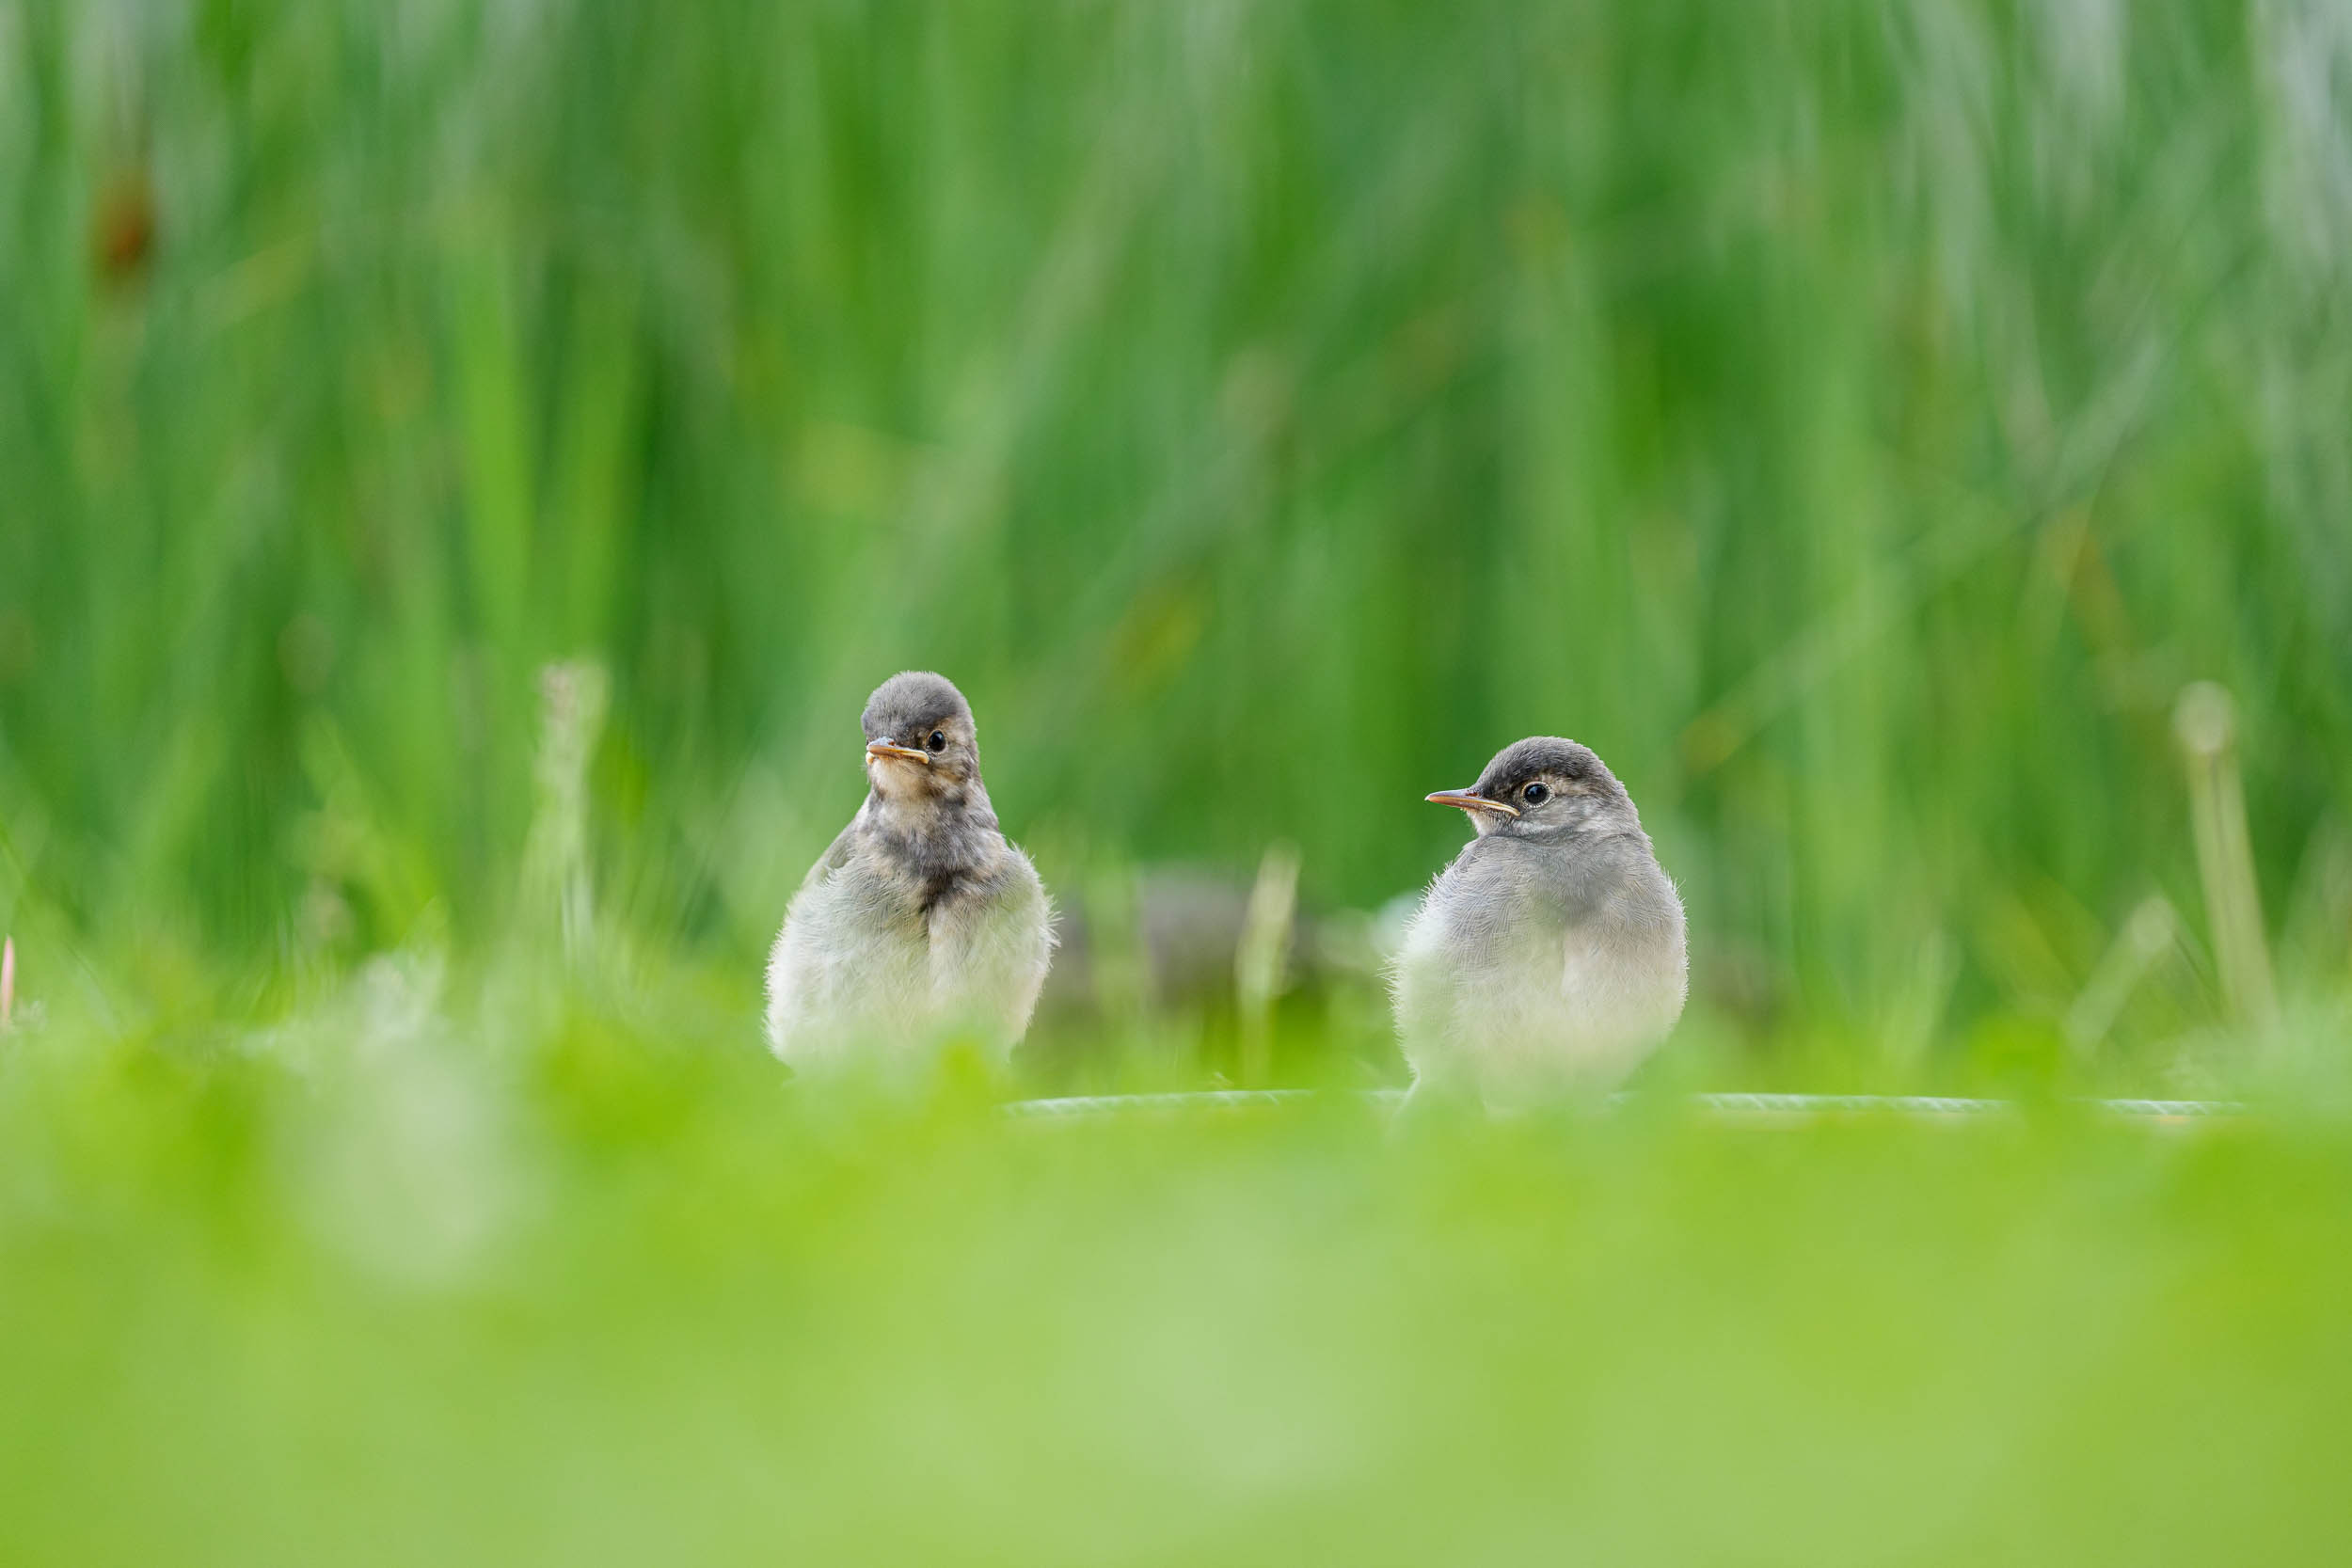
The best example is my white wagtail series. Over several weeks I spent many afternoons with them and even got to witness them raising their chicks. Over time the birds got used to me, so I could get closer without any camouflage. The feeding scenes and the two fledglings side by side would never have happened in a single visit.
Conclusion
For me, birding and bird photography are far more than a camera with a long telephoto lens. Preparation starts at home: checking recent sightings, finding locations, checking weather and light, and then deciding which gear really needs to come along. In the field, it’s at least as much about observing as photographing. The better I know the surroundings and the animals’ behaviour, the more likely I am to catch those few moments when a good image is possible.
This is my personal workflow and the gear that has proven itself for me. Maybe there’s a resource or two in here you didn’t know yet. And if you have a tip I absolutely should try: let me know!
My Setup

Sony Alpha 1 II
Features
- 50.1 MP Vollformat-Sensor
- 30 fps kontinuierlich
- 8K 30p Video
- 759 Phasen-AF-Punkte
- 7-Achsen Bildstabilisierung

Sony FE 200-600mm f/5.6-6.3 G OSS
Features
- Brennweite: 200-600mm
- Filterdurchmesser: 95 mm
- Durchmesser: 111.5 mm
- Länge: 318 mm
- Gewicht: 2115 g

Sony FE 100-400mm f/4.5-5.6 GM OSS
Features
- Vollformat-Telezoom
- Mindestfokussierabstand: 0,35 m
- Filterdurchmesser: 77 mm
- Optischer SteadyShot
- Gewicht: 1395 g

Leofoto LS-325C Ranger Carbon Dreibeinstativ mit LH-40 Kugelkopf

Cotton Carrier CCS G3 Weste Grau
Features
- Trägt eine Kamera mit langem Teleobjektiv
- Patentiertes Twist-&-Lock-System mit Sicherungsgurt
- Nur 441 g, passt unter einen Rucksack
- Inklusive Regenhülle
Tragopan Tarnzelt Monal V3
Features
- Platz für zwei Fotografen oder eine Person mit mehreren Kameras
- 6 Fotofenster mit austauschbaren Einsätzen
- Wasserdichtes 150D-Polyester, isotherm
- Packmass 24 x 25 x 81 cm, 3.04 kg (ohne Zubehör)

Leofoto PG-1 Gimbal-Kopf
Features
- Bis 25 kg Tragkraft bei nur 980 g Eigengewicht
- Flüssiges Schwenken mit zwei unabhängigen Klemmungen
- Vertikal um 100 mm verstellbar, integrierte Wasserwaage
- Für Teleobjektive von 400 bis 800 mm


